A room-by-room decision guide for a Calacatta White bathroom: where to use slabs, tiles and vanity tops; how to balance grey veining; and what the designer, fabricator and installer must settle before work begins.
Apexstone material brief
Calacatta White Bathroom Design Ideas
The best Calacatta White bathrooms do not cover every surface with the strongest vein. They choose one visual anchor, give the remaining planes room to breathe, and resolve wet-area details before the stone is cut. This guide walks through the decisions in the order a real bathroom project meets them: which surface carries the pattern, how slab and tile scale differ, what the vanity needs, and what the installer must confirm before fabrication.
Begin with one focal plane
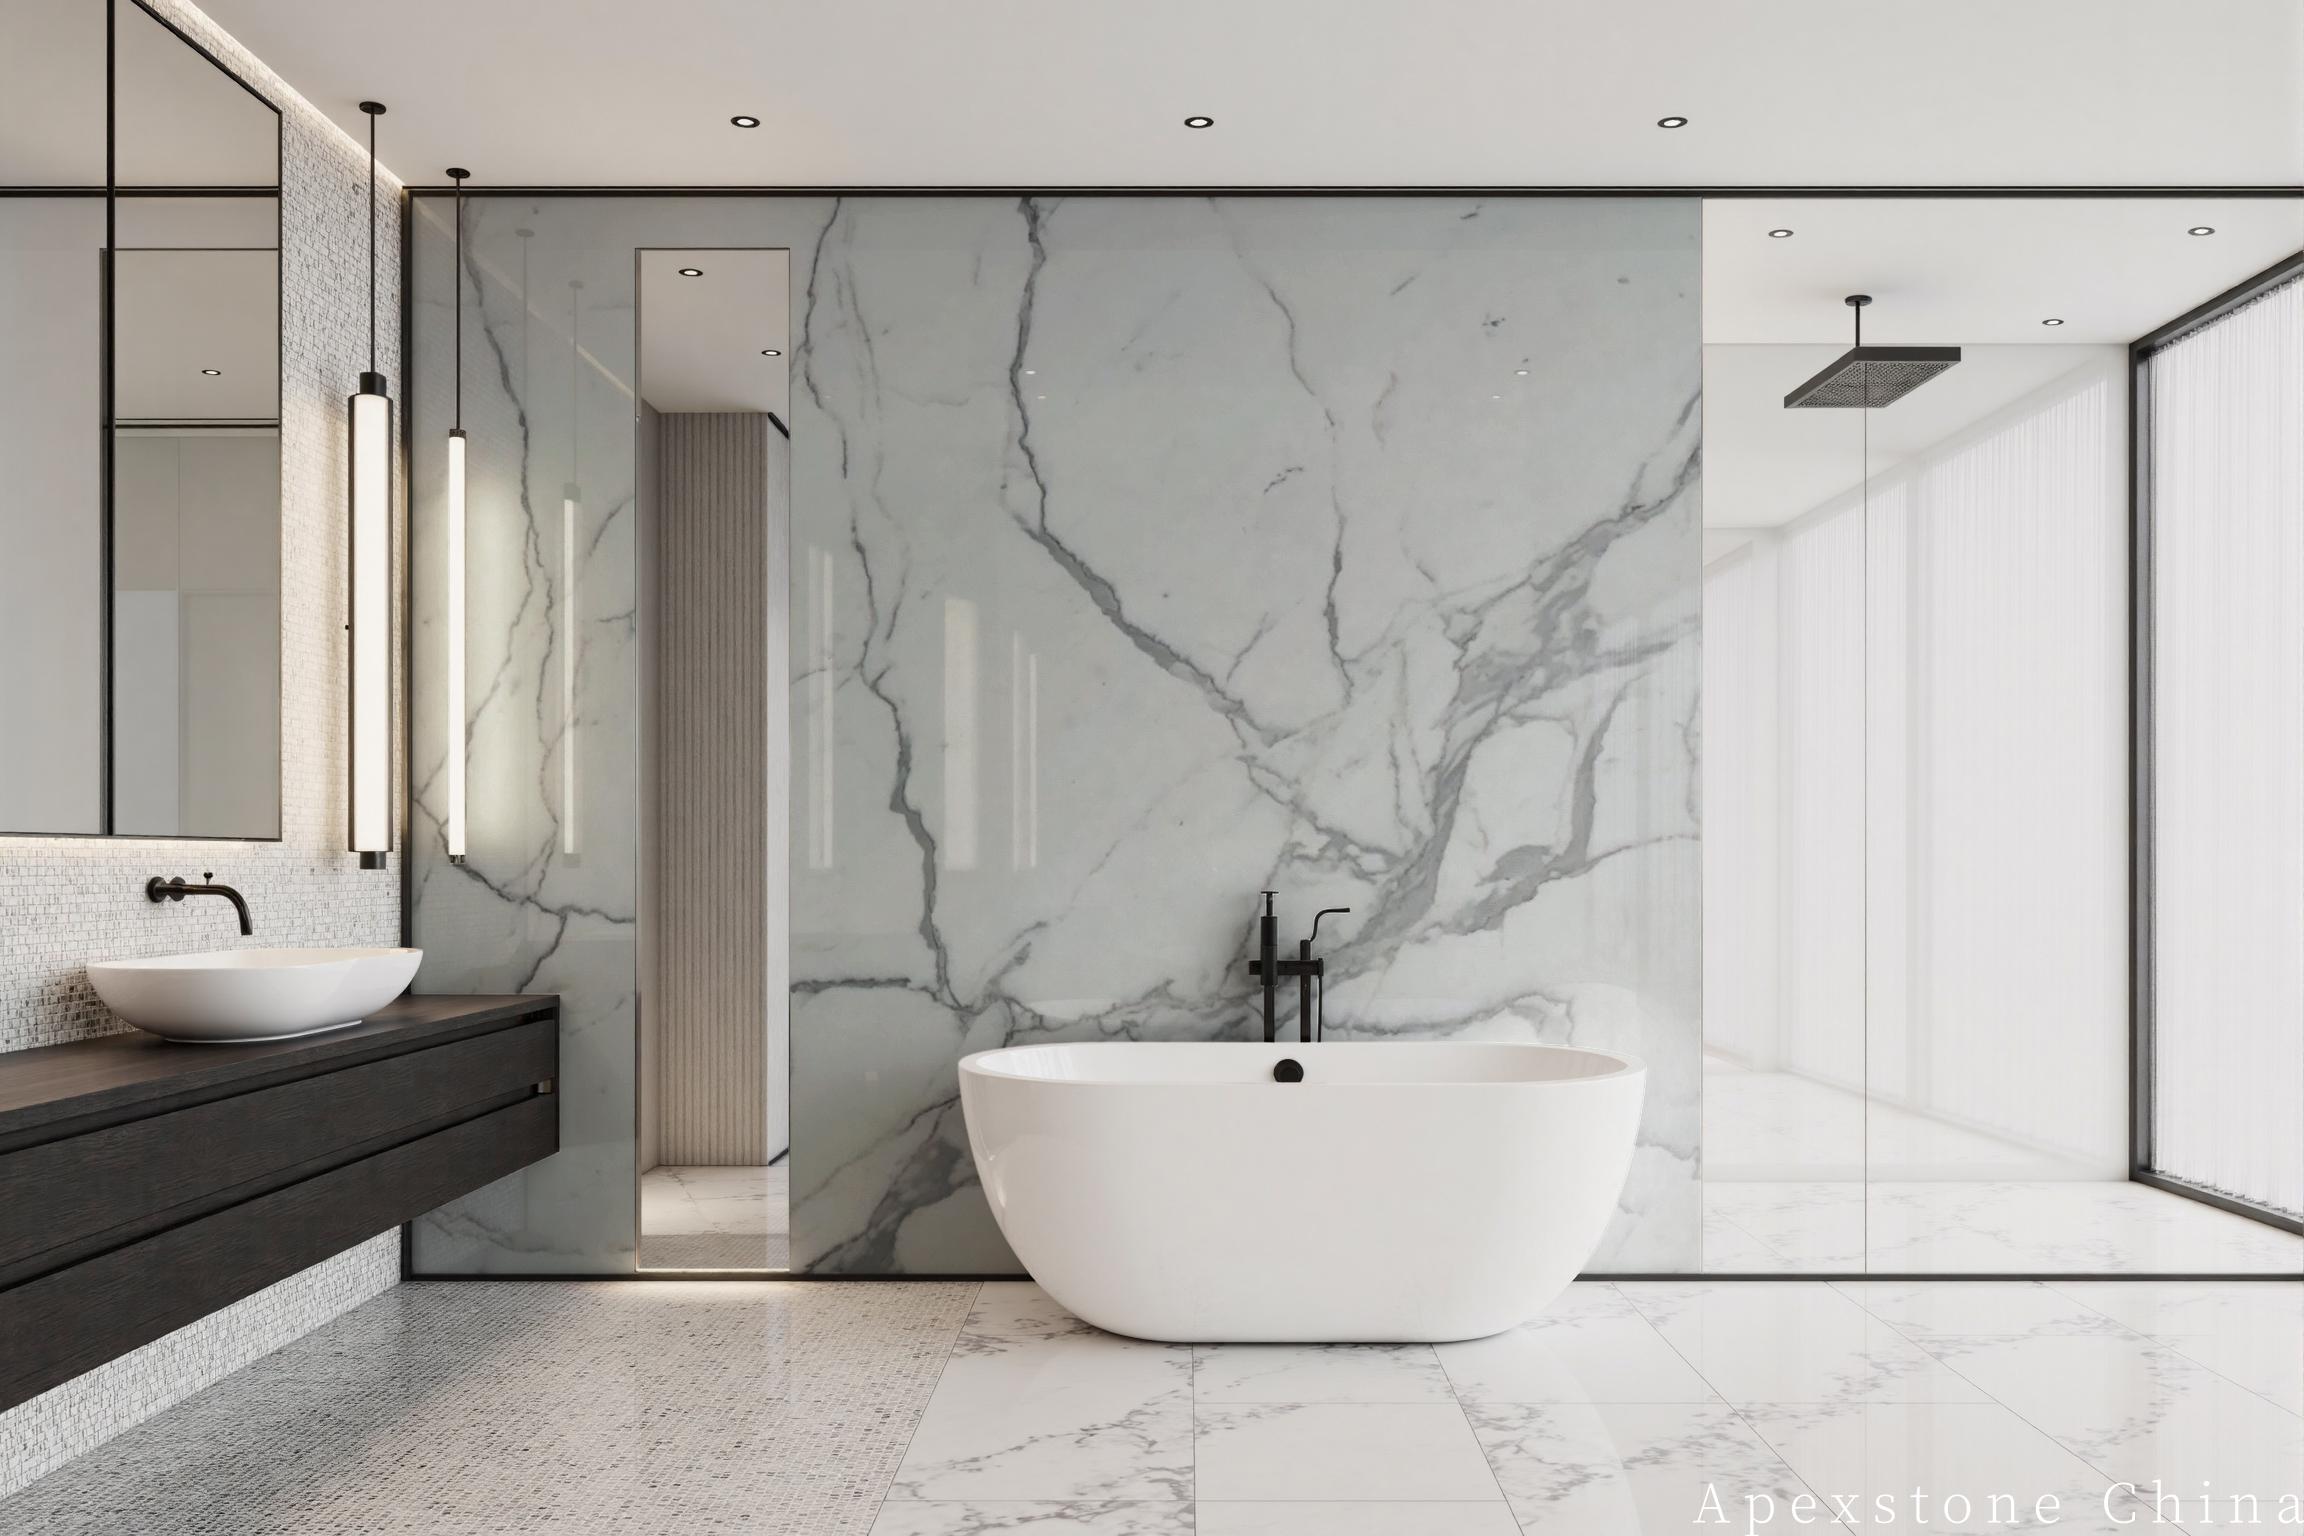
The material itself is Italian marble with a snow-white base and light-grey random veining. In a bathroom that gives the designer two tools: quiet luminosity and directional movement. Select either the vanity, the bath wall or the shower wall as the principal statement, and let secondary floors or half-height walls use a calmer part of the same batch. When every plane competes, the eye has nowhere to rest and the stone reads as busy rather than luxurious. A practical test: stand at the door and decide which surface you want to see first. That surface gets the book-matched or vein-matched panel; everything else steps back.
Scheme one: full-height shower wall, restrained floor
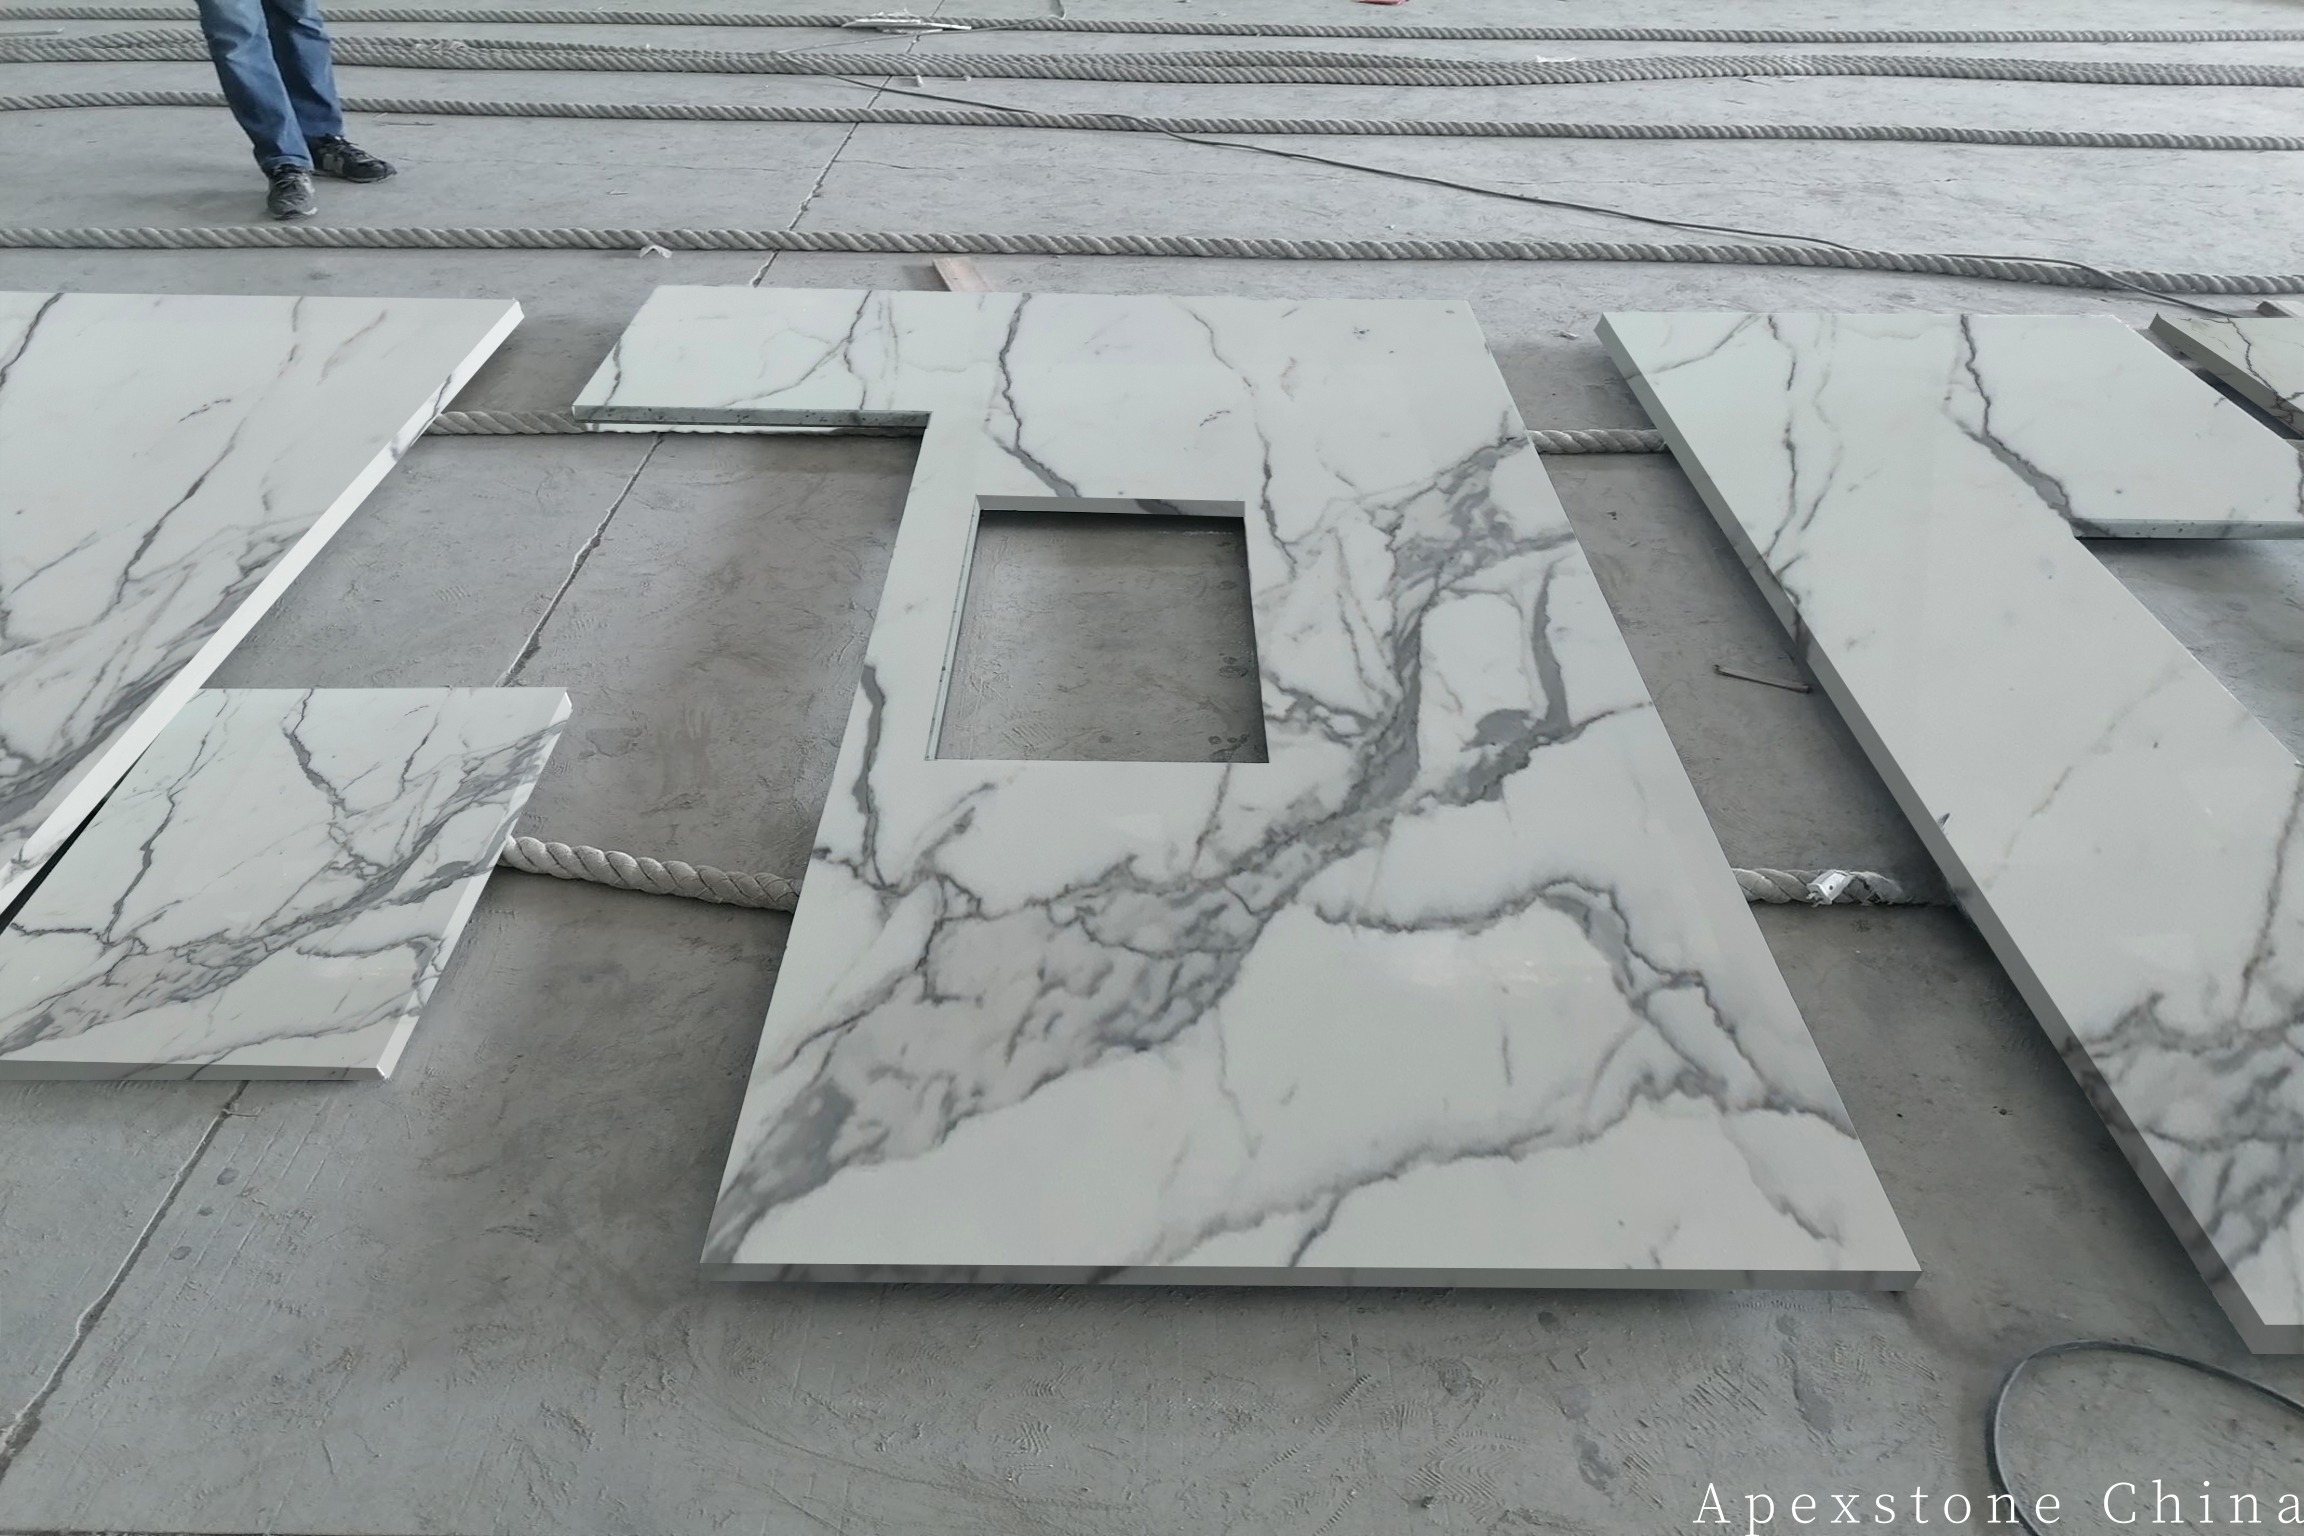
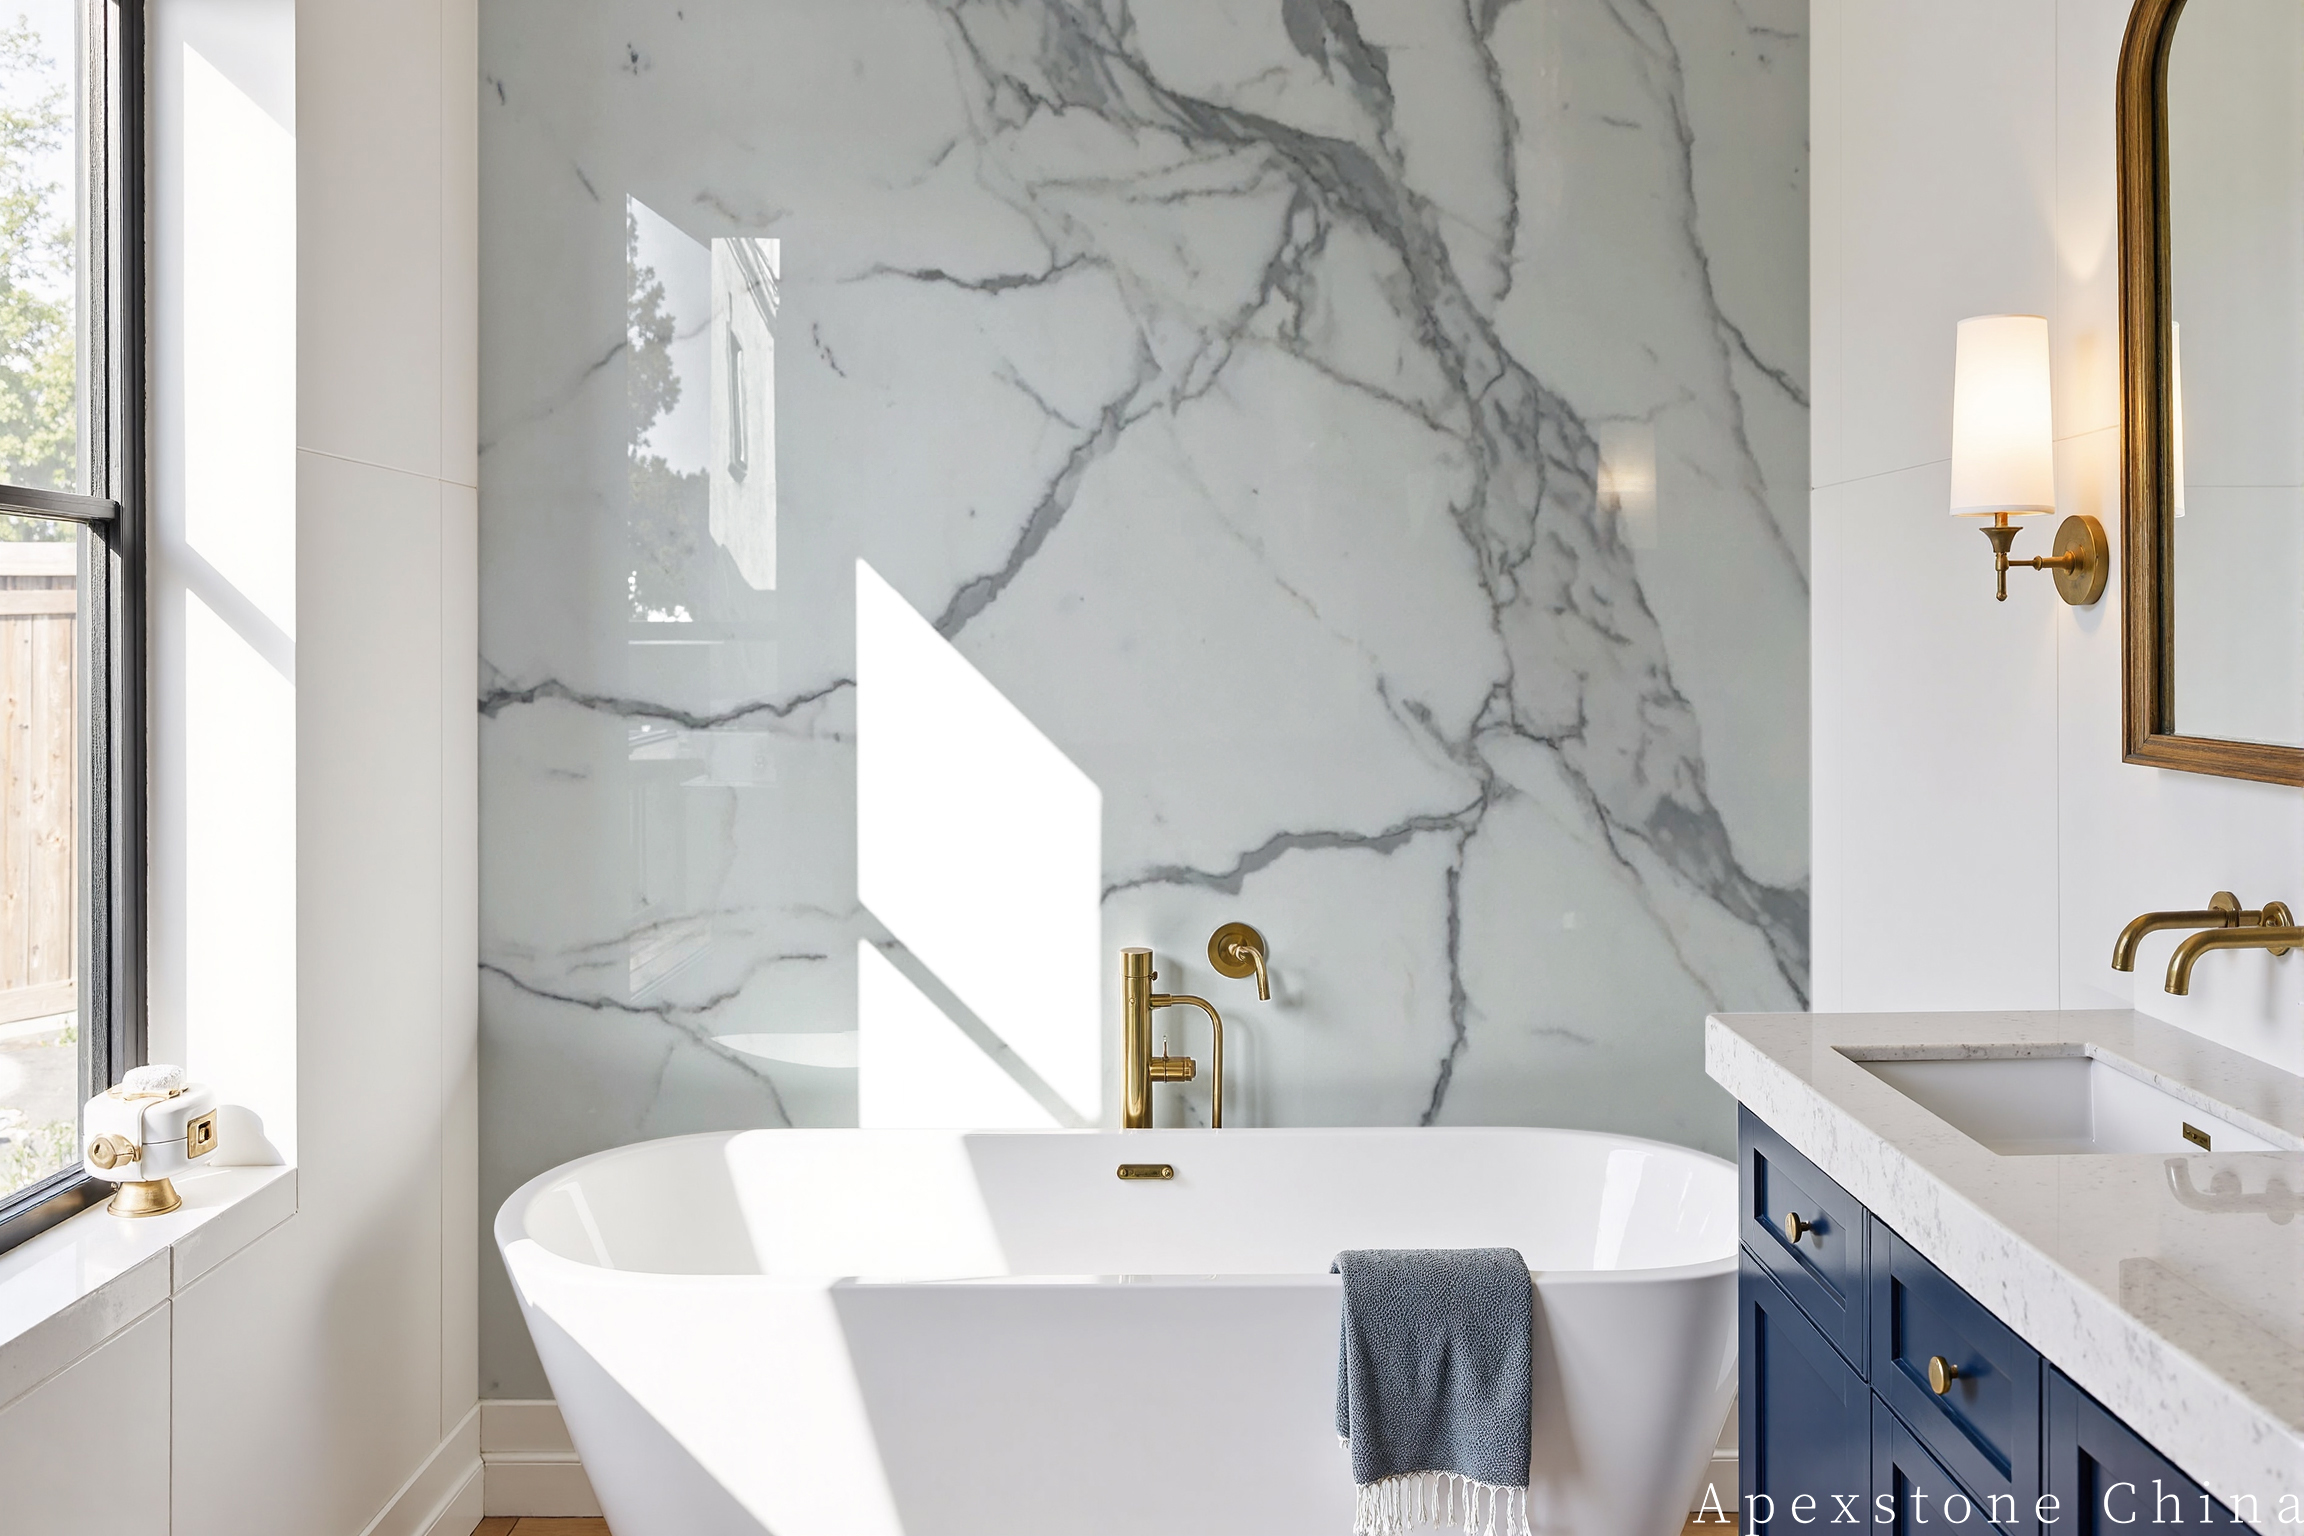
A large panel behind the shower reduces visual fragmentation and lets the vein read at architectural scale. Because the panel is cut from one slab, the pattern can run continuously from wall to ceiling without a grout line interrupting it. Pair it with a honed 12 x 24 in floor tile or a smaller, quieter module so the floor stays calm underfoot. Honed finishes also hide water spotting better than polished ones in a wet zone. The panel below is an entire shower surround cut to the room's actual height; it is not a generic bathroom stock image.
Scheme two: the vanity as furniture
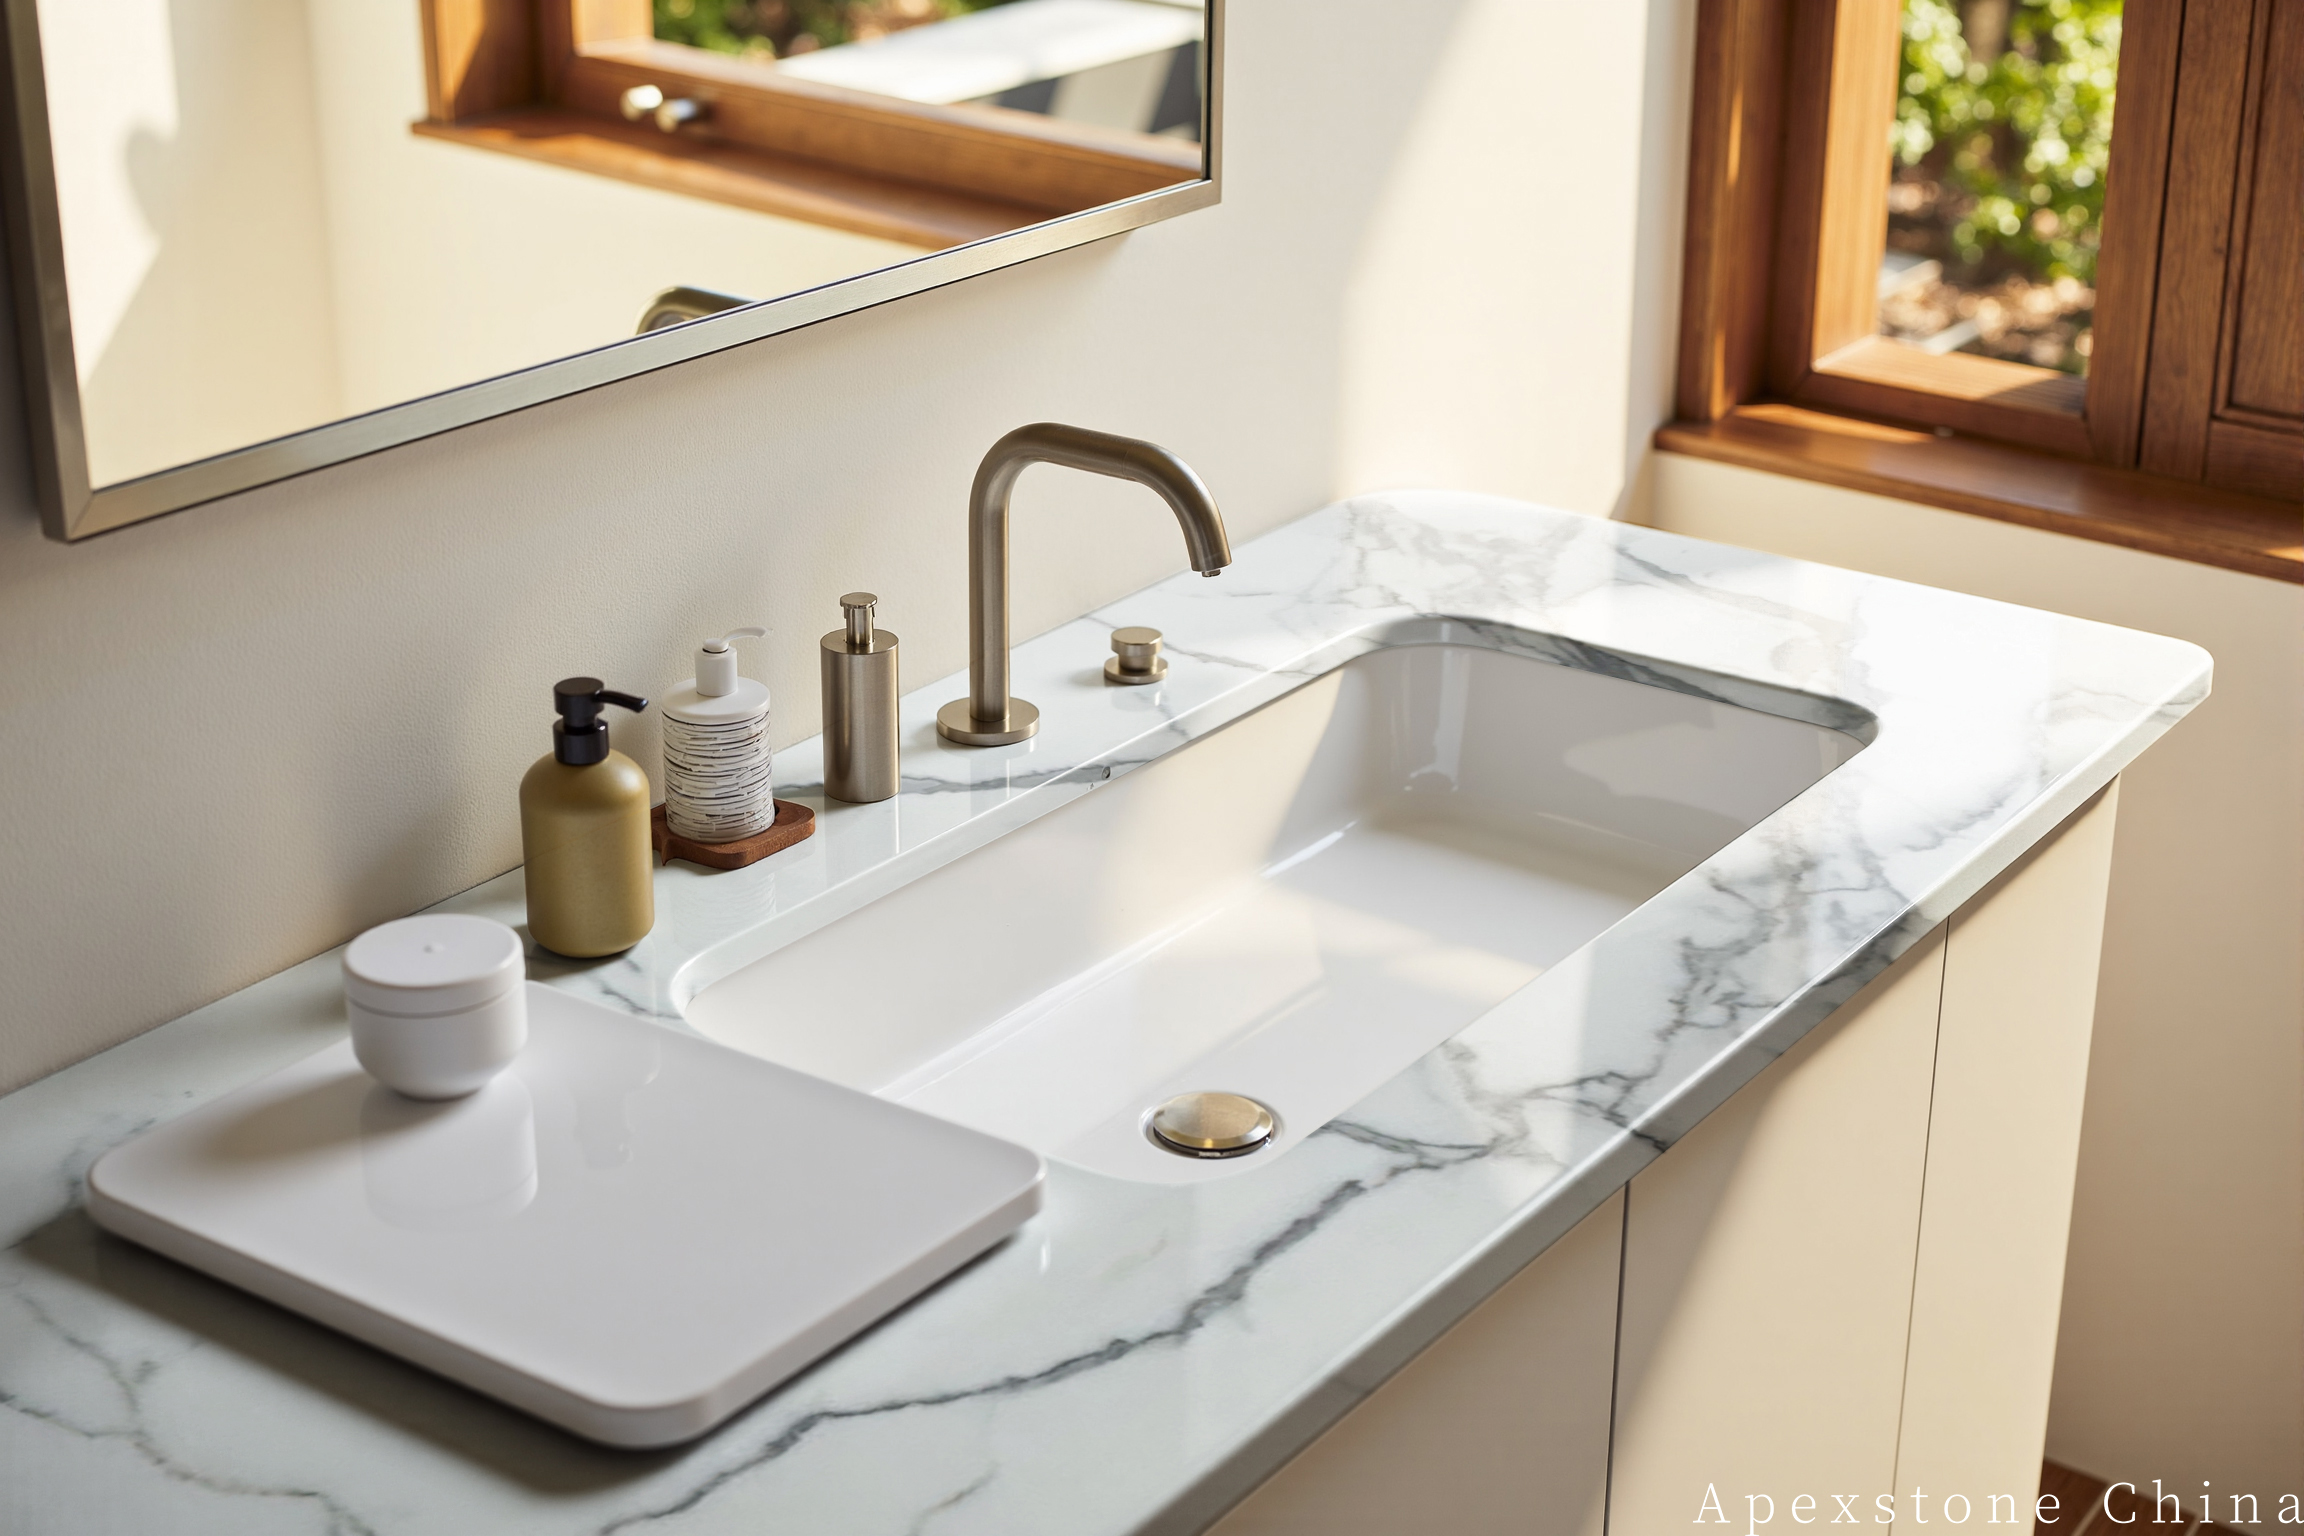
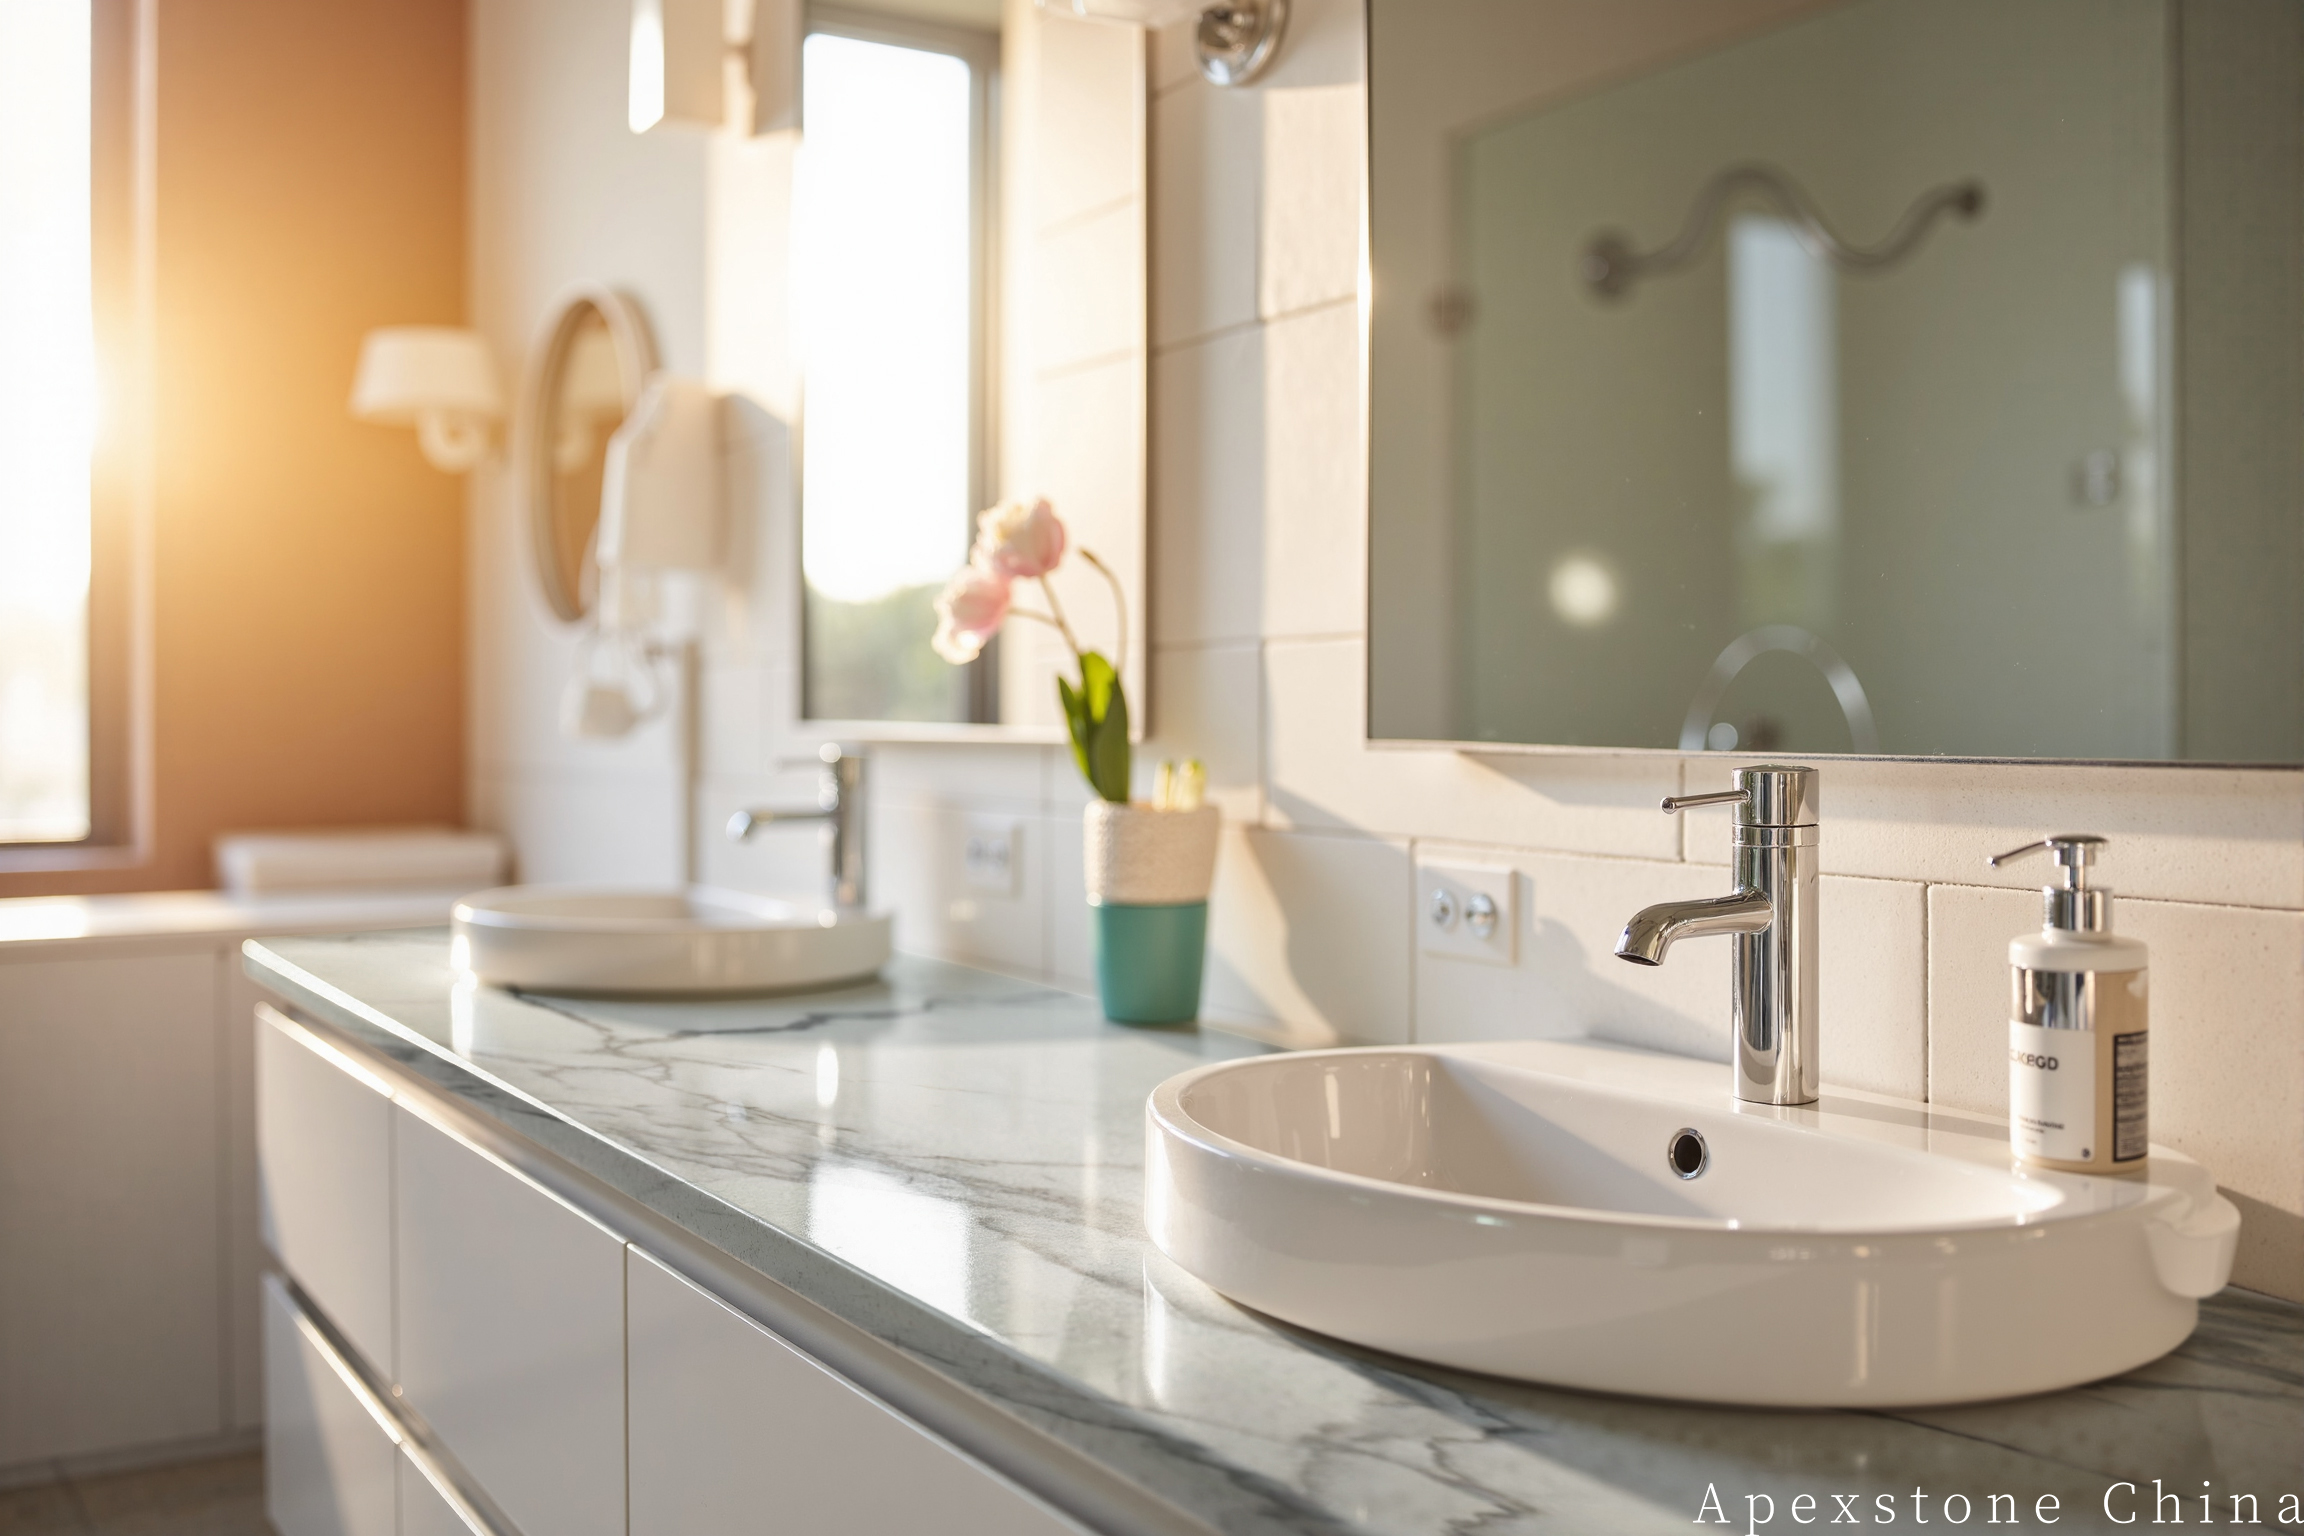
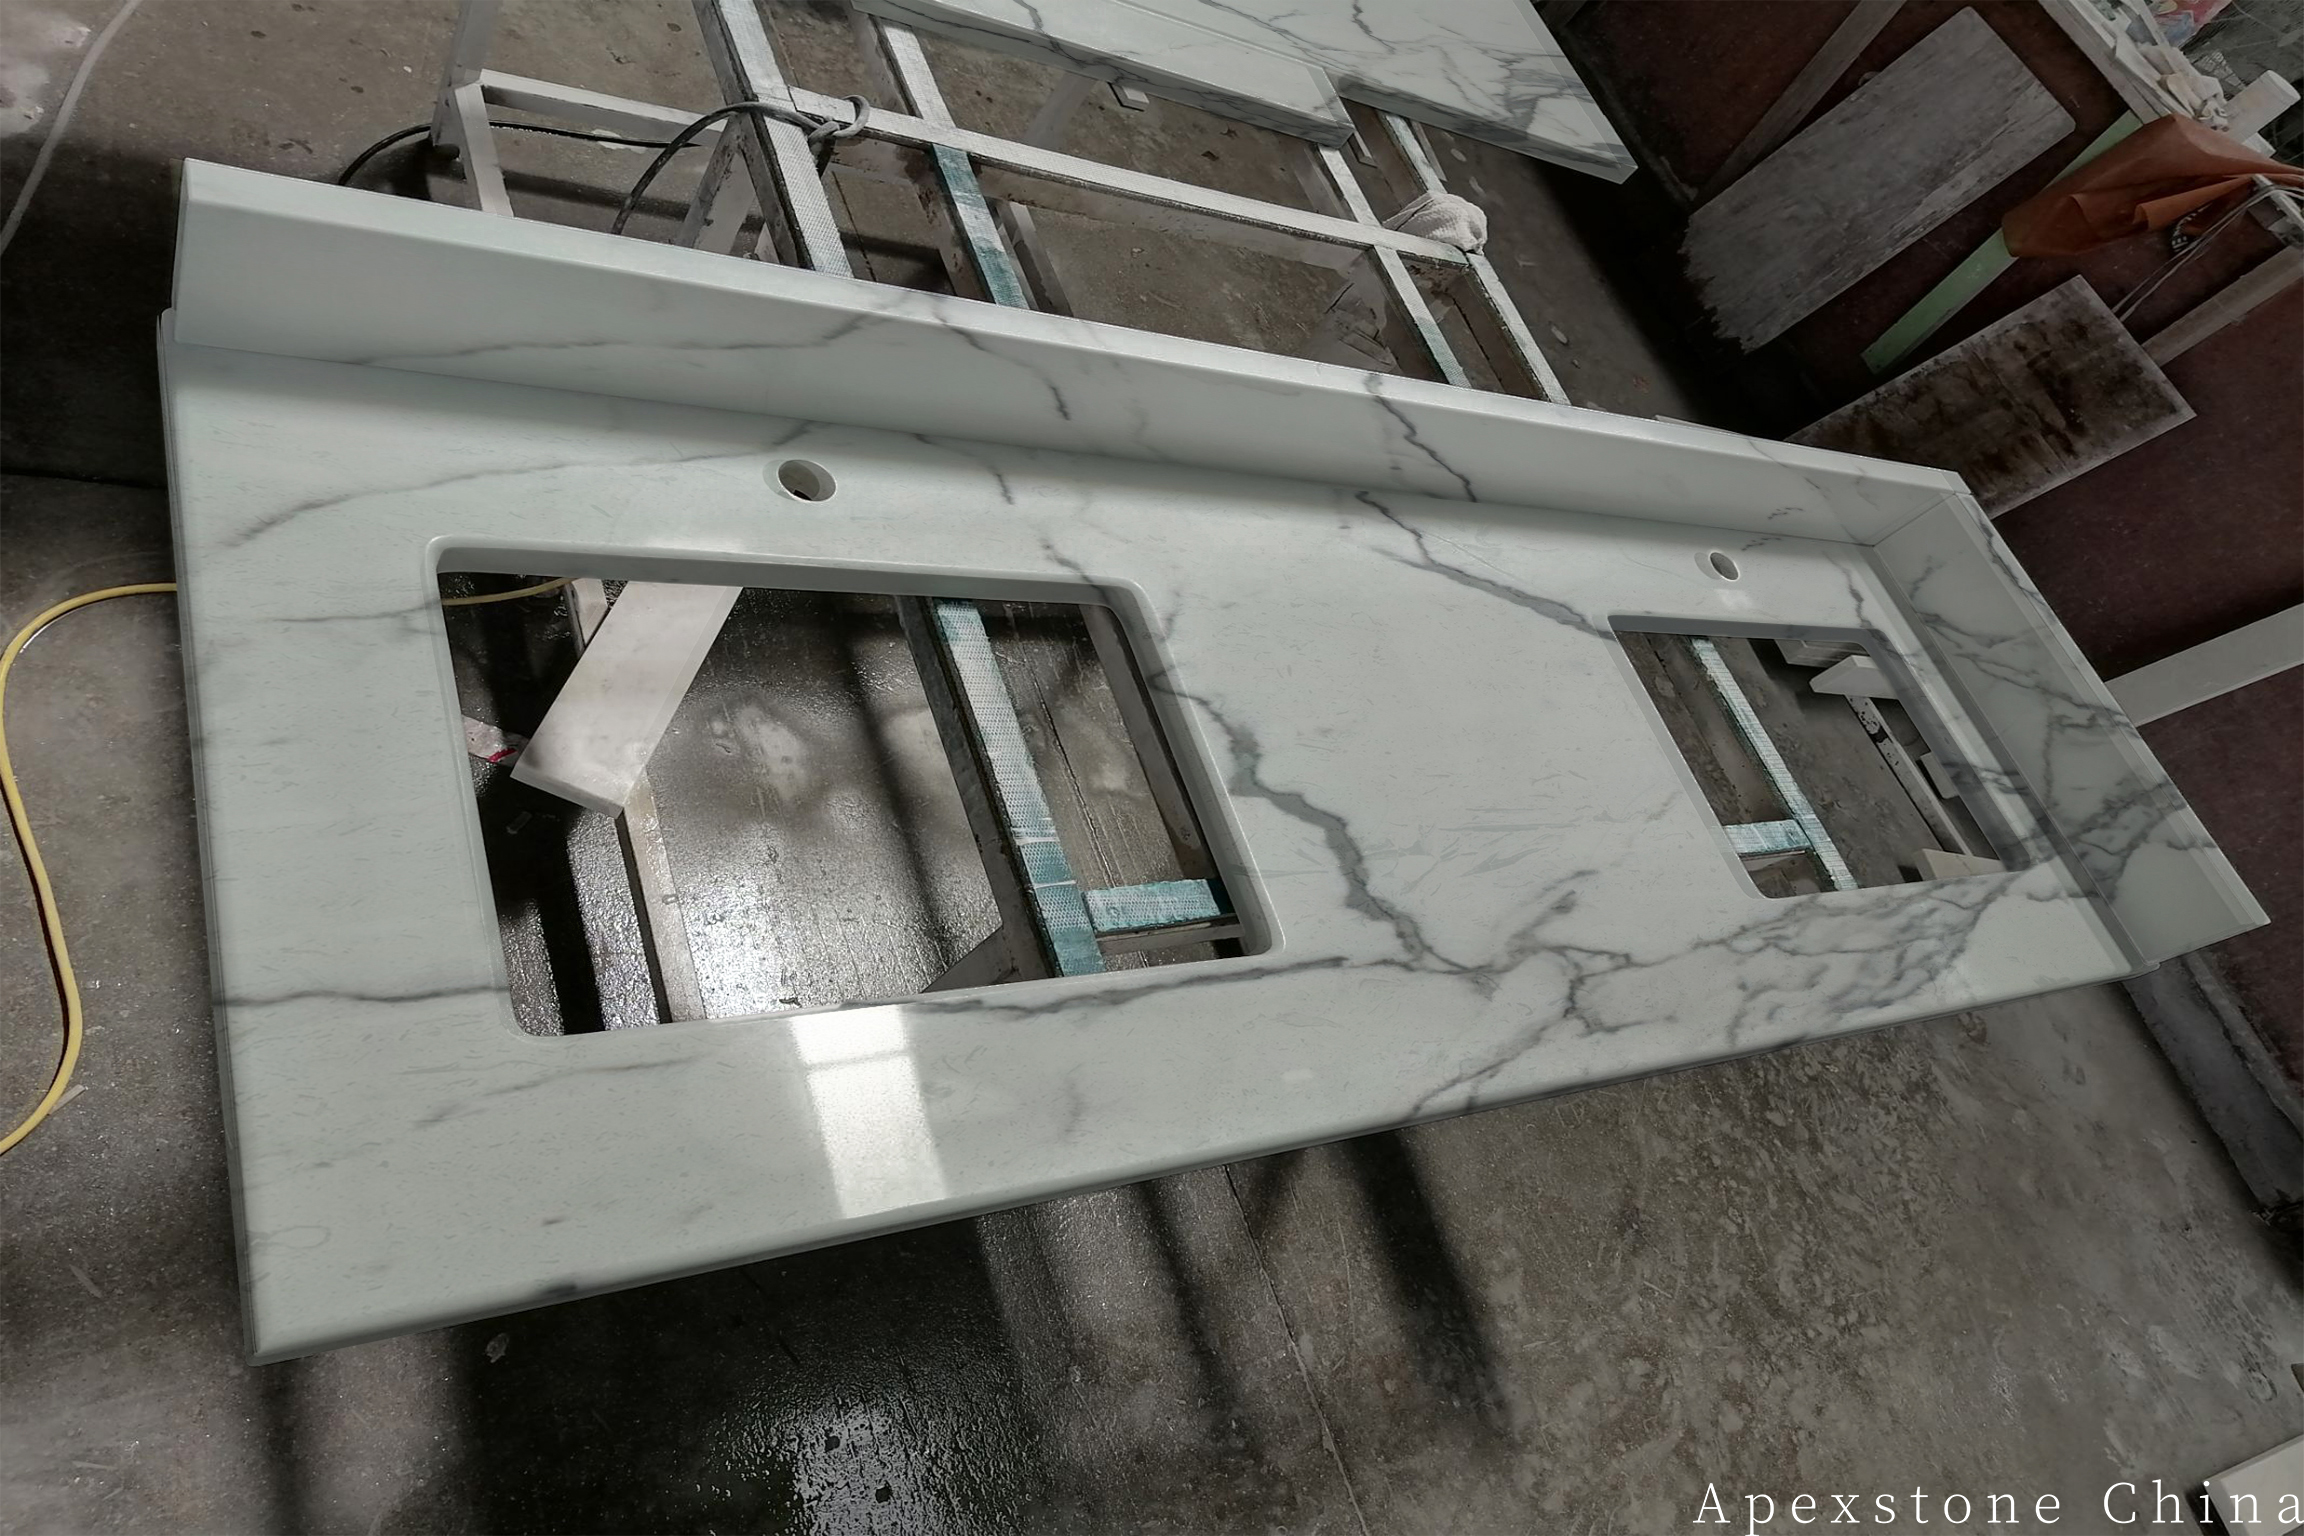
If the room is small, concentrate the marble at the vanity. A 36 in single-basin top, or a 60 in double-basin run in a larger room, with a low 4 in splash can become the visual anchor without making every wet surface precious. Standard vanity depths sit near 21 in, which suits the natural width of a slab and keeps offcuts available for the splash and window sill. Continue one vein into the splash only when the actual slab layout supports it; forcing a match across a narrow strip usually wastes material. Warm oak, brushed metal and quiet plaster keep the grey movement from feeling cold, and a frameless mirror doubles the veining without adding a second pattern.
Scheme three: tile rhythm for an active family bathroom
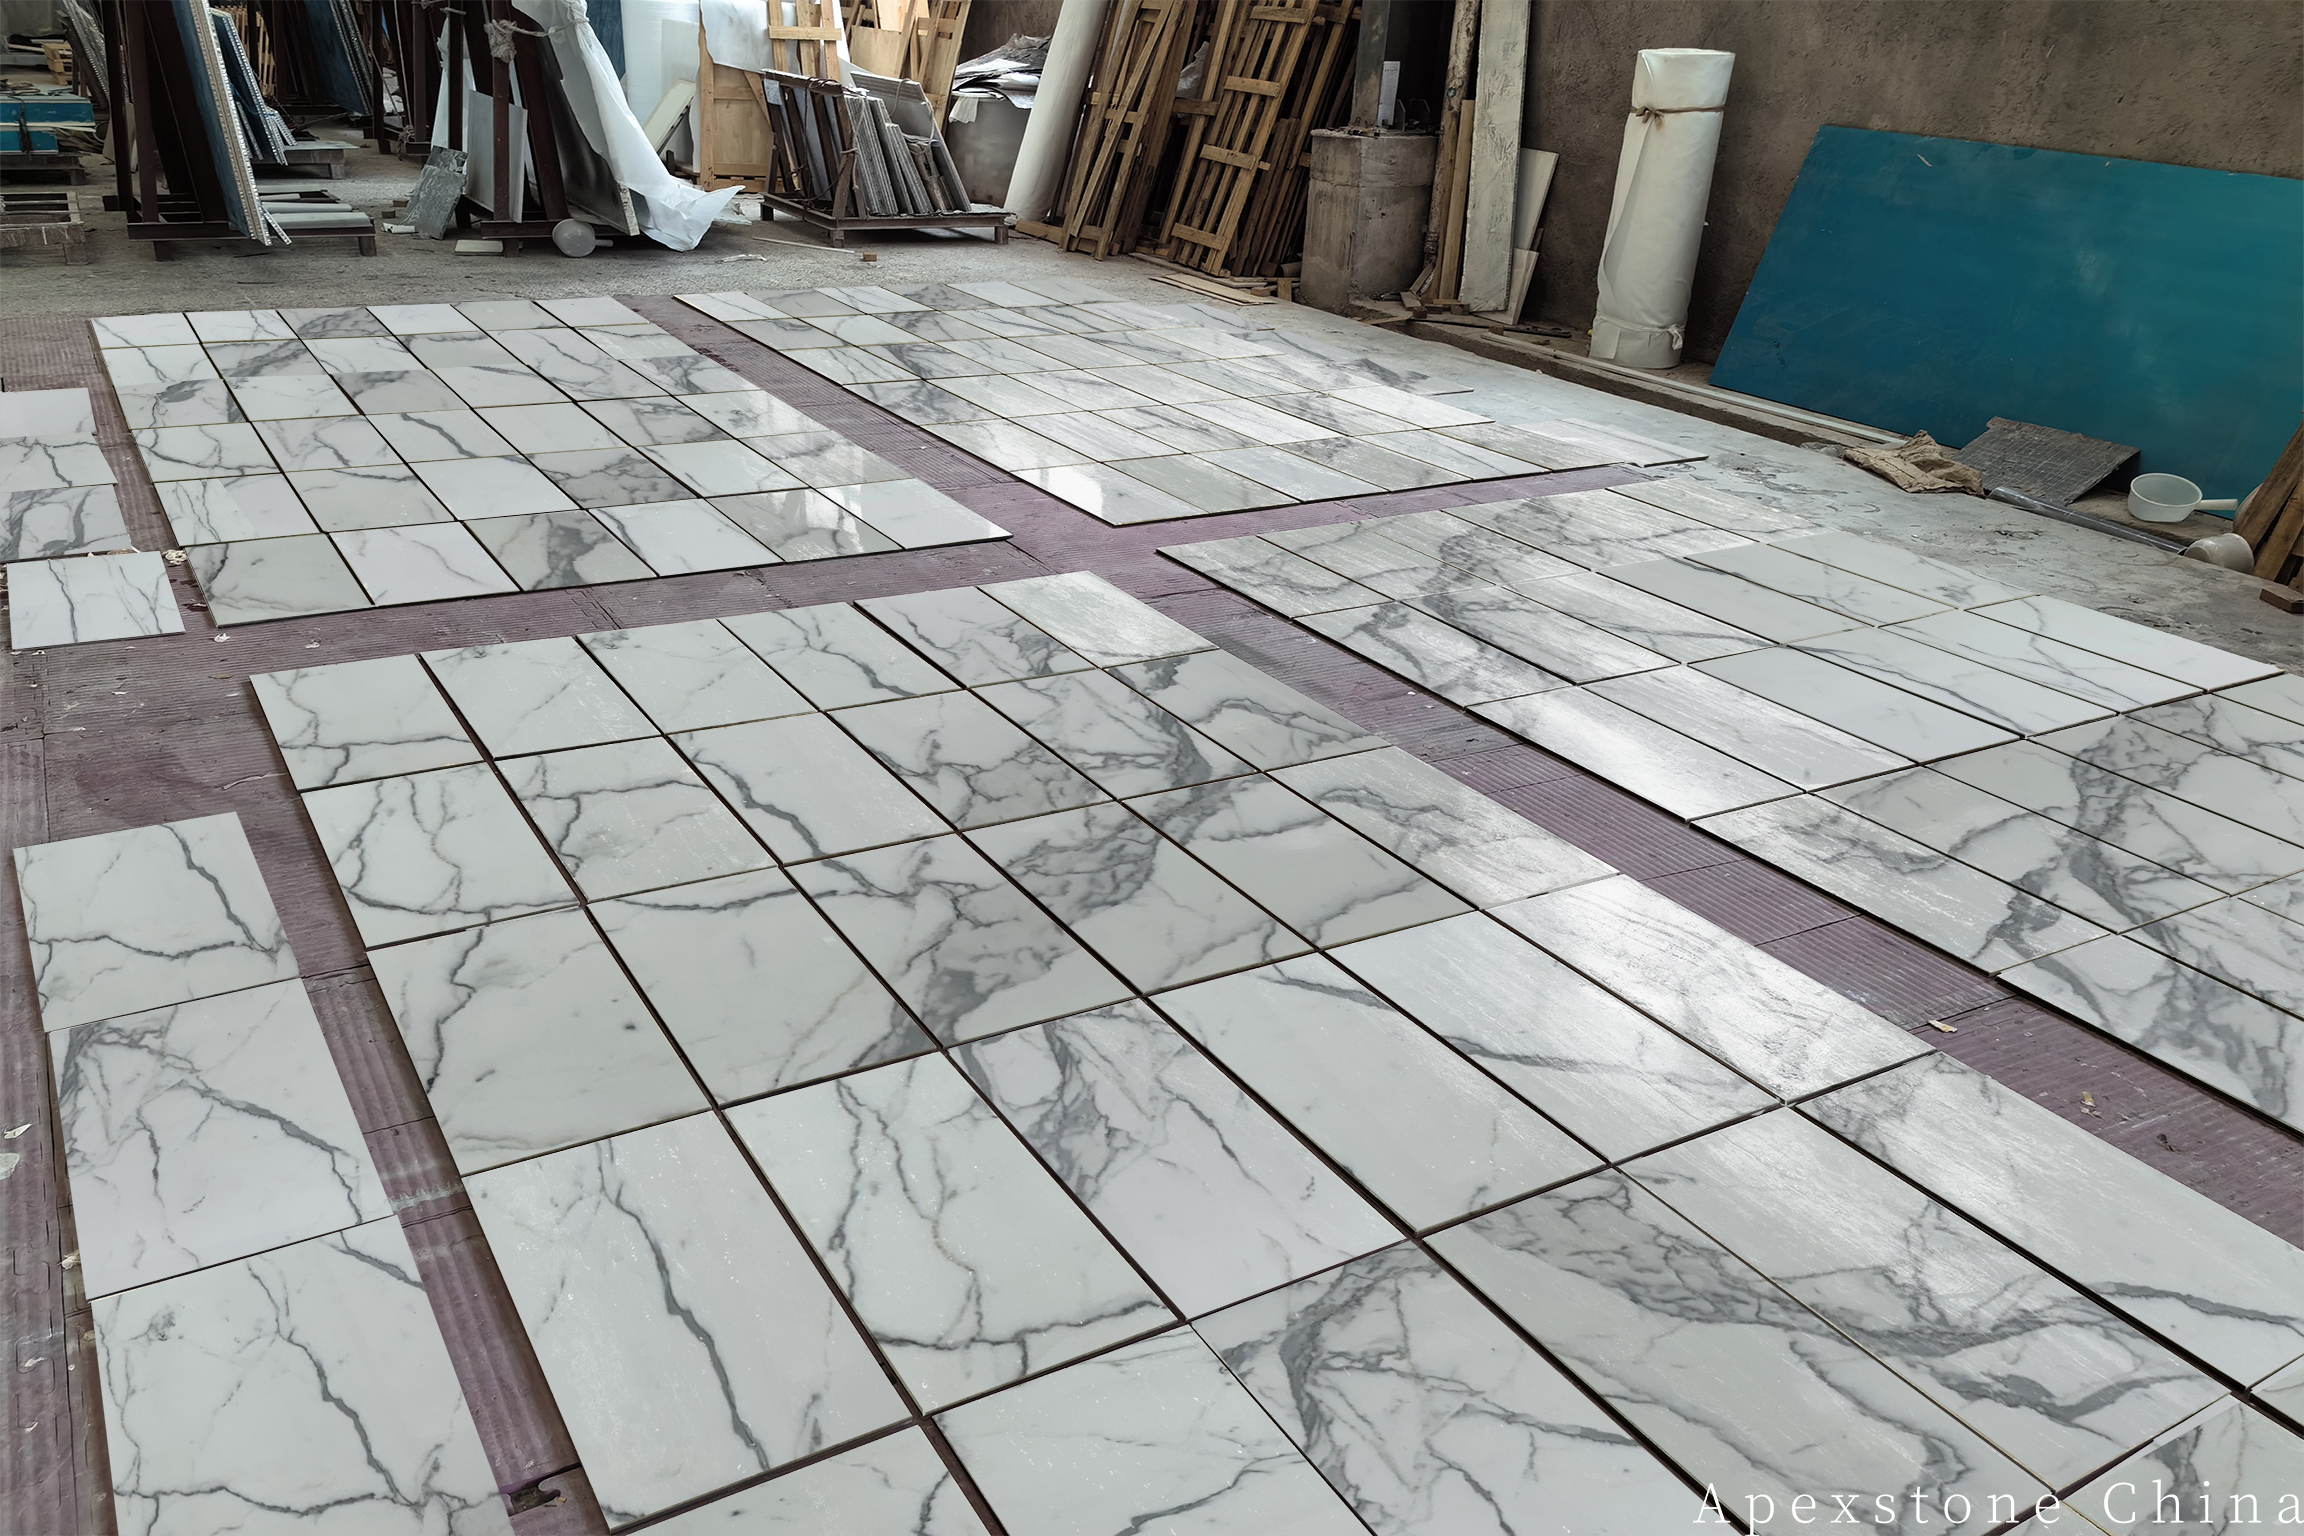
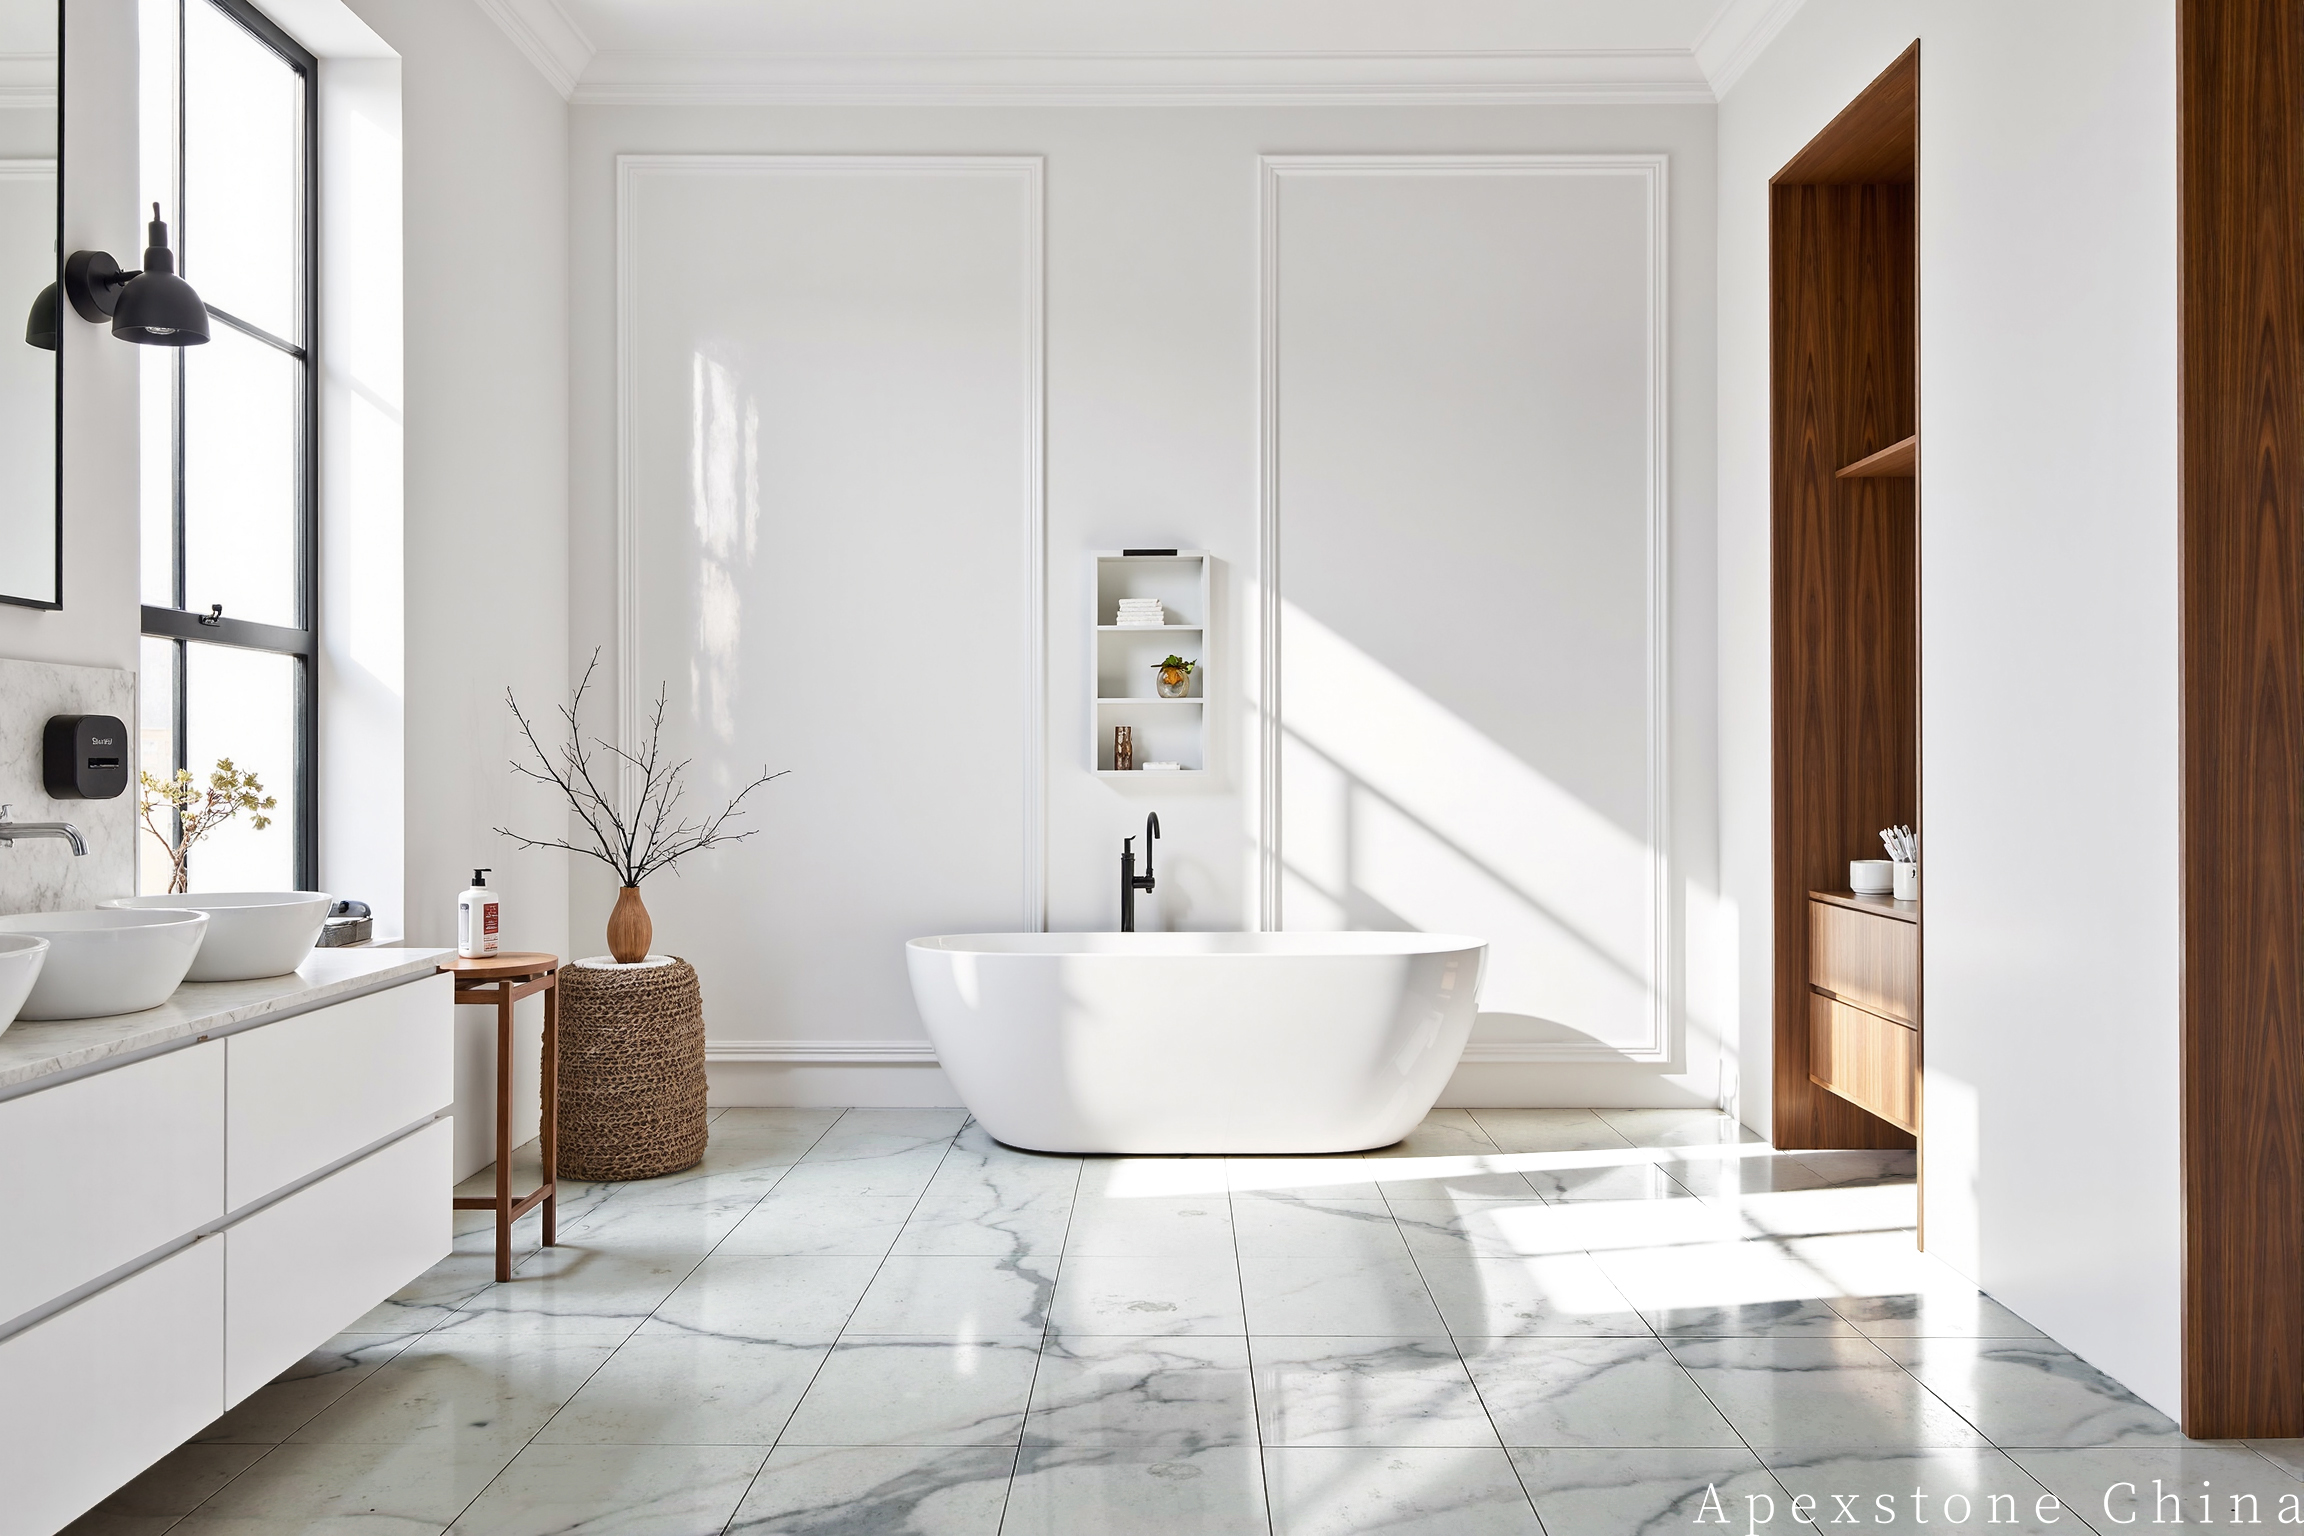
Tiles are easier to organise around falls, niches and thresholds than very large panels. A 12 x 12 in or 12 x 24 in module creates a repeatable layout that survives a moved drain or an out-of-square wall. Dry-lay enough pieces to distribute strong veins before fixing, and set the floor drain and movement joints before the stone pattern is final. For a powder room, a herringbone or hexagon floor in the same stone adds interest at small scale; for a daily family bathroom, the straight stack is easier to clean and re-grout. The shower floor below shows how a smaller module manages the fall without breaking the material story.
The fitting schedule changes the stone drawing
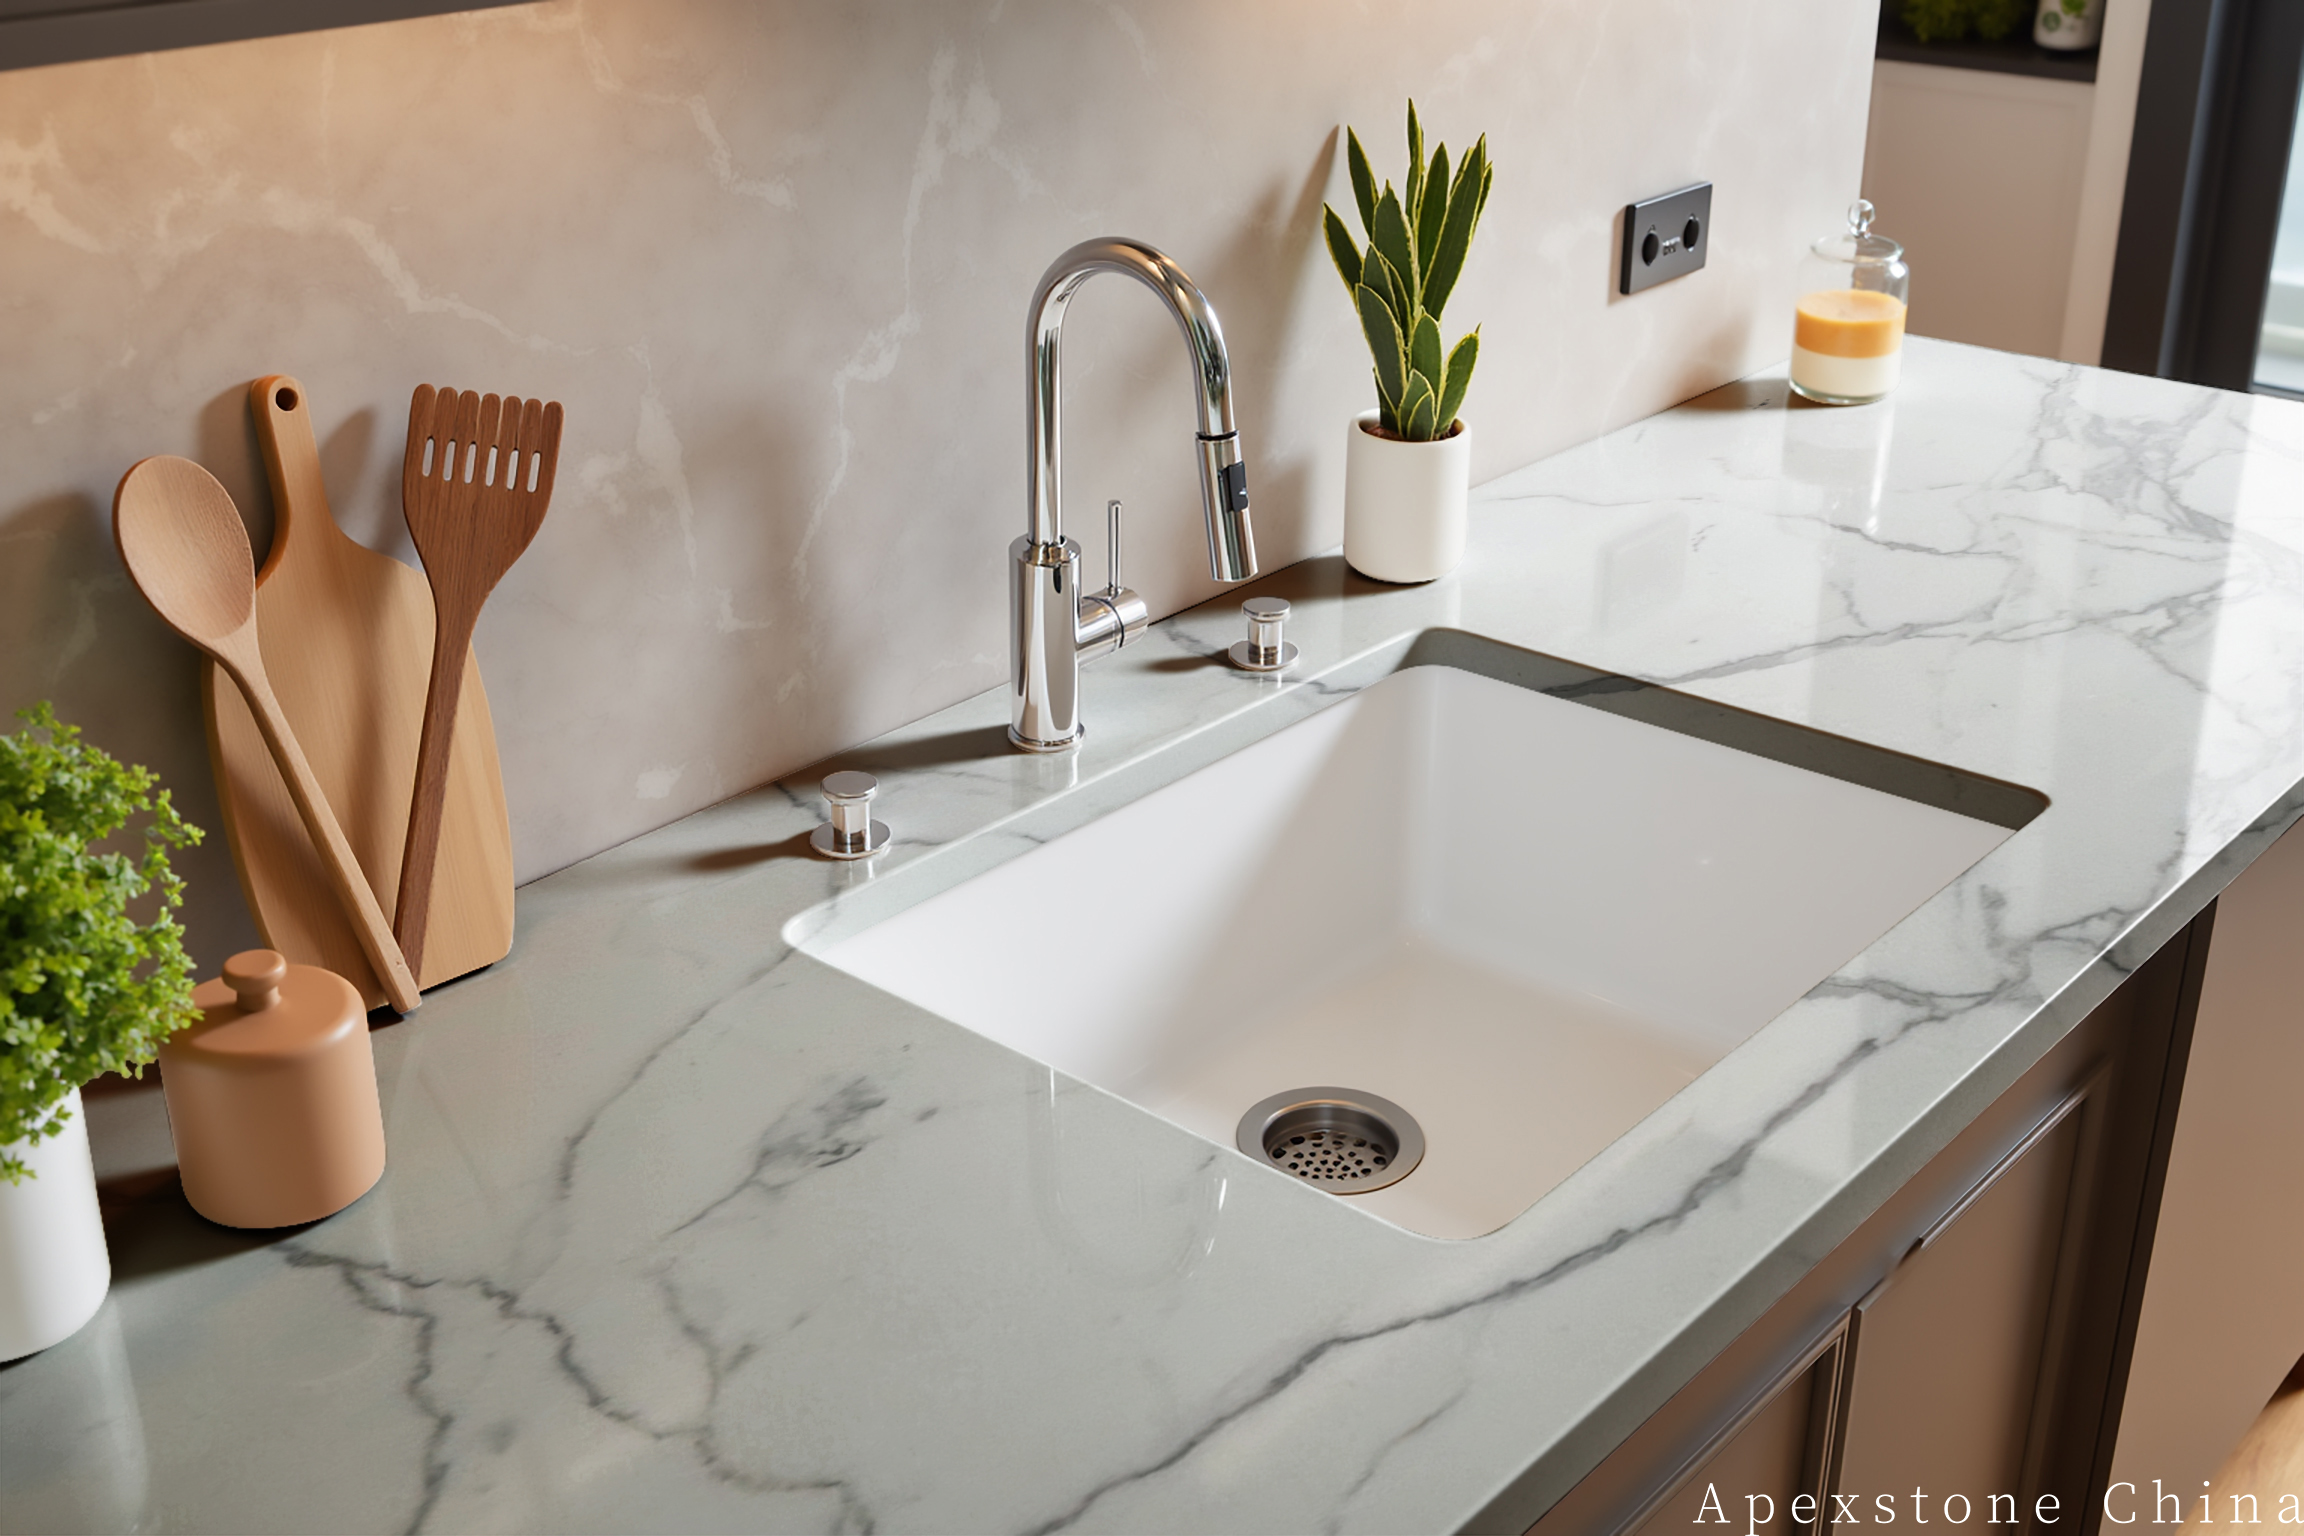
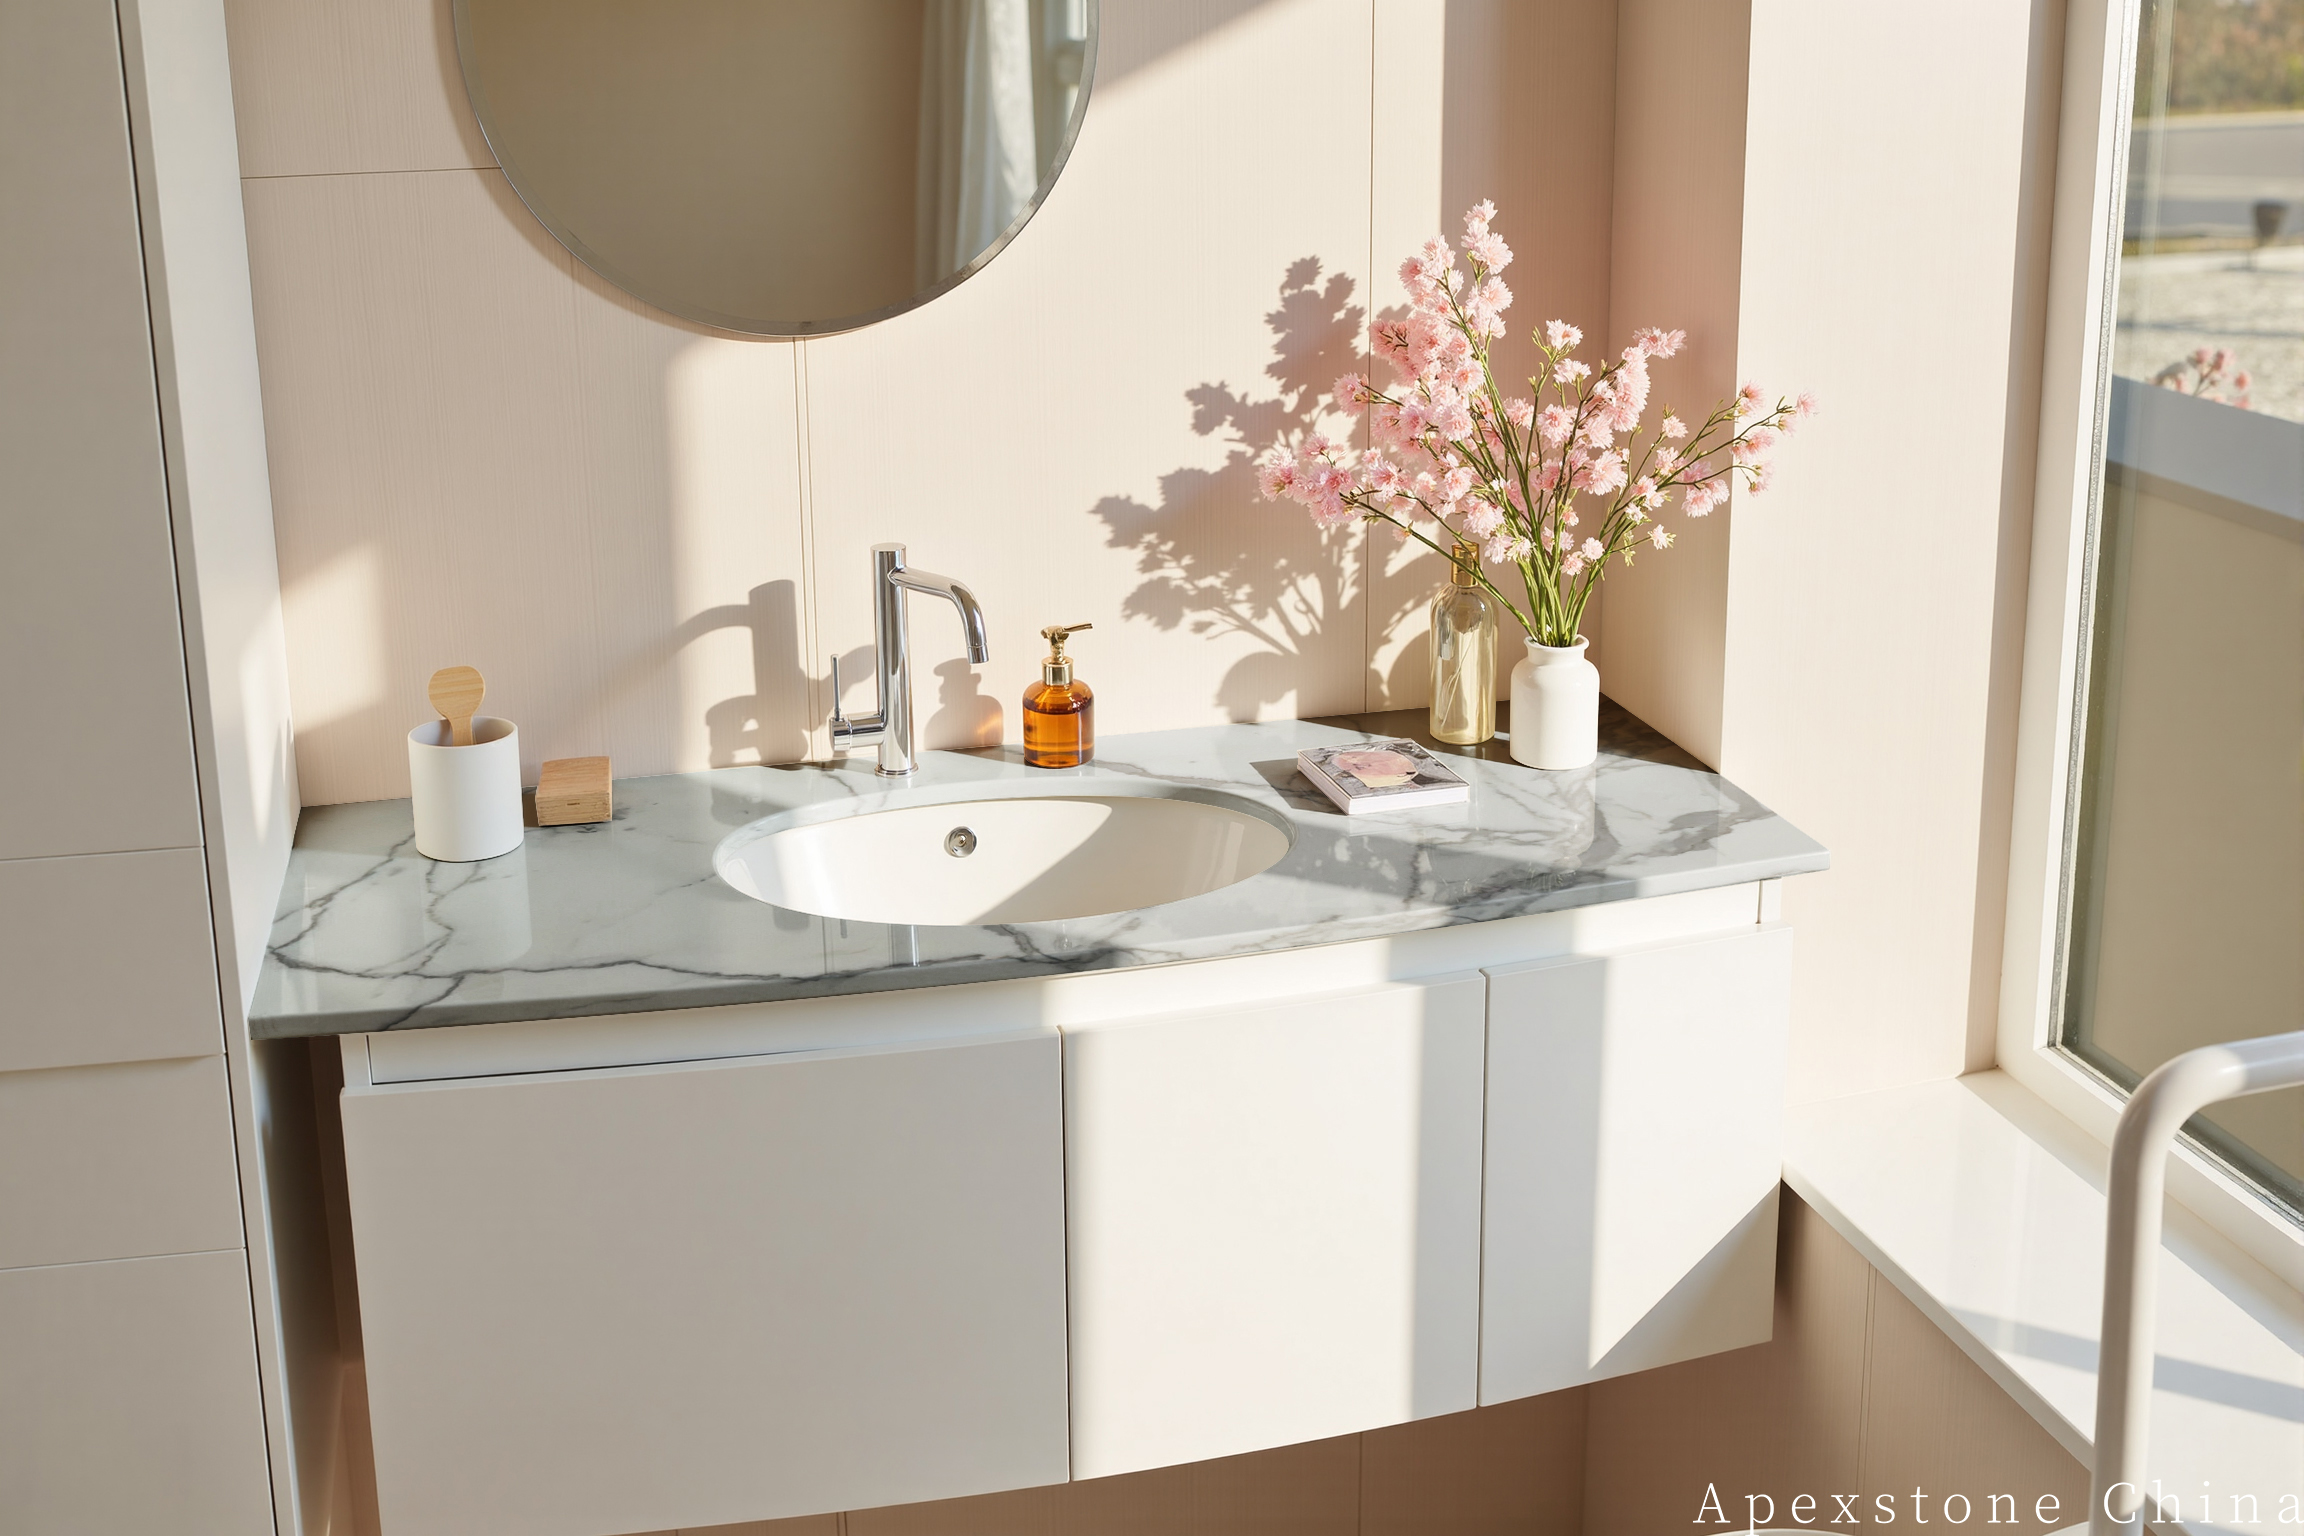
Lock basin, tap, shower control, niche, mirror and light positions before fabrication. A fitting moved 2 in can place a hole on an active vein or reduce the rail around a sink below a safe margin. This is the least glamorous step in the project and the one that prevents the most expensive argument. The vanity image below shows the intended relationship of stone top, cabinet and mirror; the final cut-out still follows the selected fittings, not the other way round.
Wet-area responsibilities
The waterproofing and substrate must be accepted before stone installation begins. Use an adhesive compatible with light natural stone, coordinate falls and drainage, and keep movement joints in the installation design rather than sealing over them. Sealing helps manage absorption but does not prevent acid etching: marble is calcium carbonate, and lemon, limescale remover or some shampoos will dull a polished patch. Avoid acidic descalers, clean with a pH-neutral product, and wipe coloured cosmetics promptly. A honed finish hides etching better; a polished finish shows it more but is easier to re-polish locally.
Designer-to-installer hand-off checklist
- Actual batch or slab reference and approved visual hierarchy.
- Elevation and floor layout with all fittings located.
- Dimensions shown in both inches and millimetres.
- Finish, grout colour, joint width and seal treatment sample.
- Piece numbers and orientation marks on every panel.
- Owner care note that distinguishes sealing from acid resistance.
Coordinate the dispute points early
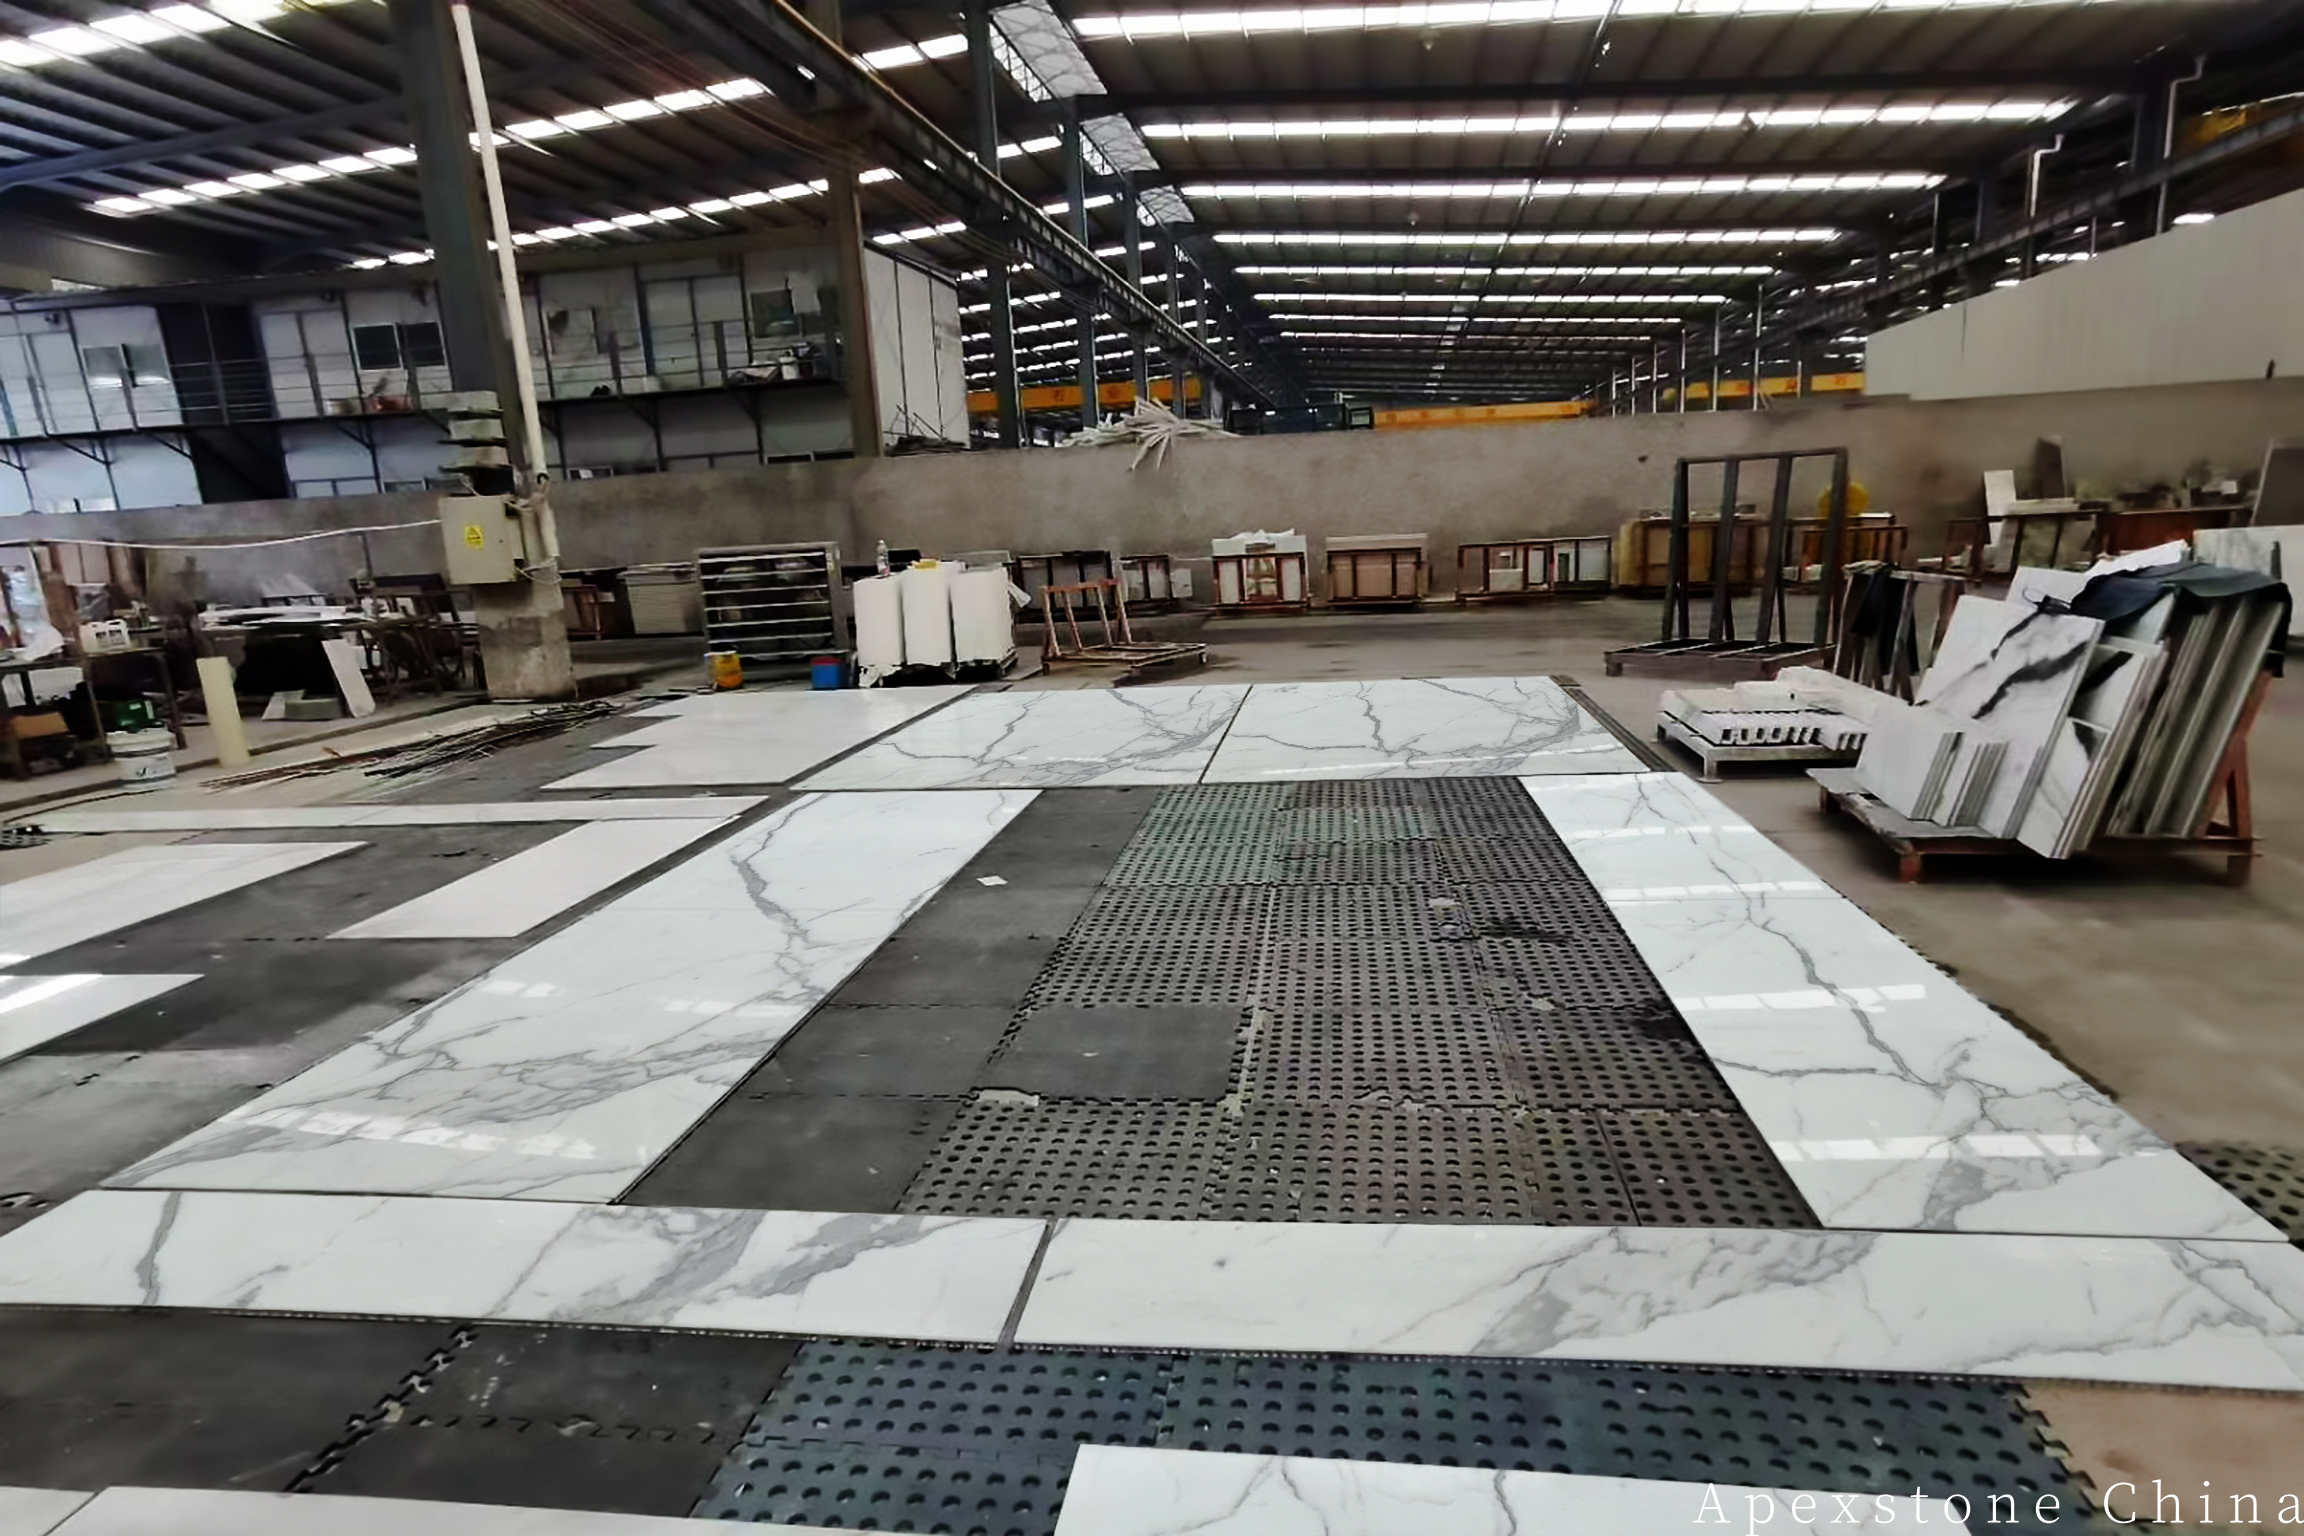
Most bathroom stone disputes are not about the stone at all. They start when the shop drawing, the substrate and the actual openings disagree. The workshop can document the selected batch, shop drawings and piece sequence; the site team confirms waterproofing, falls and real dimensions. When those records agree before cutting, natural variation remains a design feature instead of becoming a hand-over argument. Ask for a batch-specific layout rather than approving from a small sample alone, and keep one person responsible for matching the drawing to the room.
Build the bathroom around actual stone and actual fittings
Share the room elevation, fitting schedule, target finish and the surface that should carry the strongest vein. A bathroom planned this way ages well: the stone keeps its pattern, the fittings stay serviceable, and the care routine stays realistic for the people who actually use the room.
Material in view
Three bathroom details worth putting on the review board
Use these alongside the elevation: they show how the vanity, mirror and patterned wall change the stone scale.