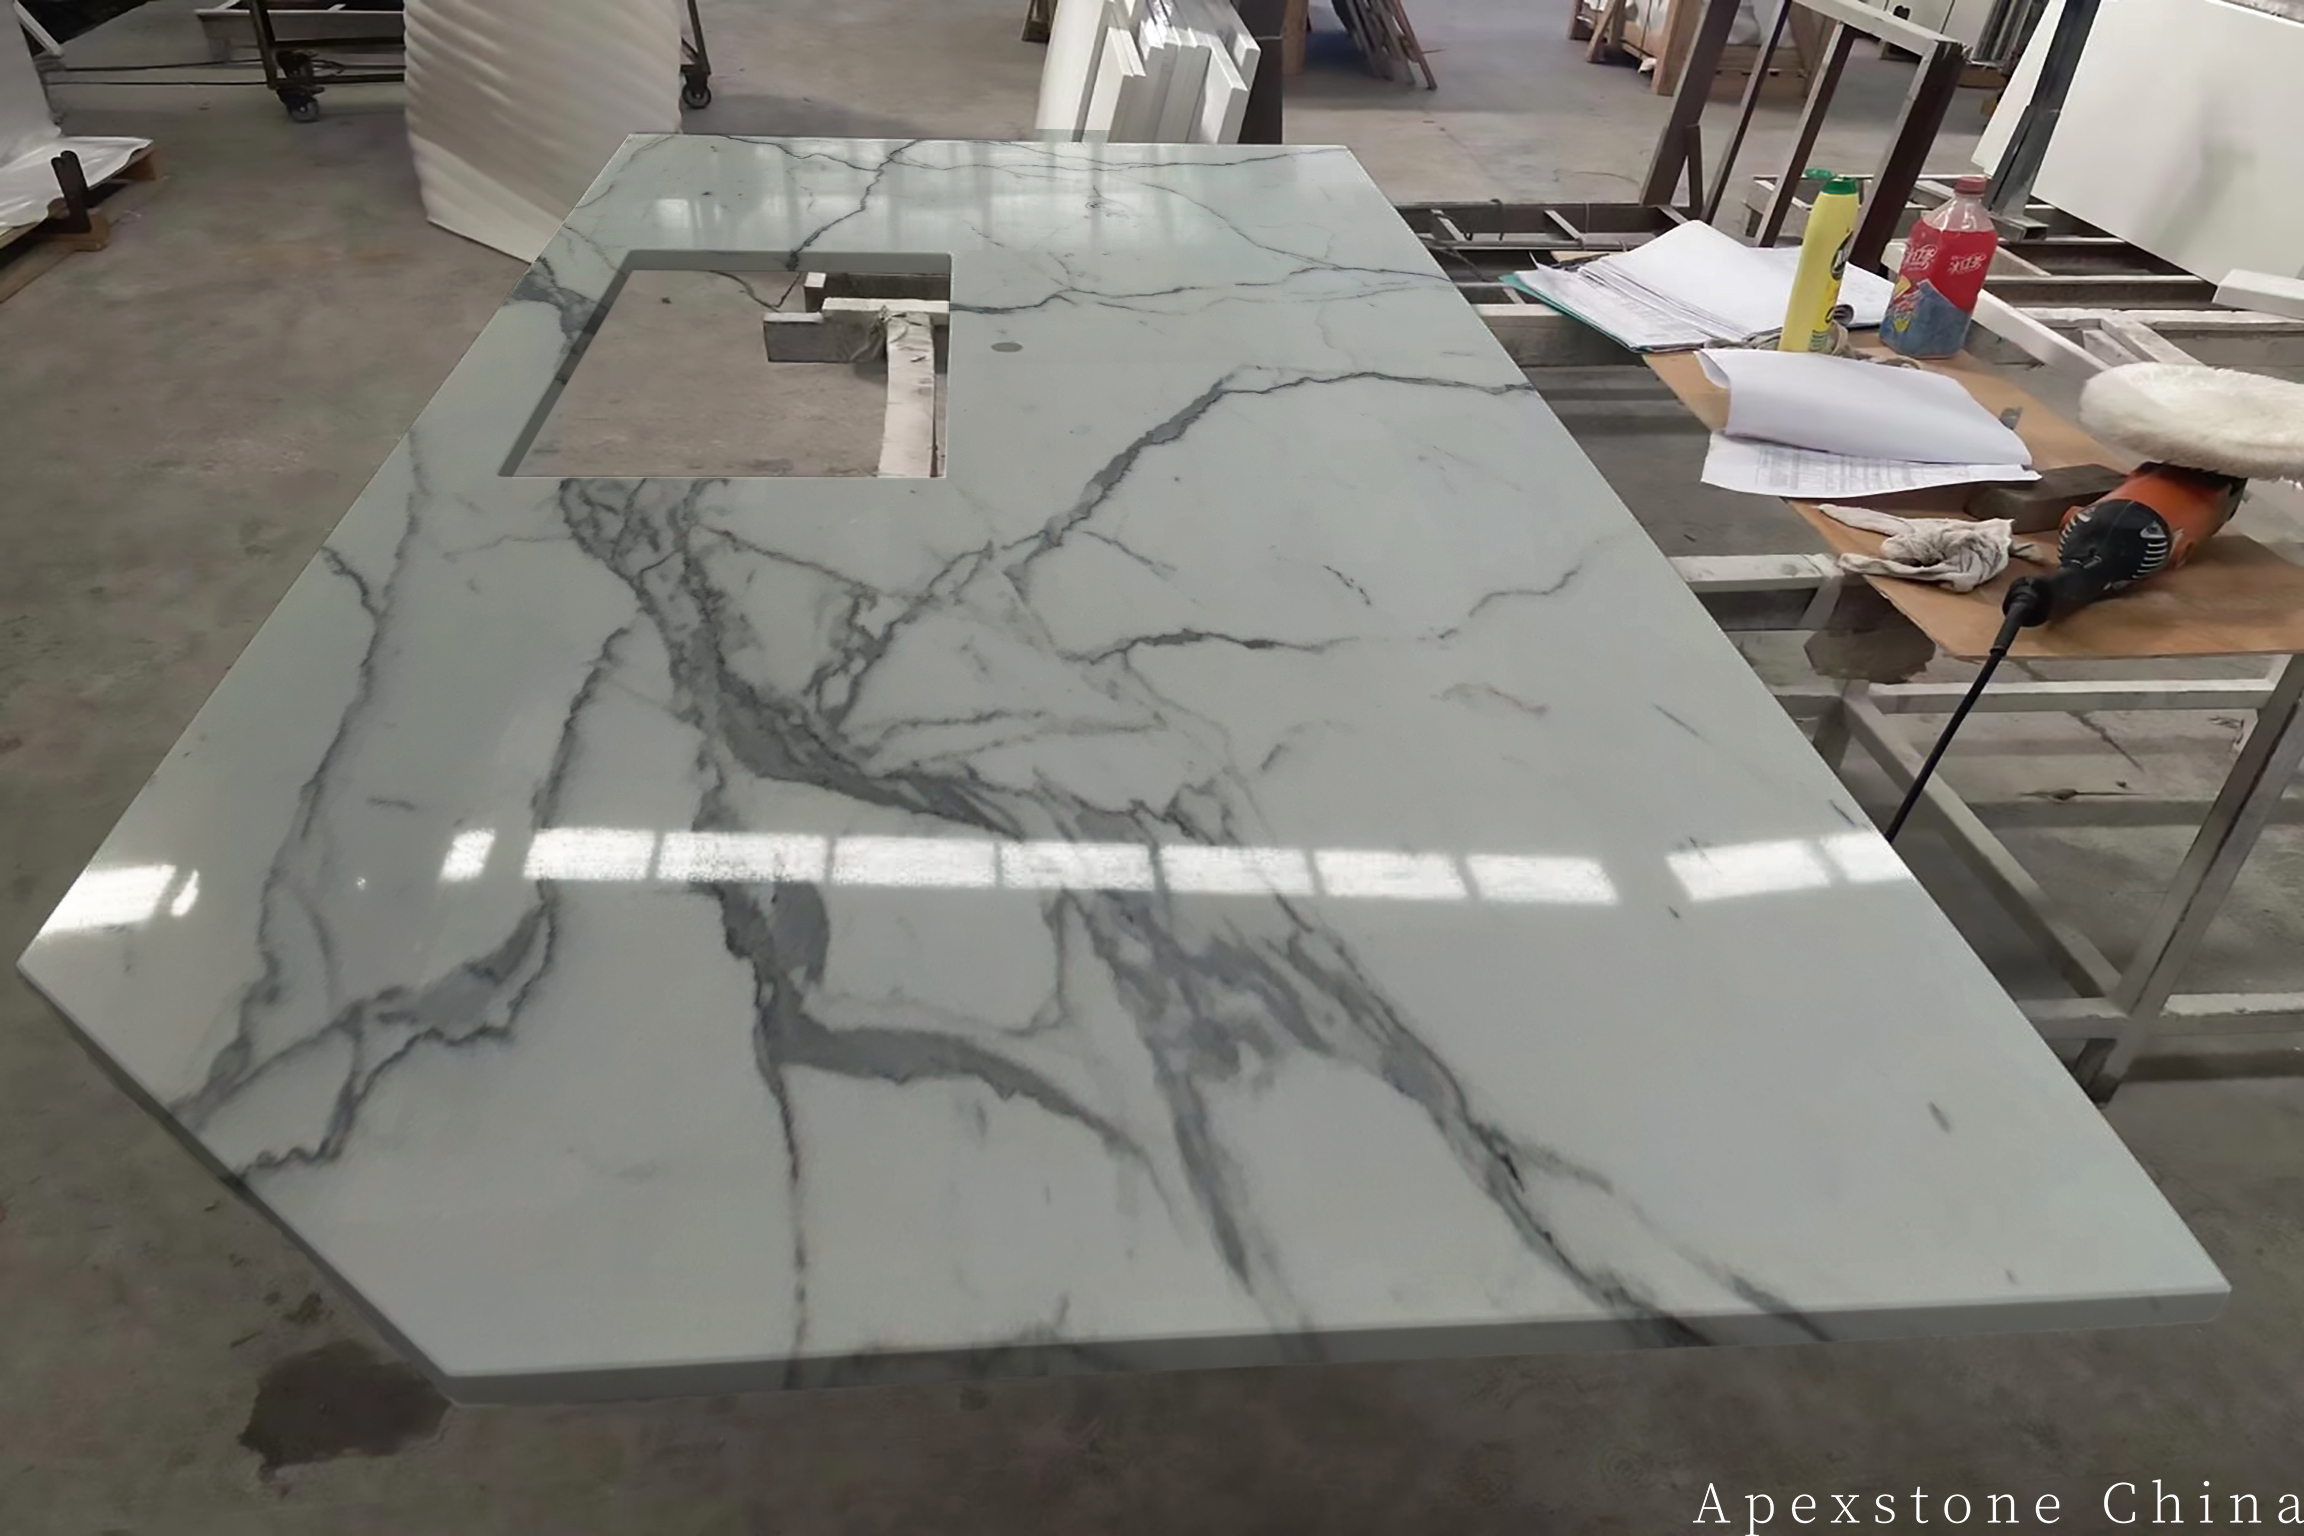
Apexstone material brief
Calacatta White Marble Countertops & Islands
Most white countertop materials start from a colour chip. Calacatta White starts from a single block of stone. Its snow-white ground carries only a few grey veins, but each one has presence, and no two slabs repeat them. On a large, mostly empty plane such as a kitchen island, that veining is the only thing that moves — which is why the stone is usually chosen first and the cabinetry planned around it, not the other way round.
What Calacatta White actually is
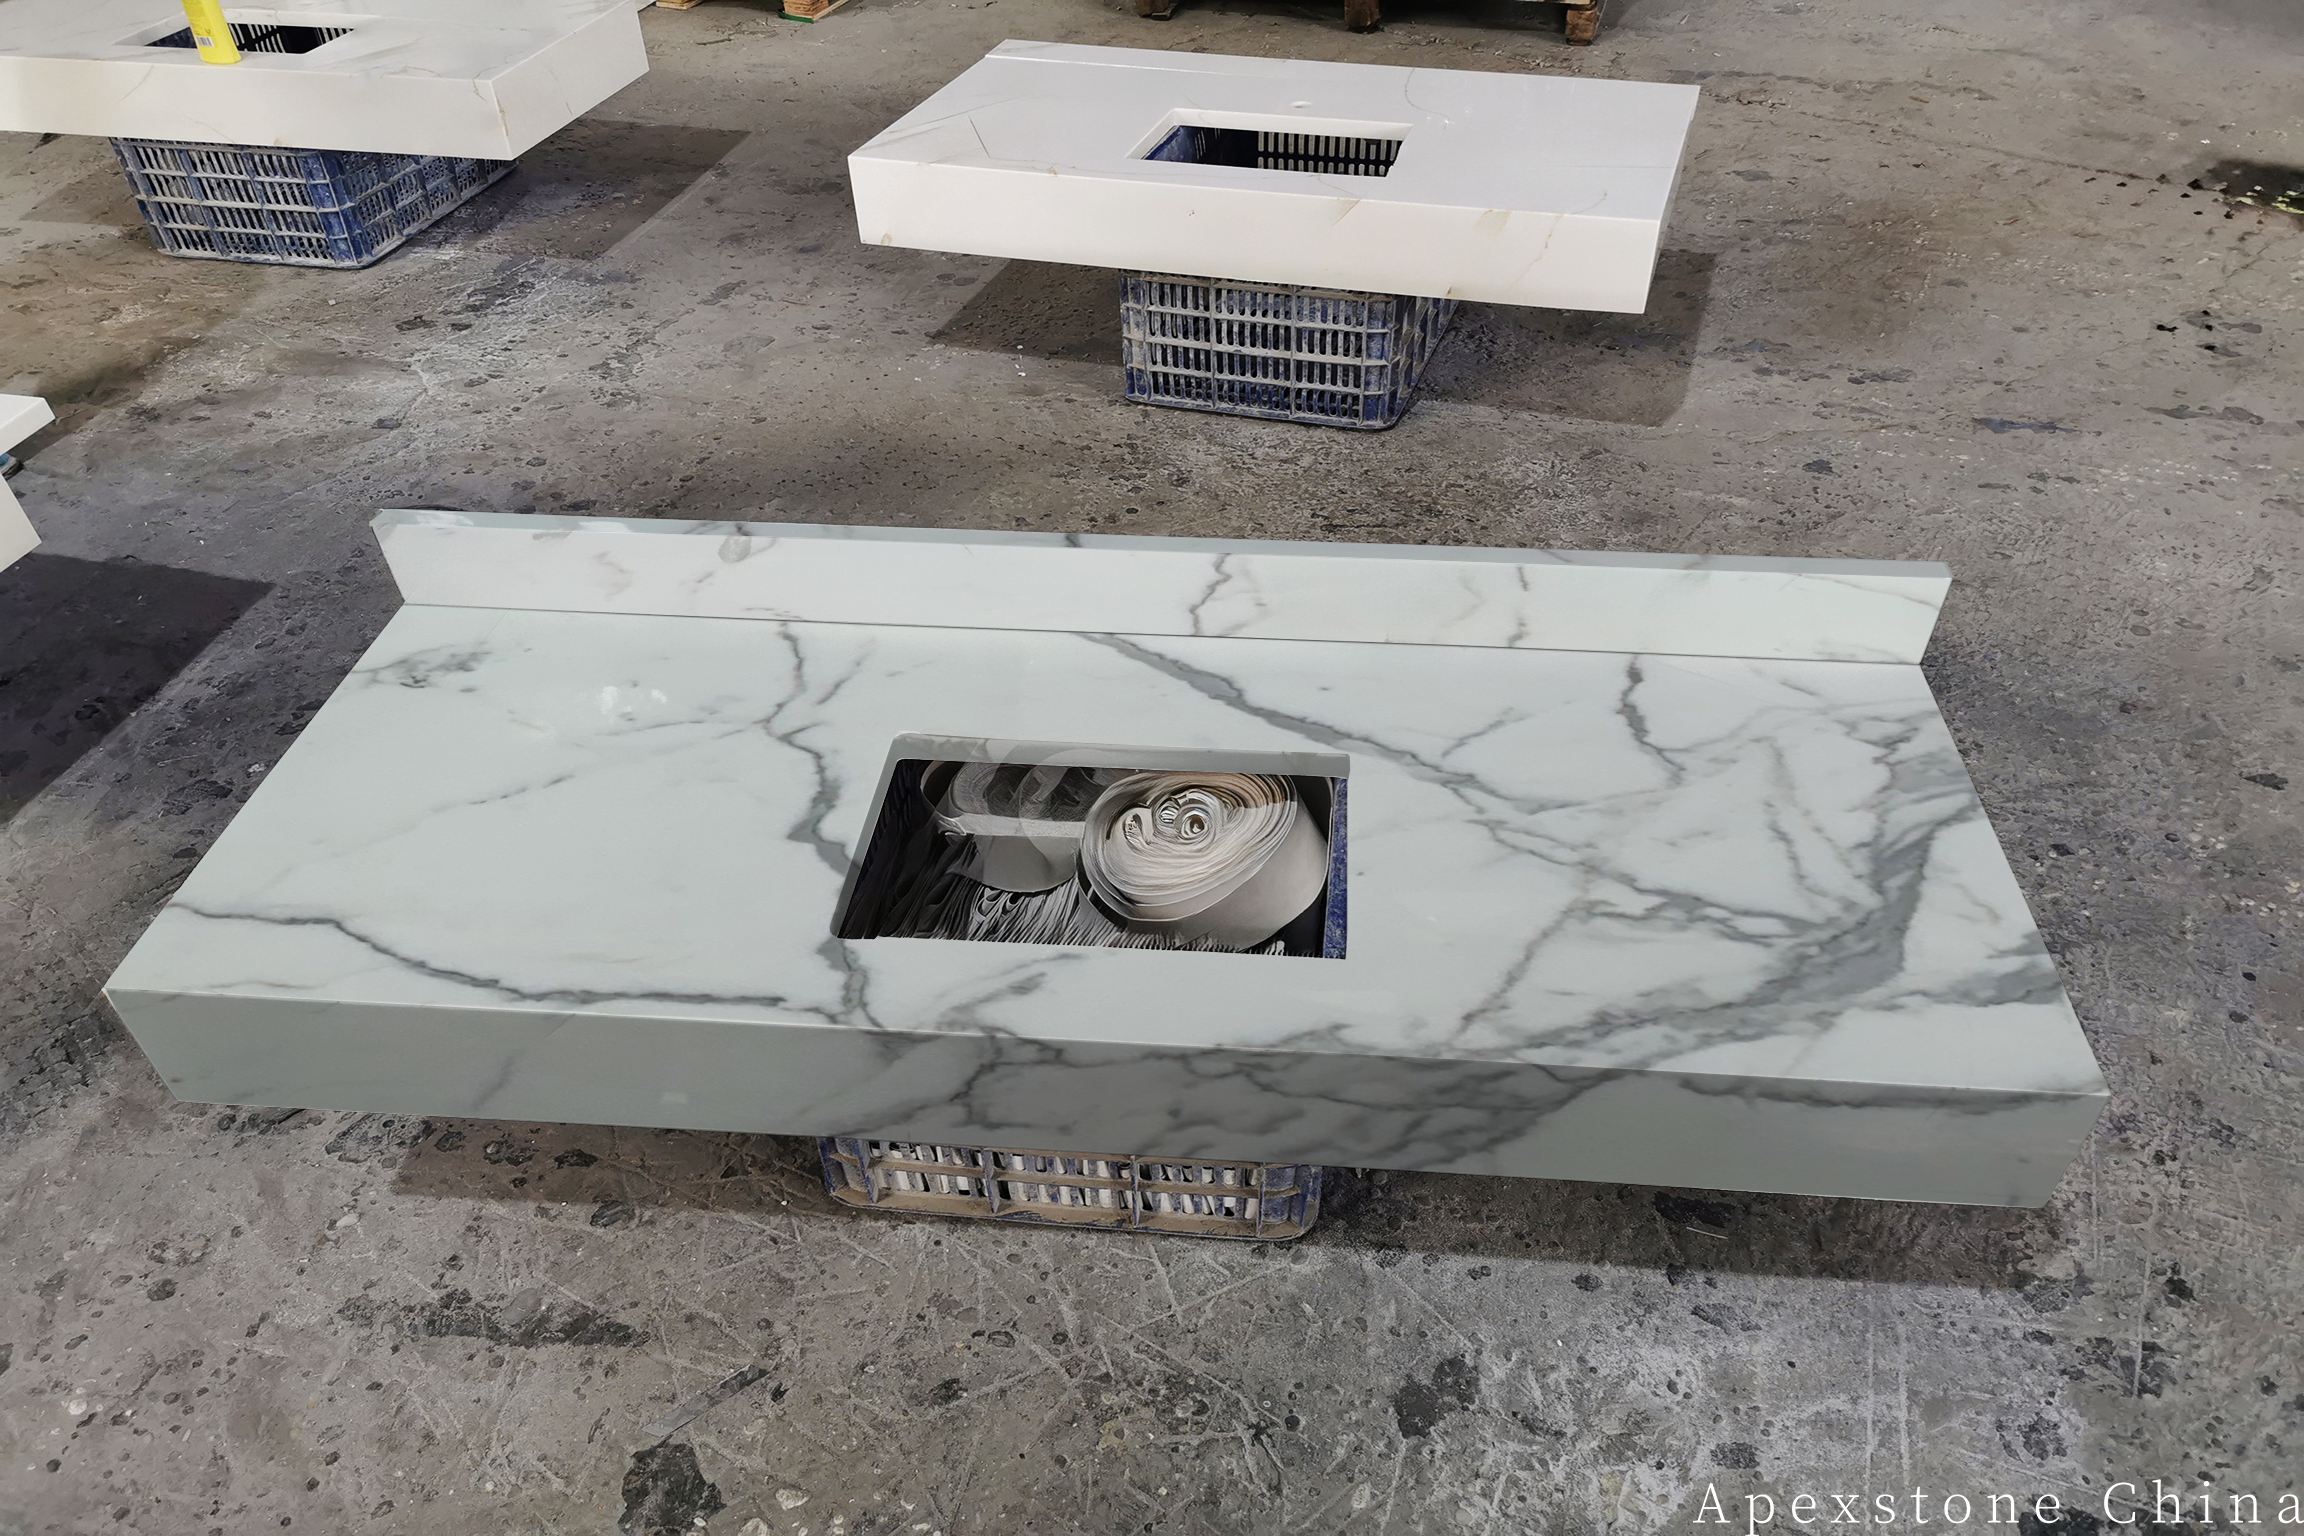
Calacatta White (鱼肚白) is a natural marble quarried in Italy, composed mainly of calcite — the same mineral that gives marble its cool touch and its ability to take a near-mirror polish. It is often confused with Carrara, and the difference matters when you specify. Carrara carries dense, feathery, low-contrast grey veining; Calacatta carries fewer, bolder veins over a whiter ground, which is also why sound blocks are scarcer and priced accordingly. Because the pattern is geological rather than printed, a showroom sample tells you almost nothing: the only reliable reference is the image of the actual slabs a project will be cut from.
Marble as a working surface — the honest picture
A polished Calacatta top feels cool and smooth, which is one reason bakers and cooks traditionally like marble work surfaces. It is also a calcite stone, and calcite reacts with acid. Lemon, vinegar, wine and tomato can leave dull spots — etching — on a polished surface. Etching is not a stain and cannot be wiped away; it is the polish itself being subtly changed. A sealer slows absorption of water and oil but does not make marble acid-proof, and anyone who promises otherwise is selling a maintenance schedule the stone cannot keep.
The fair counterweight is repairability. Etch marks, scratches and worn patches on marble can be re-honed and re-polished years later, restoring the surface rather than replacing the top. Engineered quartz, which resists acid better, cannot be resurfaced at all — a deep scratch or burn is permanent. So the real choice is between a material that forgives acids but not damage, and one that forgives damage but not acids. Households that cook heavily and wipe promptly are usually happier with marble than they expect; households that want the surface to look identical in year ten should weigh the decision carefully.
Designing with the veining
On a long run, vein direction decides whether the counter reads as calm or busy. Veins running with the length of the run stretch the kitchen visually; veins running across it chop the surface into segments. Where the top turns down a waterfall leg, the vein can be made to turn the corner with it — a three-dimensional joint that only works if the slab has enough patterned area in the right place, which is exactly what the layout drawing is for.
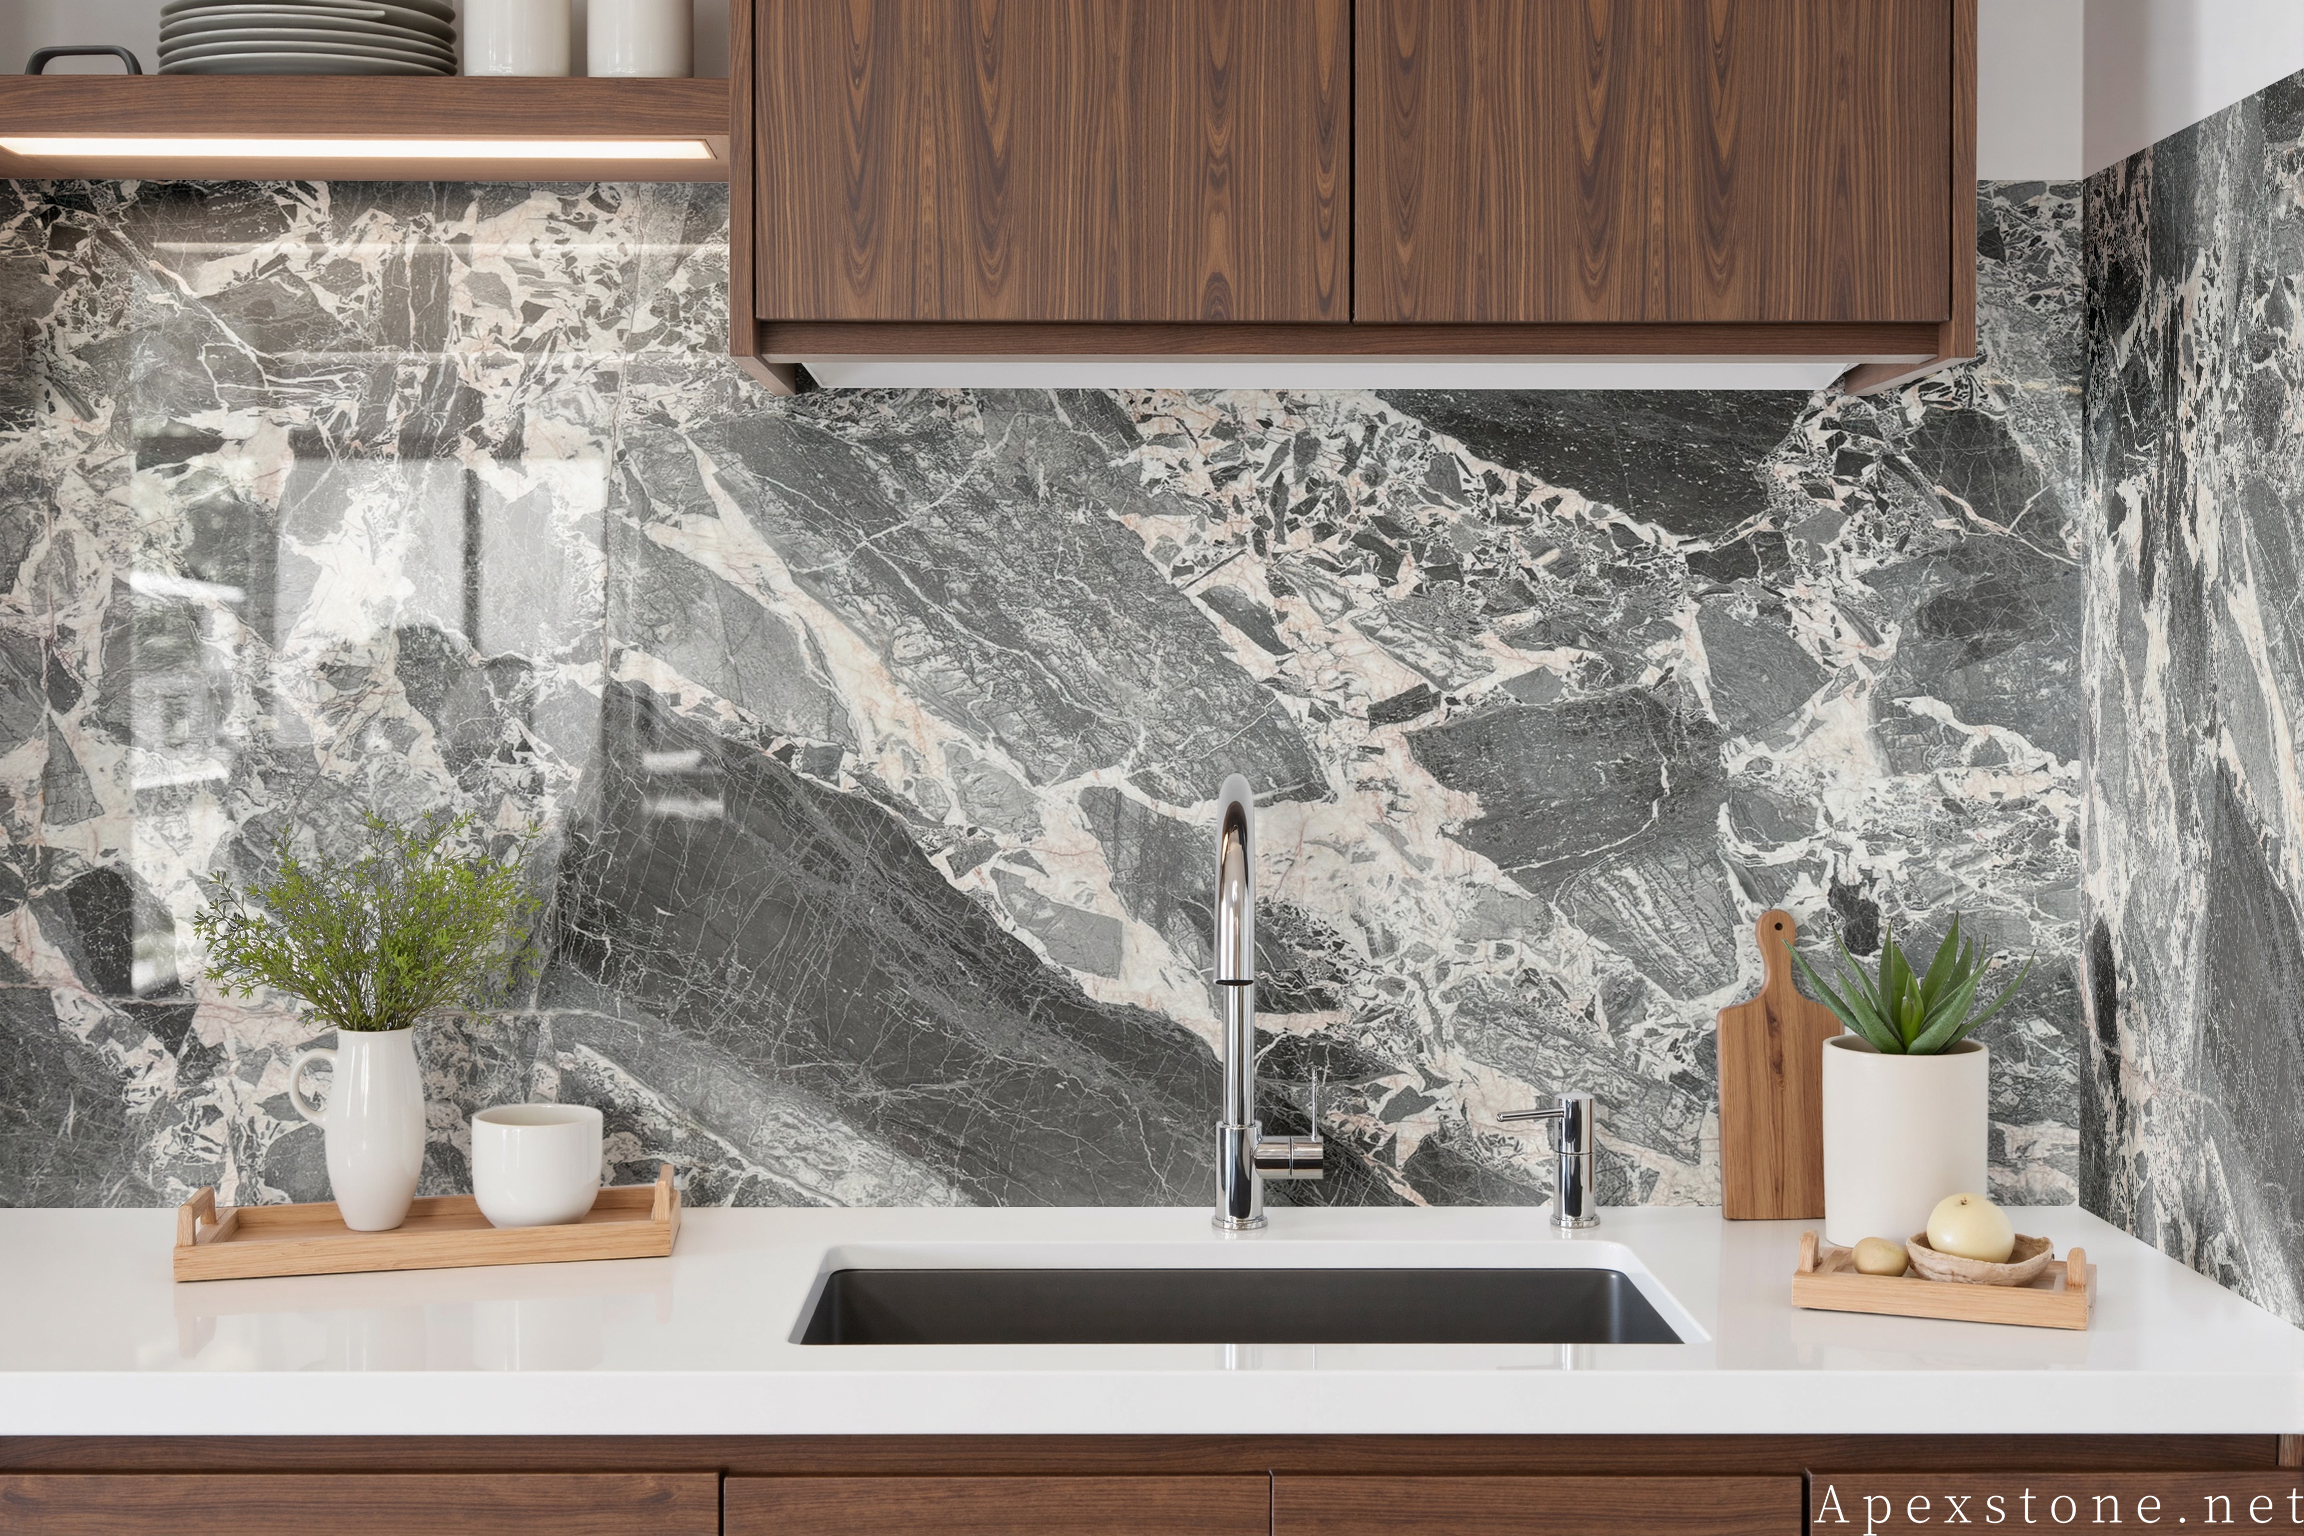
Reference thicknesses are 20 mm (about 3/4 in) and 30 mm (about 1-1/4 in). A 20 mm top with a mitred build-up gives the deep, monolithic edge seen in most published kitchens without the weight and cost of solid 50 mm (2 in) stock; the build-up joint is placed on the edge return where it is invisible from above. Edge profiles follow the same logic: an eased edge keeps the modern, thin look, a small bullnose softens corners where children are around, and anything more decorative tends to fight with the veining rather than frame it. Against dark cabinetry the stone reads as jewellery; against pale oak or matte white fronts it becomes the quiet focal point of an open-plan room.
How a countertop set is actually planned
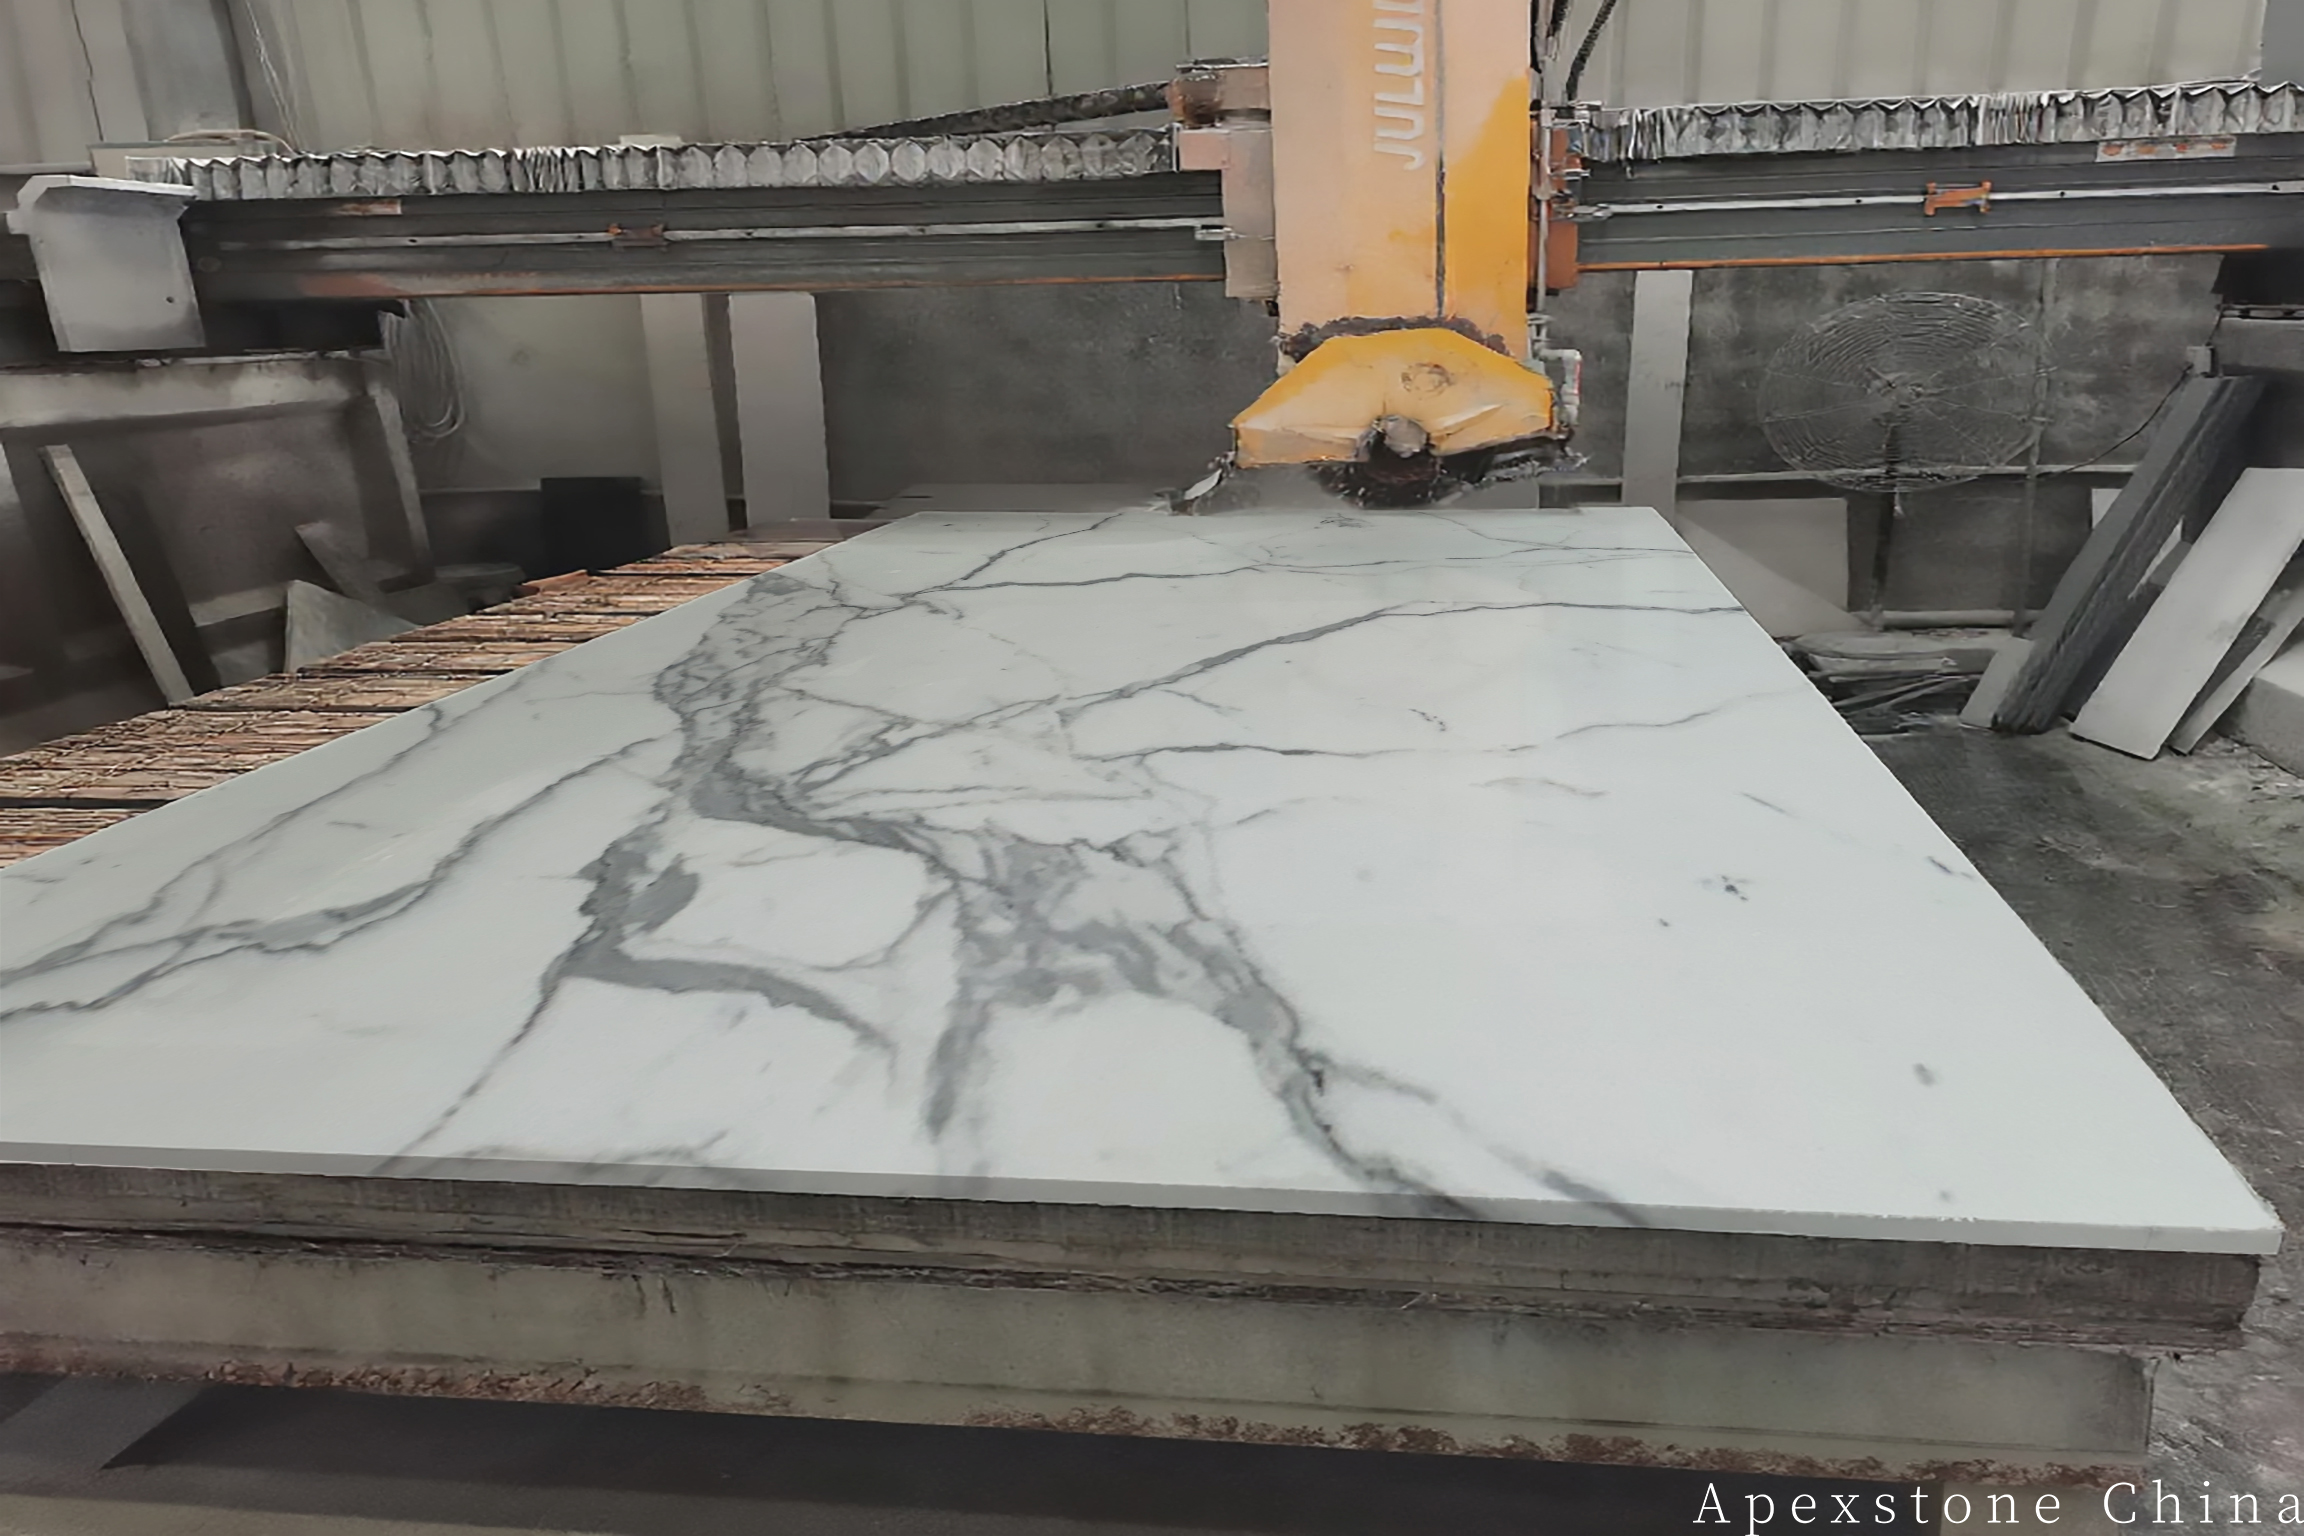
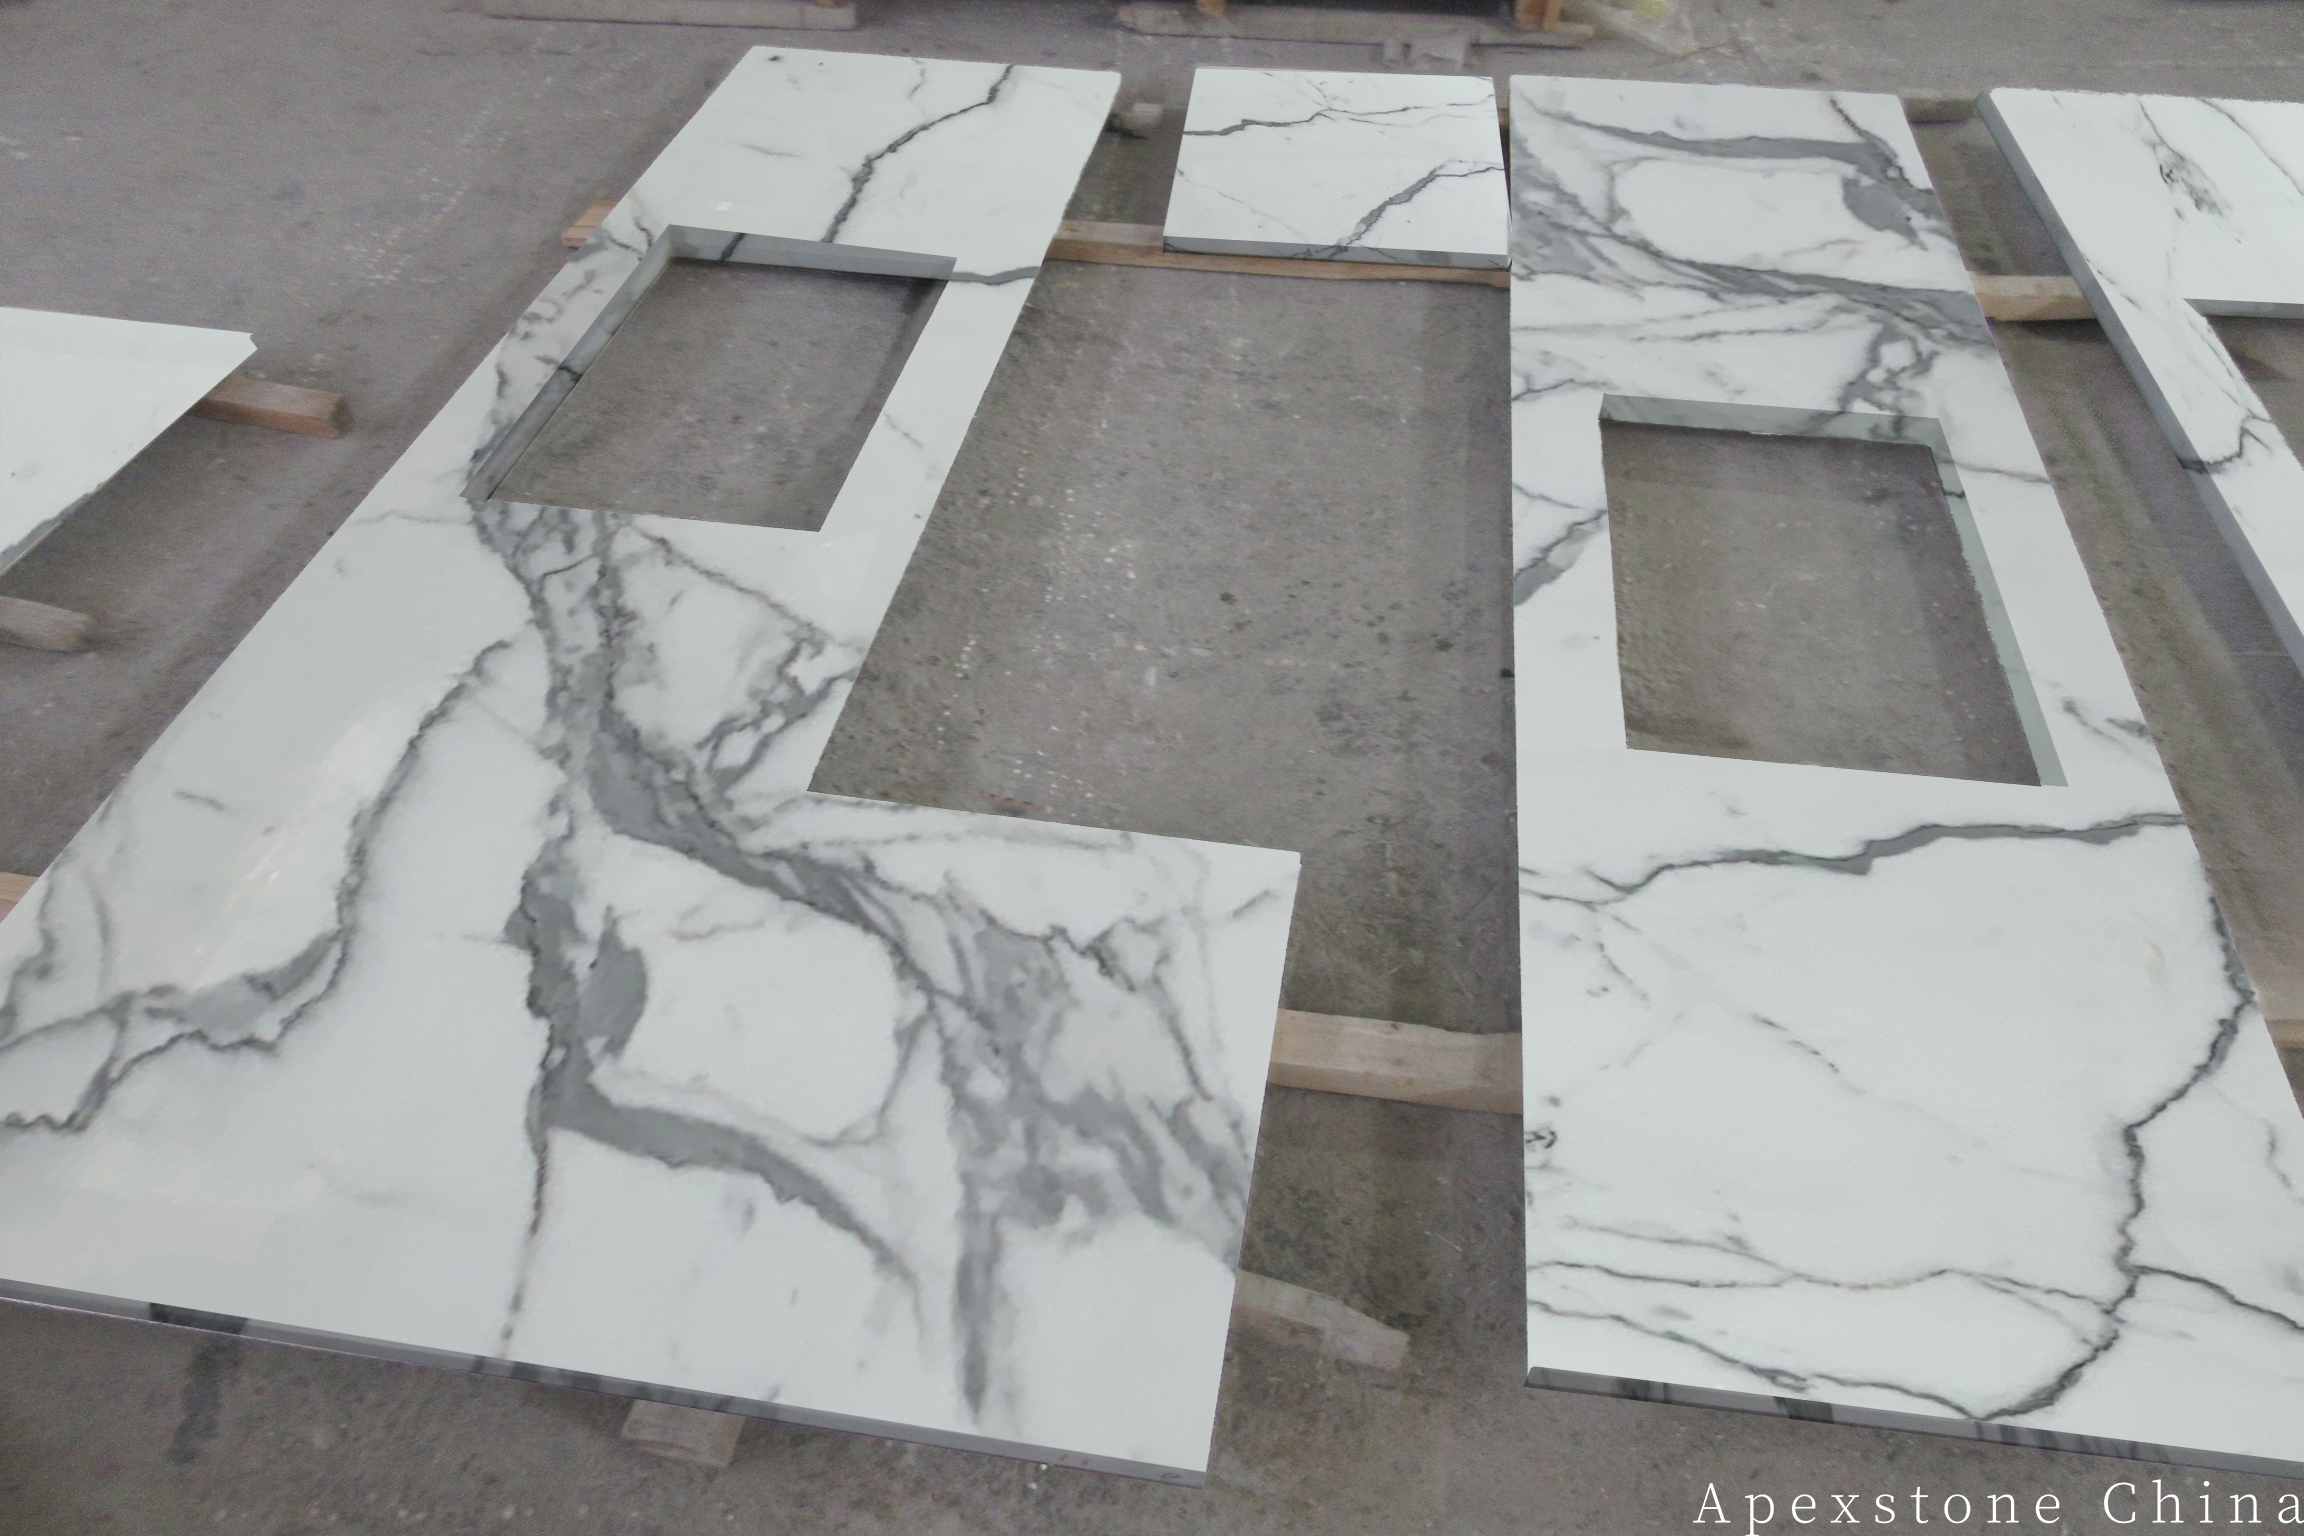
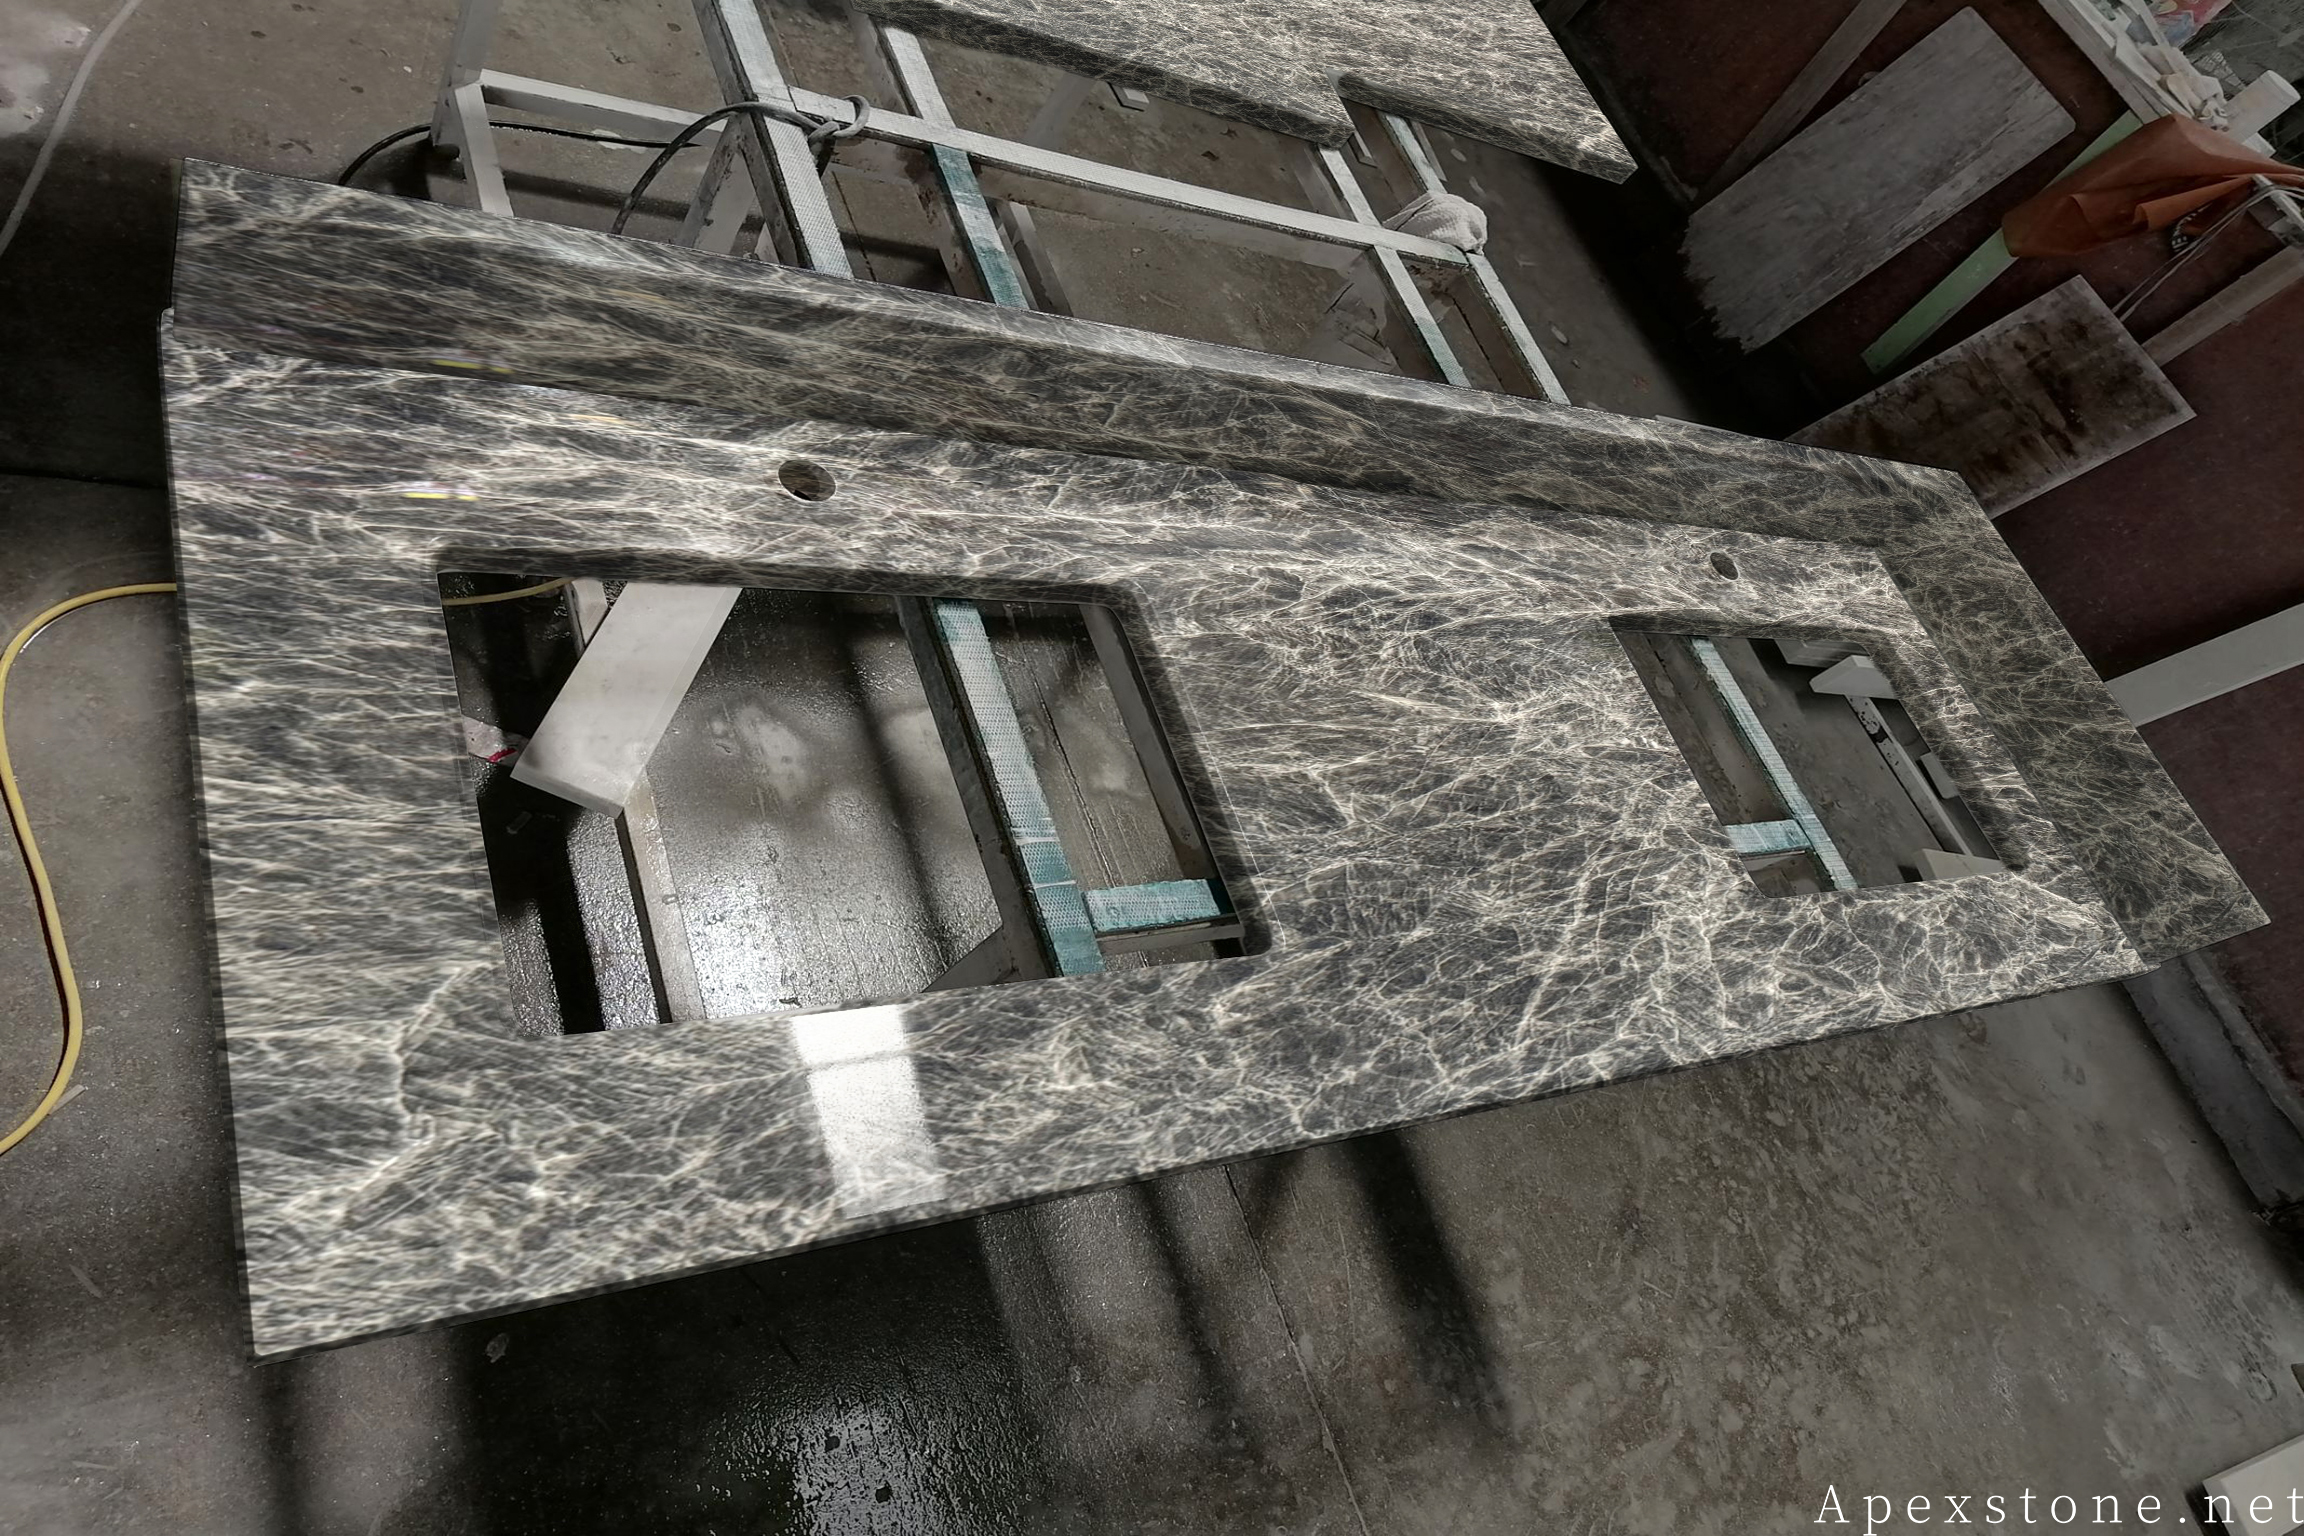
Fabrication starts with nesting — placing every piece of the set onto the images of the actual slabs before anything is cut. The island is positioned first, because it is both the visual centre and the largest single piece; companion areas are then reserved for waterfall legs or a full-height backsplash, and only after that do the smaller perimeter pieces take what remains. Strong veins are kept away from the narrow stone rail in front of an undermount sink, the most fragile zone of any top, unless the rail has been widened and the placement accepted on the drawing.
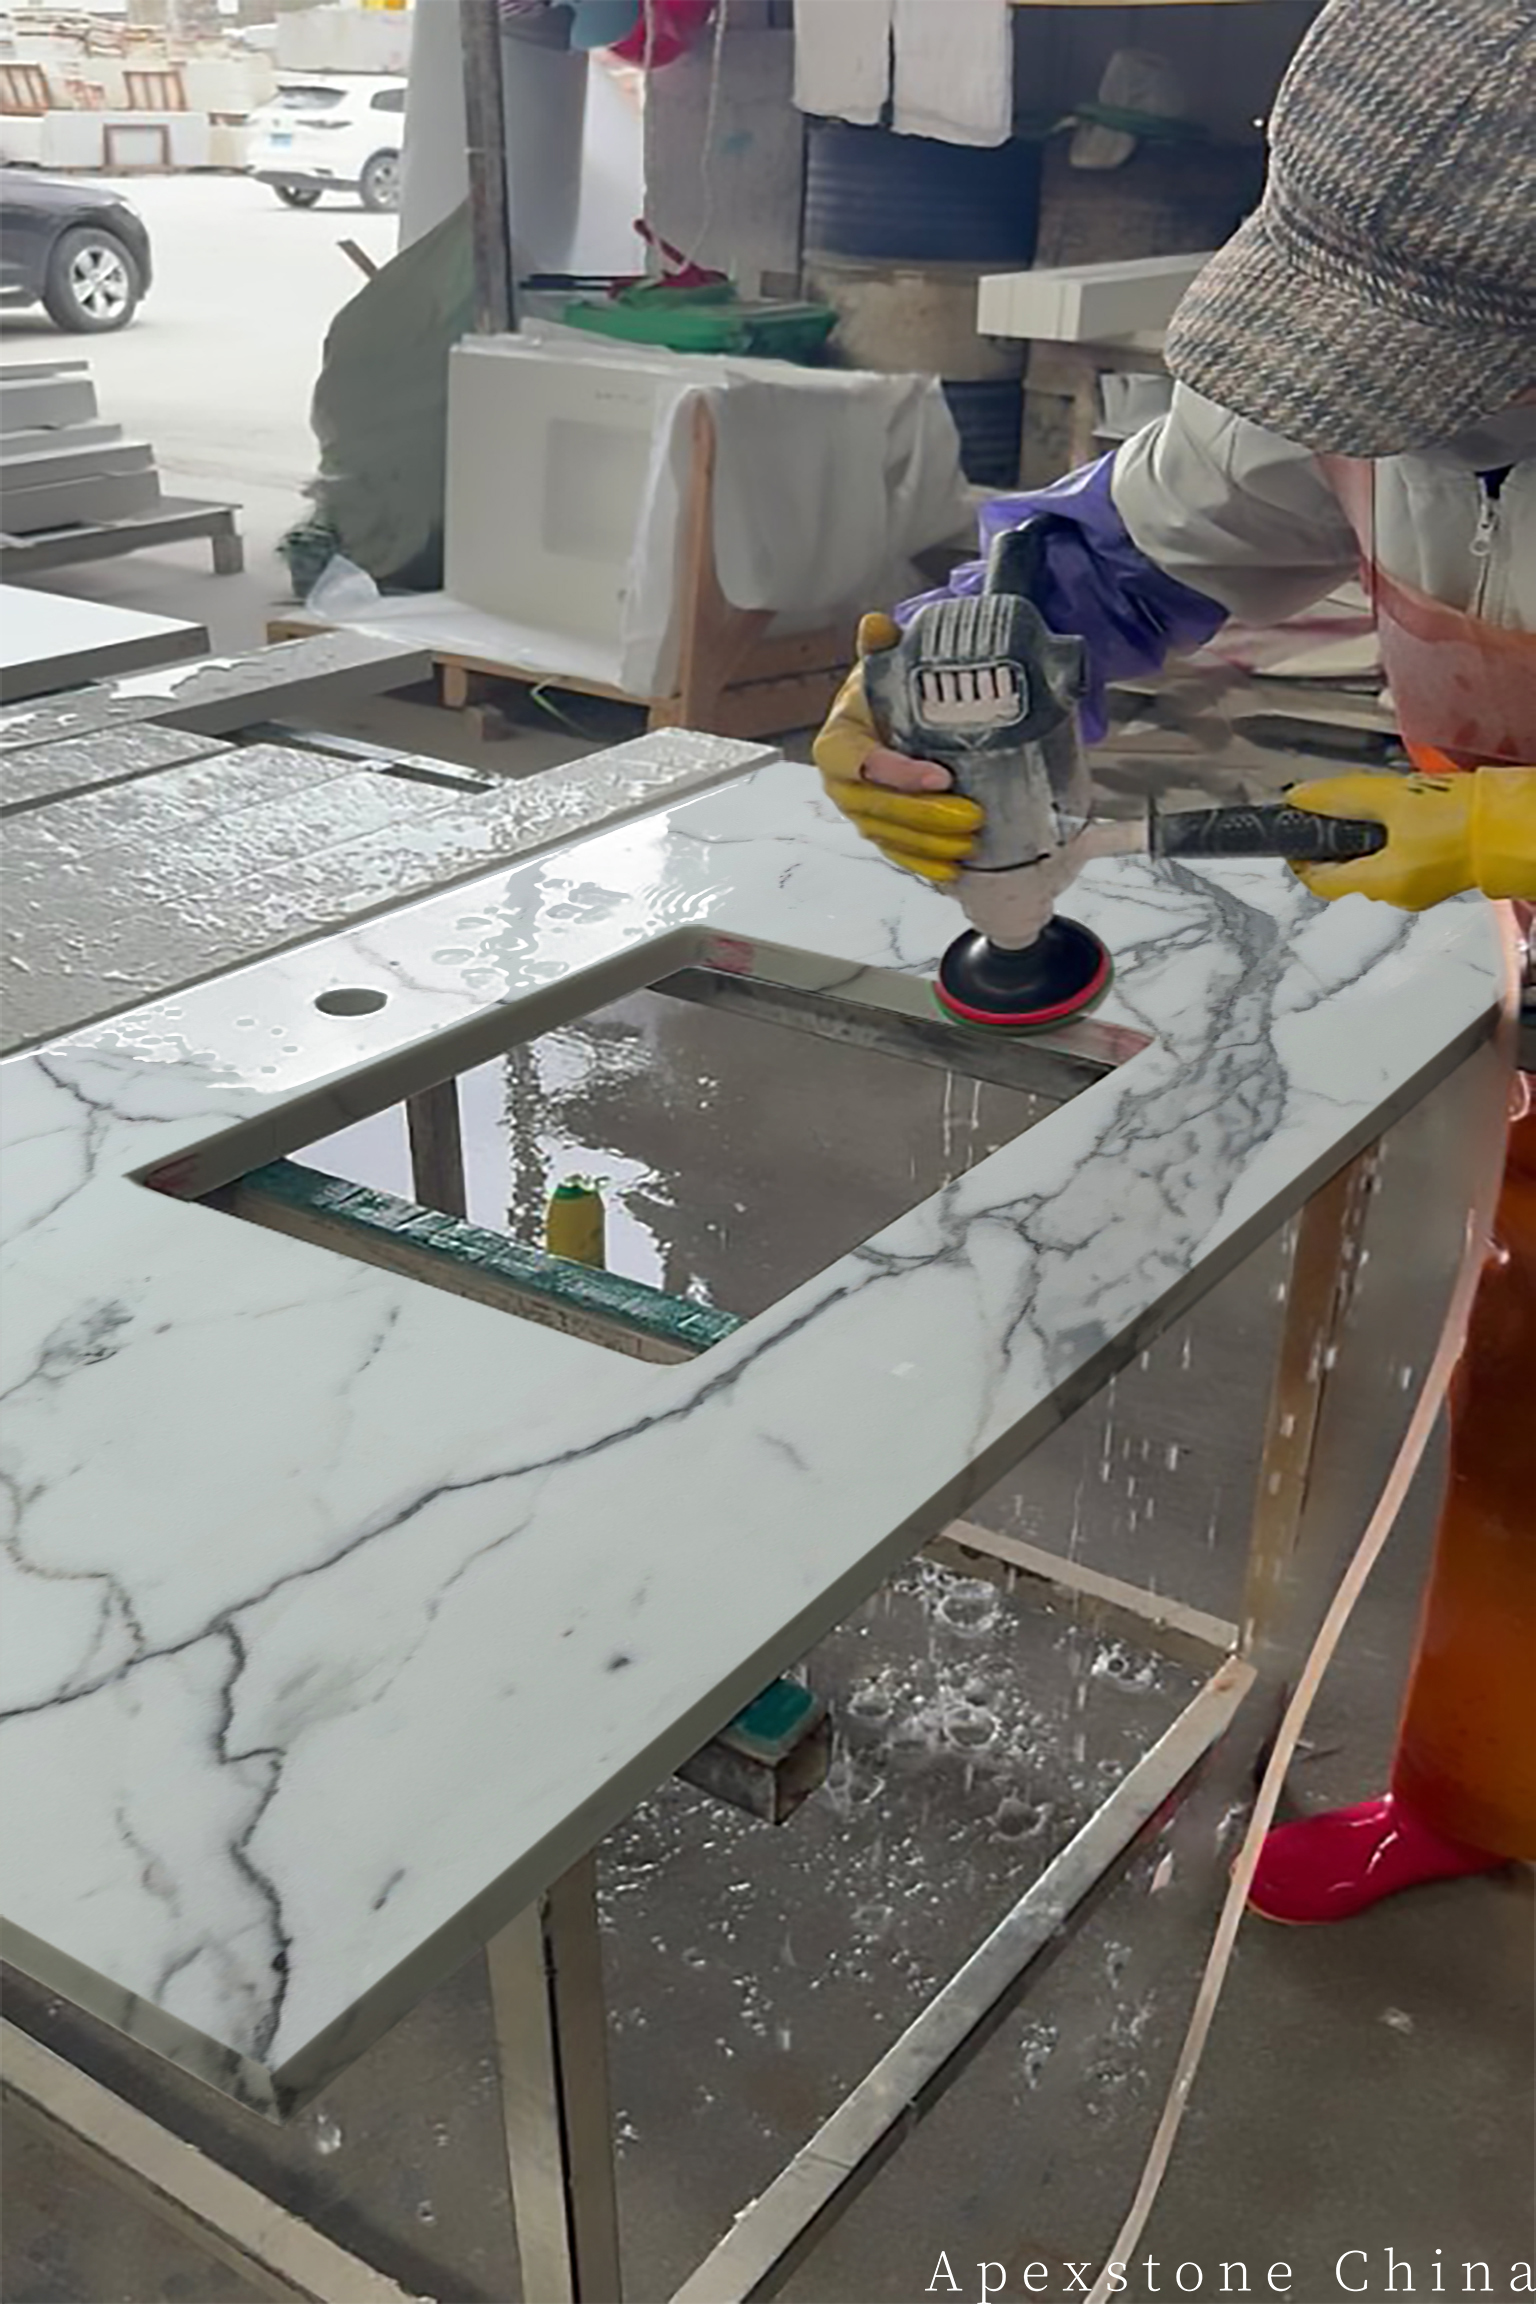
Every cut-out — sink, cooktop, tap centres, drainer grooves, corner radii — is machined to the manufacturer's template on CNC equipment, and the drawing is frozen before cutting. The reason is unforgiving arithmetic: a change after cutting can shift a seam or leave too little stone at a narrow rail, and marble cannot be stretched back. This is also why a layout drawn on the real slab, sent for approval before the saw runs, is worth more than any sample — the veining you approve is the veining that arrives. When cutting, finishing, inspection and packing stay inside one workshop, the numbered pieces that leave it are the same pieces the layout promised, and any question on site has one place to go rather than three.
What arrives on site
Pieces are labelled in installation order and packed face-to-face with the polished surfaces protected, so the set can be checked against the numbered layout as it is unpacked. Walls are rarely perfectly square, which is why wall-side edges carry a small scribe allowance for the installer to trim against the actual wall line. Undermount sinks are fixed to the stone before the top is set, and the tap hole centres should be confirmed against the actual tap body, not just its datasheet — a five-minute check that has saved more tops than any other single habit.
Living with Calacatta White
Day-to-day care is simple: a pH-neutral cleaner, boards for chopping, trivets for hot pans, and prompt wiping of wine, citrus and oil. Sealing is a cycle rather than an event — how often depends on use, and a drop of water left on the surface that darkens it within minutes is the usual signal that a new coat is due. Some owners choose a honed finish precisely because etching shows less on a matte surface; others embrace the patina a working kitchen earns. Both are legitimate answers. The only wrong answer is buying natural marble while expecting engineered-stone behaviour.
Specifying it
Send the cabinet plan, the sink and appliance models, preferred thickness and finish, and the destination port. The set comes back as a layout on the actual slab images, with every seam, cut-out and vein direction resolved on paper before the first cut — the cheapest possible place to change your mind.
Material in view
From slab to set, in four frames
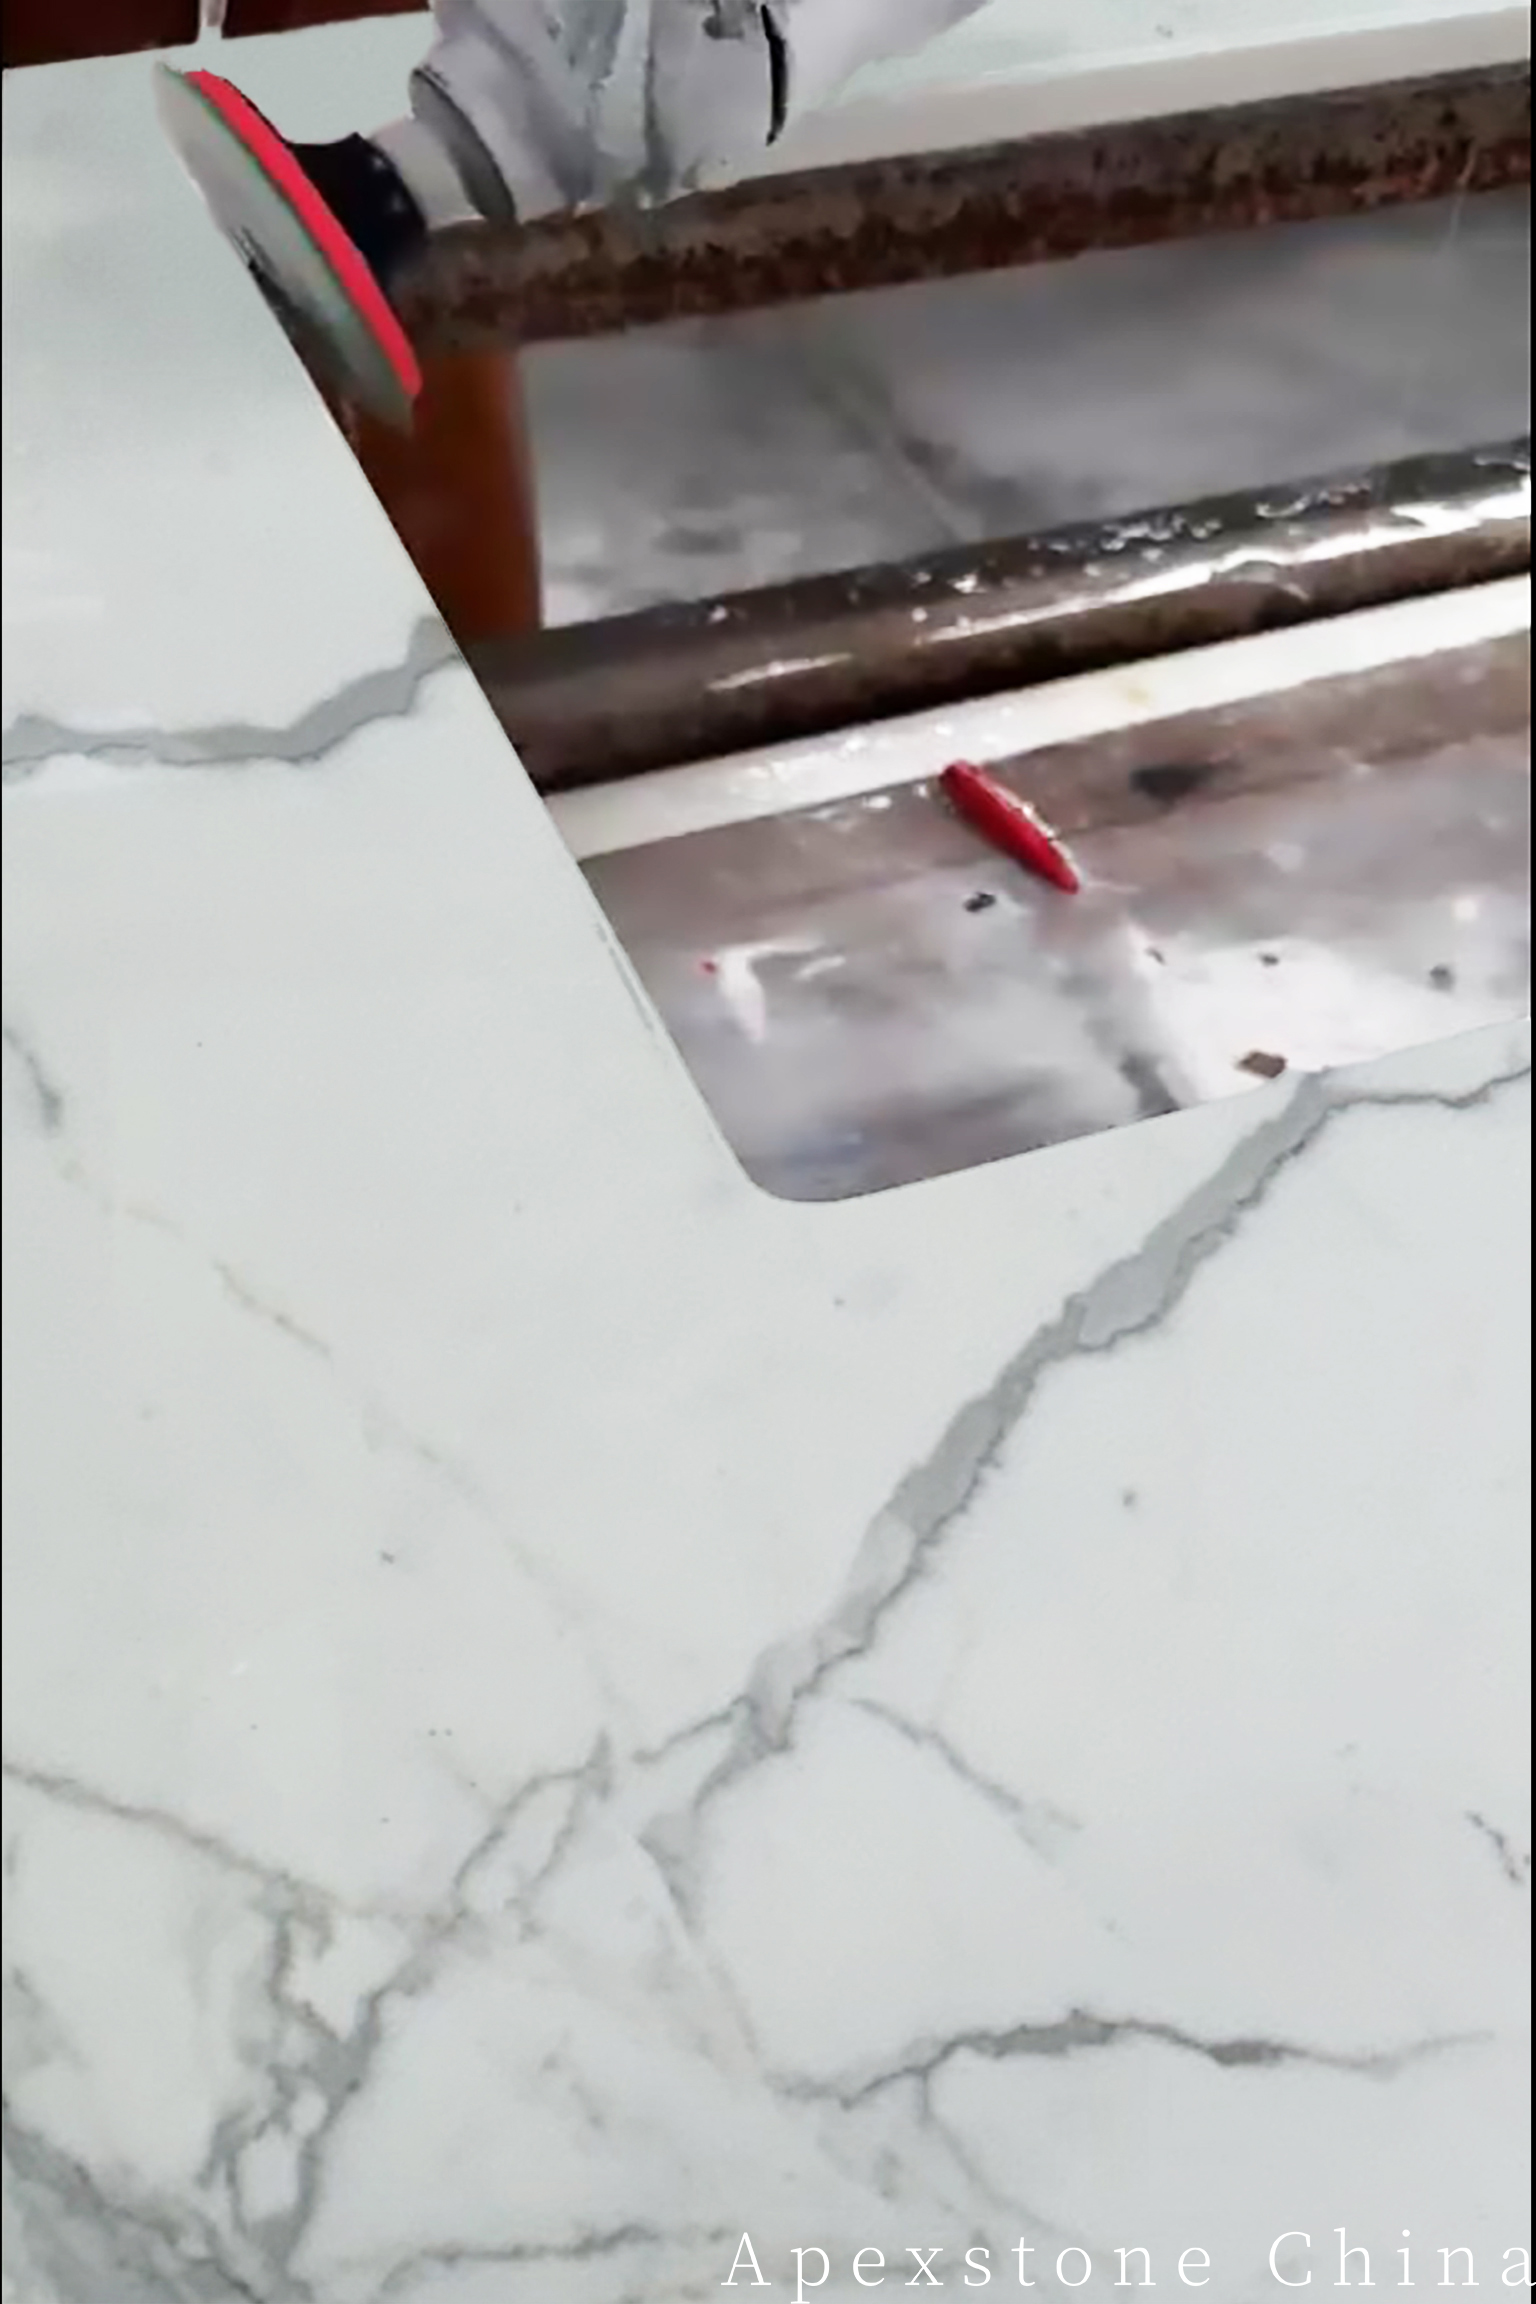
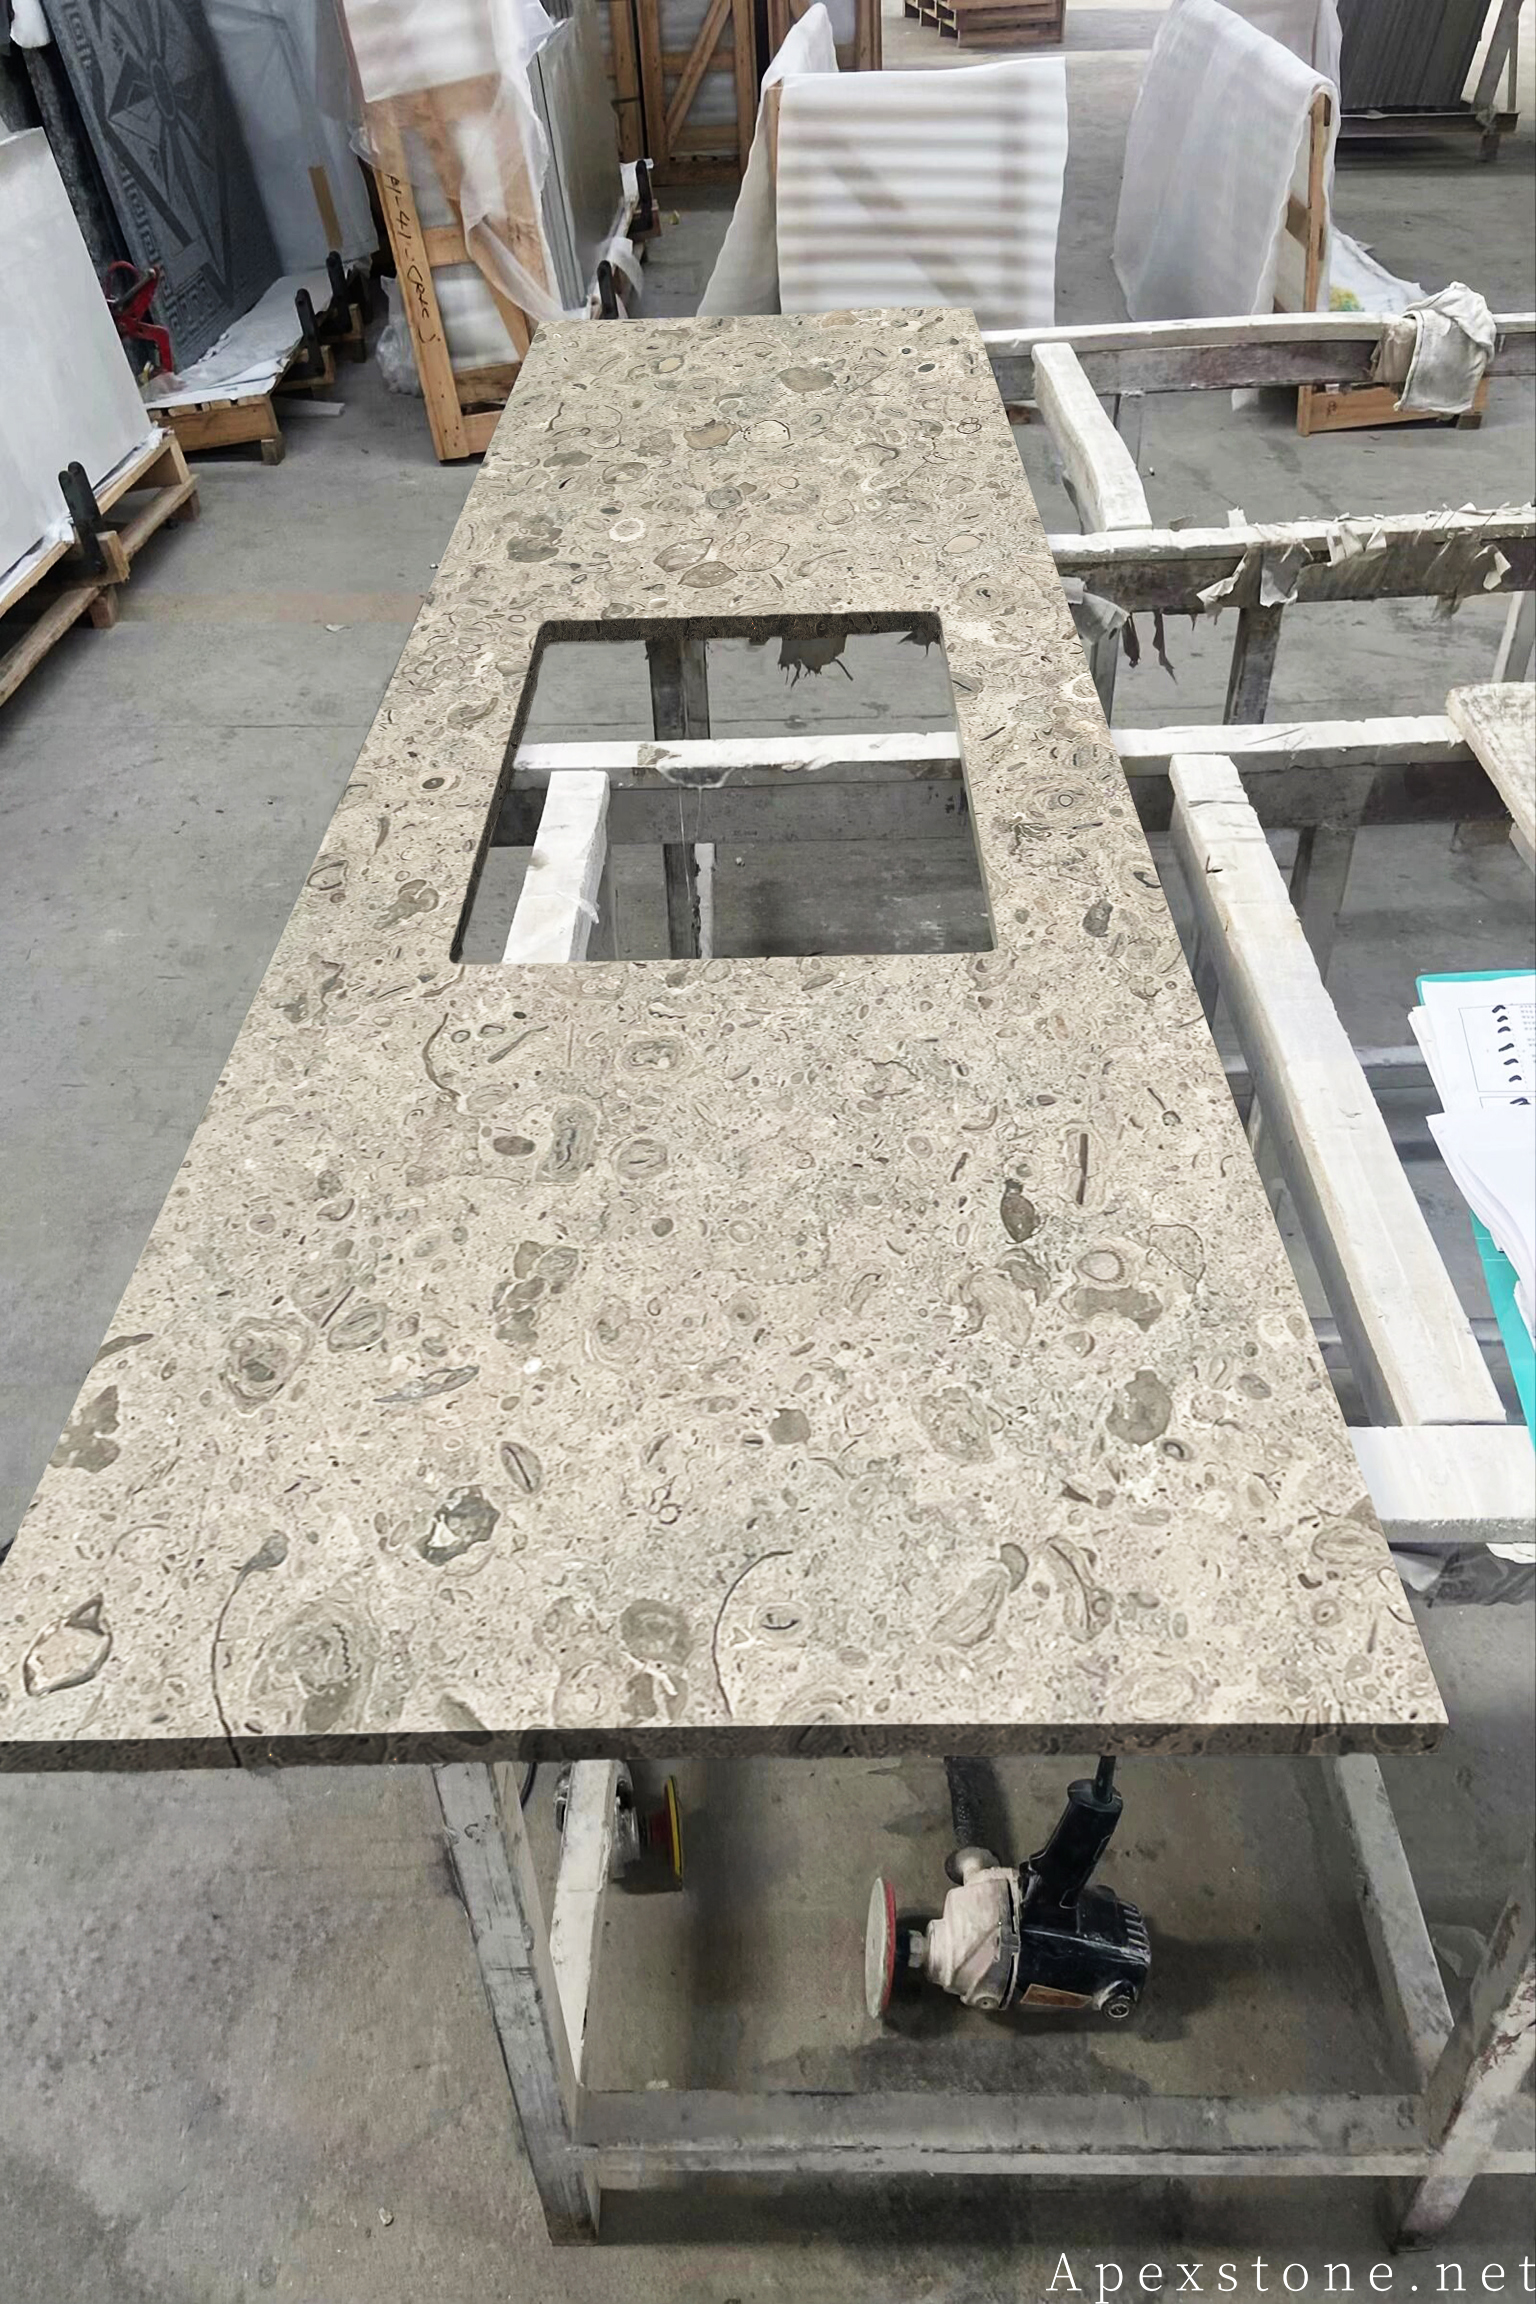
The approved layout survives fabrication only if each stage respects it: the saw follows the nesting, the CNC follows the templates, the polisher follows the edge drawing, and the final check compares the finished set against the numbered plan.