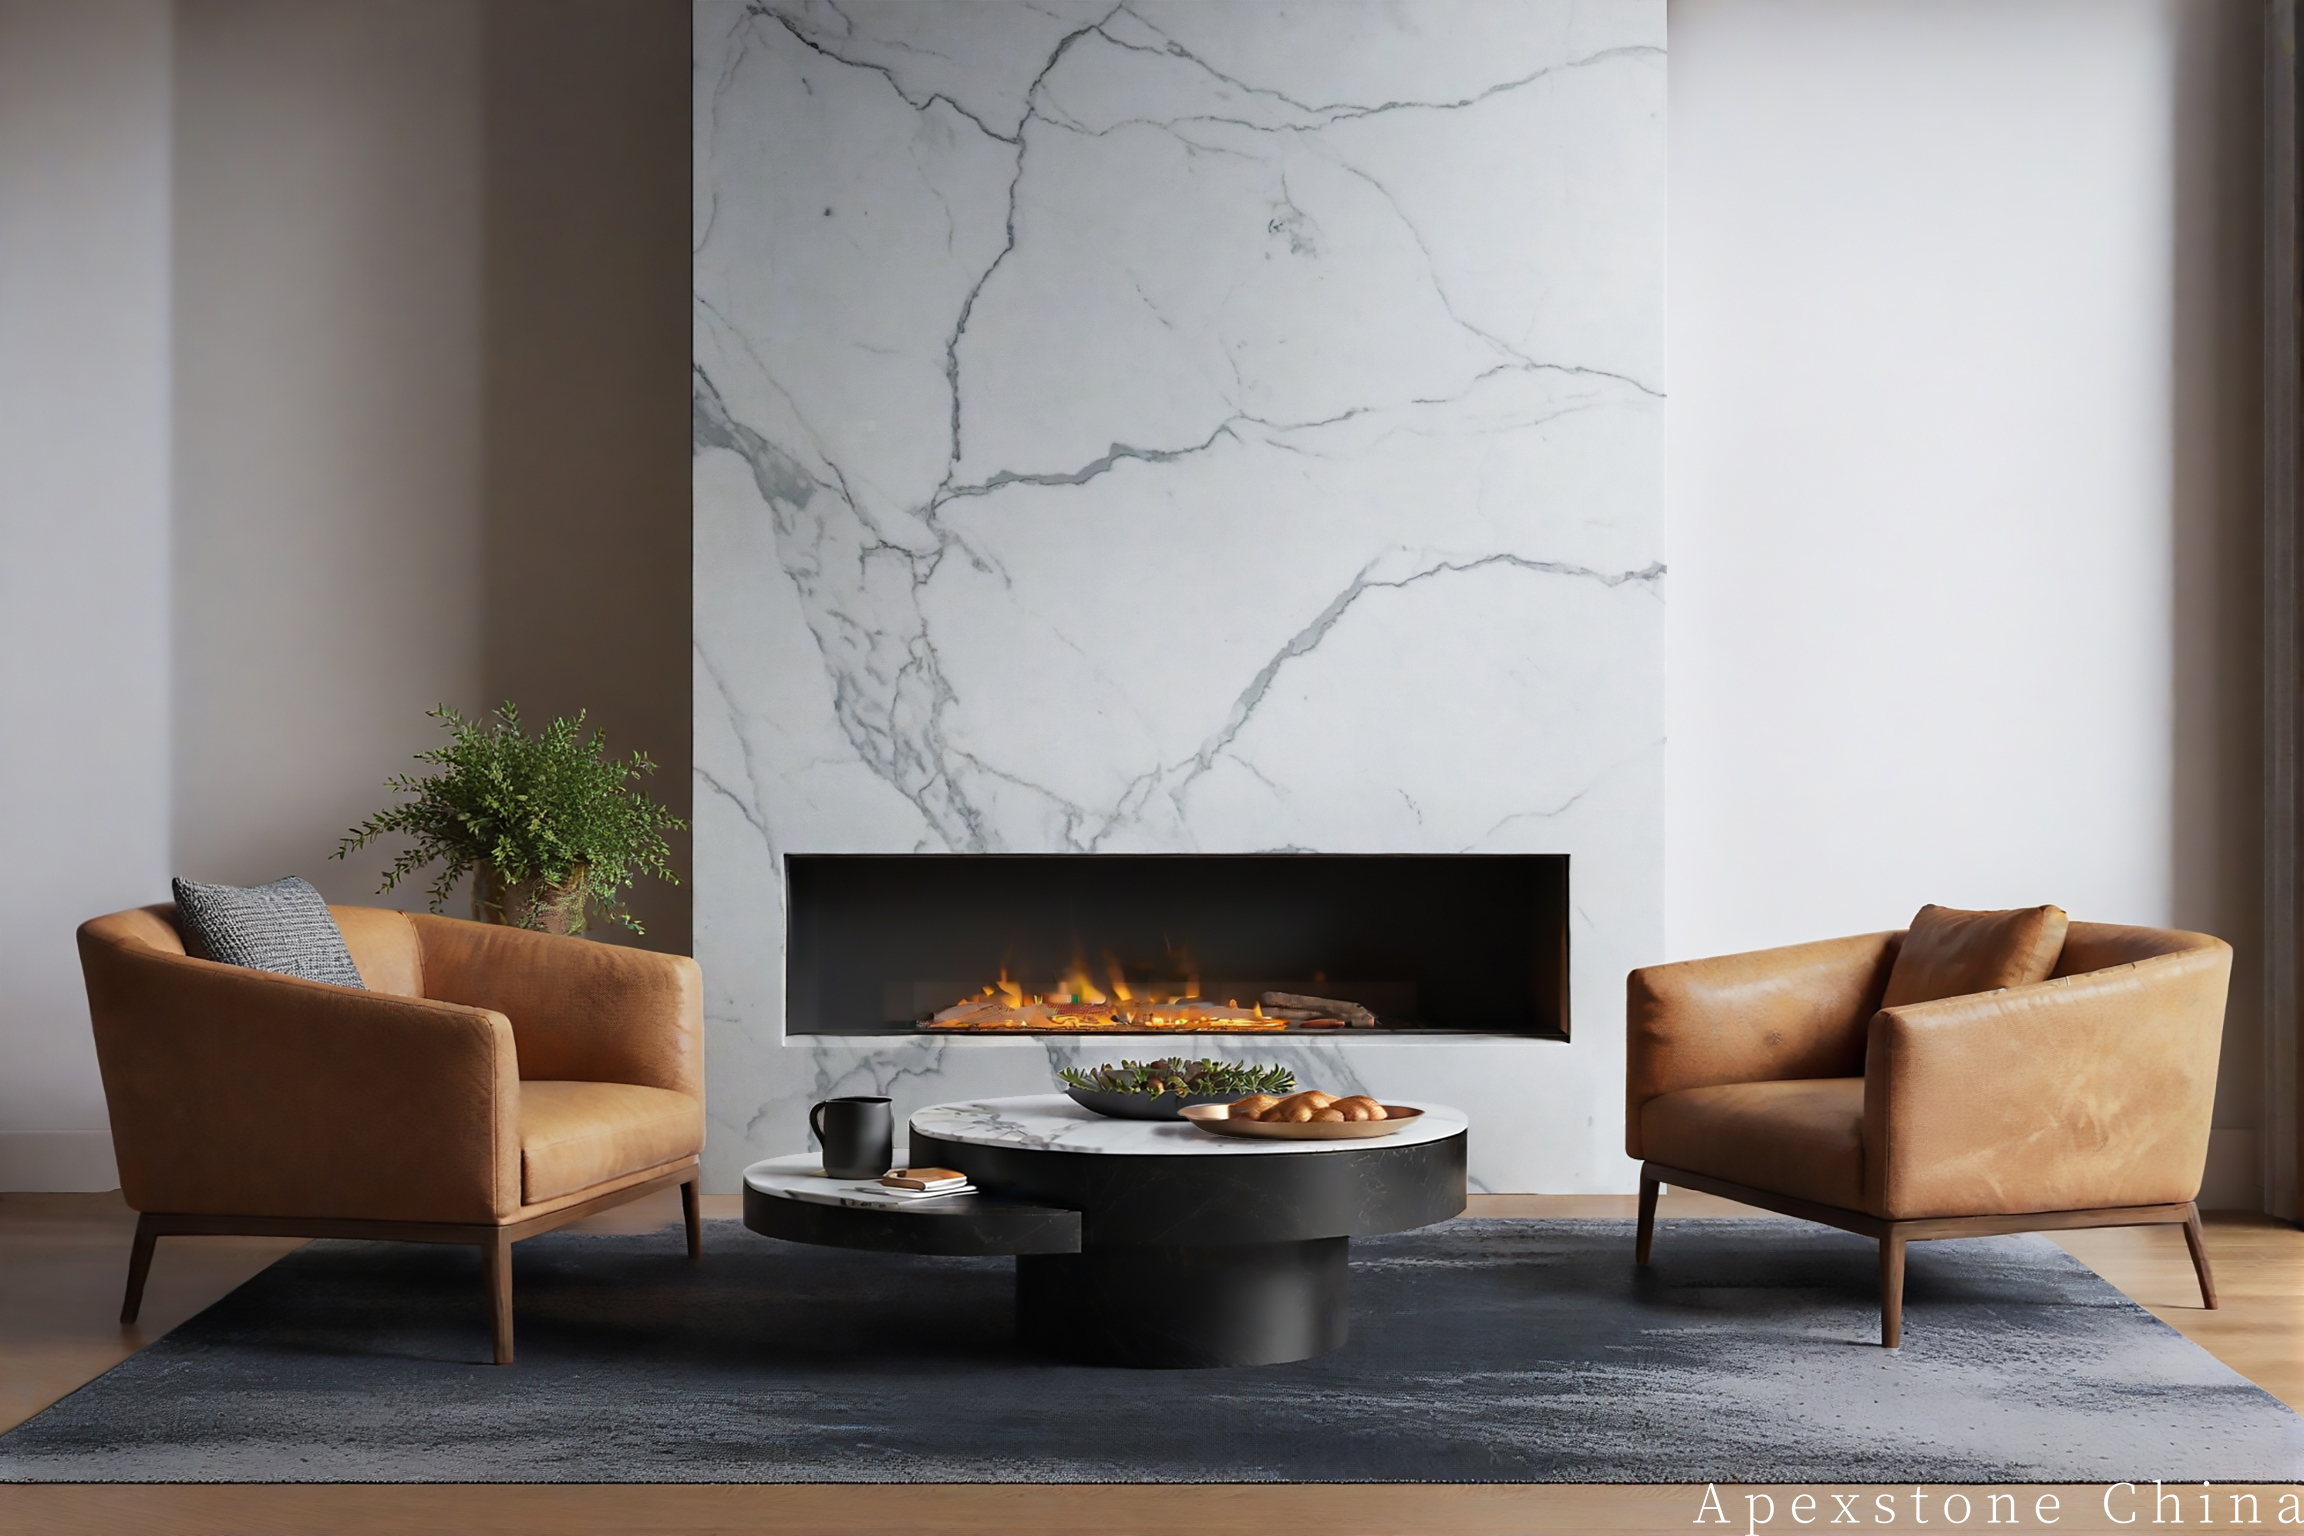
Calacatta White Marble Feature Wall Panels
Calacatta White feature wall panels developed from an elevation and actual-slab layout. Large-format, sequential or mirrored compositions with 20 mm (about 3/4 in) reference thickness and project-engineered support.
Highlights
- Elevation-led panelisation from actual Calacatta White slab images
- Sequential, vein-flow or mirrored composition options
- Reference 20 mm (about 3/4 in) solid panel; thinner composite solutions by engineering review
- Factory dry-layout and piece numbering for installation order
- Anchor, substrate and access constraints coordinated with the project team
Specifications
| Material | Italian Calacatta White natural marble |
|---|---|
| Reference Panel | Up to 1200 x 2400 mm (47 x 94 in) where slab, handling and engineering allow |
| Reference Thickness | 20 mm (about 3/4 in) solid stone; 10 mm (3/8 in) honeycomb composite by project |
| Layout | Sequential, vein-flow, book-matched or project composition |
| Finish | Polished or honed |
| Edges/Joints | Project-specific; coordinated with panel grid |
| Installation | Adhesive and/or mechanical support per substrate, height and local requirements |
| Documents | Elevation, panel schedule, anchor concept, piece map and dry-layout approval |
Product Detail
Apexstone material brief
Calacatta White Marble Feature Wall Panels
A feature wall is judged as one composition, even though it travels and installs as separate pieces. Calacatta White gives this composition an unusual advantage: a snow-white background crossed by light-grey veining that runs in long, confident strokes rather than a busy repeat. Because the pattern is random rather than tiled, two adjacent panels never look identical — which is exactly why the elevation, the slab layout and the joint positions must be designed together before a single panel is cut.
Read the stone before you draw the wall
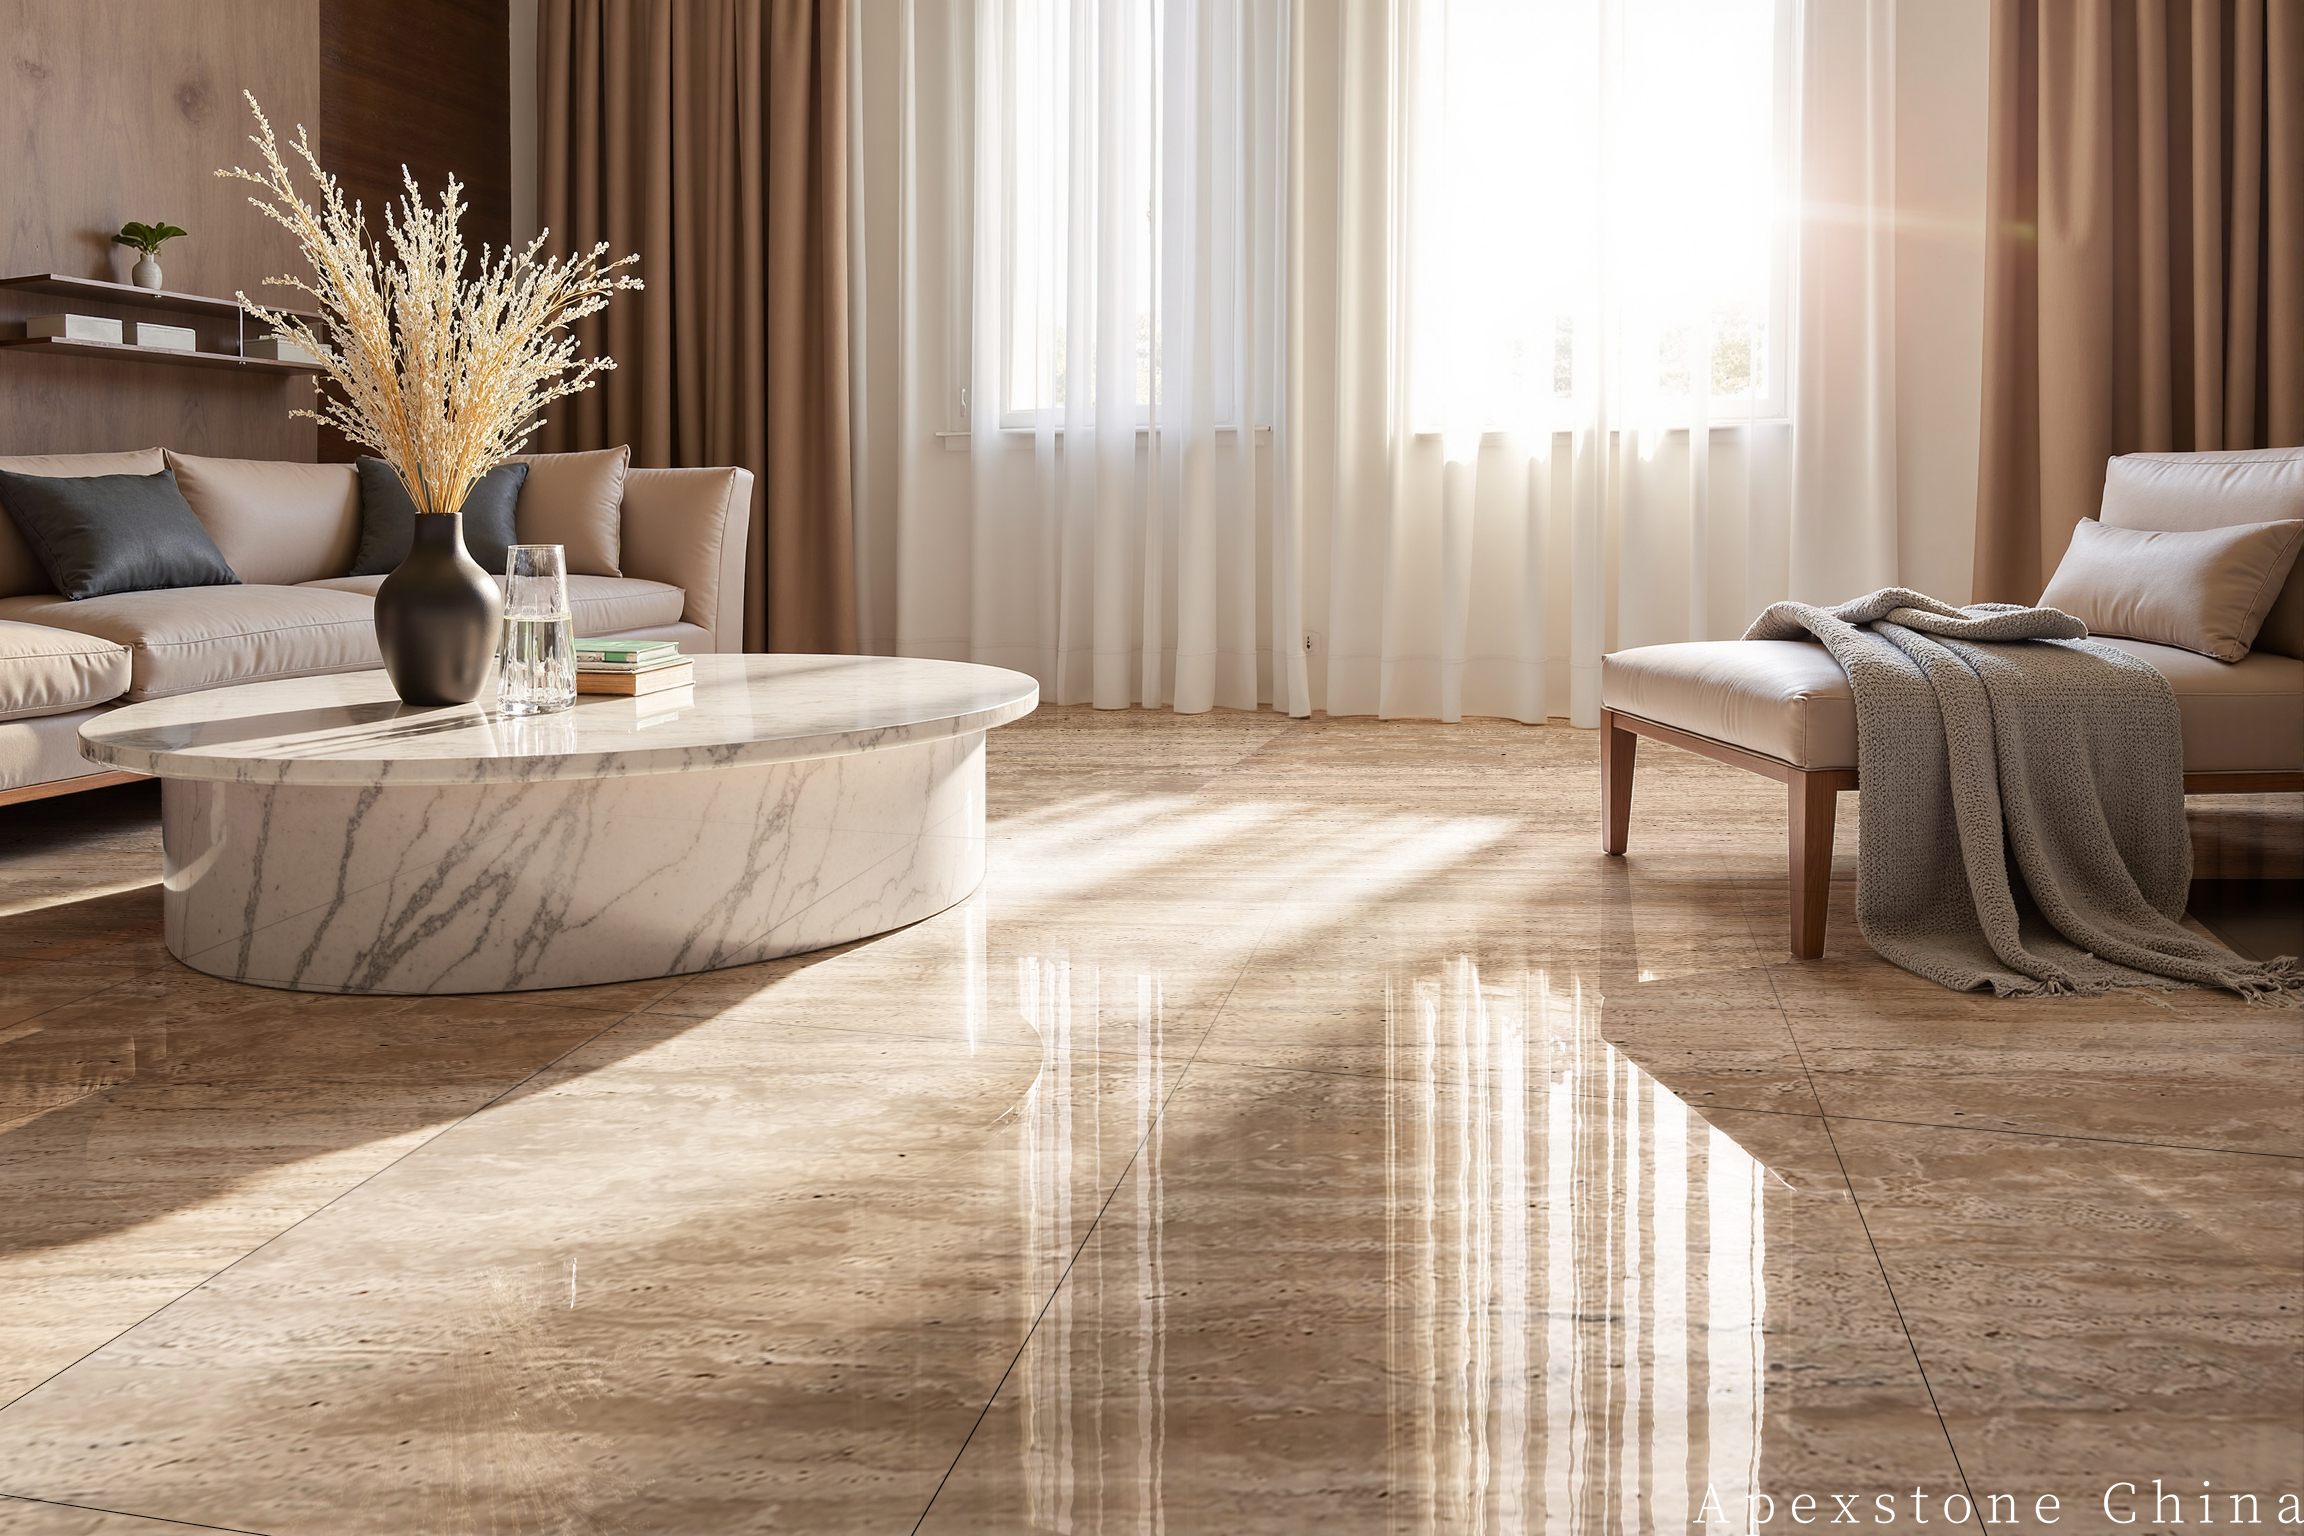
Calacatta White is a calcite marble from Italy, and its behaviour on a vertical surface differs from granite or quartzite. The polished face deepens the grey veining against the white field and picks up light from luminaires, which is why hotel lobbies and living-room accent walls favour it. A honed finish softens the contrast and suits bedrooms and spa-like bathrooms where glare matters. The stone also transmits light: on a backlit feature wall, thinner panels let the veining glow softly through the background — an effect that has made bookmatched Calacatta a signature of discreet luxury interiors, where the material speaks quietly instead of shouting.
Panelise the elevation before reserving stone
Start from the finished wall: width, height, openings, returns, sockets, skirtings and the access route for handling. A reference solid panel is 1200 x 2400 mm (47 x 94 in) at about 20 mm (3/4 in); larger-looking fields are built from carefully aligned pieces, and the joint grid becomes part of the visual design rather than something to hide. Where wall height, weight limits or an existing substrate demand it, the same elevation can be engineered in lighter builds — a 10 mm (3/8 in) stone layer on an aluminium honeycomb backing, for example — which cuts panel weight dramatically and allows floor-to-ceiling cladding that solid 20 mm stone could not achieve. The right build depends on the substrate and the anchor concept, so these belong in the first conversation, not the last.
Choose a composition, not a buzzword
Sequential panels continue the vein movement across the wall in one direction. Vein-flow layouts prioritise directional continuity through corners and returns. Mirrored, book-matched pairs create the symmetric butterfly figure that Calacatta White is famous for, but they consume consecutive faces from the same block and need a larger reserved lot. Each option uses the slab differently, so approve a numbered digital layout built from images of the actual selected slabs before cutting begins. For a typical 3 x 4 m (about 10 x 13 ft) entrance or lobby wall, this single decision determines how many slabs to reserve and how much of the block's yield survives.
What each discipline needs from the same drawing
The designer wants the veining to land where the eye rests — centred on the main field, symmetrical at the sofa wall, calm behind the reception desk. The buyer needs the panel schedule early, because reserving consecutive book-matched faces takes longer than buying loose tiles from stock, and a mixed order of wall panels with matching floor tiles or 12 x 24 in (300 x 600 mm) wall tile fields is easier to schedule in one production run. The production team works from the frozen layout: cutting references, face orientation and piece numbers that follow the installation sequence. The installer needs the piece map and the crate order, so panels come off the container in the sequence they go onto the wall. And the owner, years later, cares about something simpler — that the wall still reads as one calm composition, with joints that sit tight and a surface that wipes clean with pH-neutral care.
Dry layout and piece map
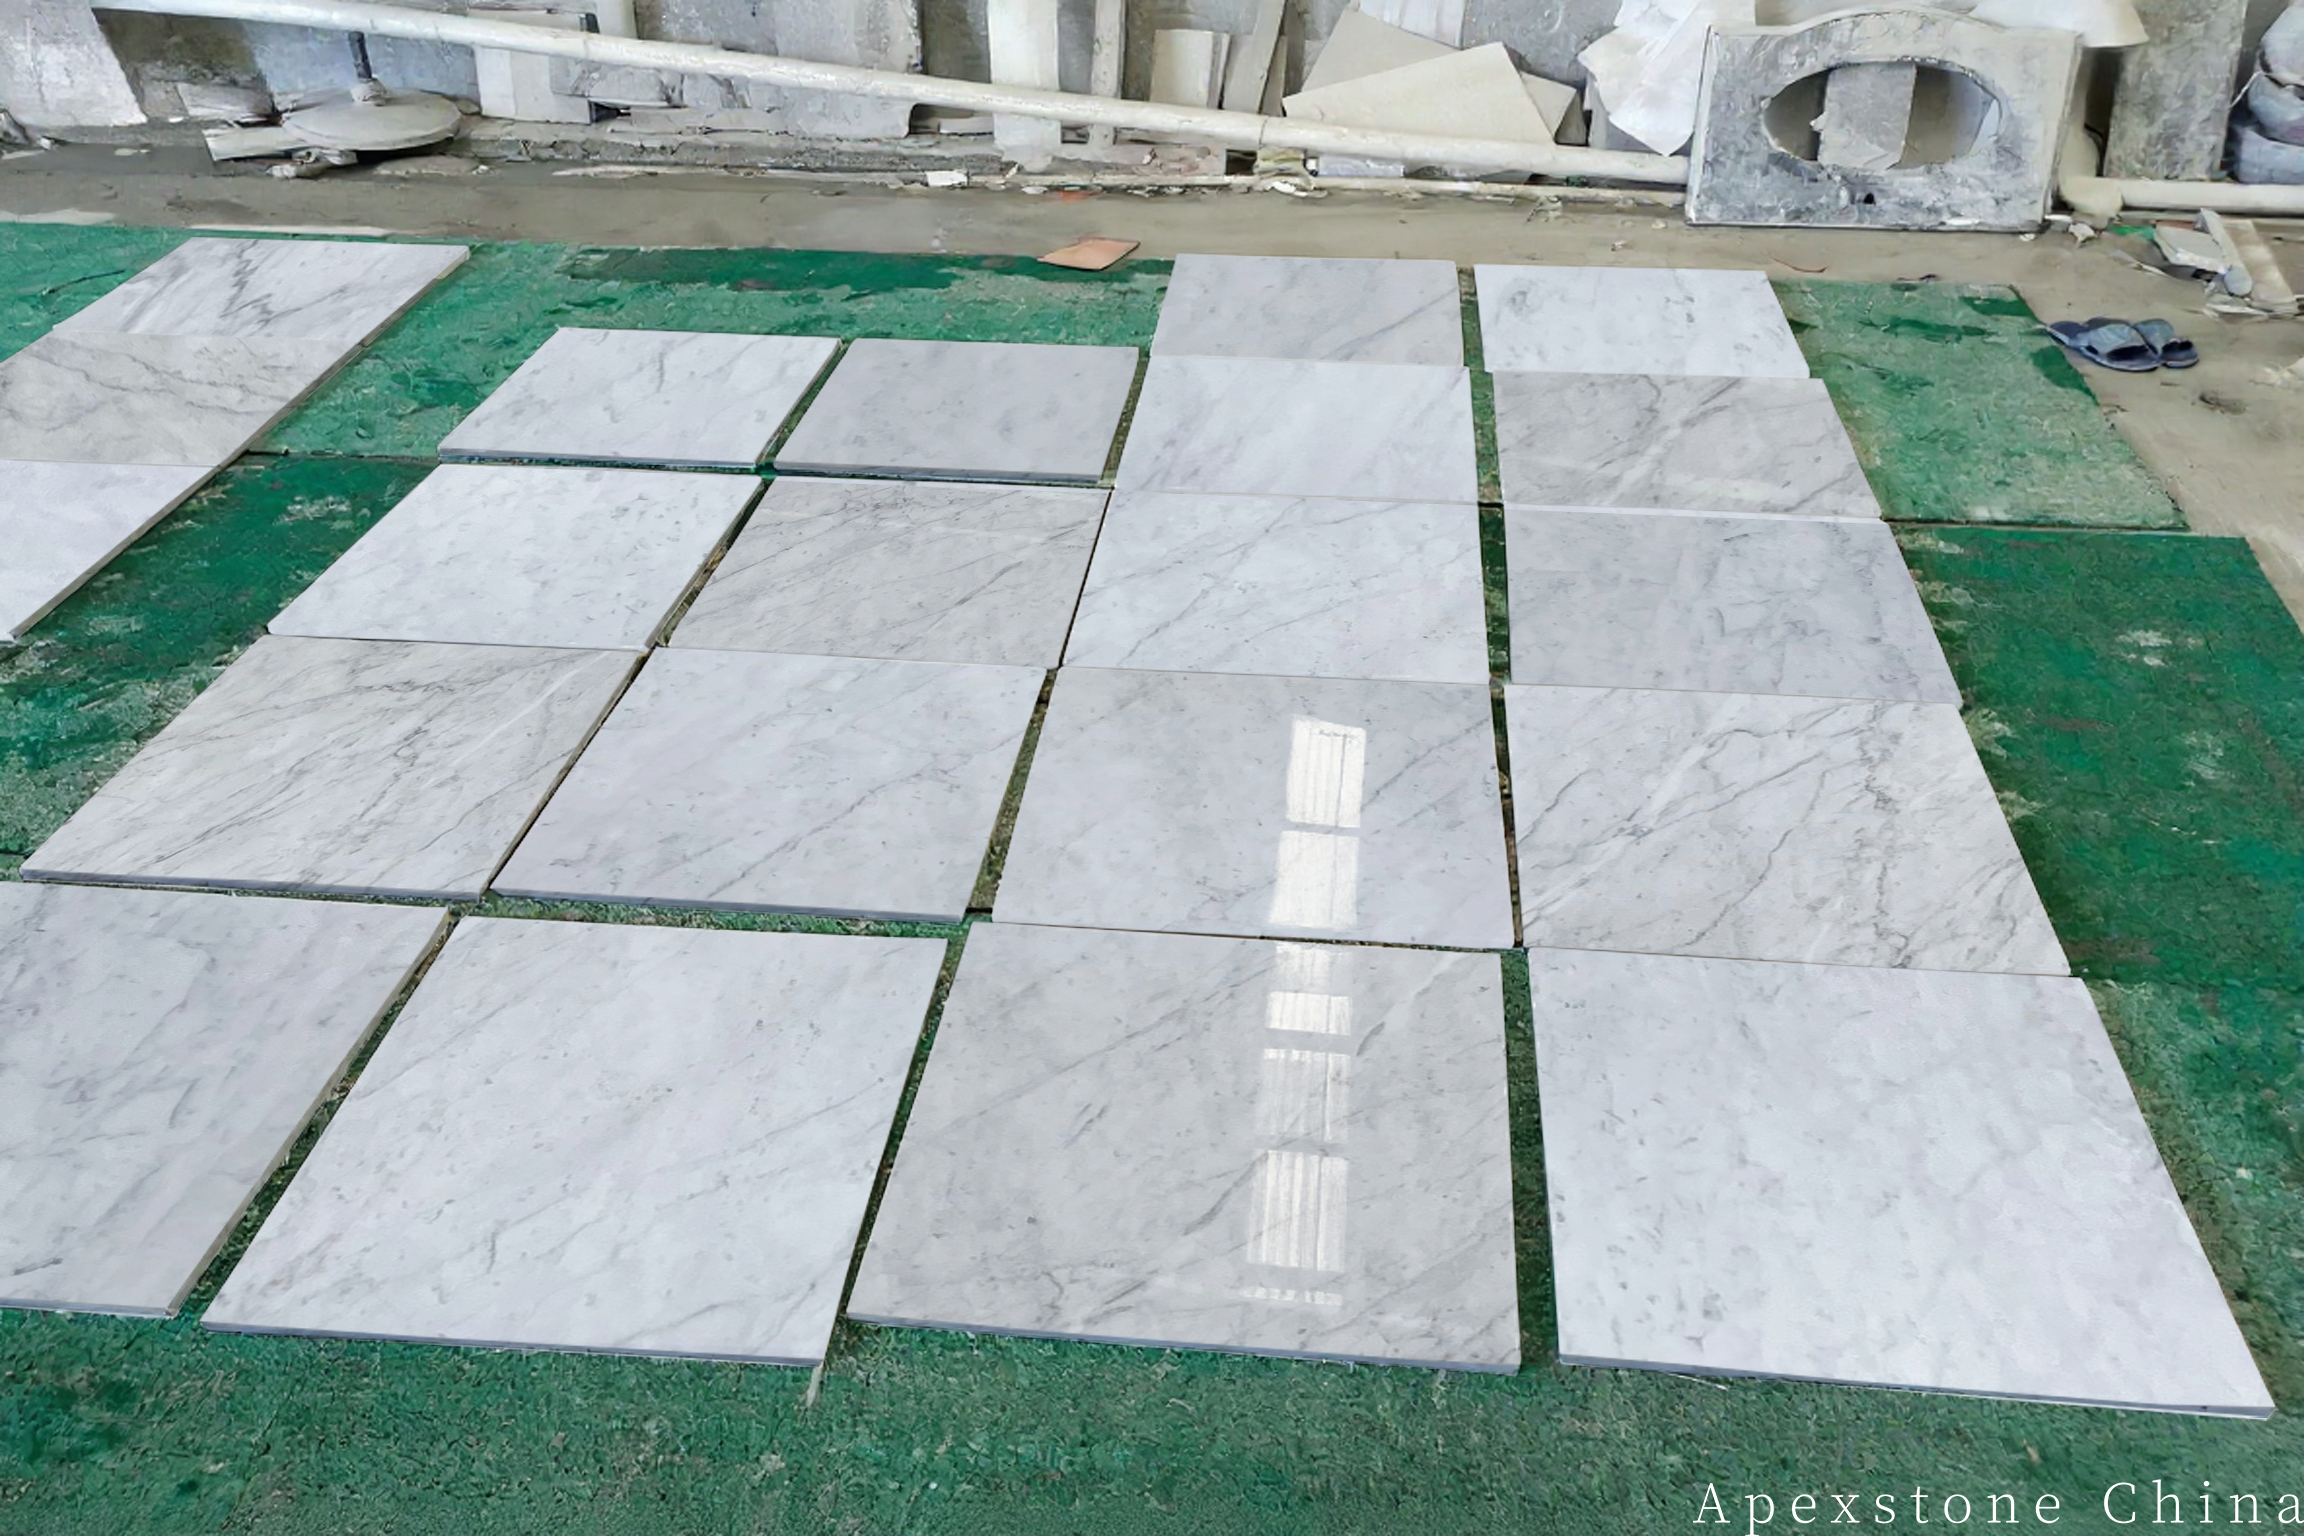
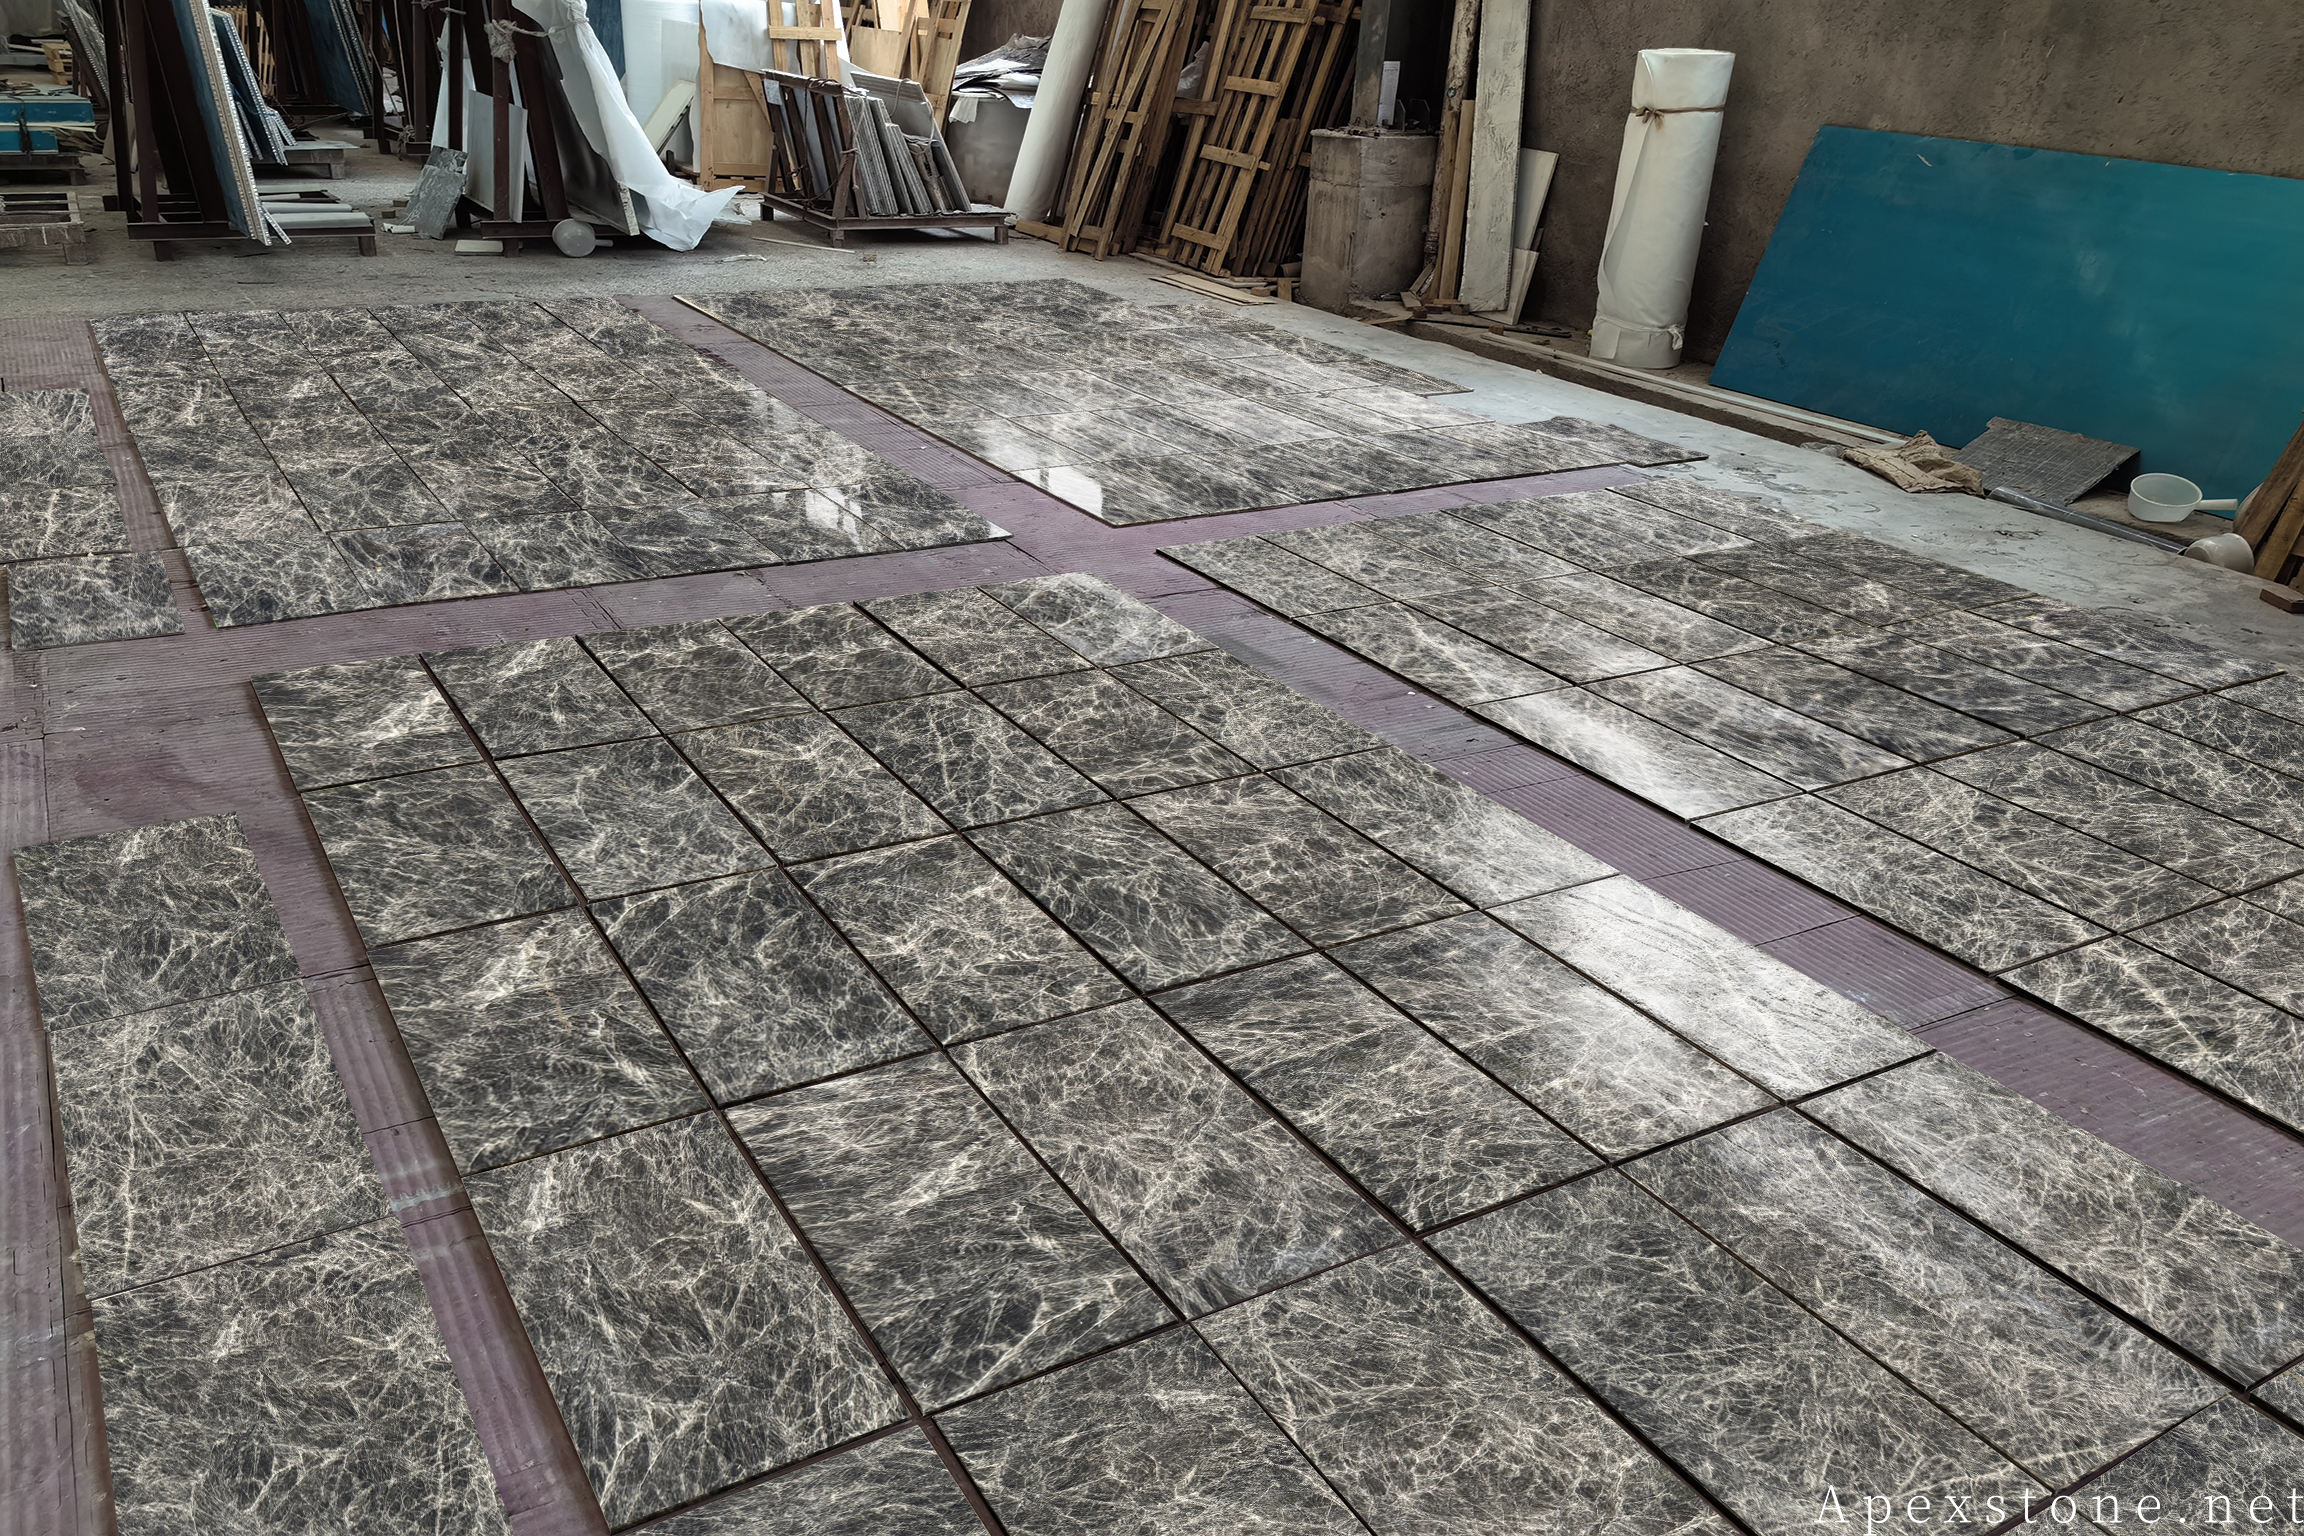
Before packing, the panels are assembled or digitally reconciled in their final order. The record captures joint sequence, finished dimensions, exposed edges and front-face orientation; every piece is marked on a non-visible area and mirrored on the elevation drawing. Crates follow the installation sequence so the site team never moves a panel twice. This is also where shade control is settled: panels for one wall are matched as a set under the same light, so the batch reads as one stone rather than a patchwork.
Surface, joints and lighting review
Review the wall under the project's actual lighting direction. Grazing light from wall washers emphasises plane differences and joint edges, so flatness tolerances matter more on a lit feature wall than on a floor. Approve the finish sample and the joint colour together — a joint that fights the grey veining will be visible forever, while one tuned to the background disappears. Marble wall cladding in wet areas such as shower surrounds follows the same logic with one addition: sealing and ventilation planning belong to the installation spec, not an afterthought.
Share the elevation early
Mark the surfaces that must mirror or continue, identify openings and access limits, and ask for an actual-slab panel map before fabrication. The approved sample, image map, drawing revision and piece schedule then travel together, so the receiving and installation teams compare the delivered wall against the same project-specific reference that was approved at release.
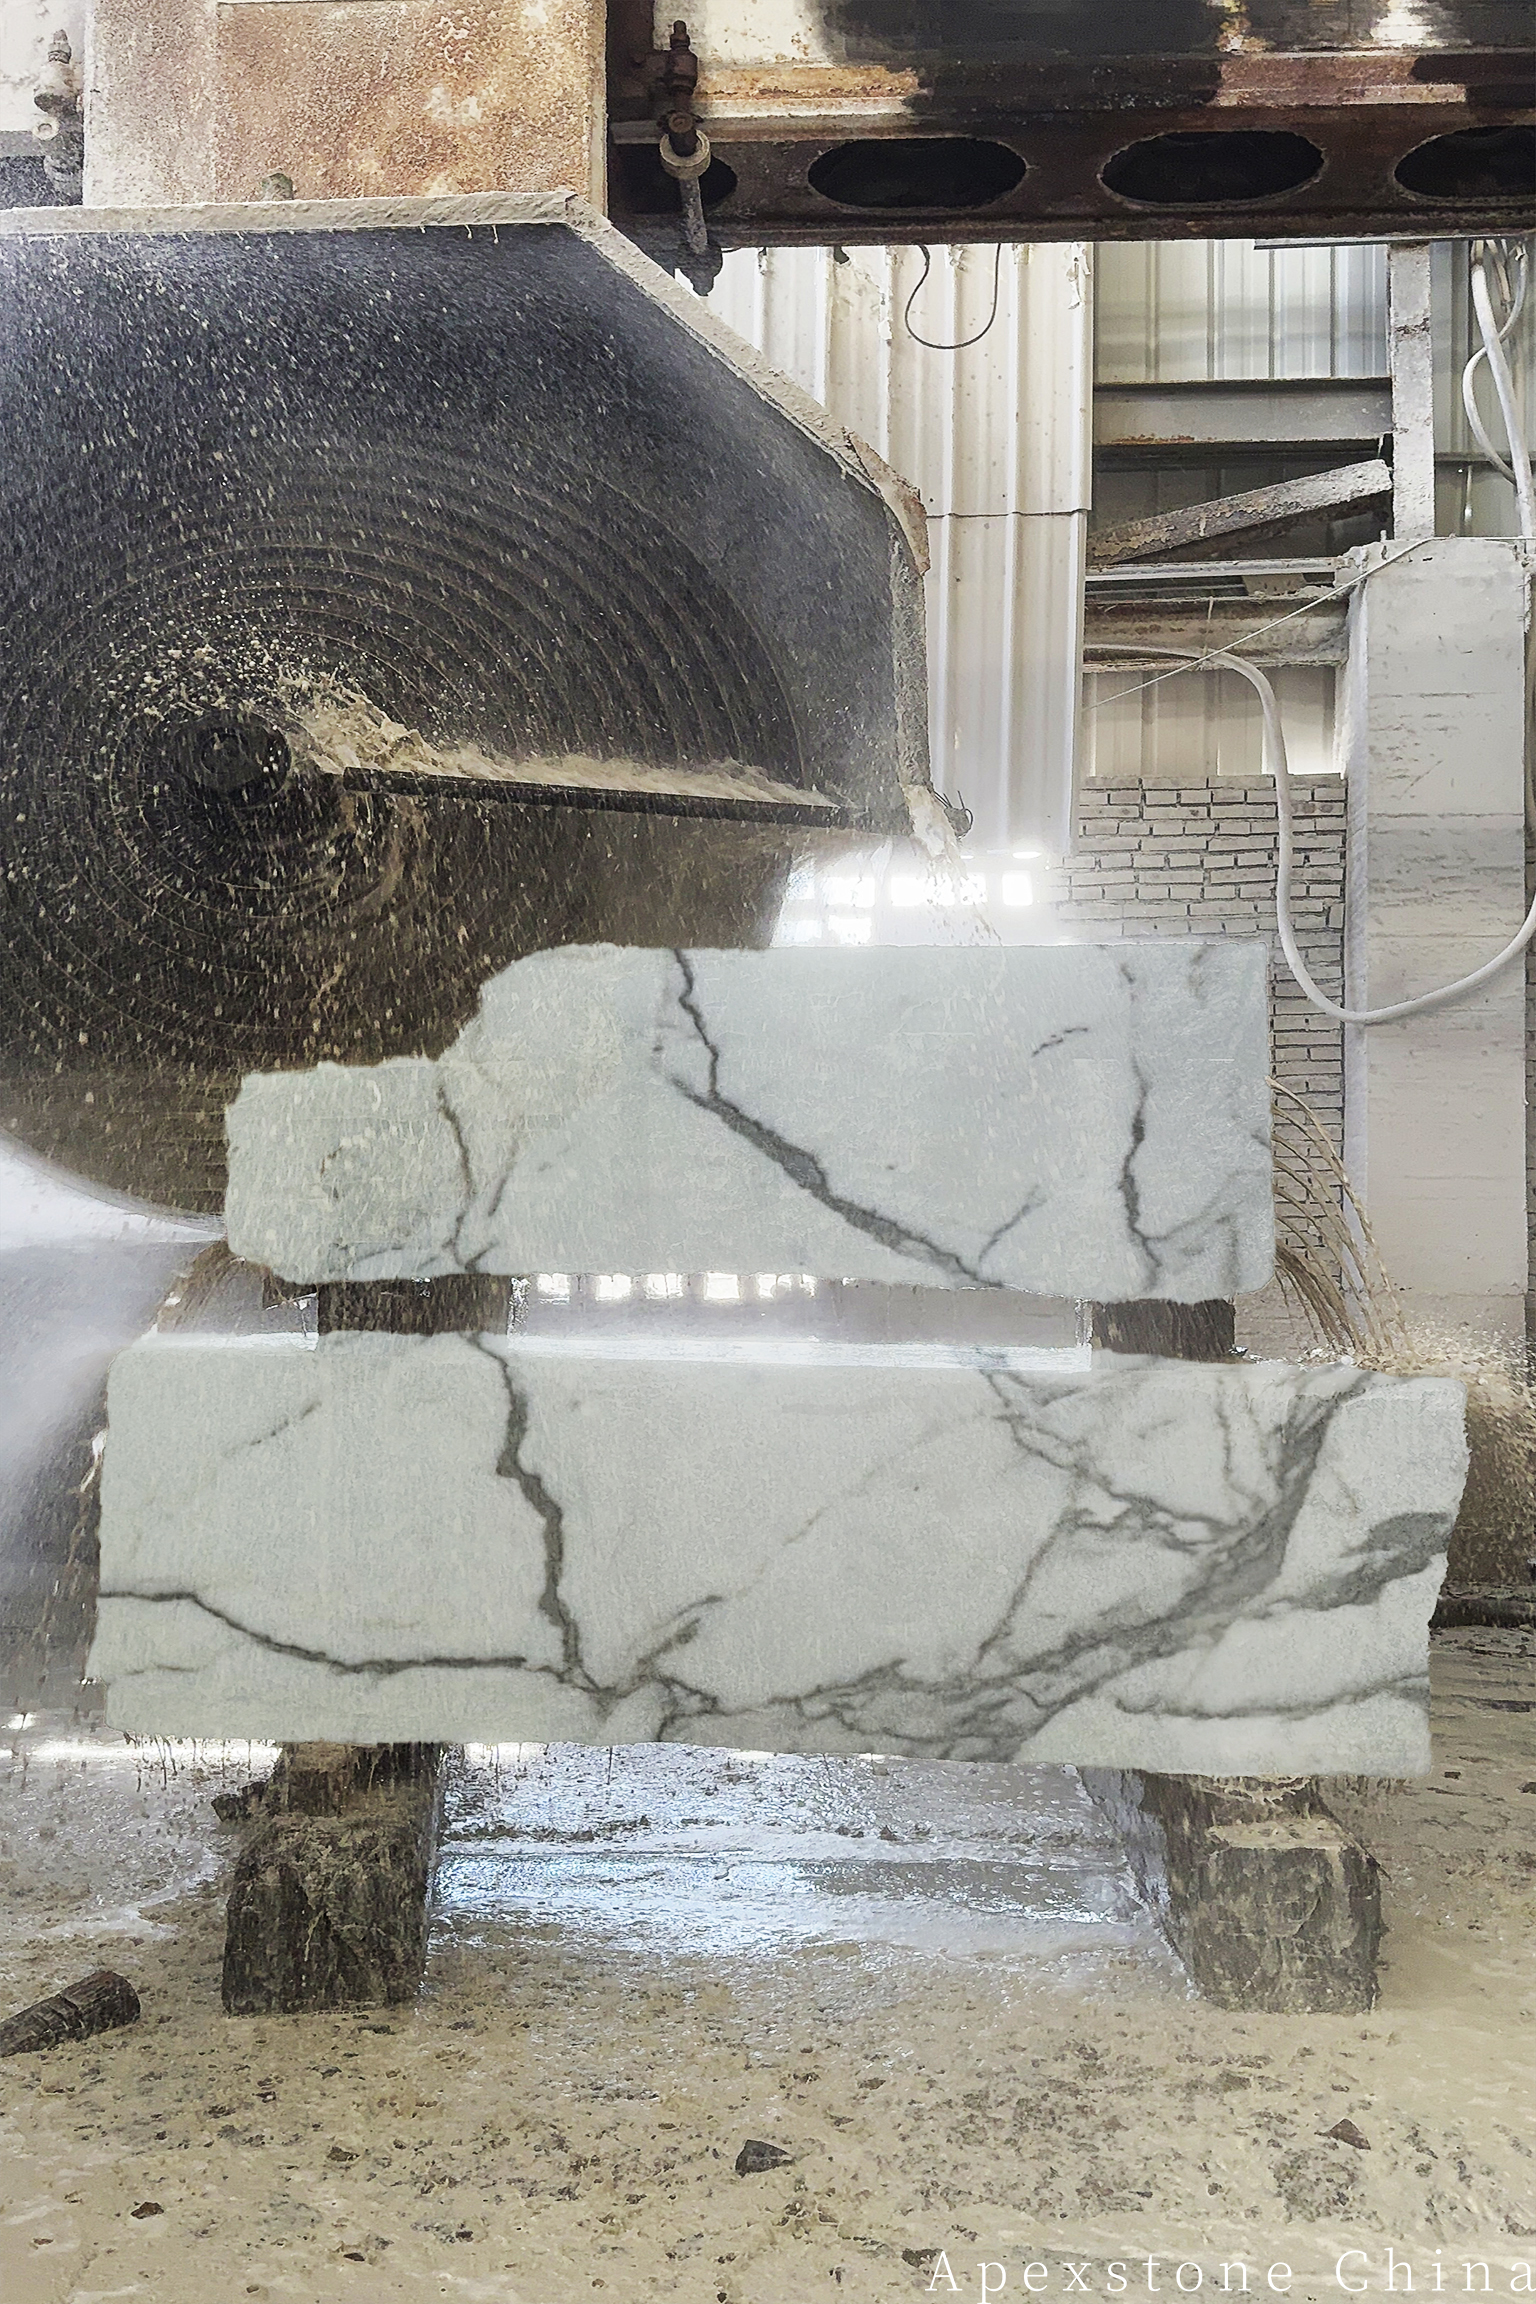
Source stage: understand how the block opens into related slab faces.
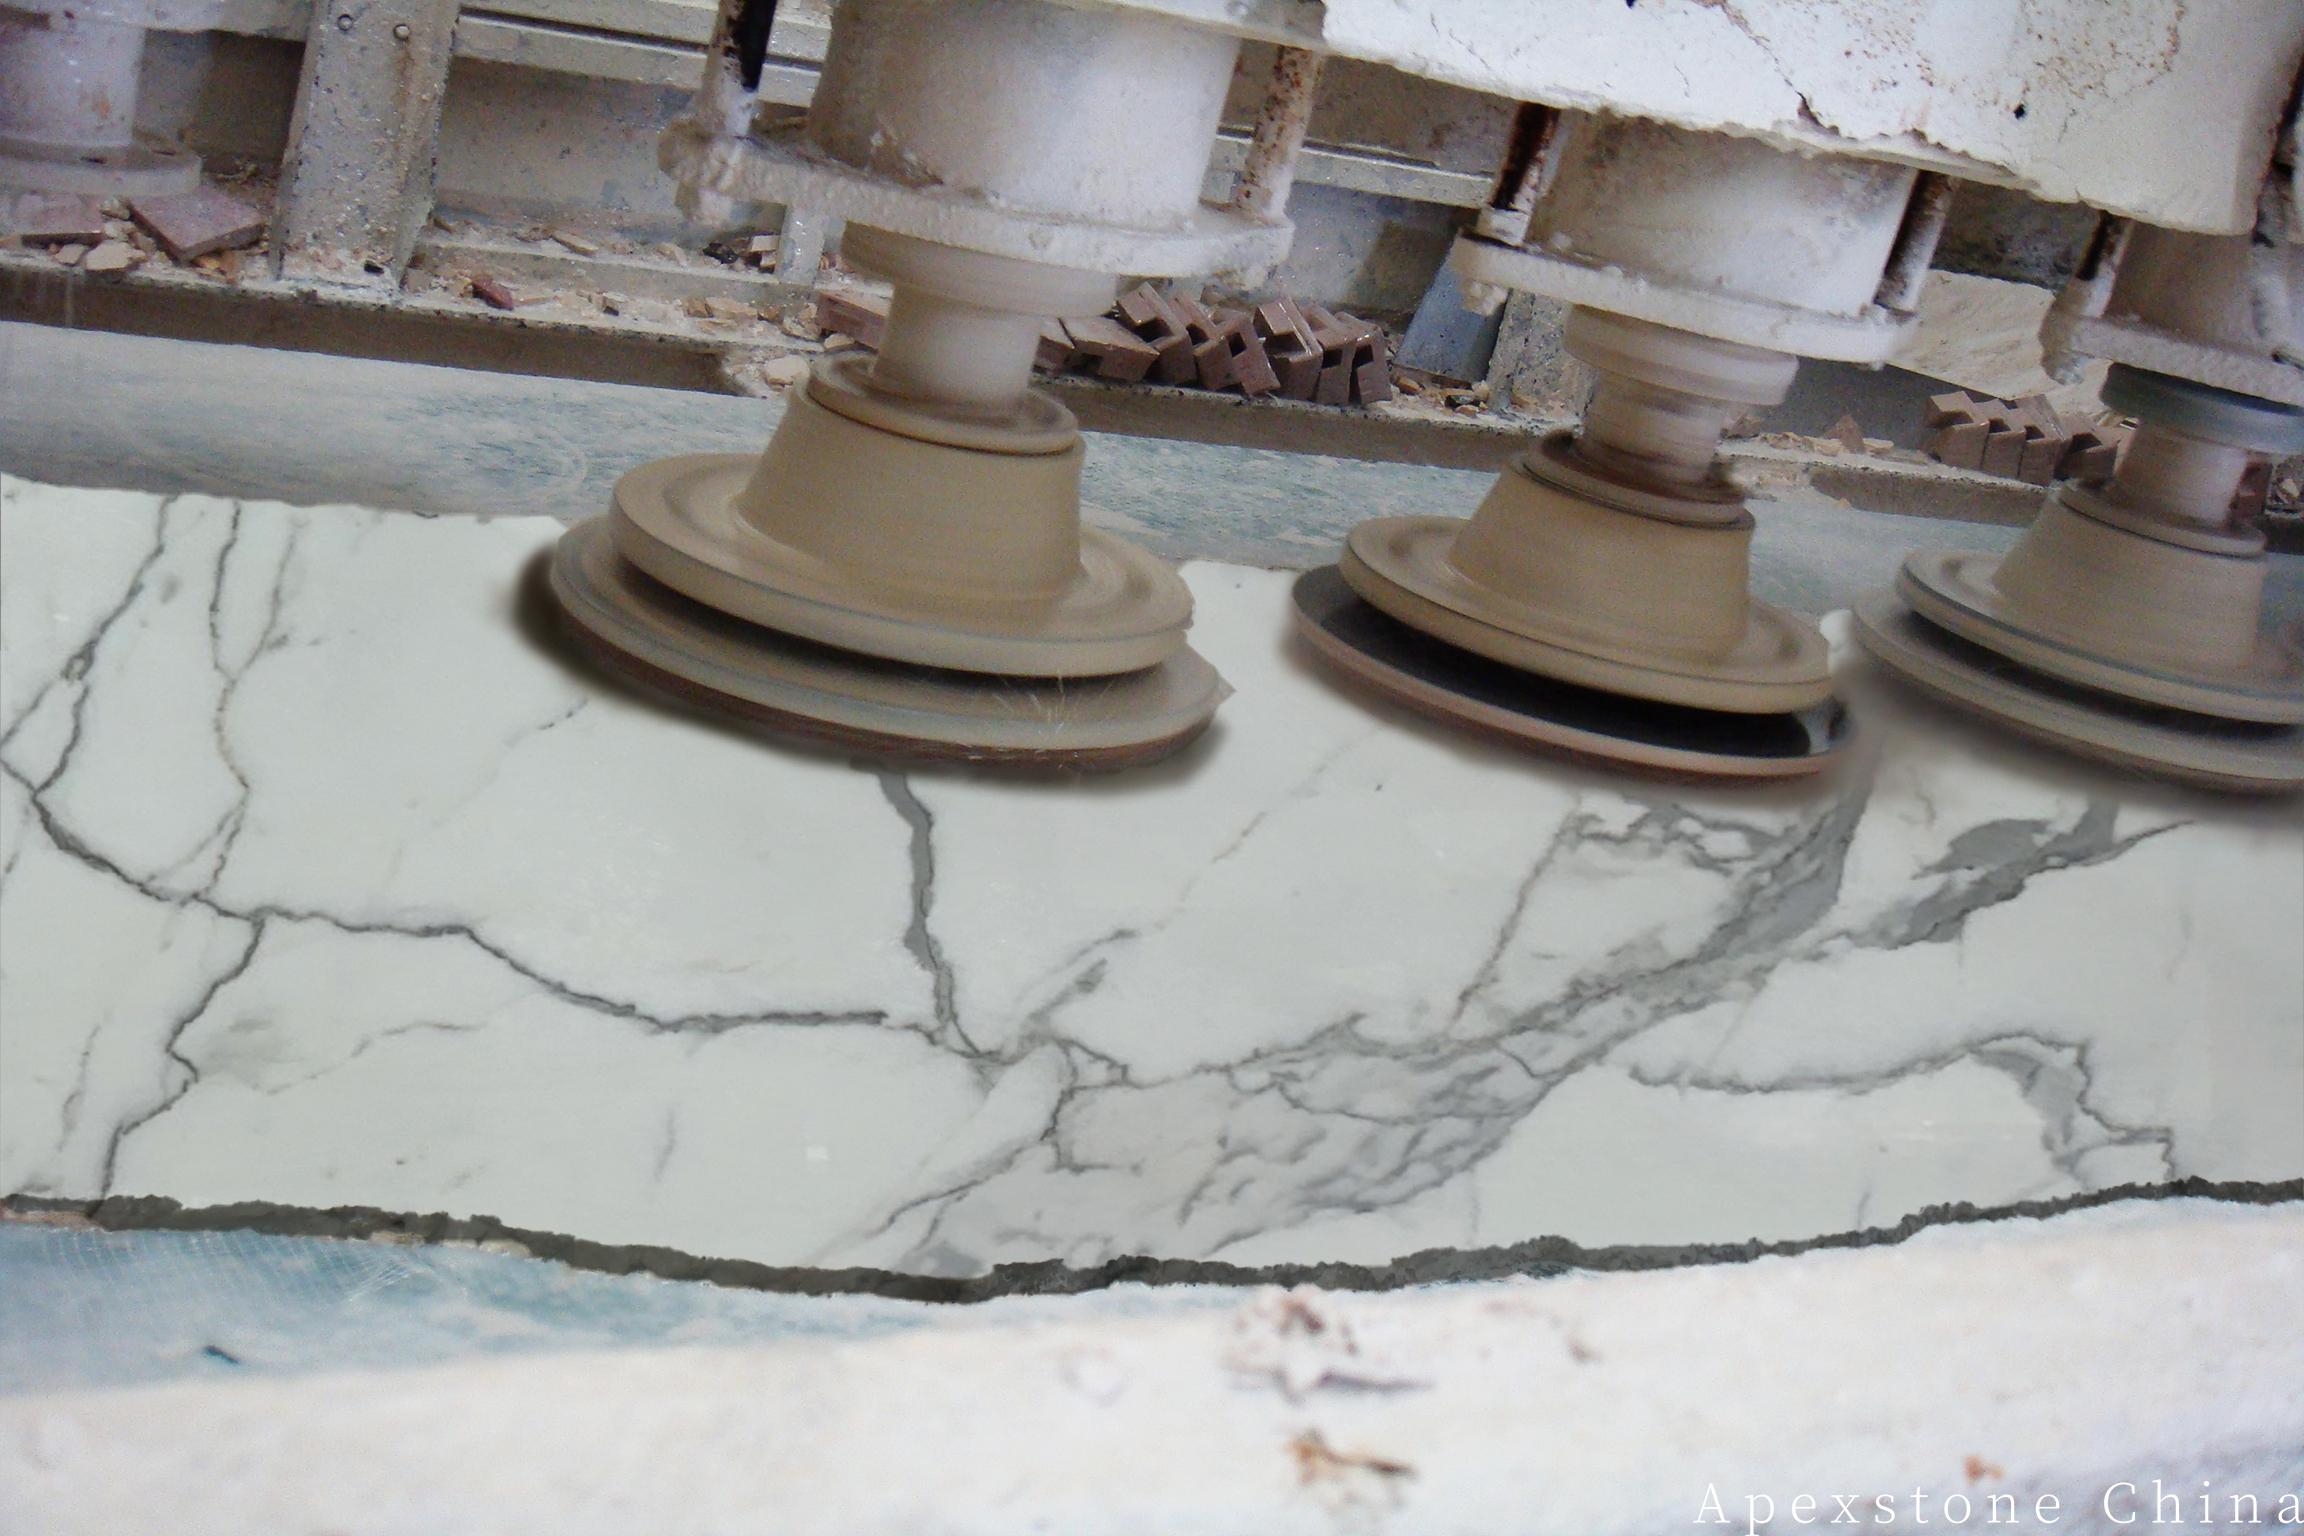
Surface stage: approve finish consistency under raking light.
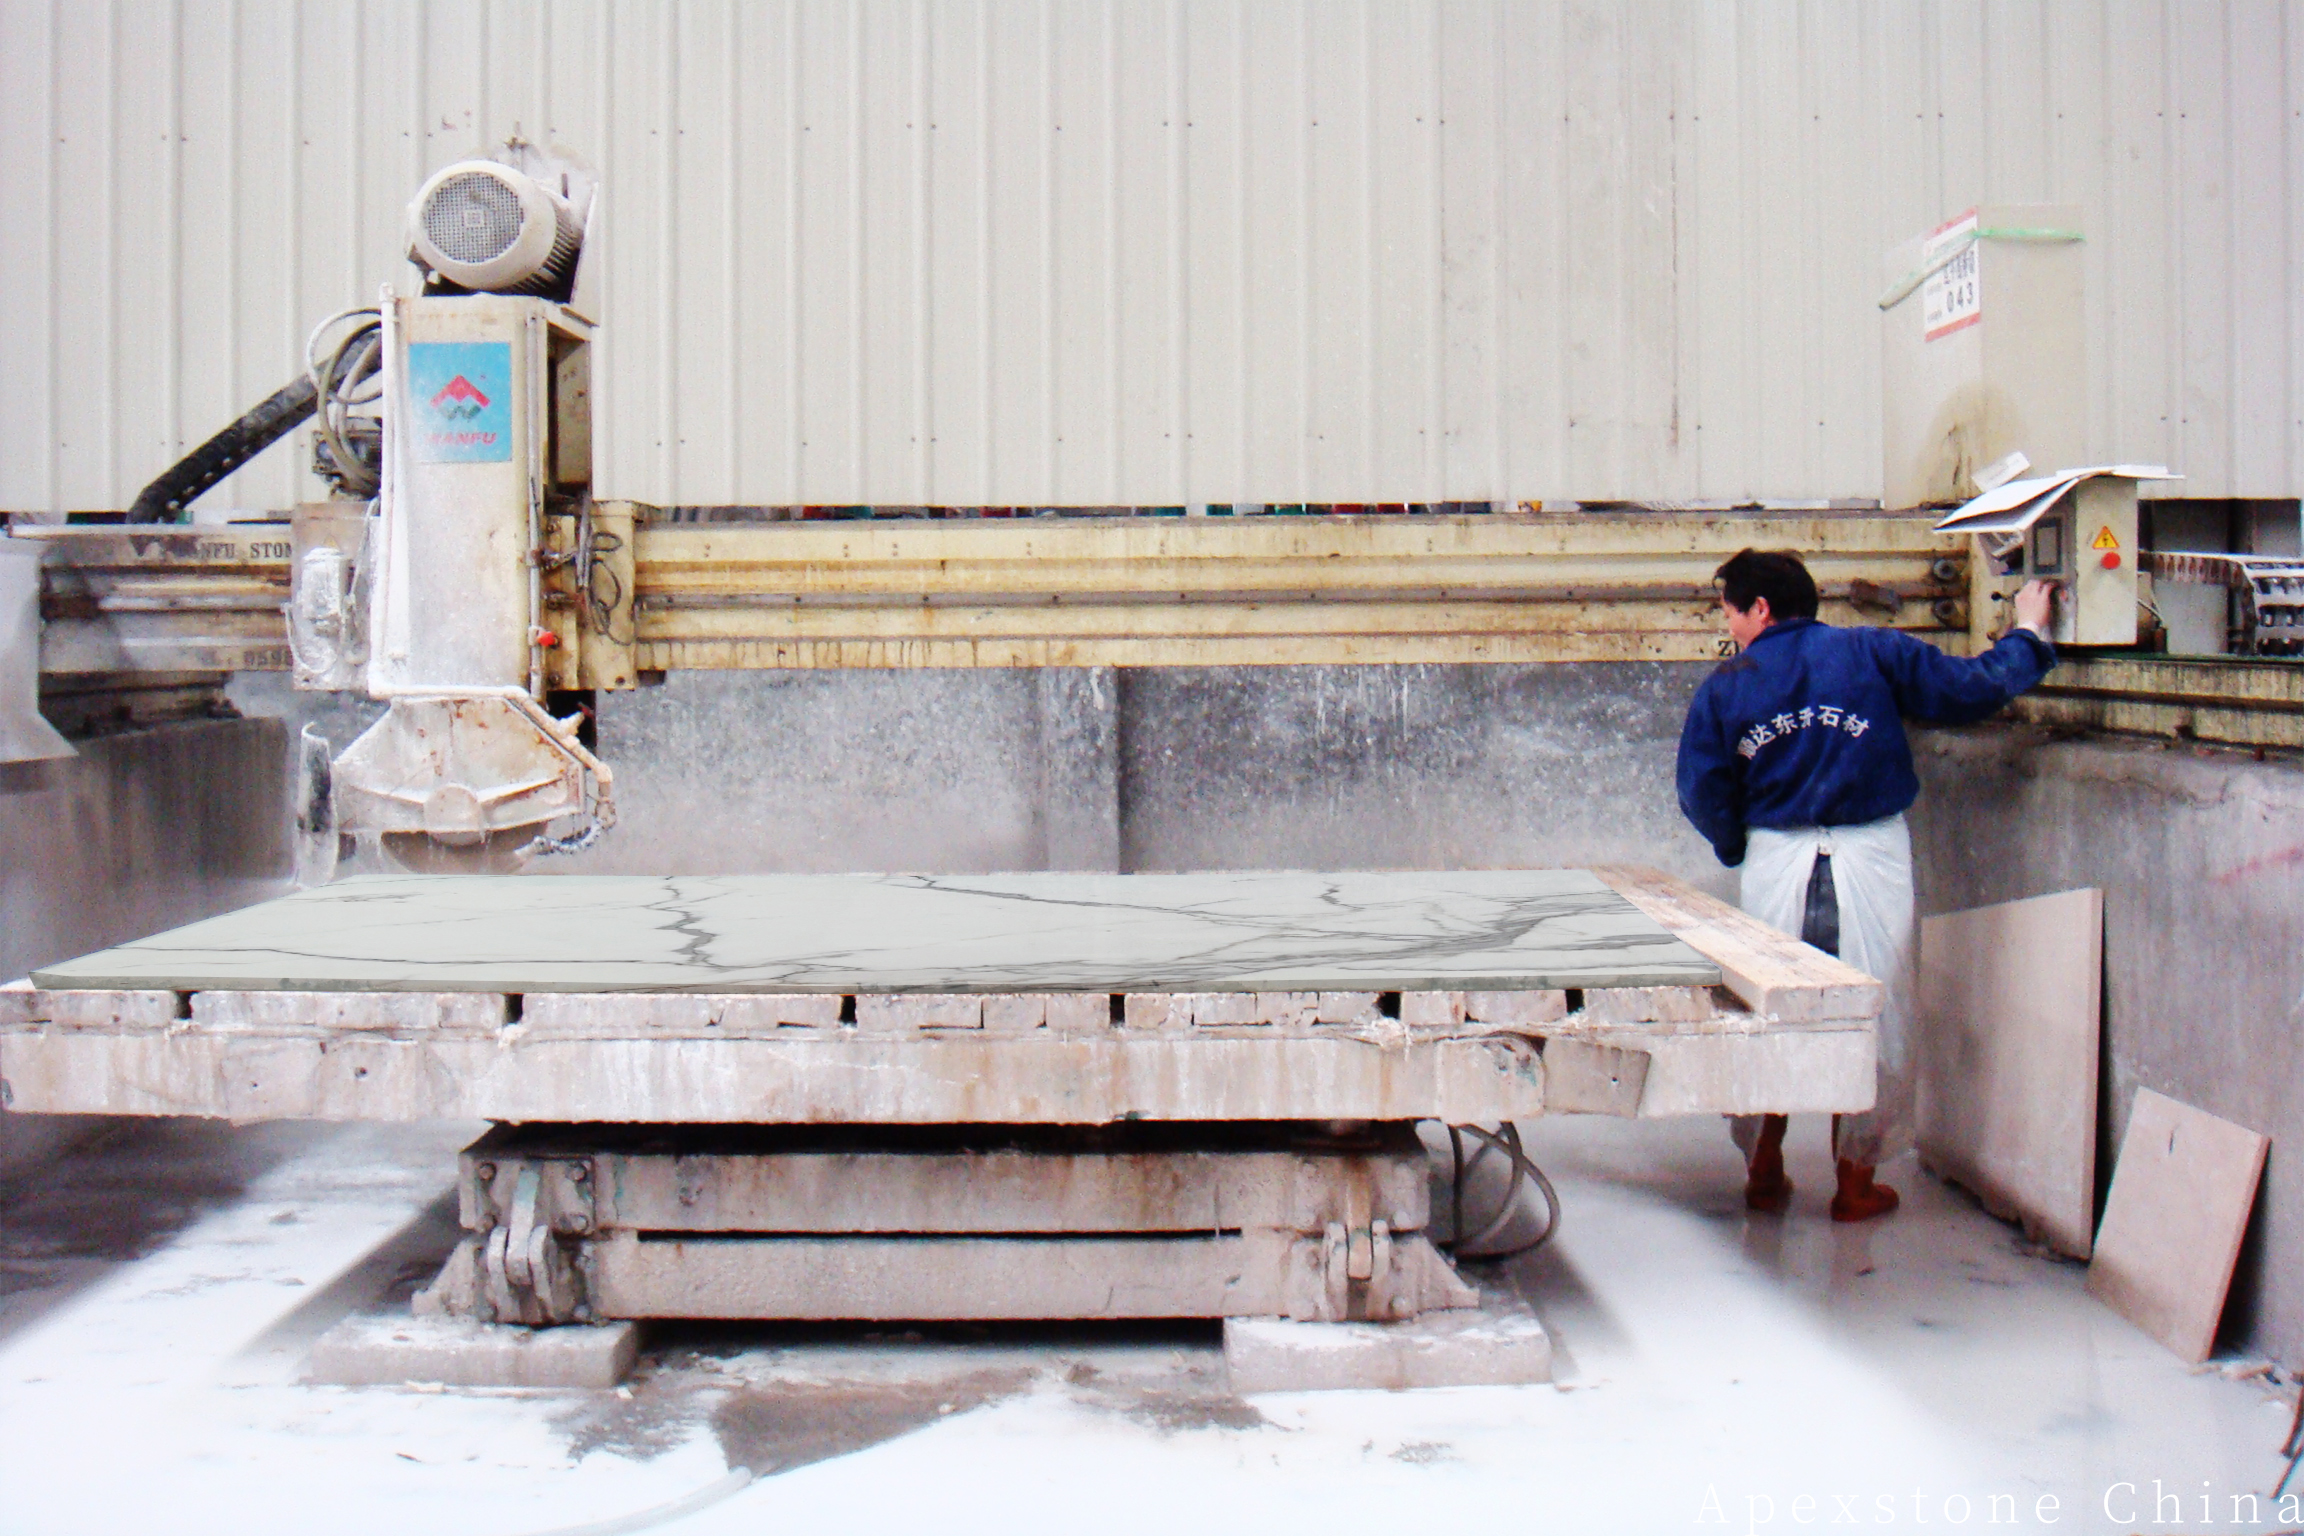
Cutting stage: retain panel labels and drawing orientation.

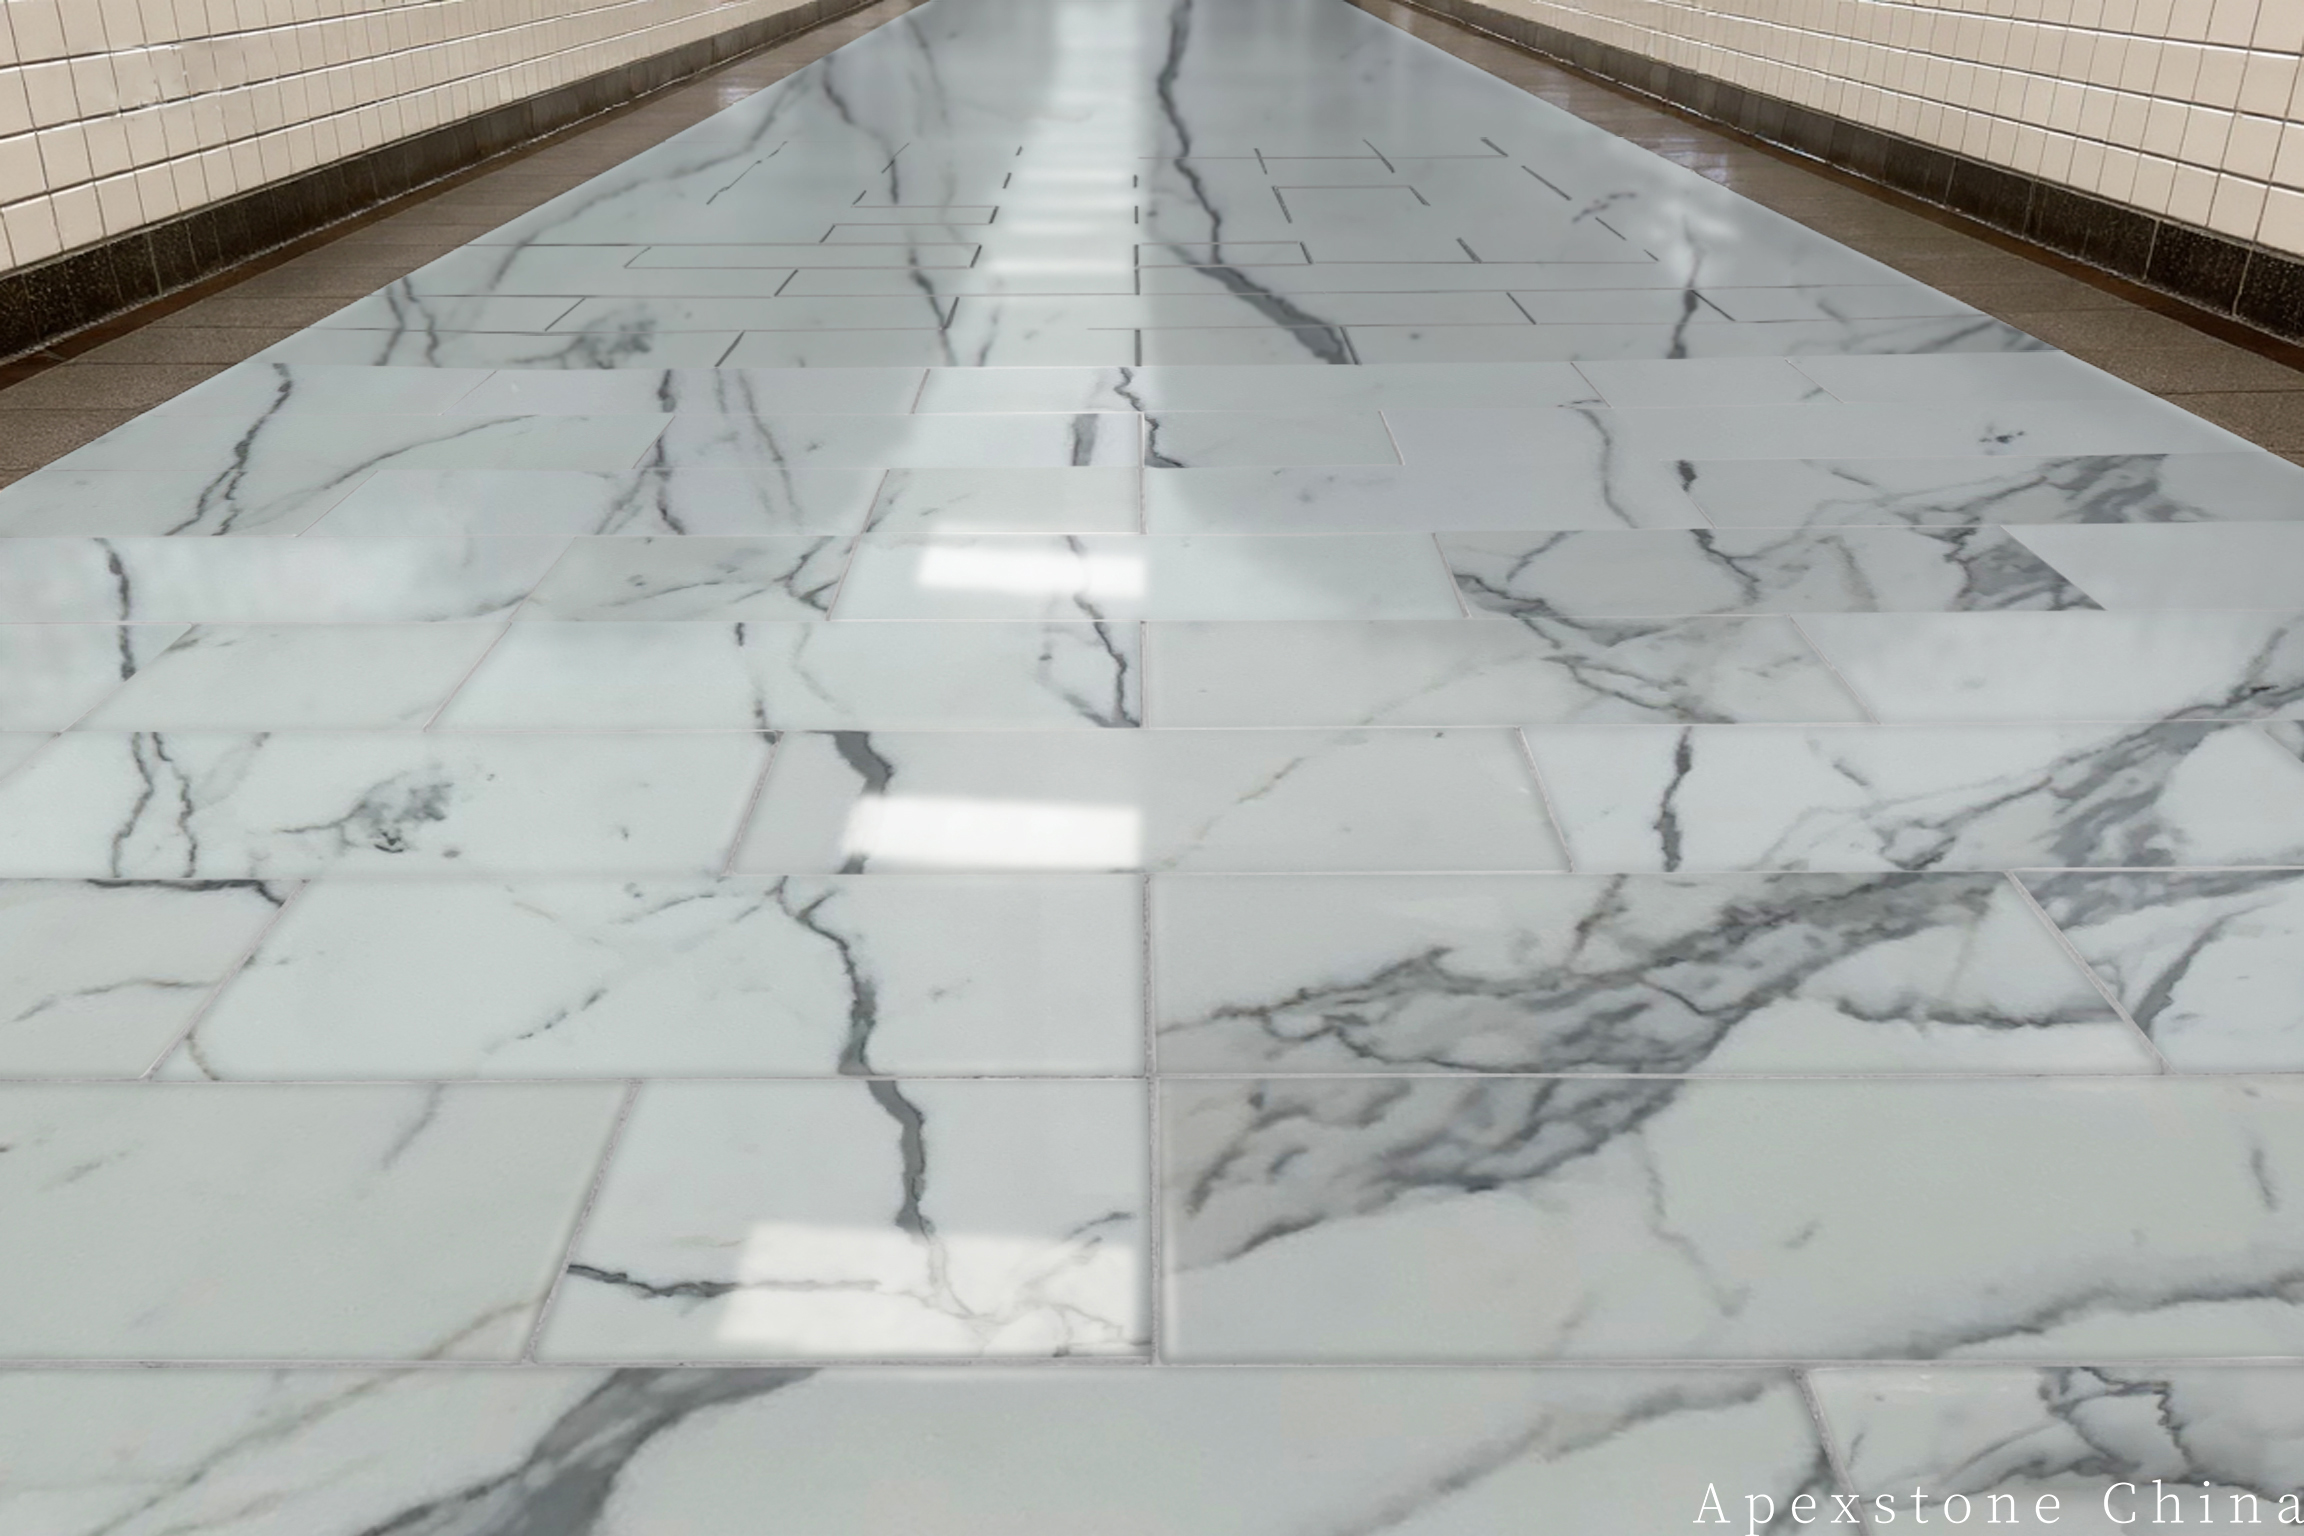
Detail stage: judge vein density, background and natural variation up close.