Kitchen Vein Planning
Make the Island the Beginning of the Drawing
Calacatta White kitchen ideas for designers and production teams who need the slab, cabinetry, appliance schedule and installation sequence to tell the same story.
Design intent meets cutting yield
The kitchen should read as one composition after it becomes many pieces
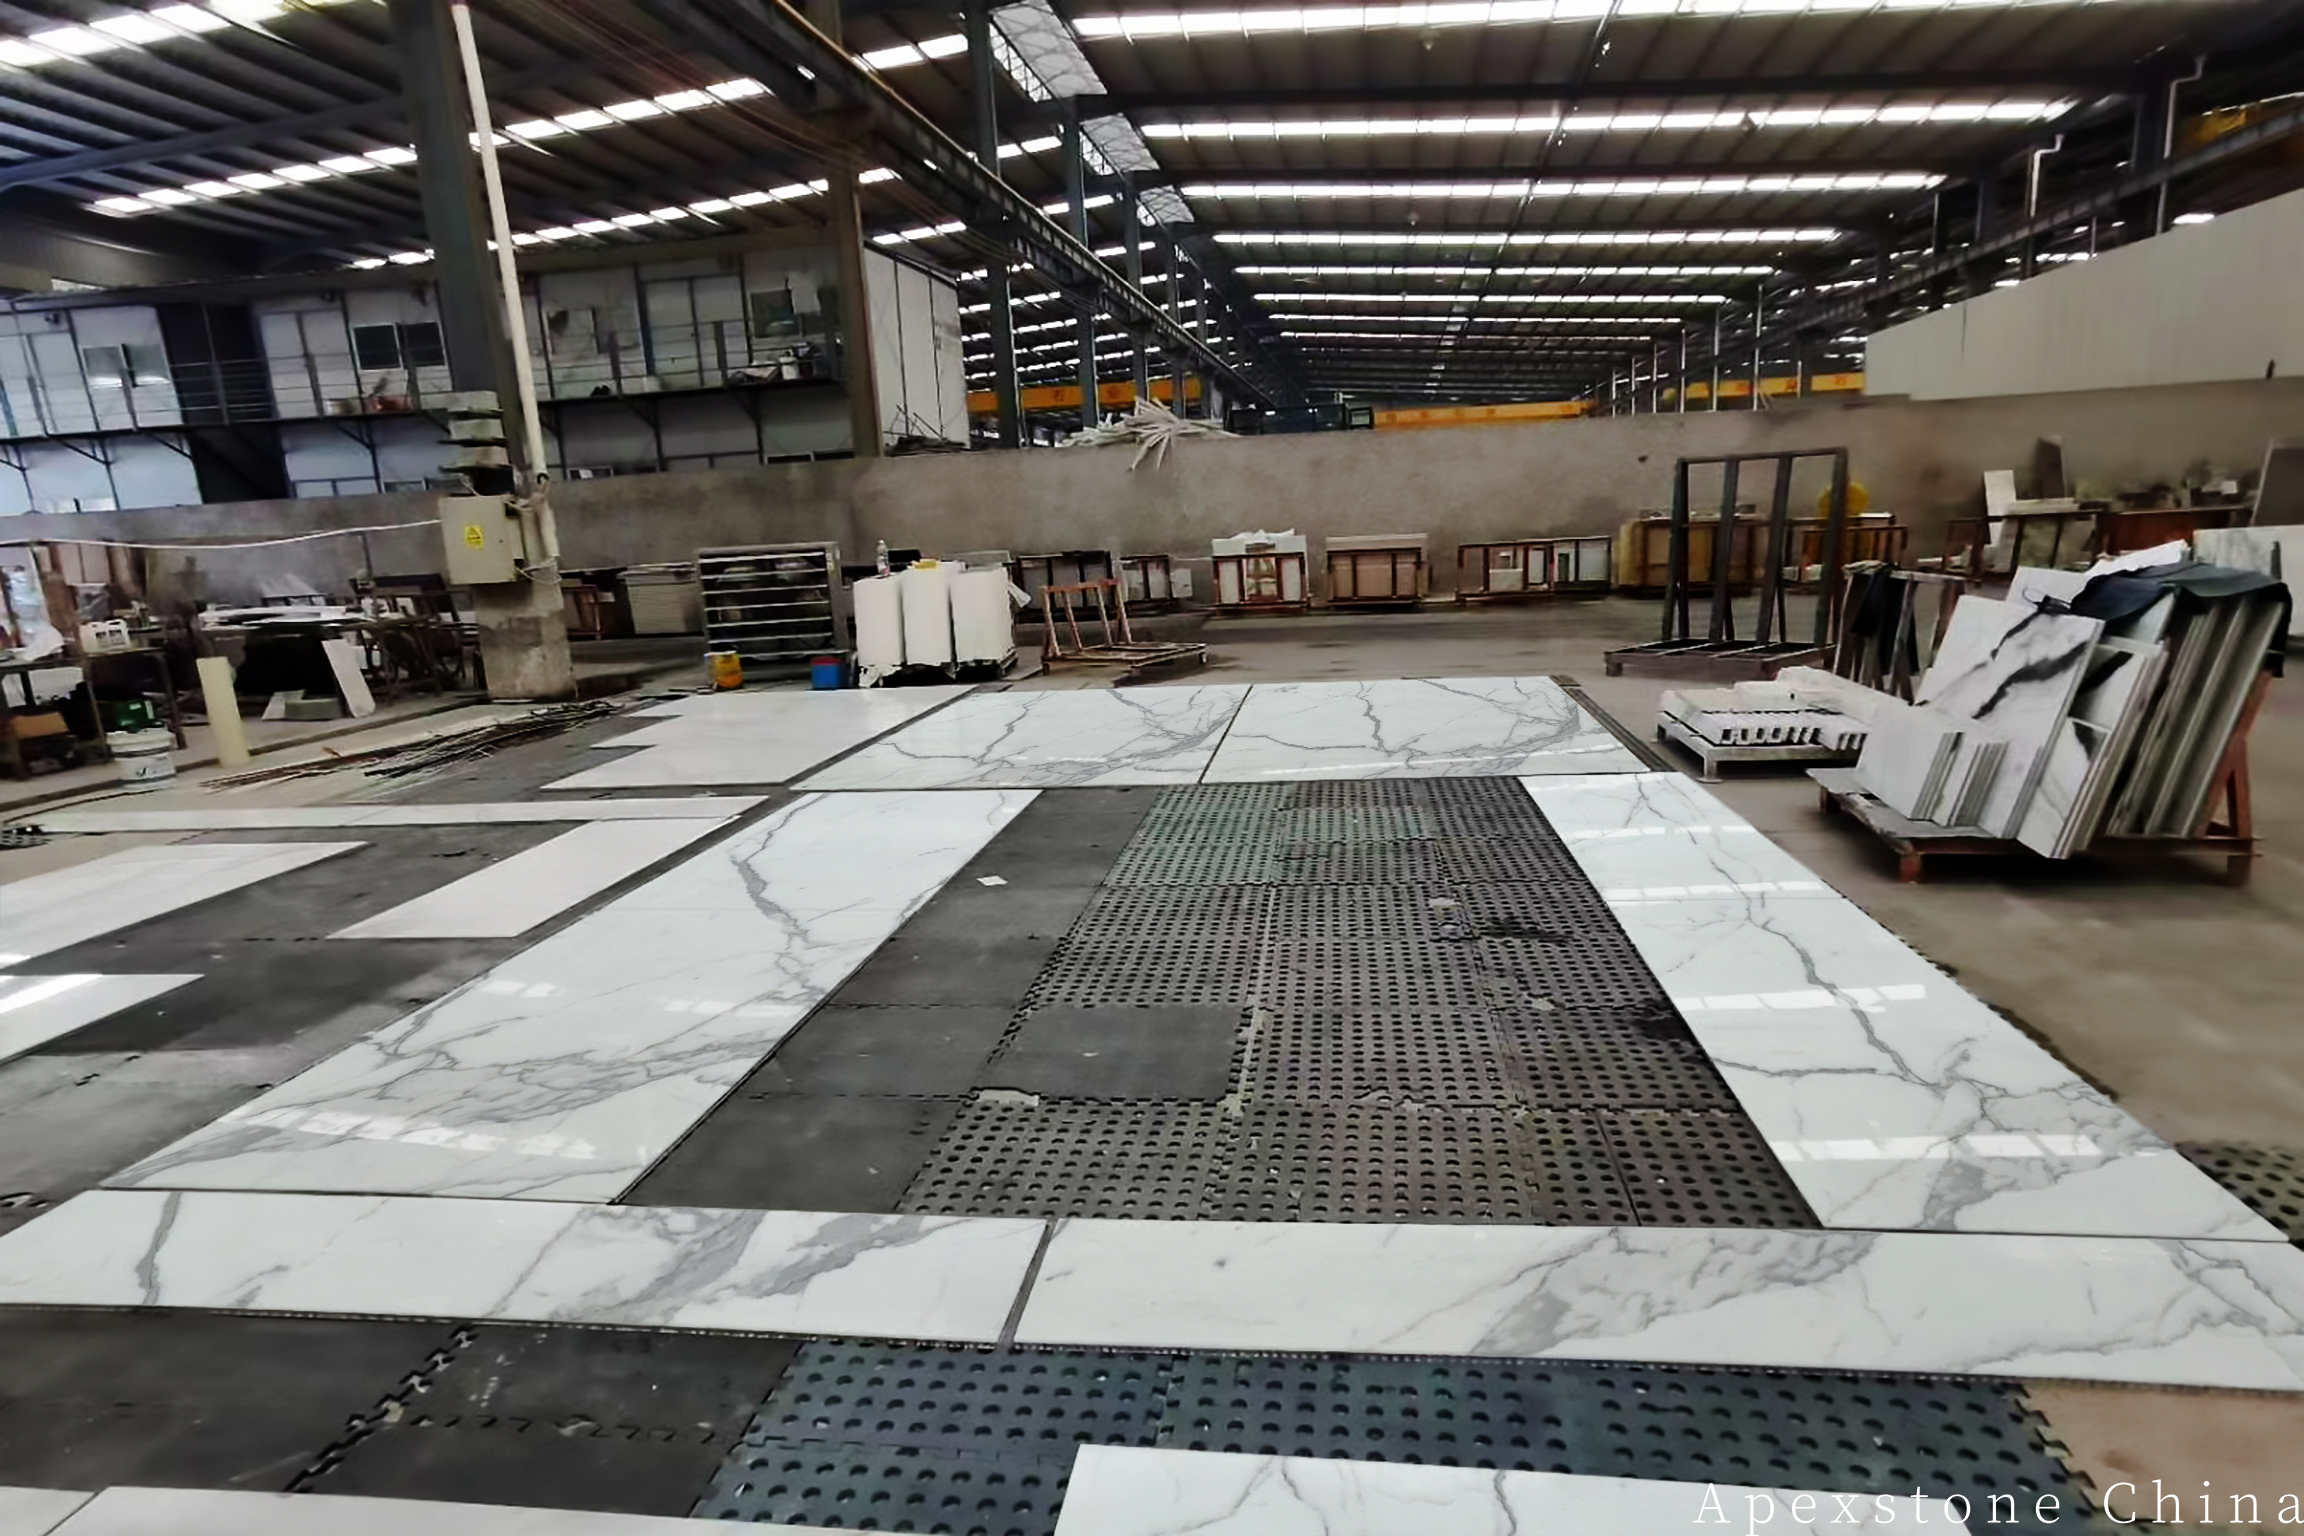
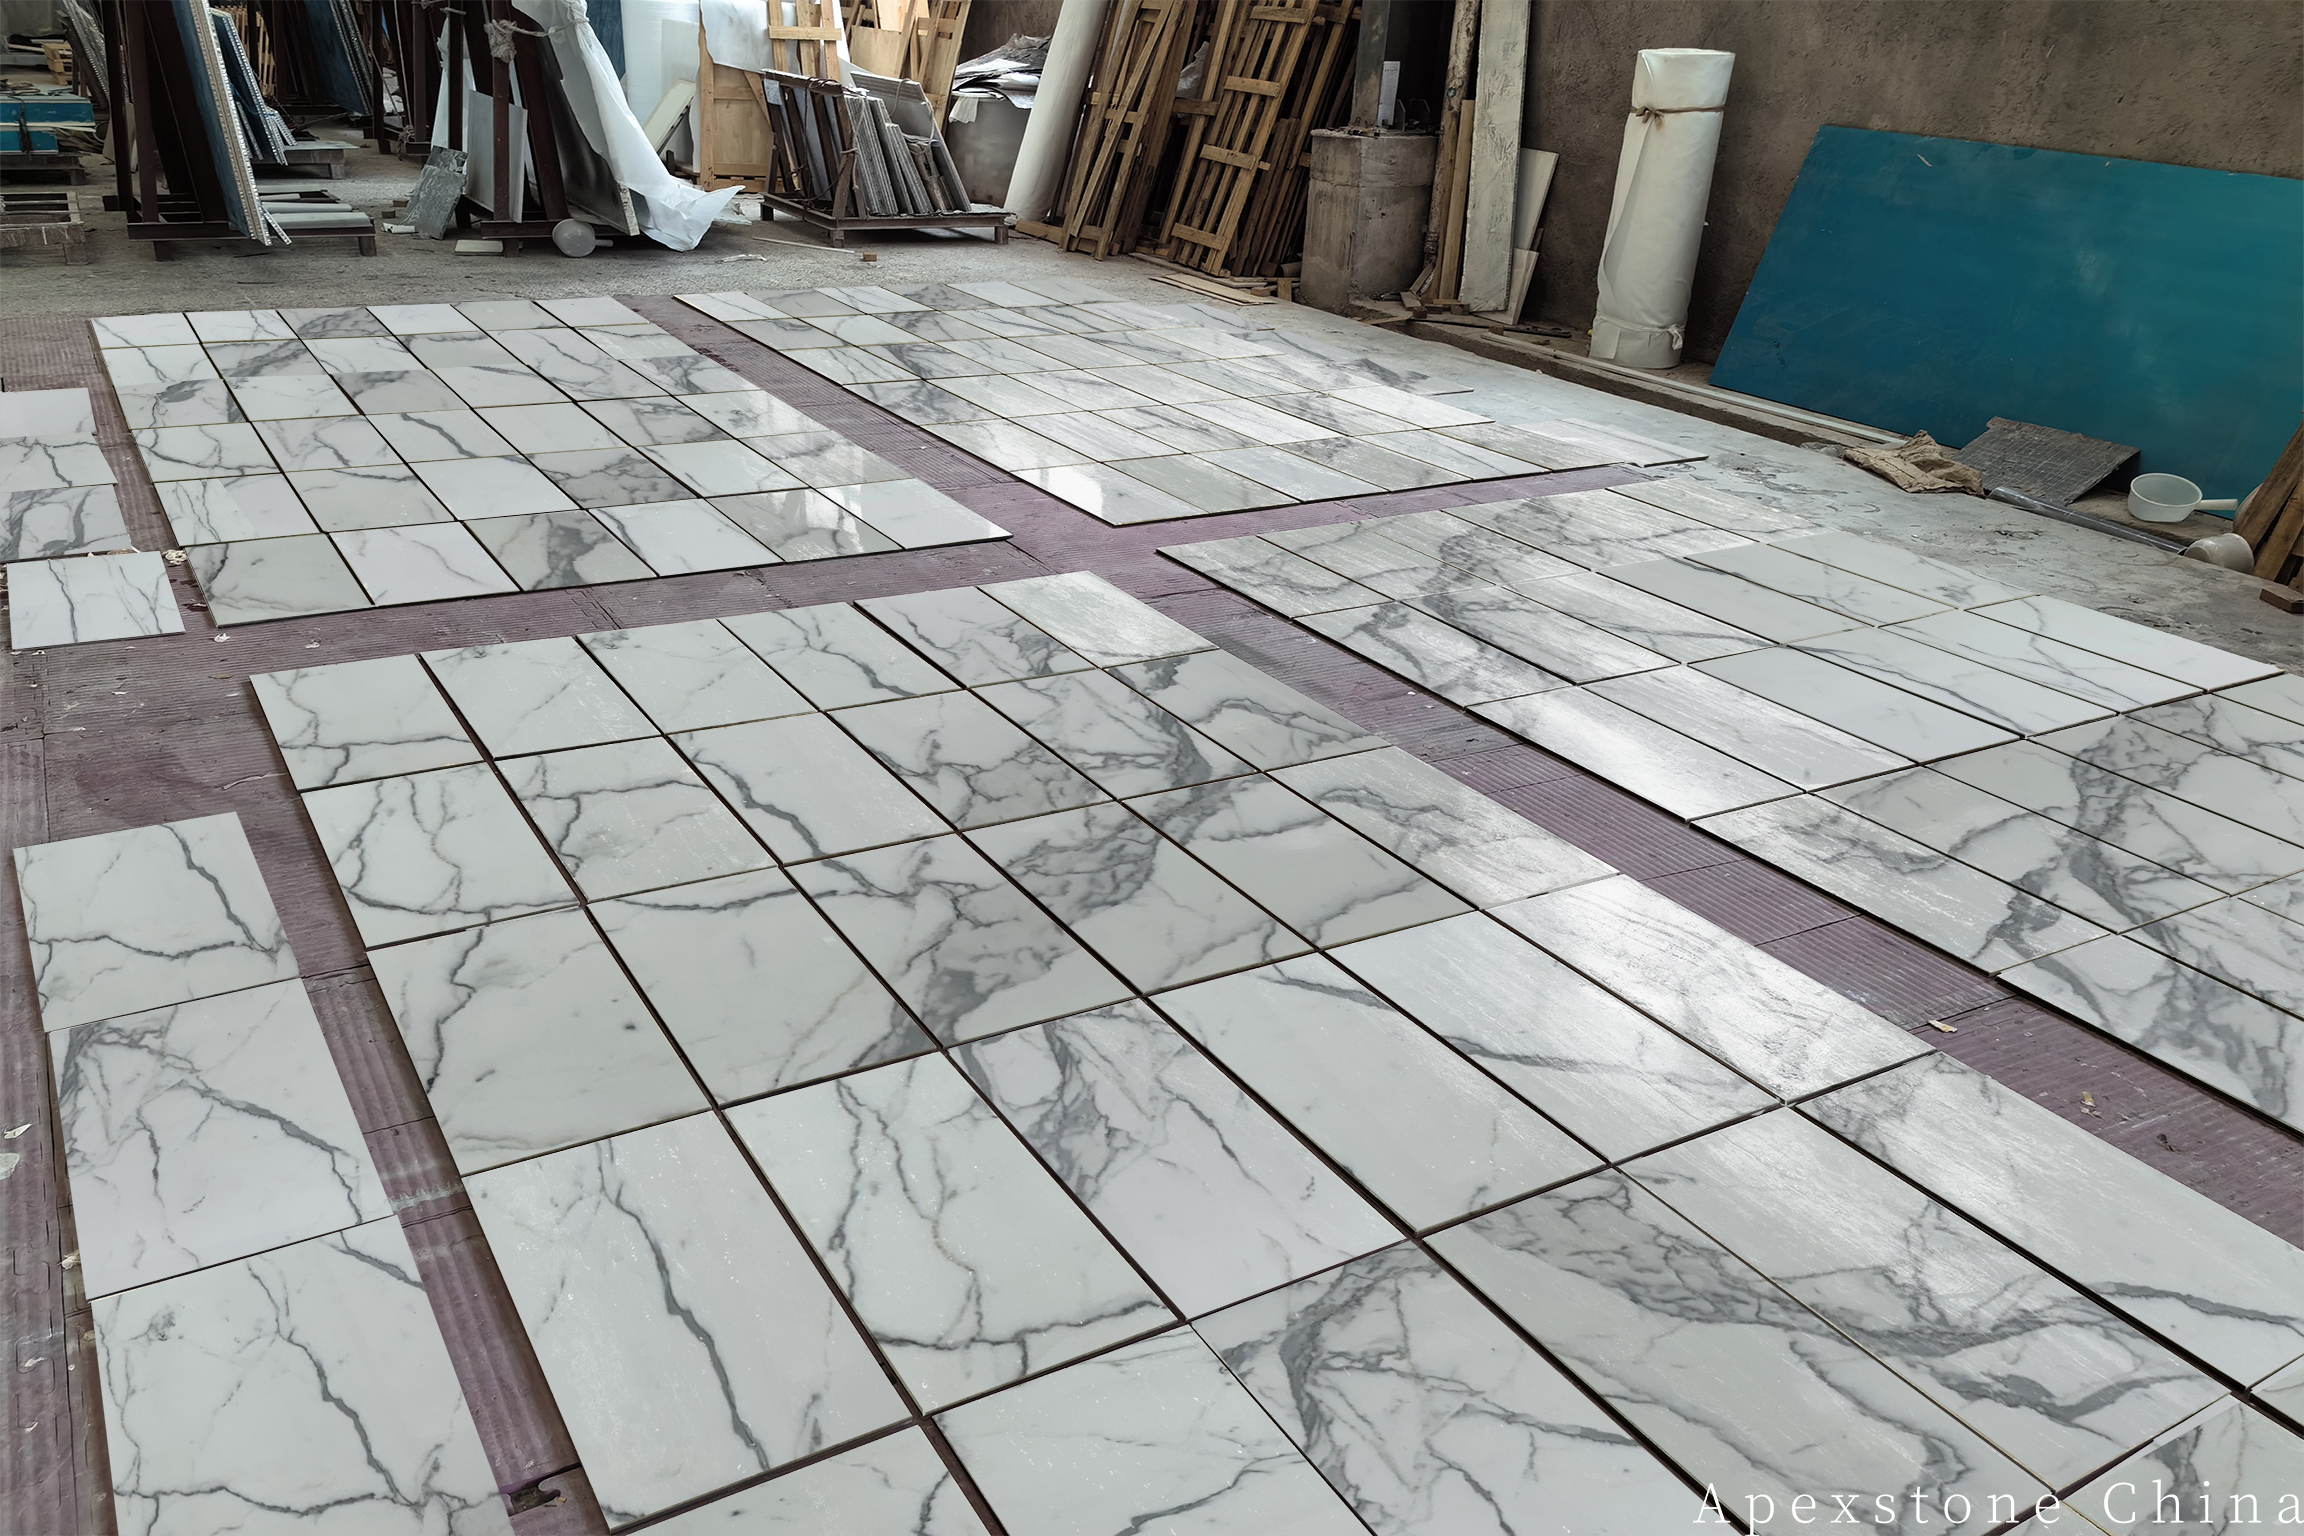
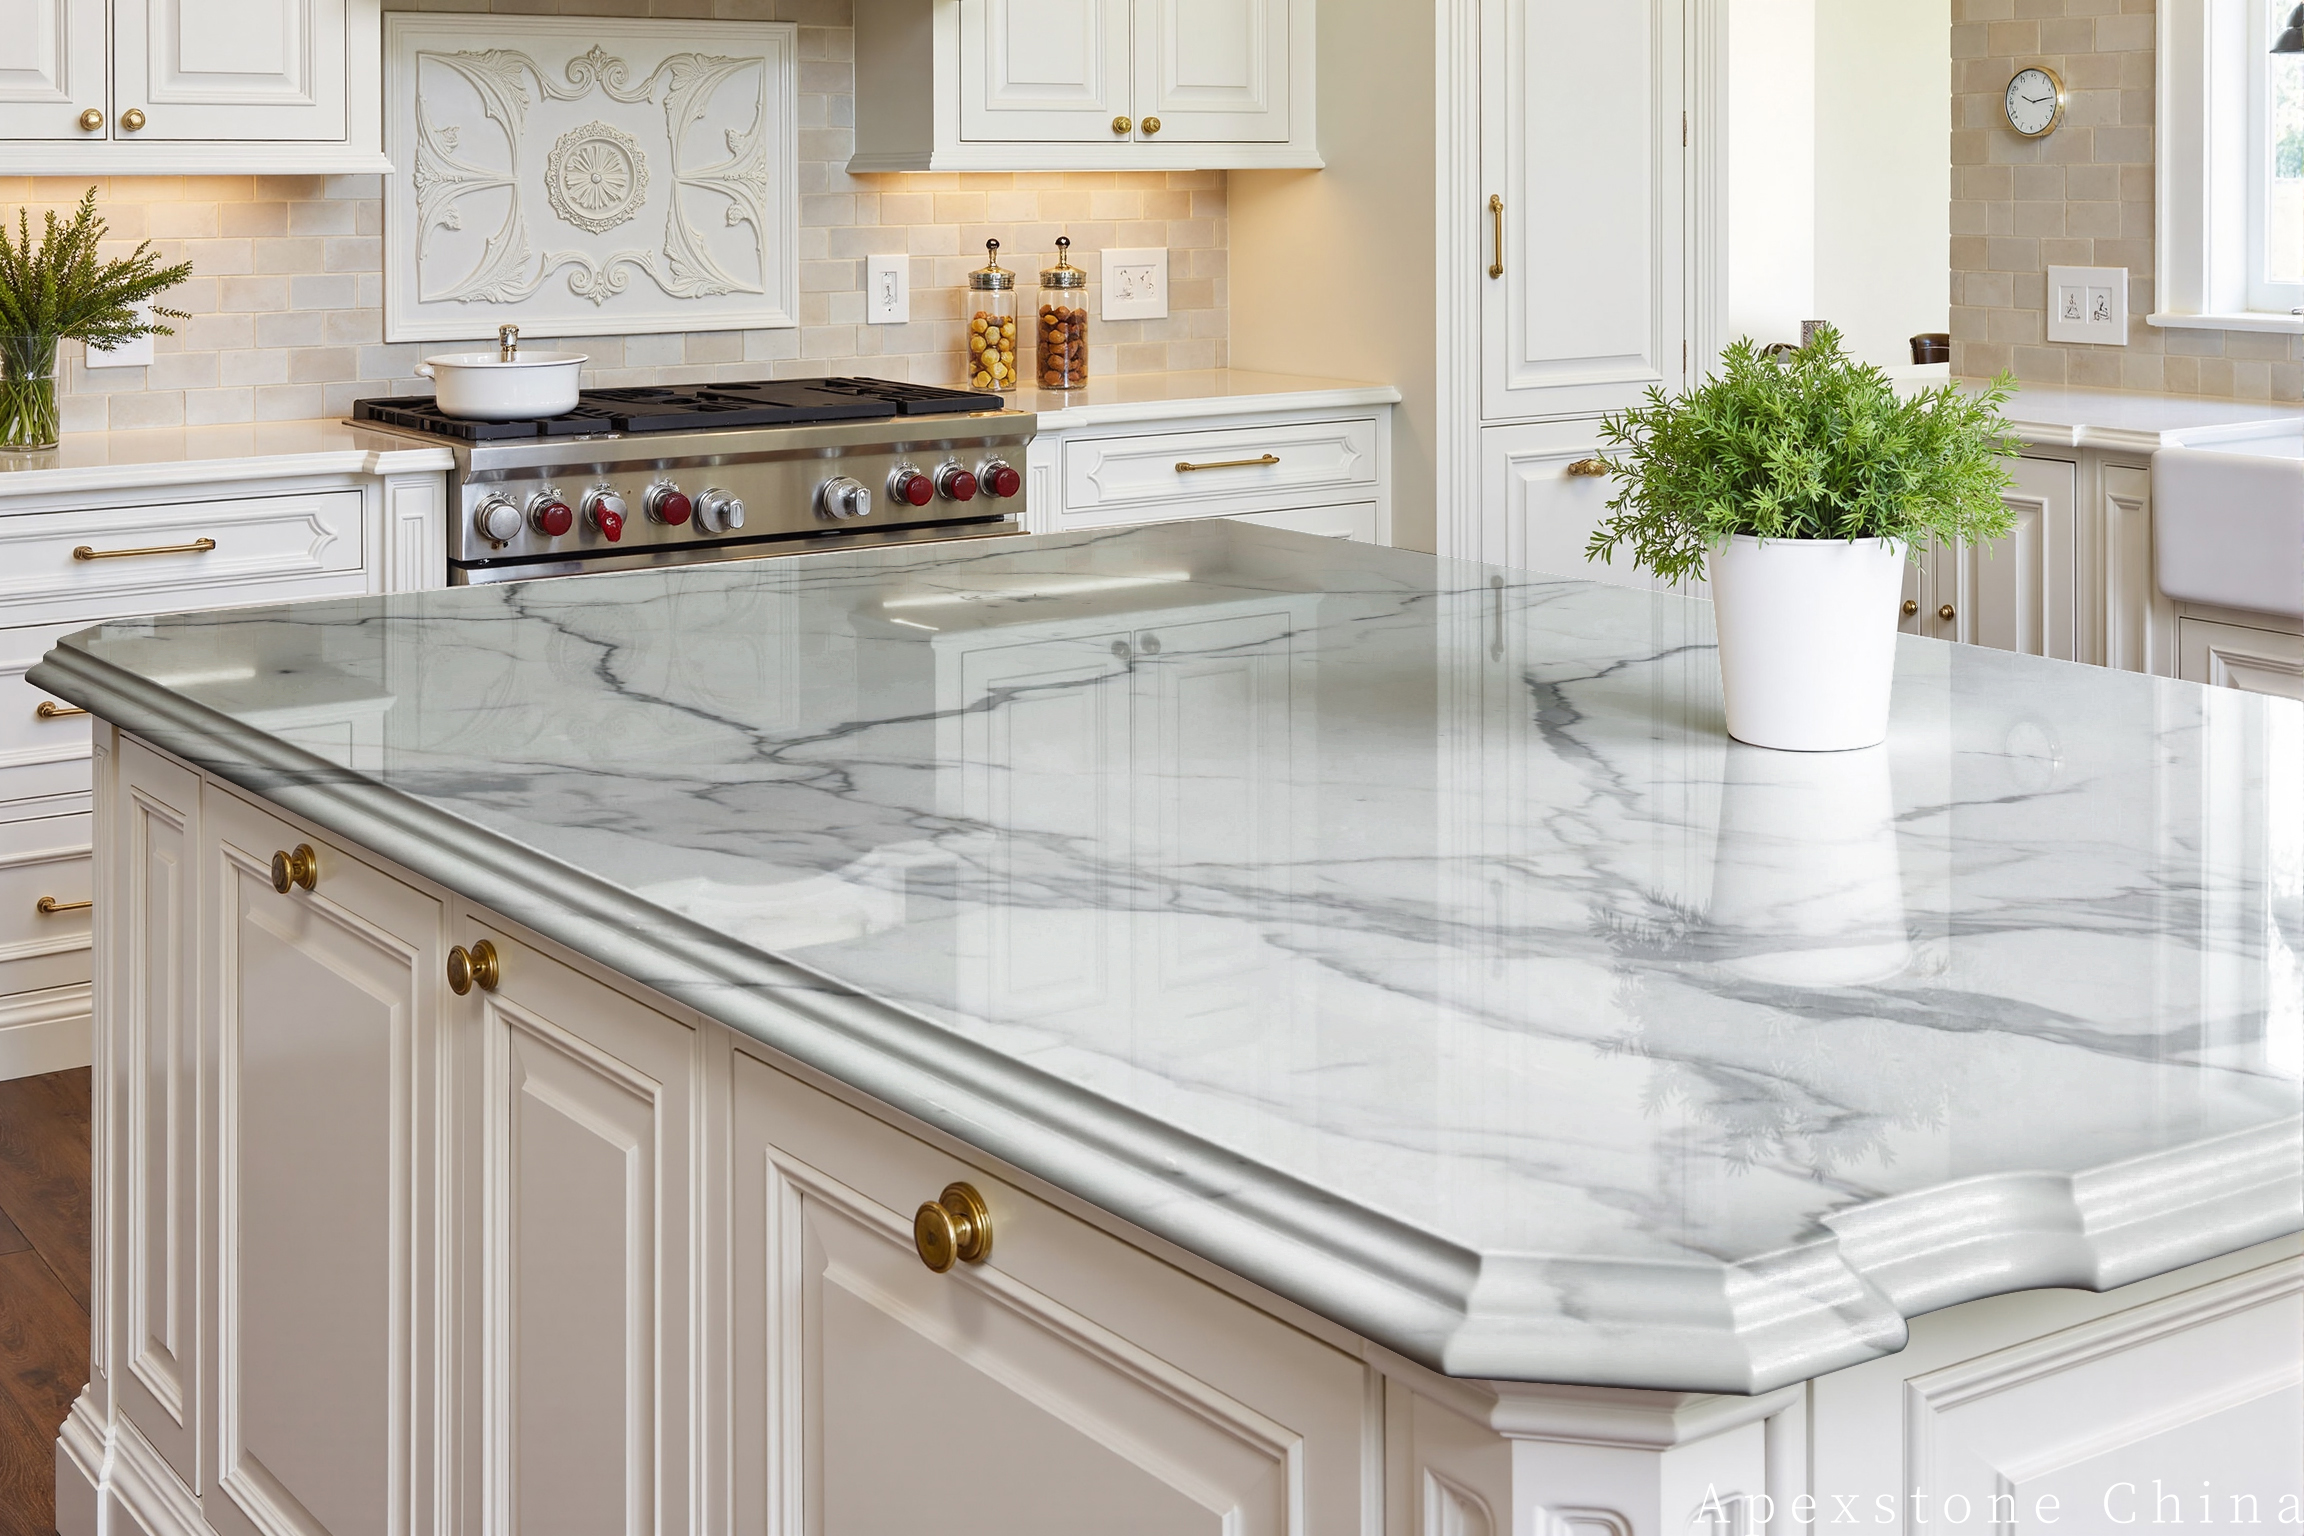
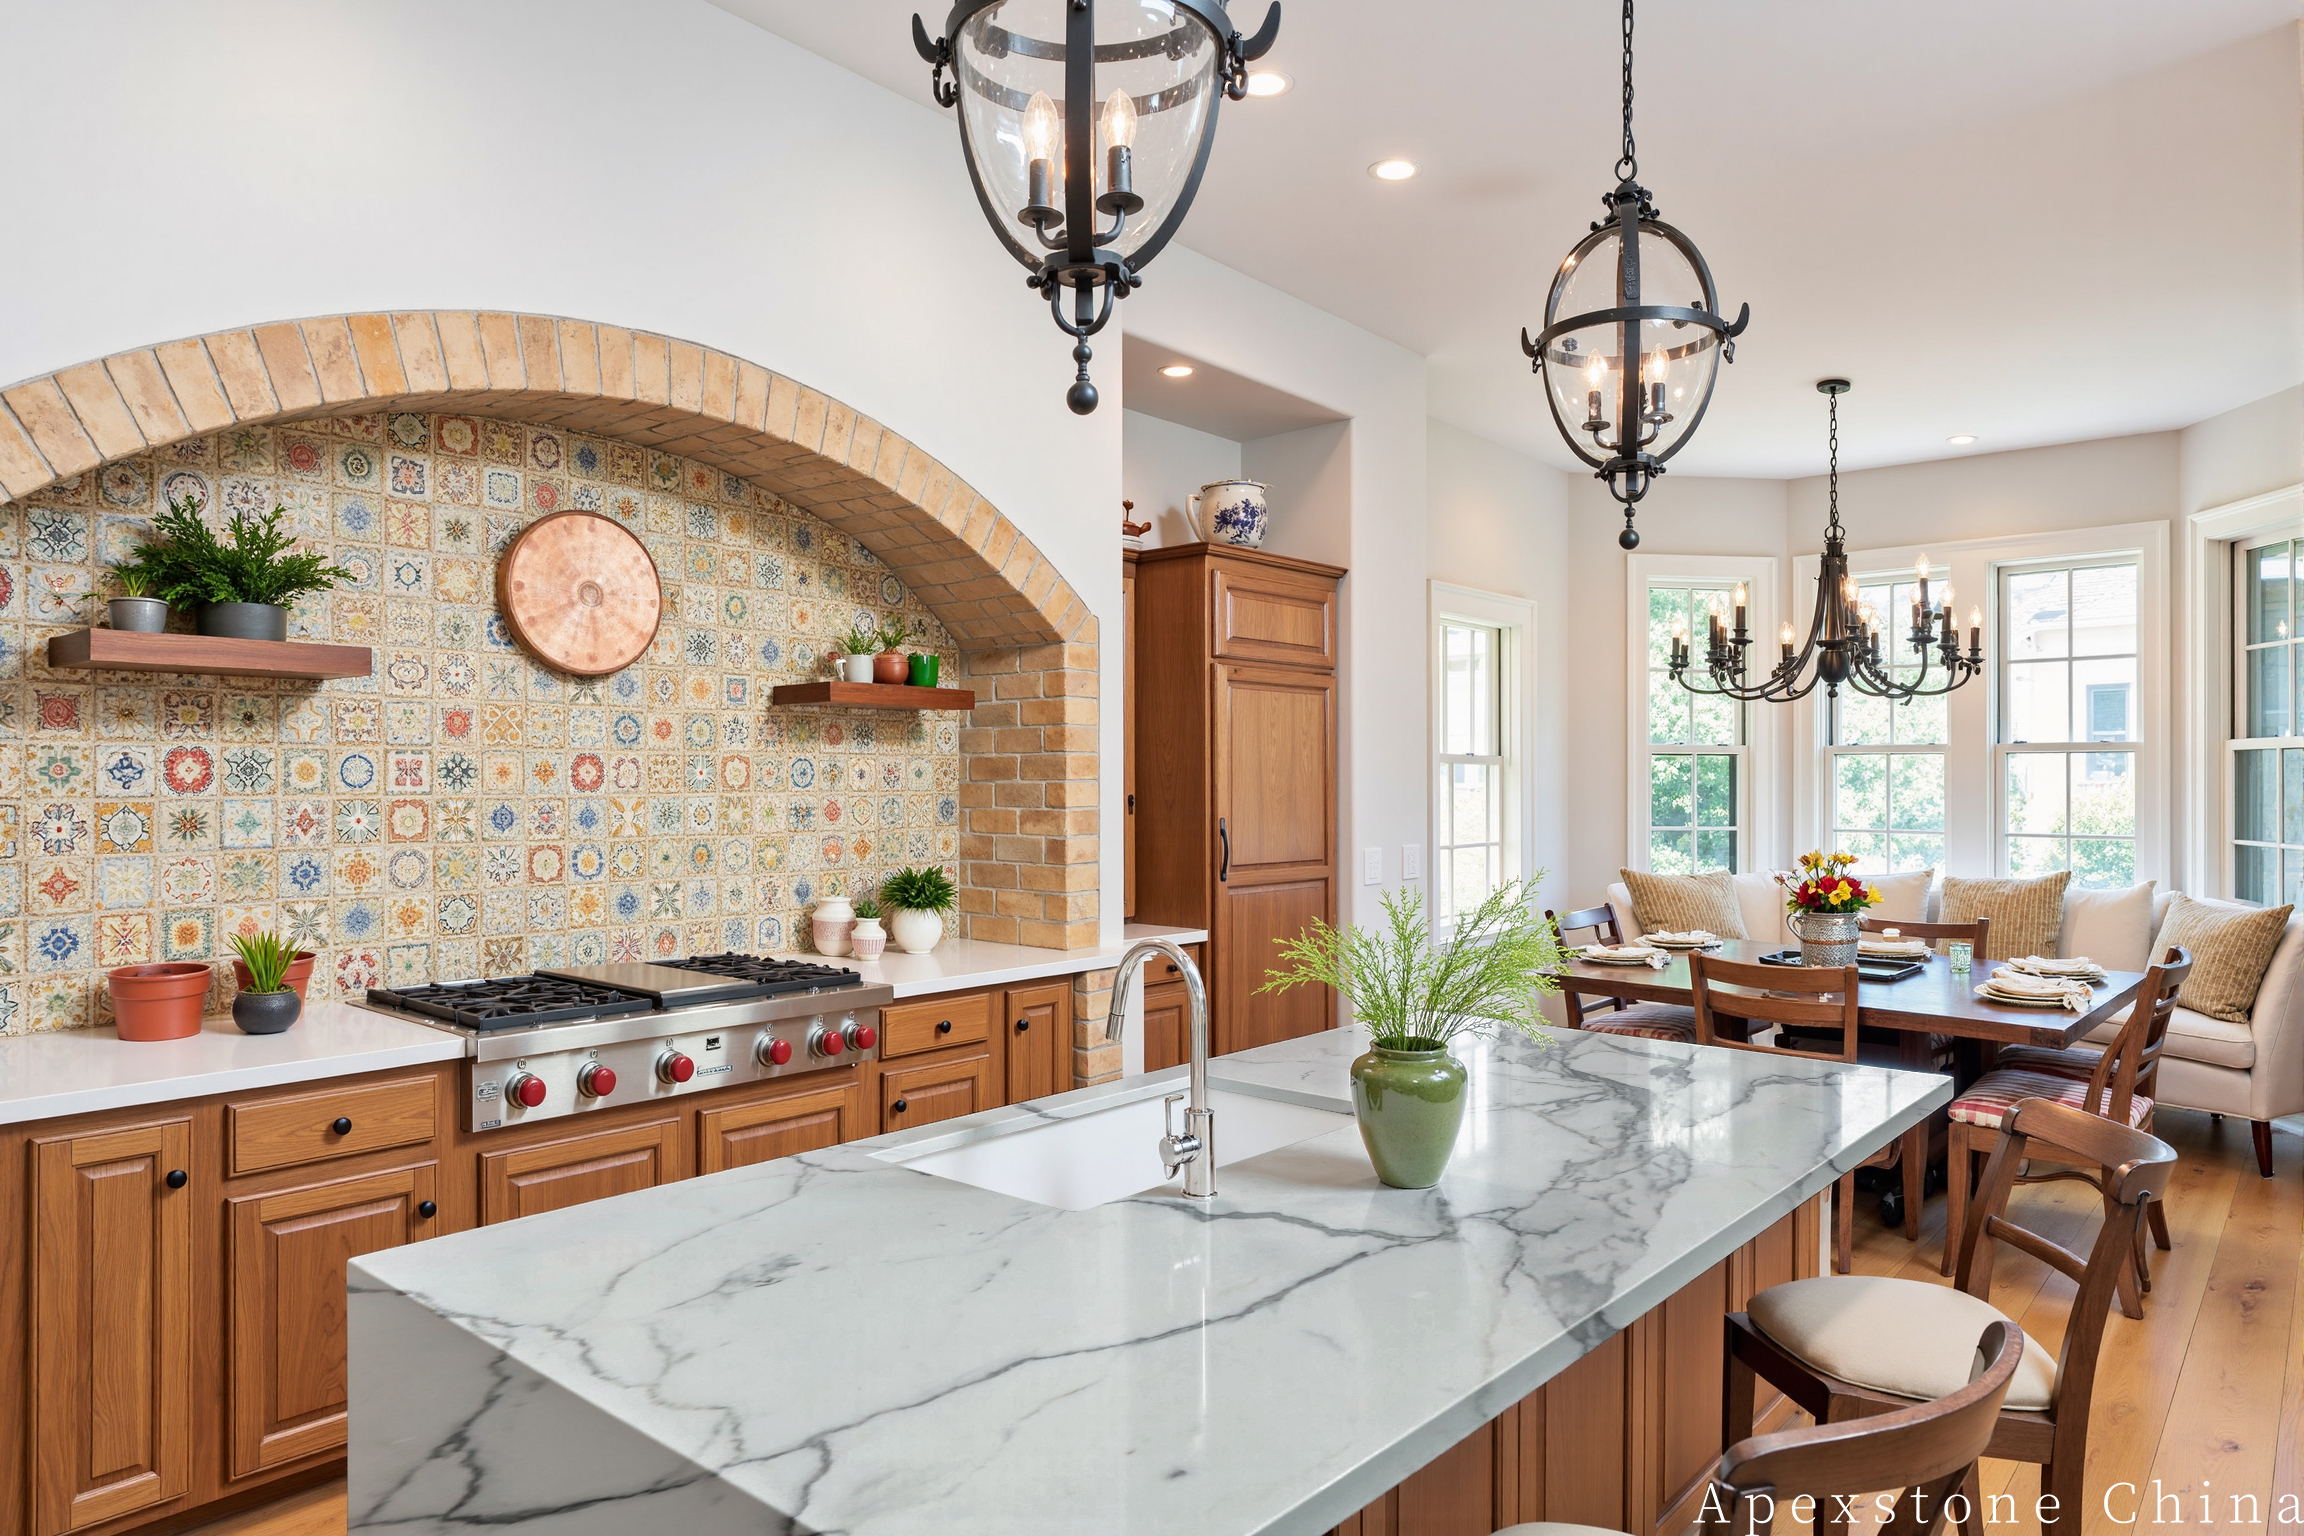
The first piece placed on the slab map should be the visual centre of the room—usually the island top. Waterfall returns, full-height backsplash and perimeter counters are then assigned to compatible zones. This preserves the design hierarchy and exposes any unavoidable seams before the client approves the layout.
Use the actual cabinet and appliance drawings. Reference countertop thicknesses are 20 mm (about 3/4 in) and 30 mm (about 1-1/4 in); common perimeter depth is 600-650 mm (24-26 in). Island length, overhang and edge build-up are project decisions, and the access route can be as important as the slab dimensions.

Kitchen Layout Evidence
Six surfaces, six different drawing problems
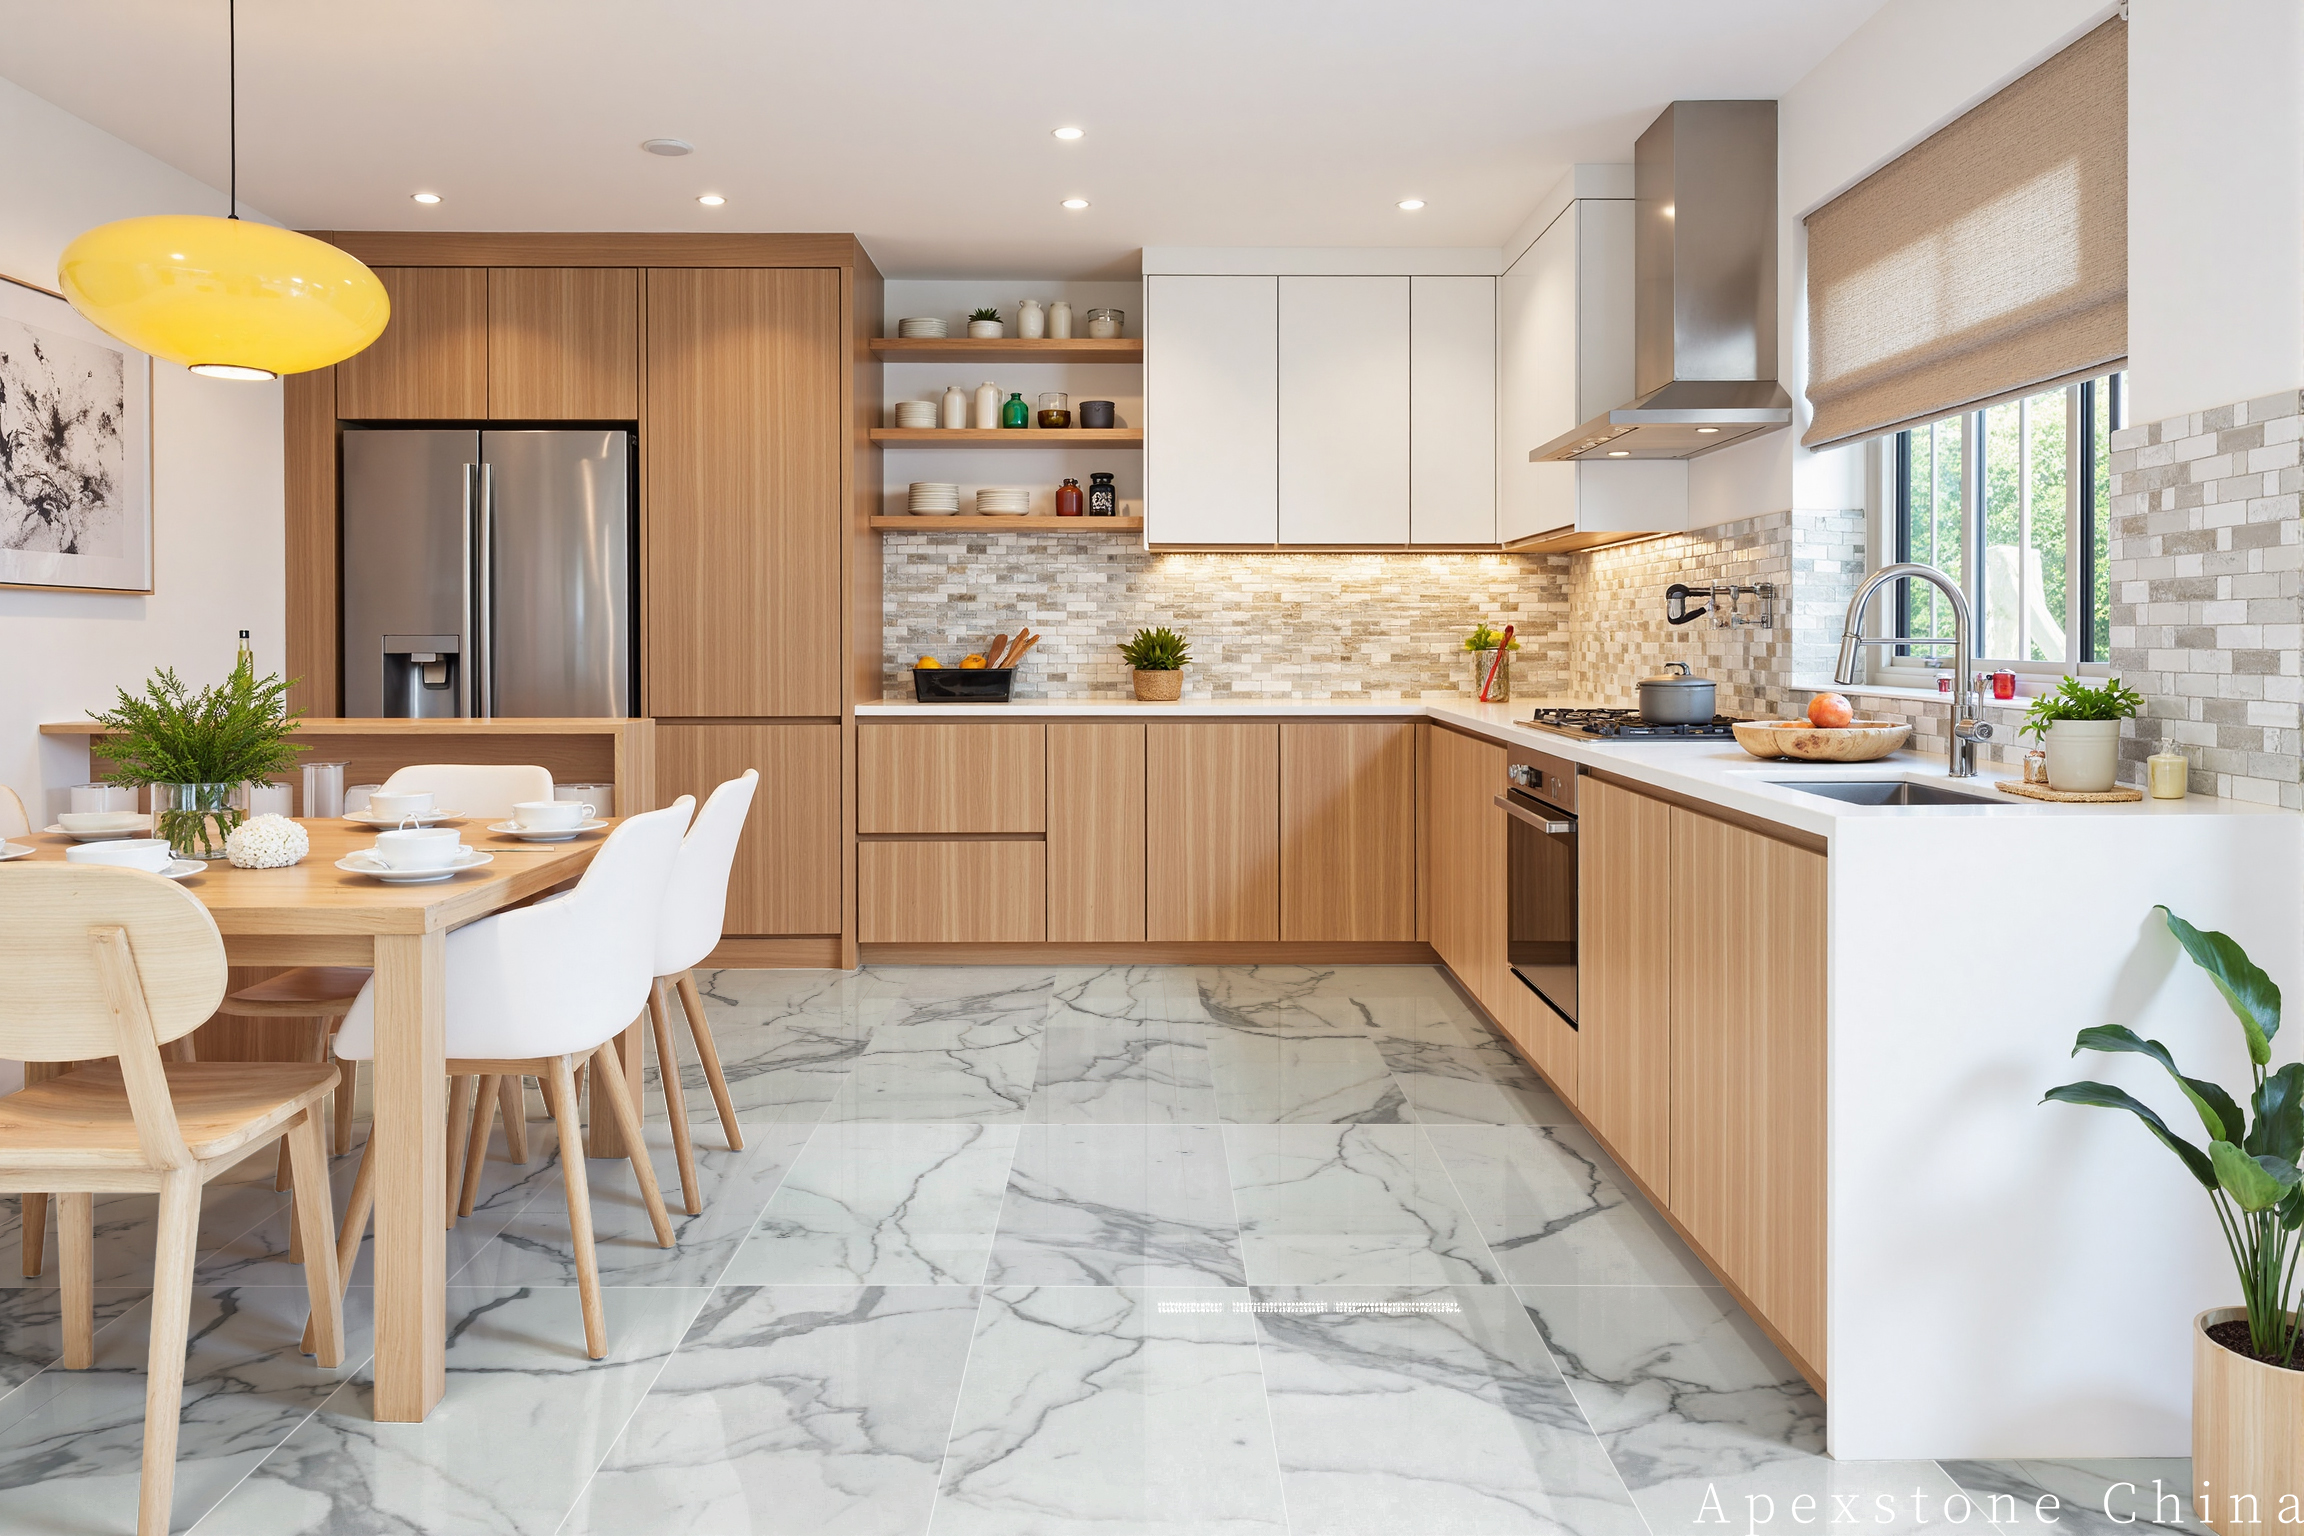
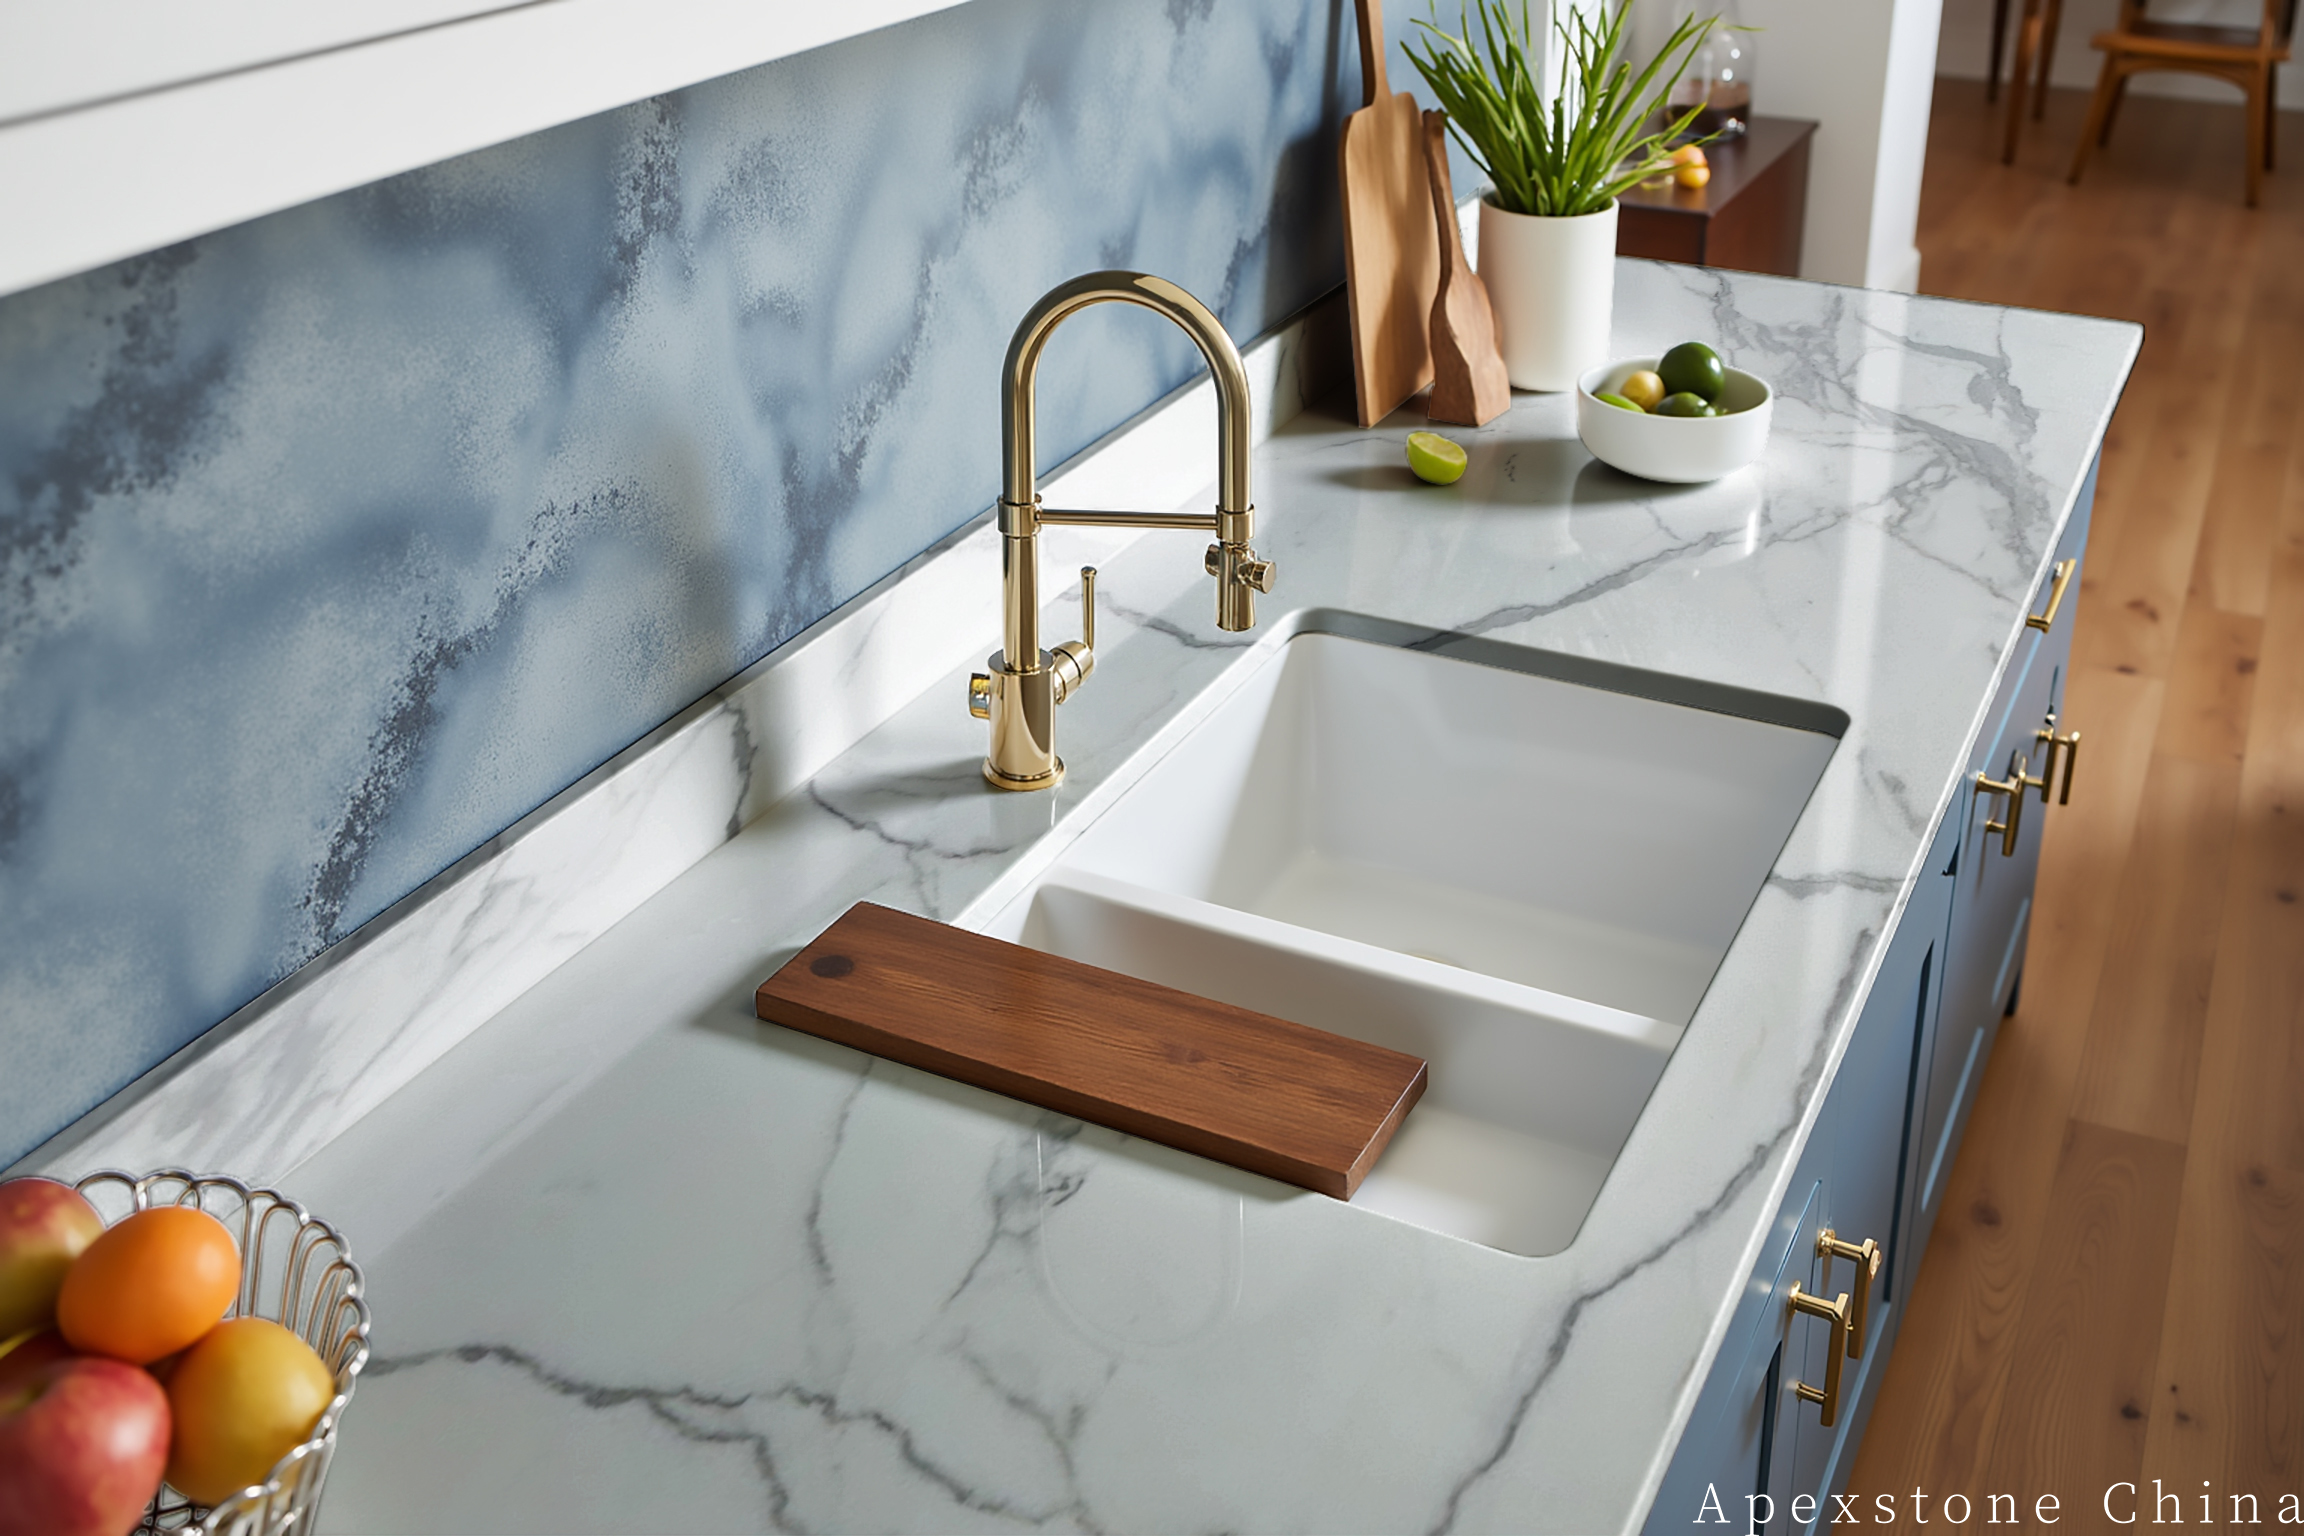
The gallery distinguishes floor, backsplash, island and countertop scenes by their exact mapped image descriptions.



From the production manager’s desk
Four drawing conflicts to resolve before CNC work
Island yield versus seam position
Place the island first and show any seam on the client-facing layout before reservation.
Waterfall vein versus cabinet geometry
A convincing return needs compatible slab zones, accurate mitres, square cabinetry and a level floor.
Cut-out centre versus fragile rail
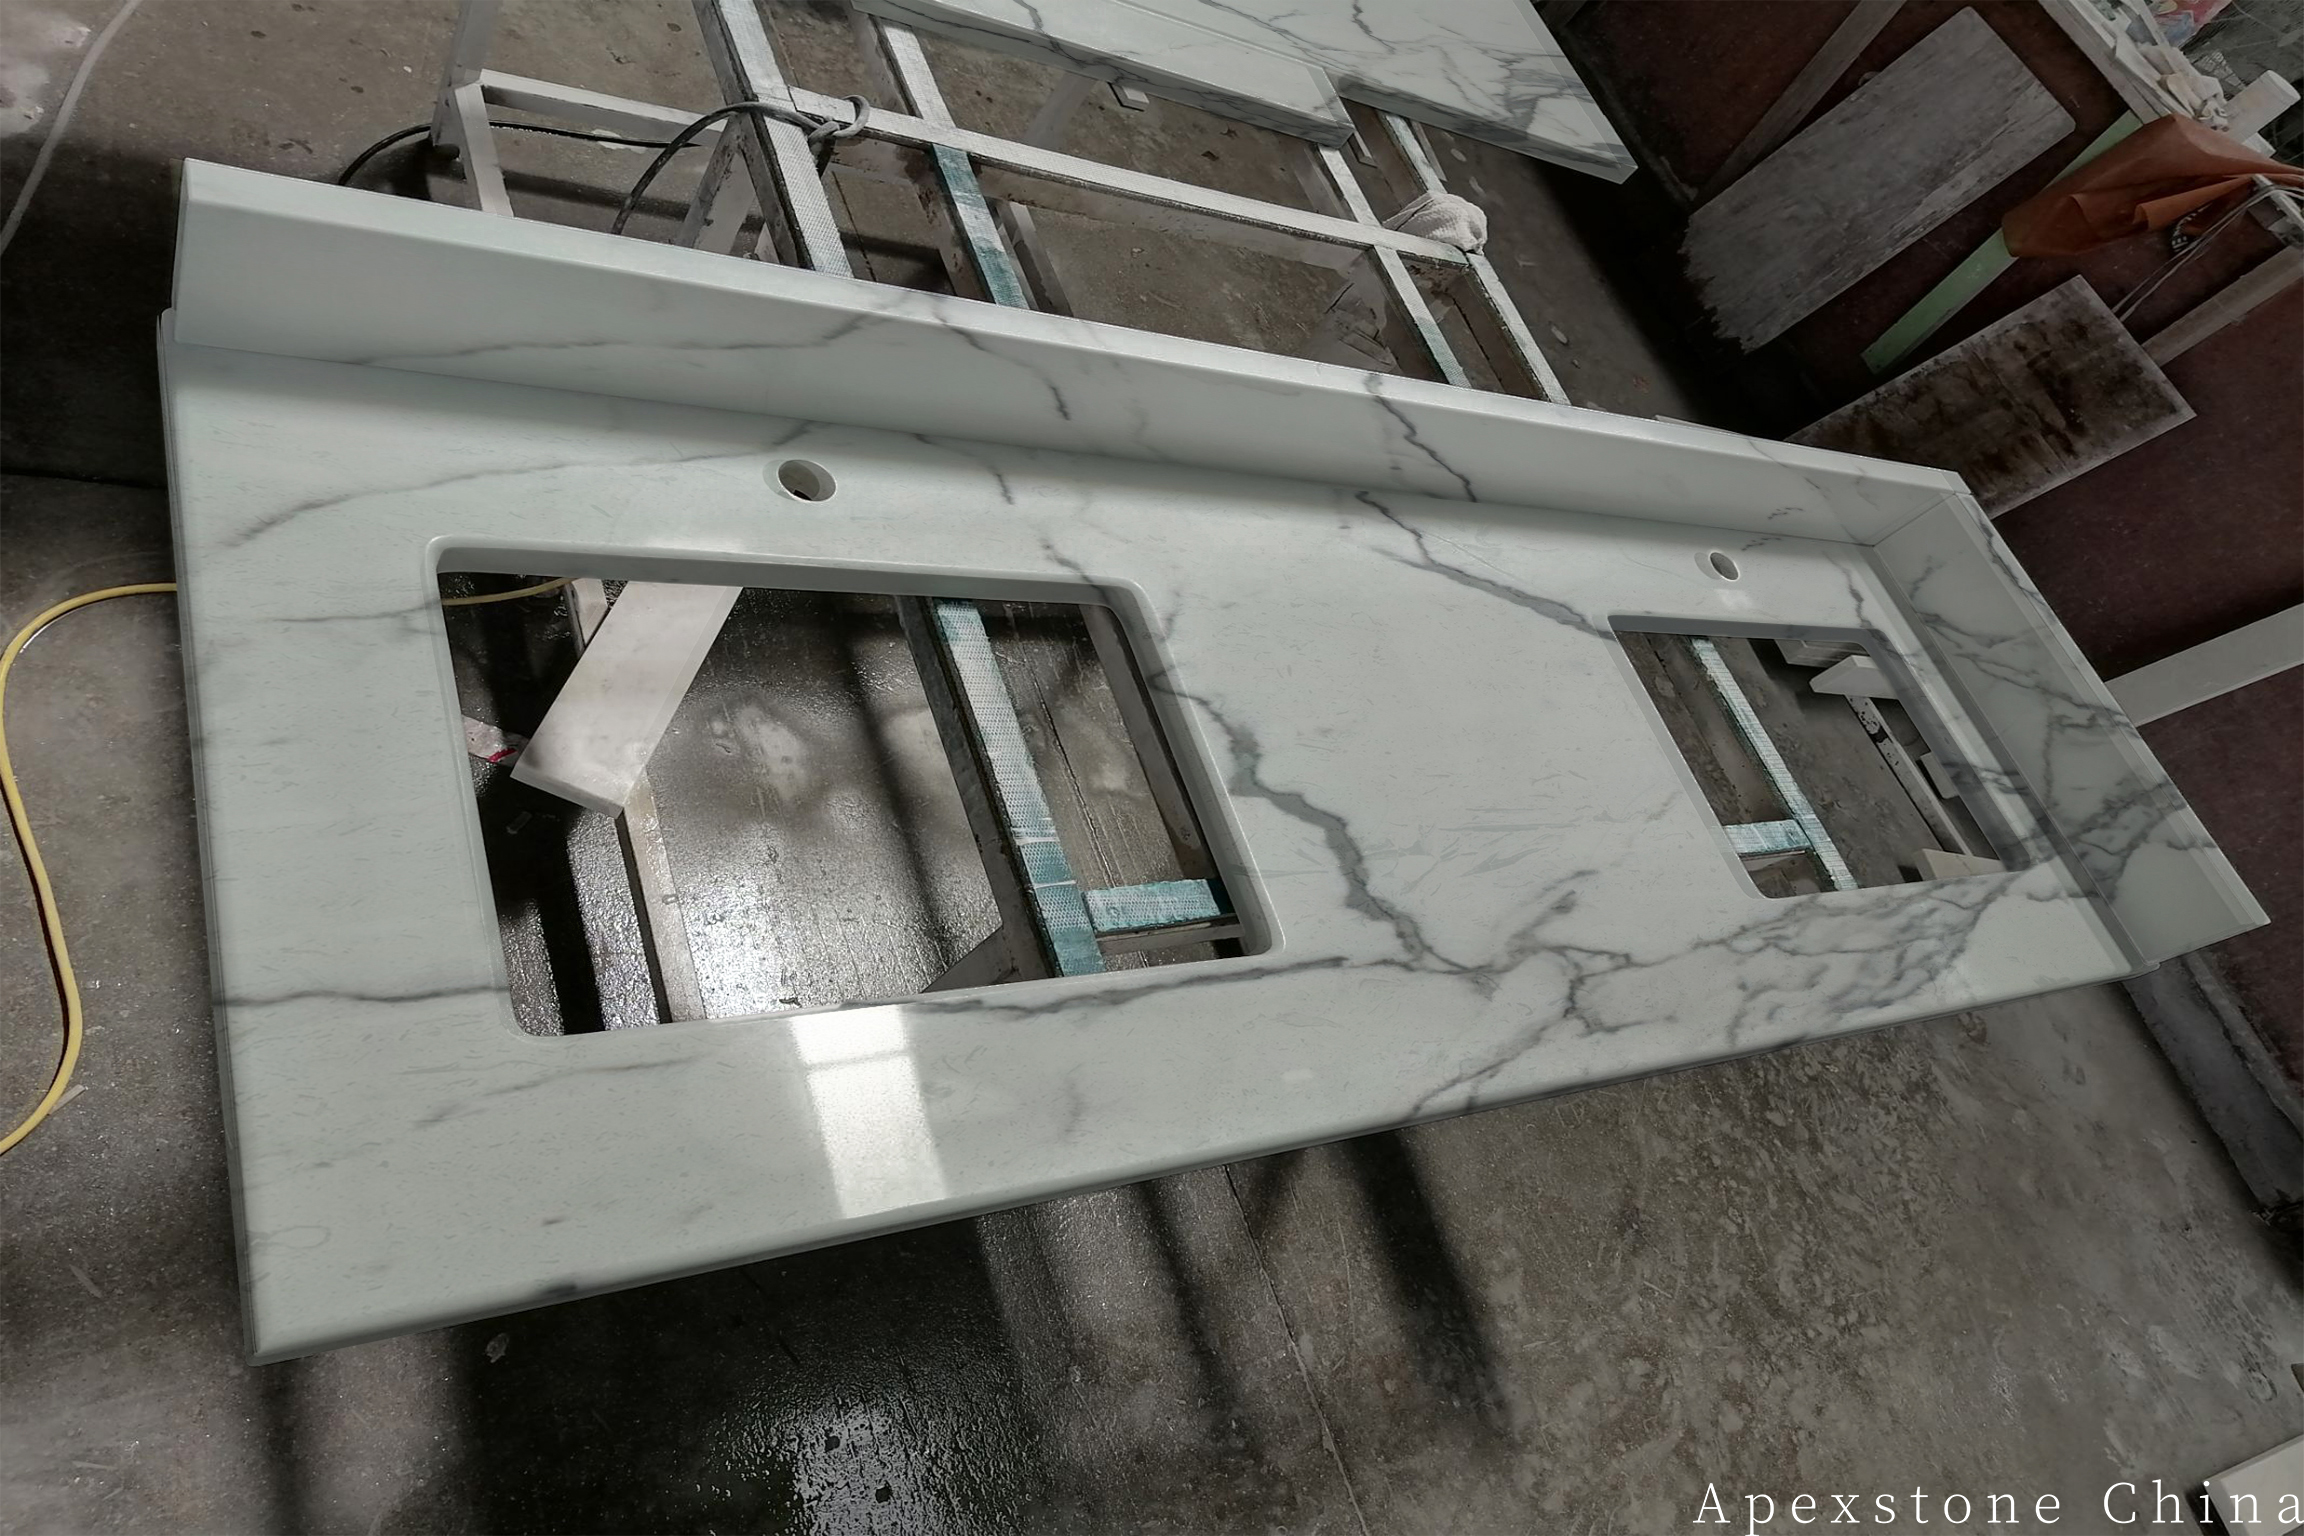
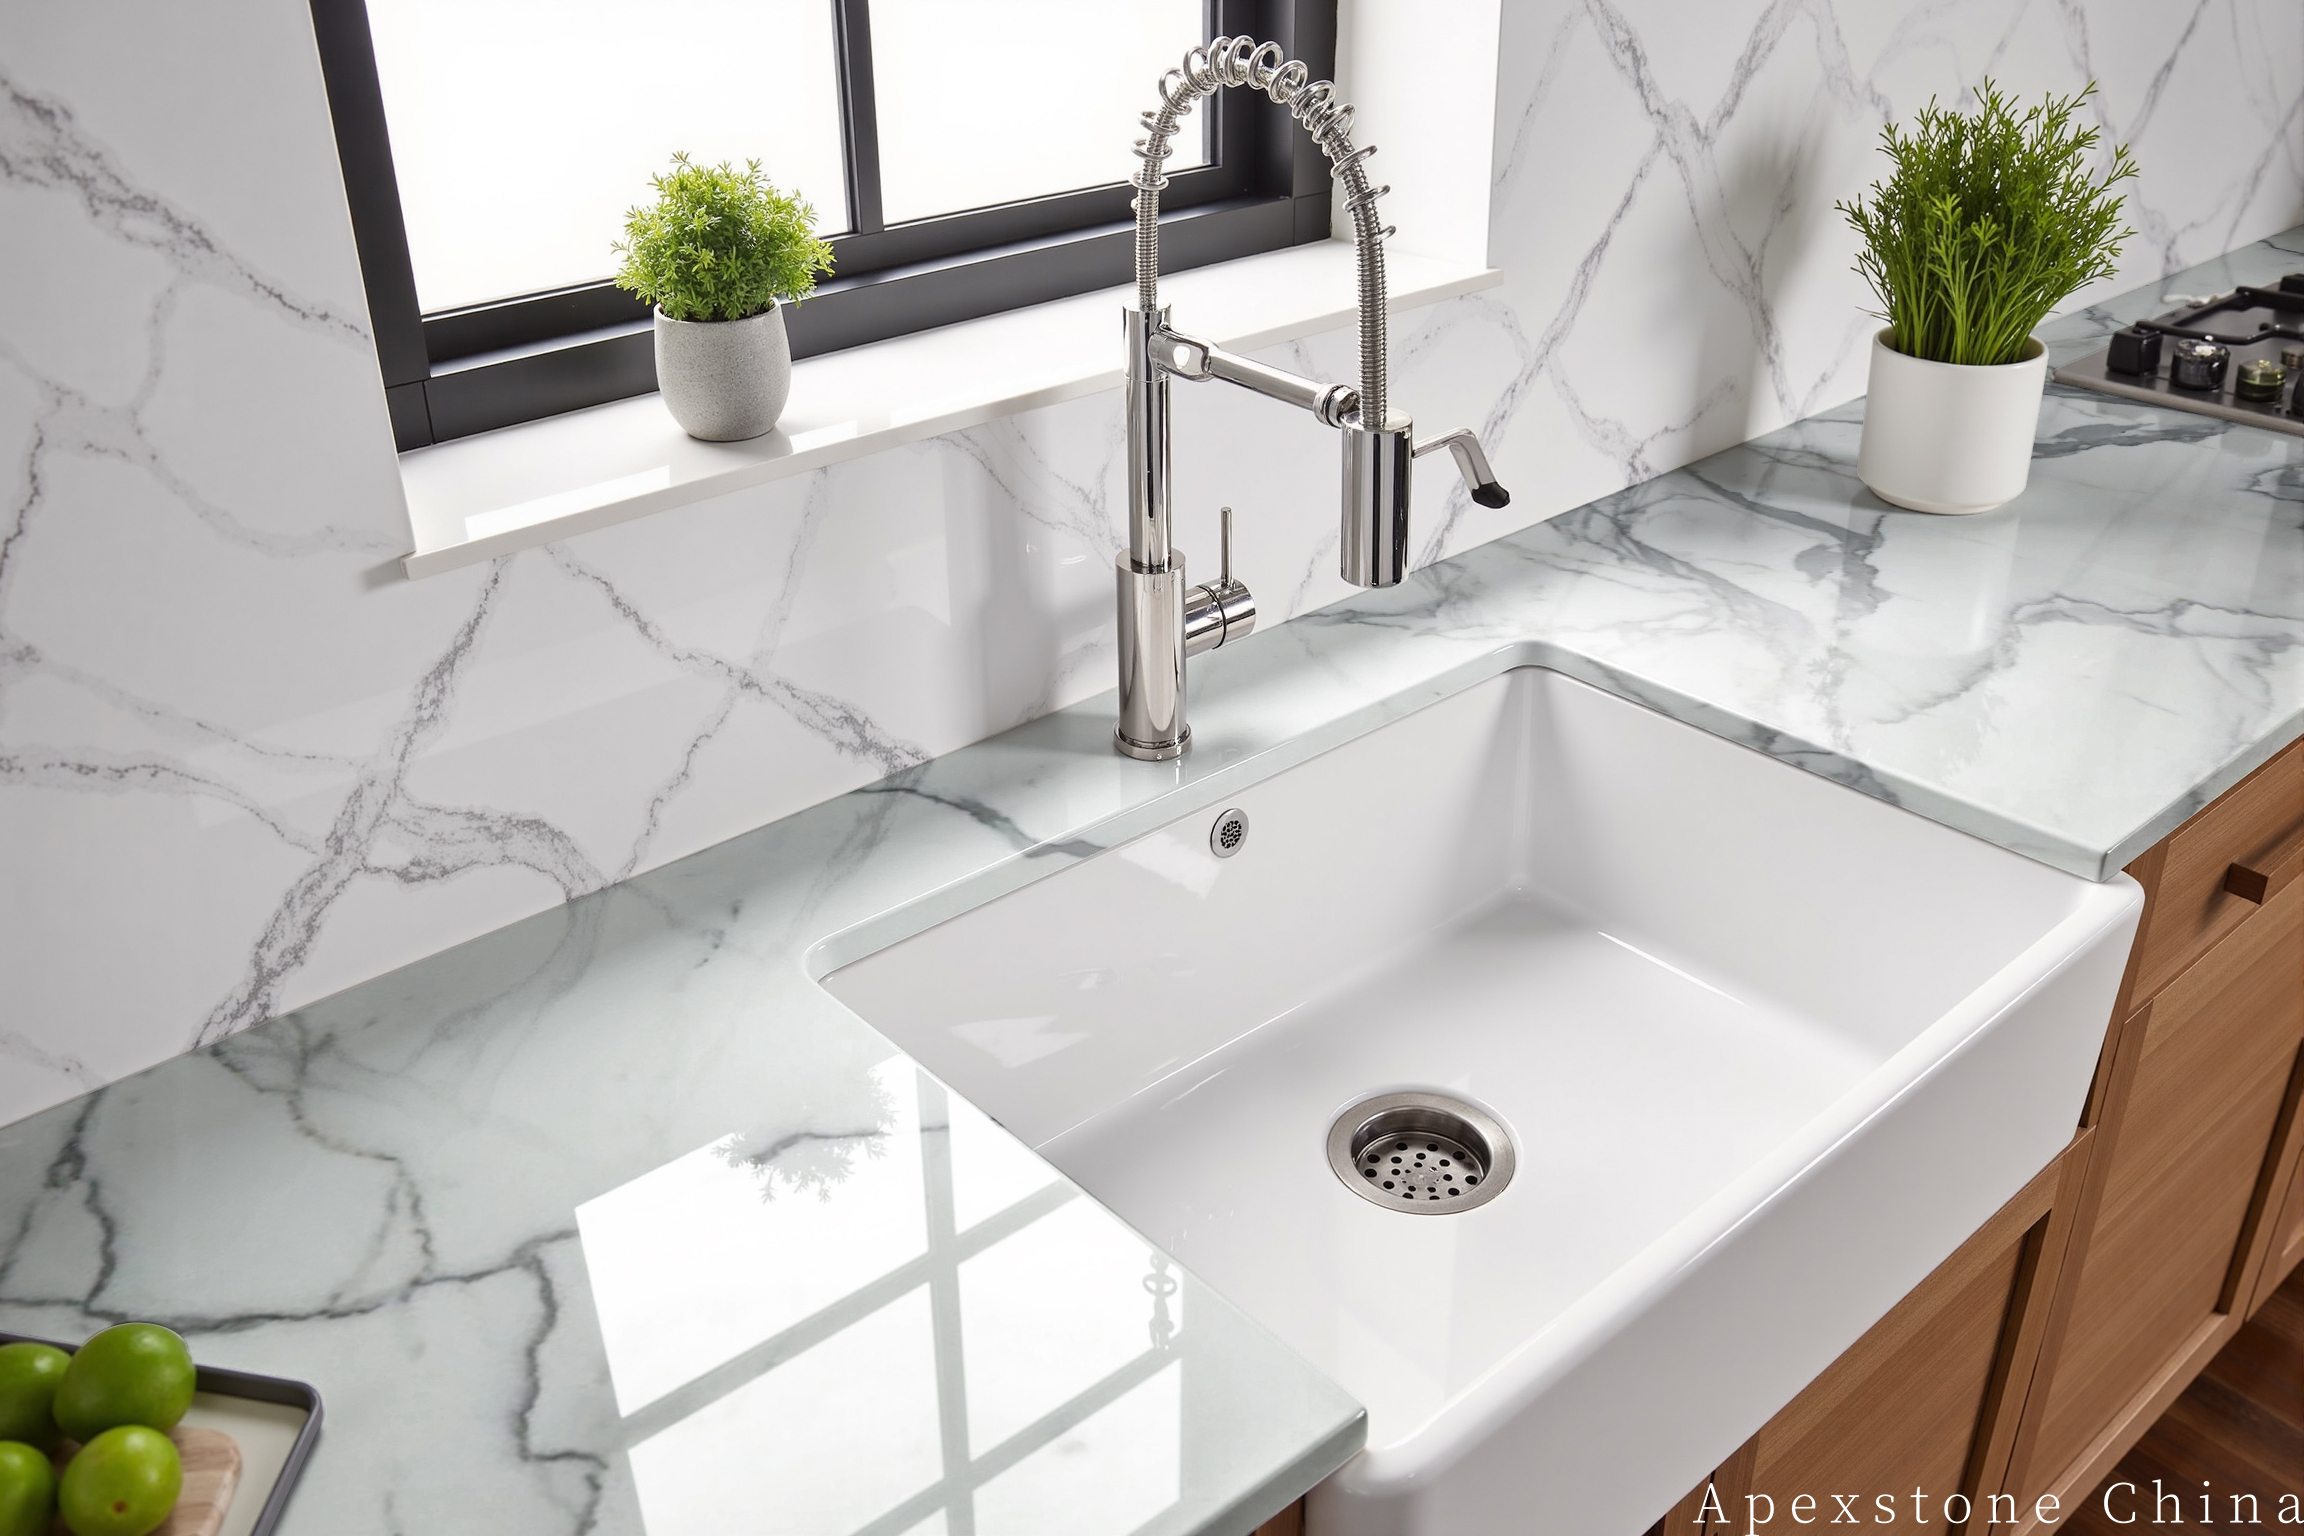
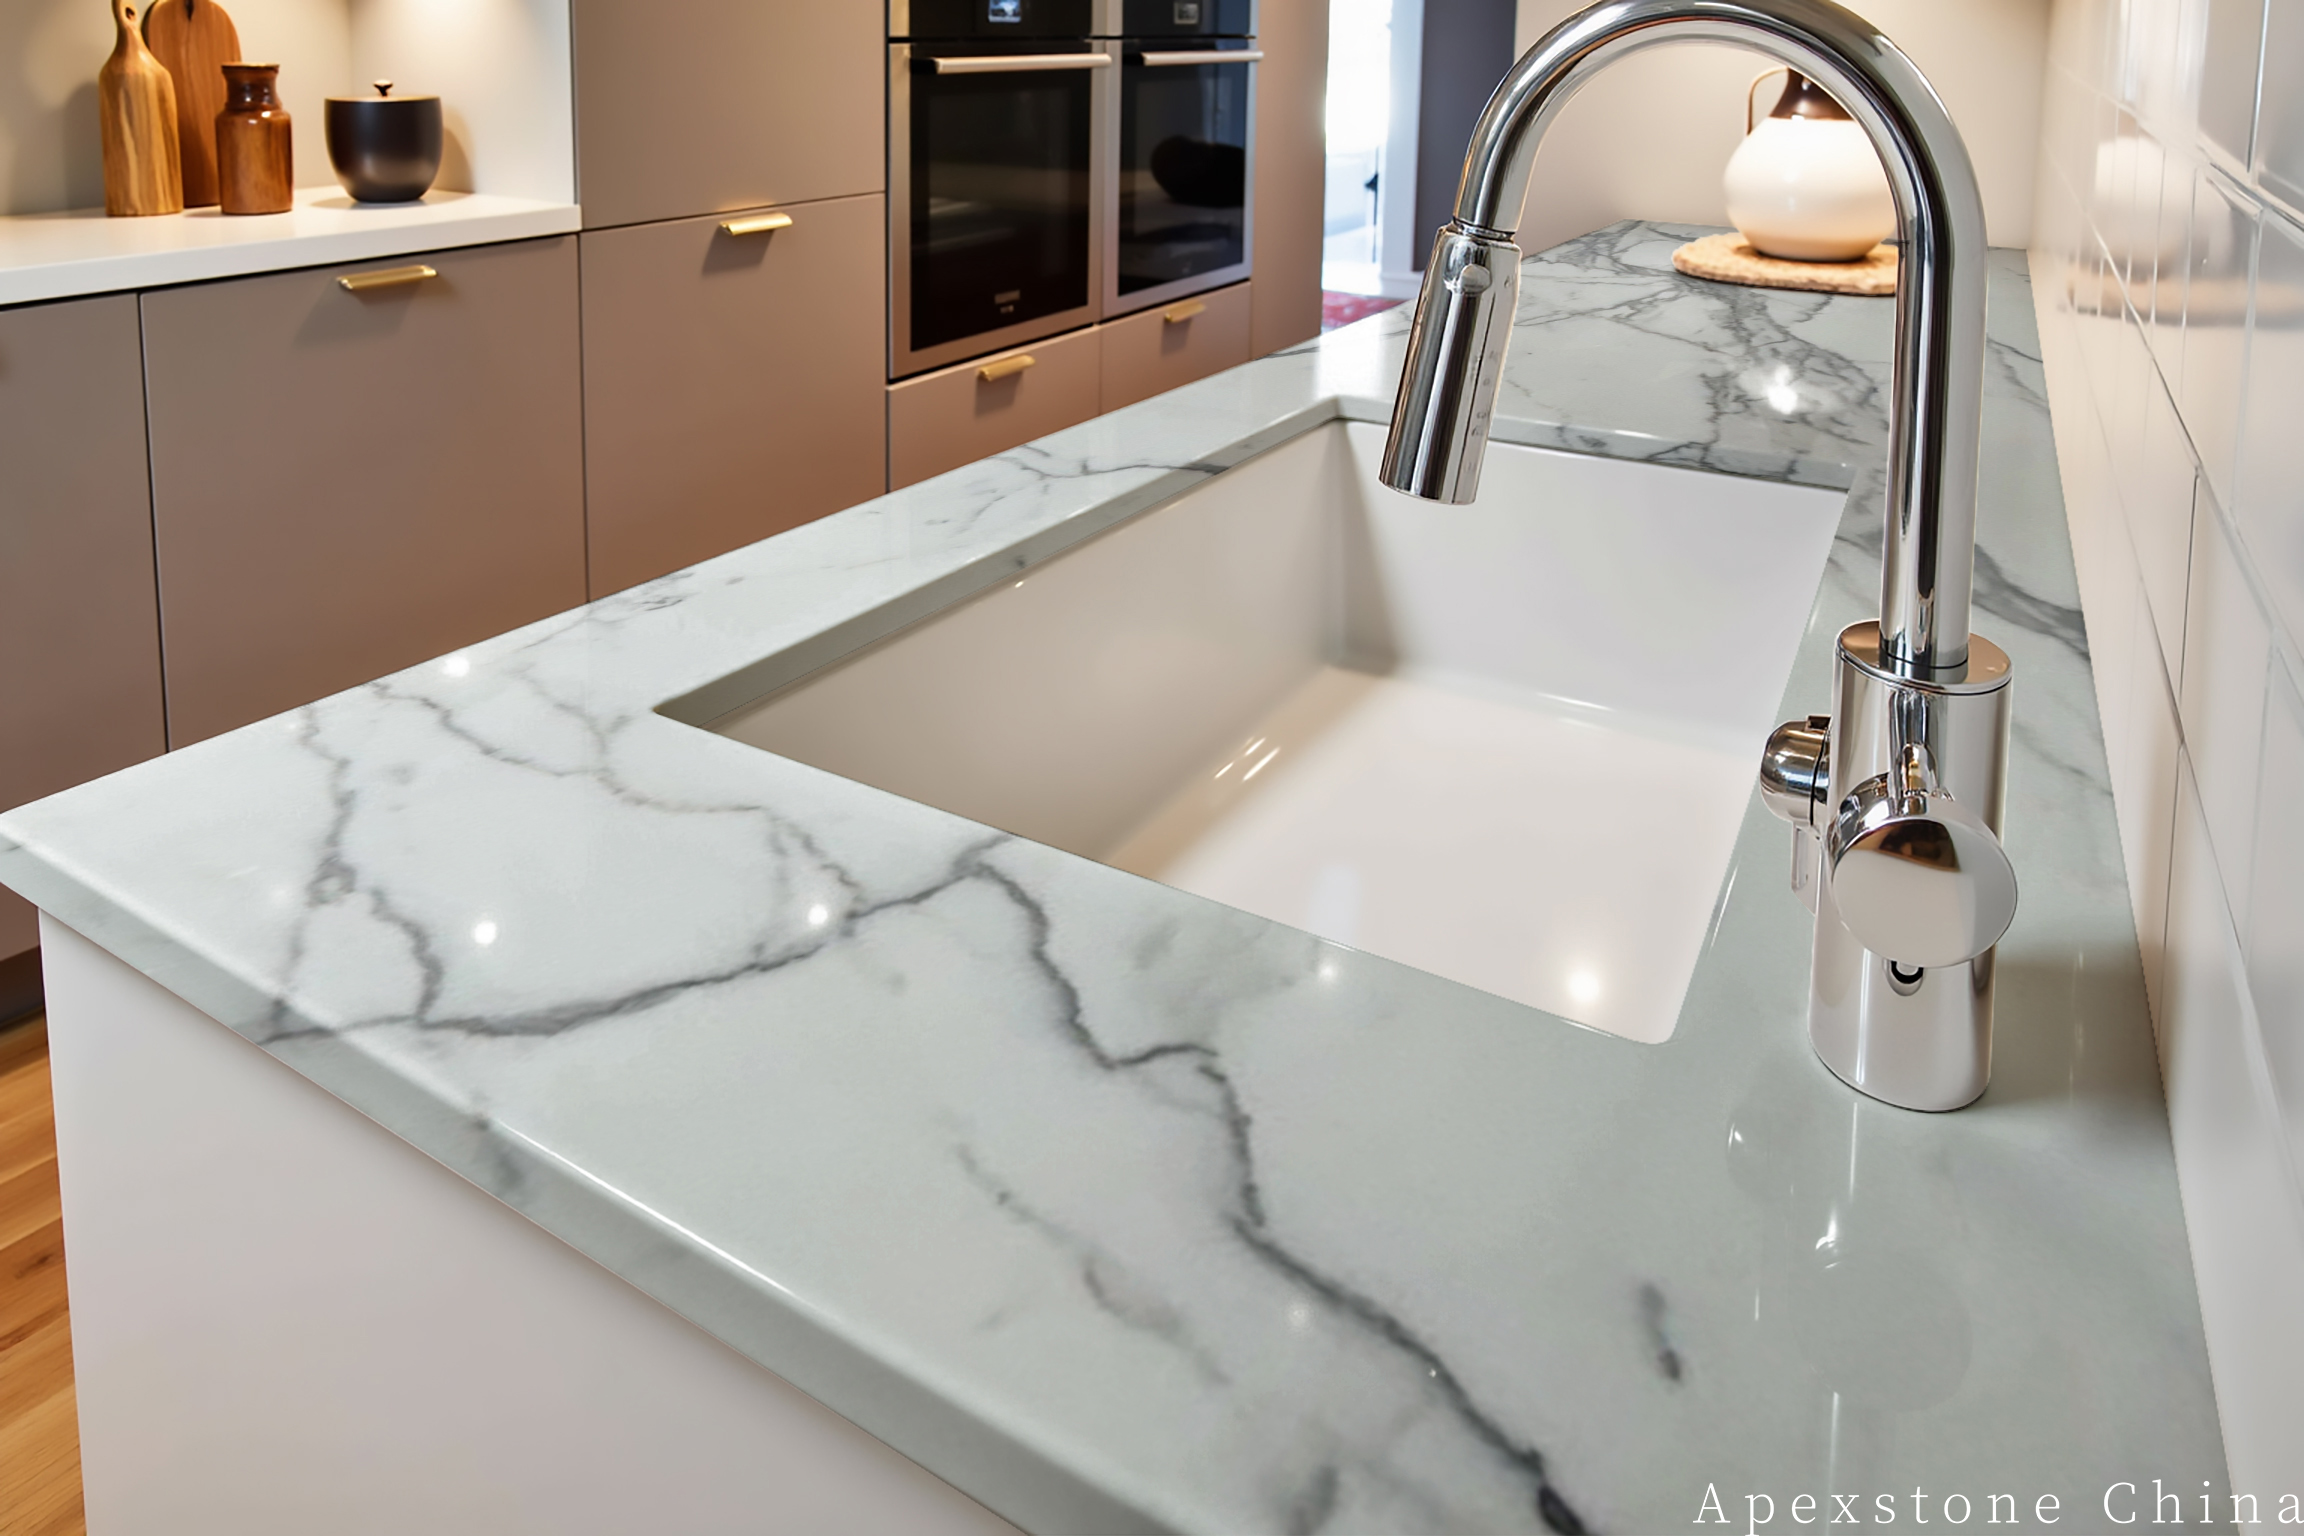
Sink and cooktop templates can force narrow stone widths. Approve the support and corner radii before machining.
Backsplash movement versus socket grid
Electrical outlets and joints should avoid the key vein passage rather than being located after the stone is cut.
Kitchen Zones
Assign each slab zone a job

Drawing Inputs
Reference dimensions and approvals
| Counter thickness | 20 mm (about 3/4 in) or 30 mm (about 1-1/4 in) |
| Perimeter depth | 600-650 mm (24-26 in), project-specific |
| Low backsplash | 100 mm (4 in) or full height by design |
| Finish | Honed or polished by sample |
| Required files | Cabinet plan, elevations, appliance cut sheets and site template |
Design-to-Fabrication Handoff
Six gates before the crate is closed
<p>The sequence protects the designer’s intent through production and installation. It is intentionally not the bathroom workflow.</p>
- ✓
Gate 1 — Freeze joinery
Confirm cabinet sizes, finished levels, overhangs and access.
- ✓
Gate 2 — Select actual slabs
Approve the real Calacatta White batch and reserve the island zone.
- ✓
Gate 3 — Compose the vein map
Place island, waterfall, backsplash and perimeter pieces in visual priority order.
- ✓
Gate 4 — Validate cut-outs
Use current appliance and sink templates; review rails and corner radii.
- ✓
Gate 5 — Inspect as a set
Check dimensions, edge direction, labels and vein relationships against the drawing.
- ✓
Gate 6 — Pack in install order
Align crate marks and piece numbers with the site sequence.

Ready for a real slab map?
Send the cabinet and appliance package before choosing the island vein
Apexstone can discuss actual Calacatta White slab availability, layout and fabrication after the joinery, fittings and visual priority are clear.