Bathroom Material Planning
Calacatta White Bathroom: Design the Quiet Surfaces First
A residential planning guide for balancing full panels, marble vanity tops and tile modules in a Calacatta White bathroom - with wet-area detailing, fitting-aware layouts and honest care expectations built in.
A room hierarchy, not a material blanket
Let one stone surface lead - and make the others support it
Calacatta White is Italian natural marble with a snow-white ground and light-grey random veining - the stone schedule records it as quarried in the Carrara region, with the confident, gallery-like presence that made Calacatta the benchmark for luxury bathrooms. In a bathroom that movement is an asset only when it is concentrated: one focal plane carrying the boldest vein, everything else supporting it. Spread across every wall, floor and vanity at once, the same stone becomes visual noise. The planning rule is simple - decide which surface leads, and make the others quieter by format, finish or placement.
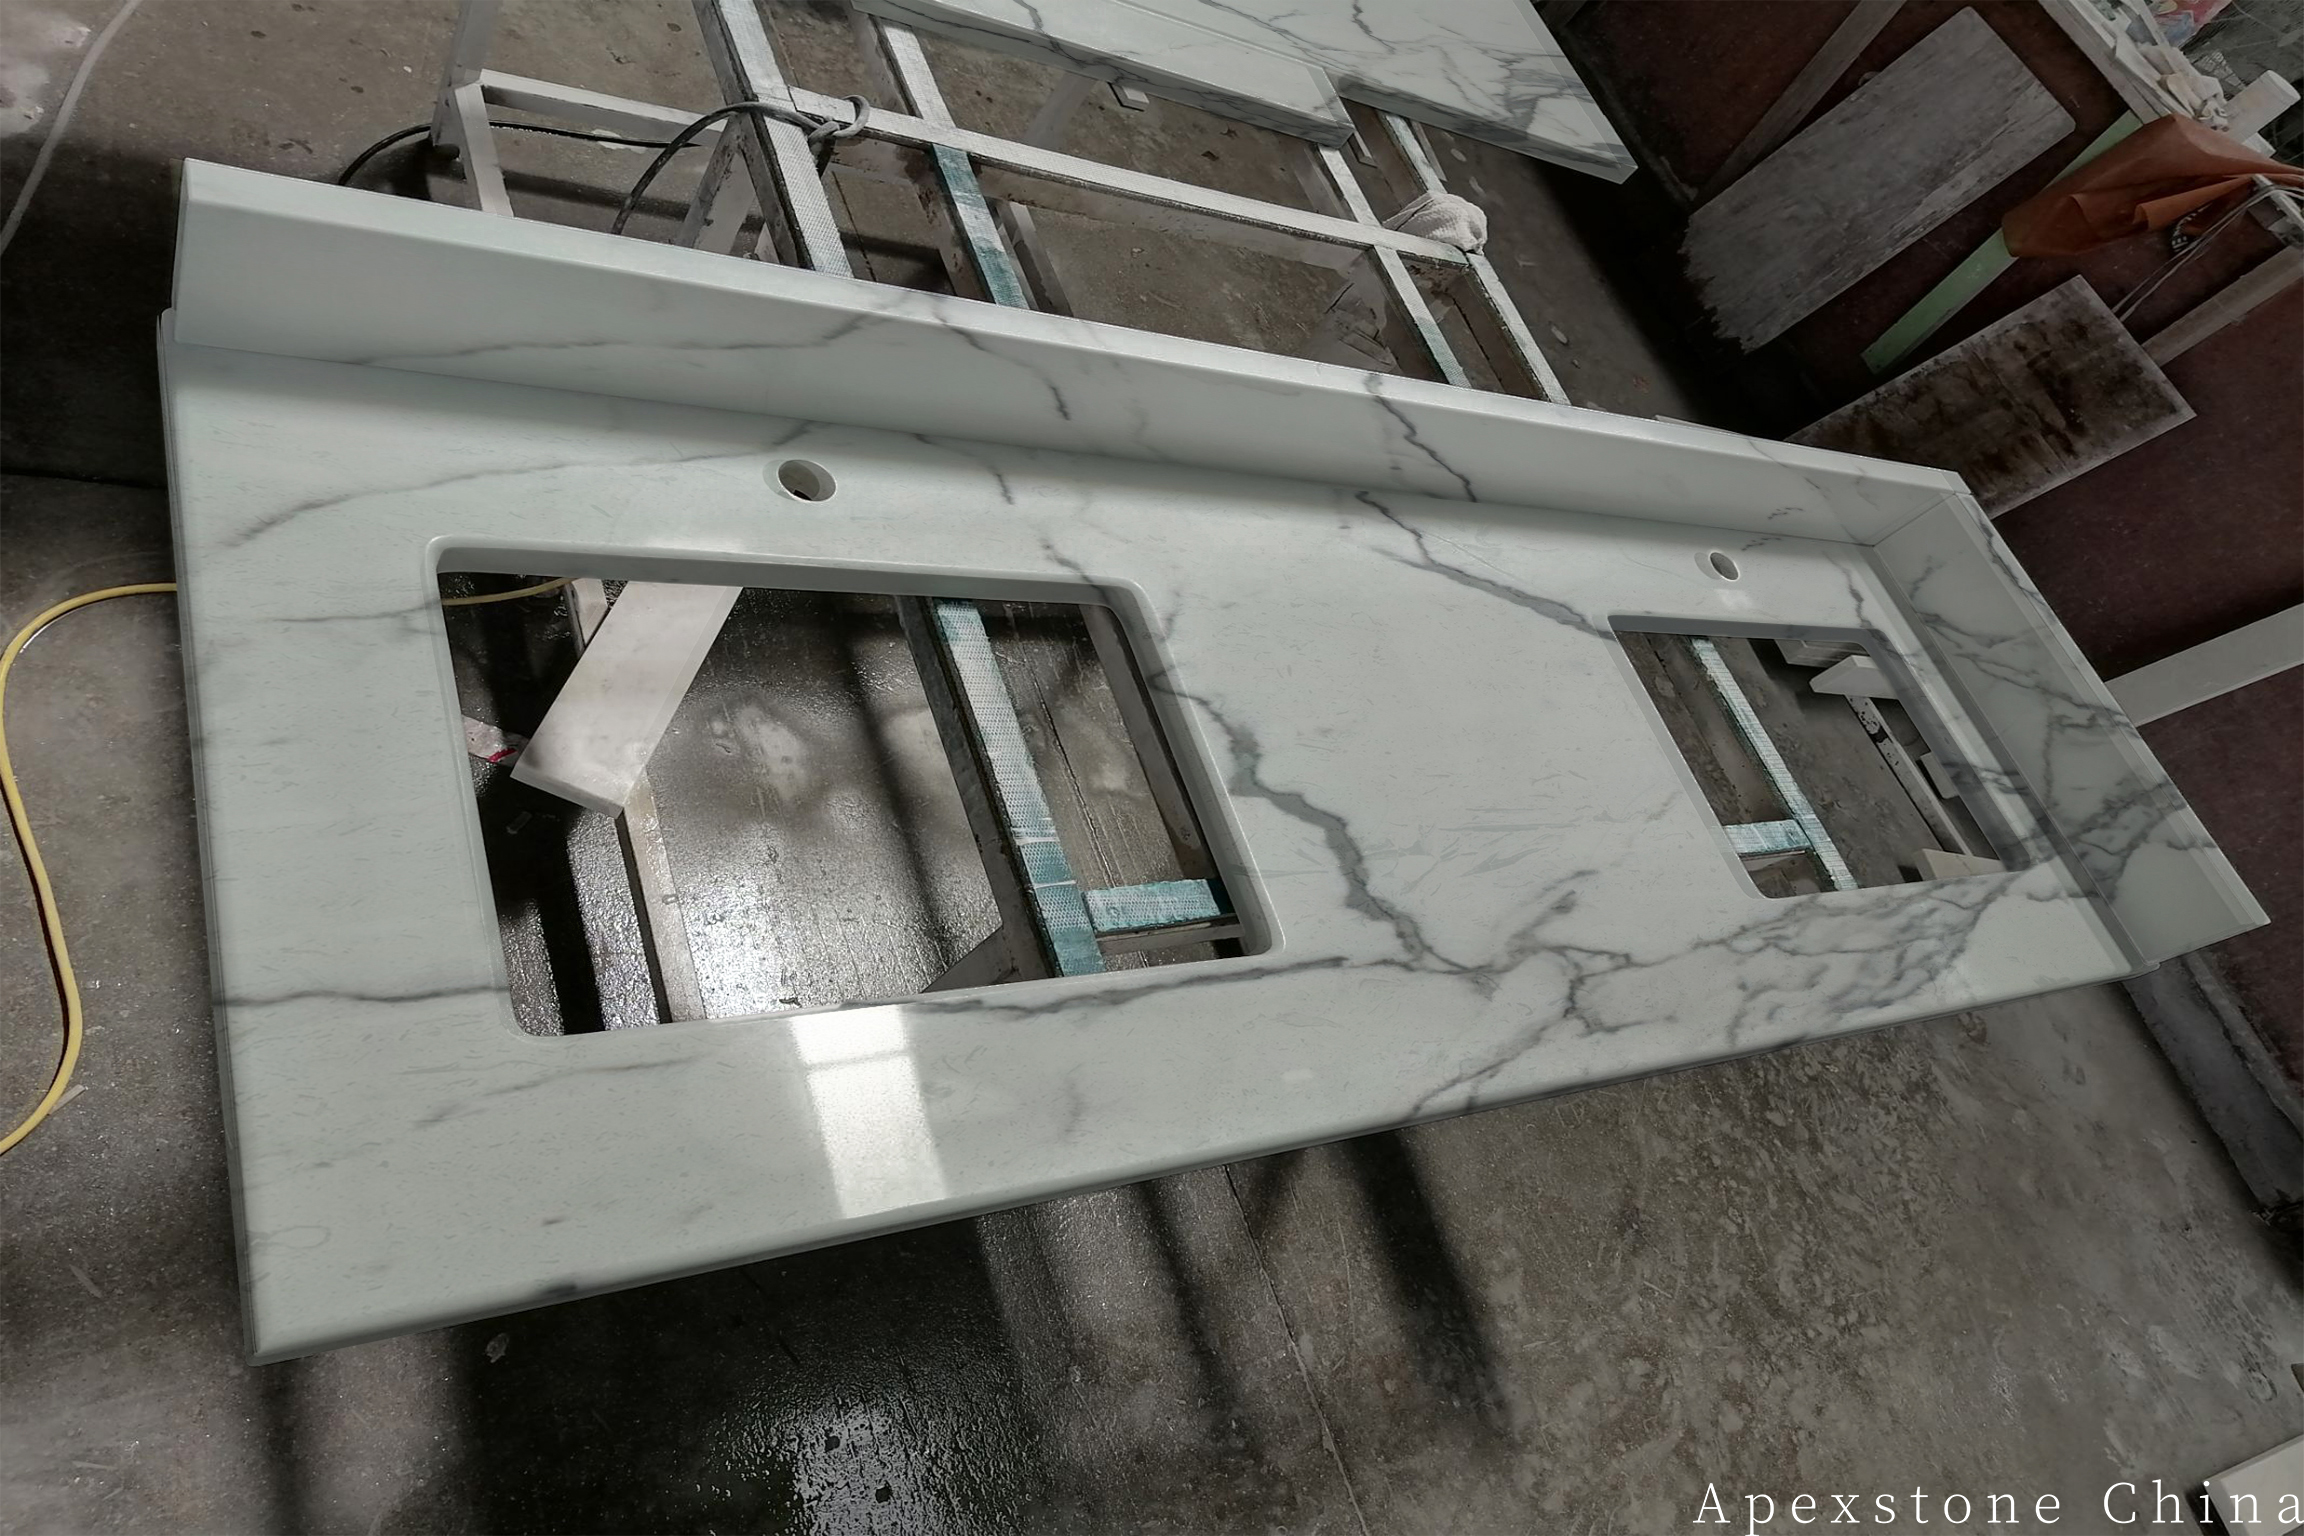
Work from industry-standard formats rather than converted numbers. Vanity tops come in 25.5, 36, 37, 60 and 72 inch widths at 21-22 inch (535-560 mm) depth, in 20 mm (3/4 in) or 30 mm (1-1/4 in) thickness. Floor modules run 12 x 12 inch (300 x 300 mm) and 12 x 24 inch (300 x 600 mm); shower floors use 2 x 2 inch (50 x 50 mm) mosaics for drainage; a low splash sits at 4 inch (100 mm). These are planning references - the actual room, the fittings and the selected slab batch govern the final fabrication drawing.
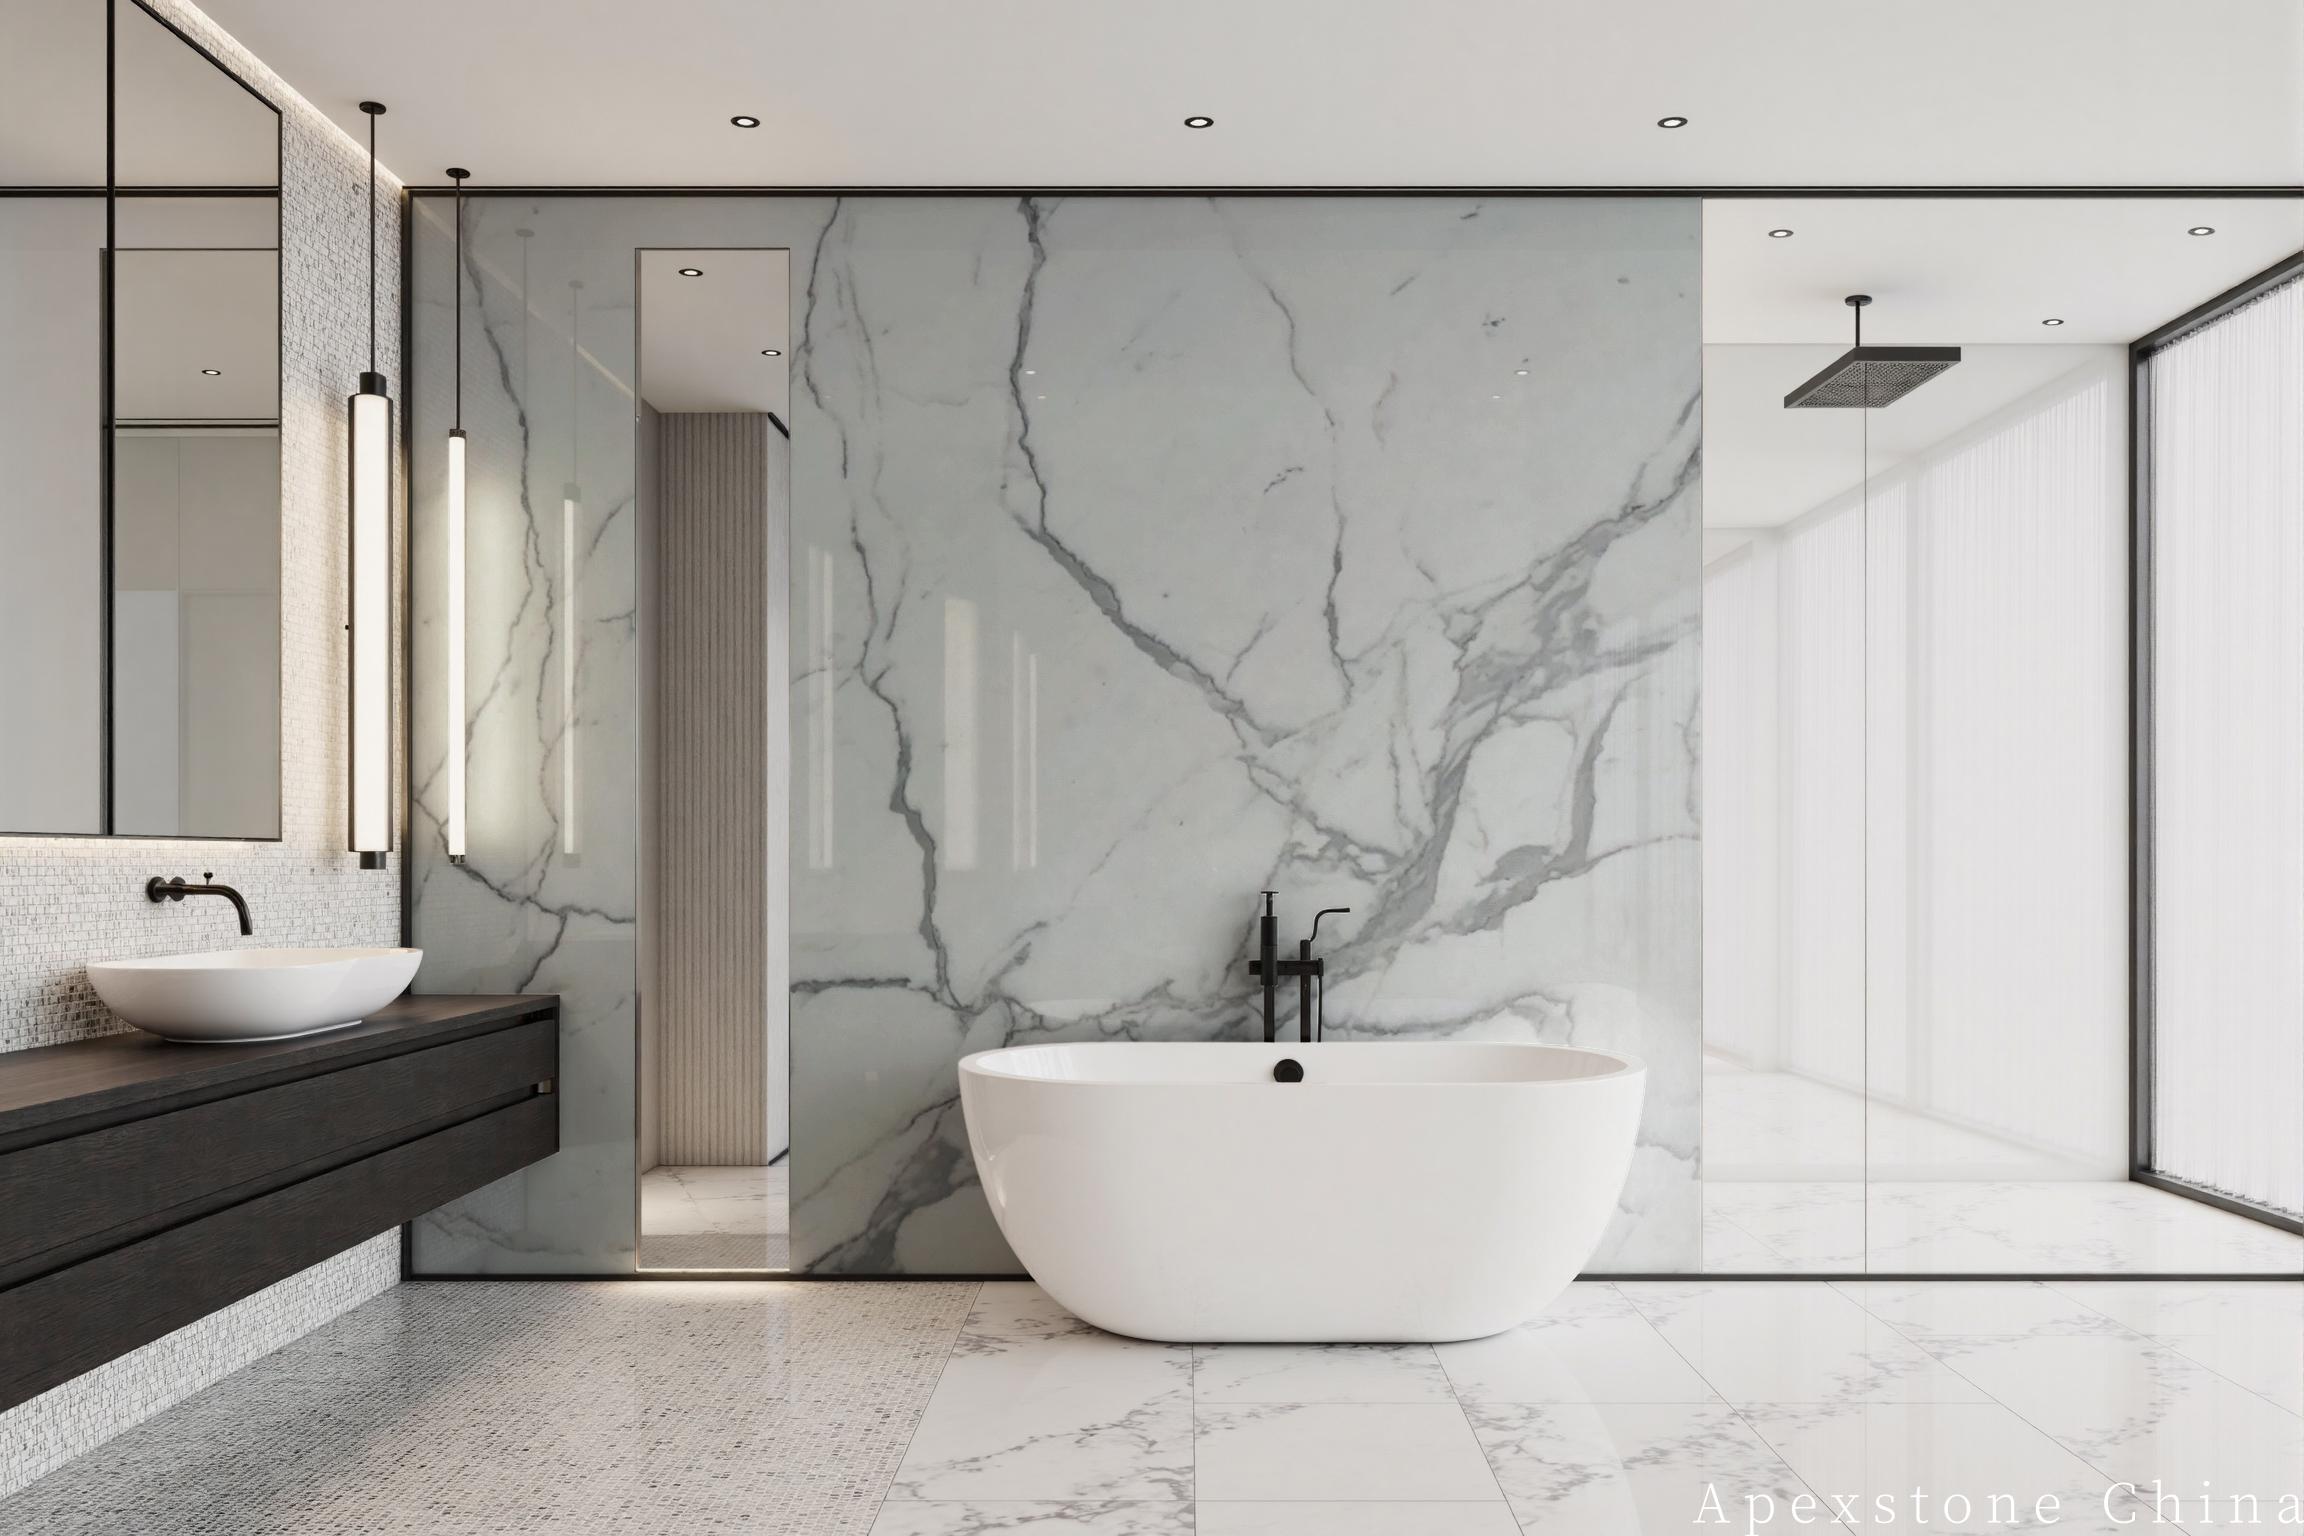
Mapped Bathroom Views
Six distinct ways Calacatta White changes scale
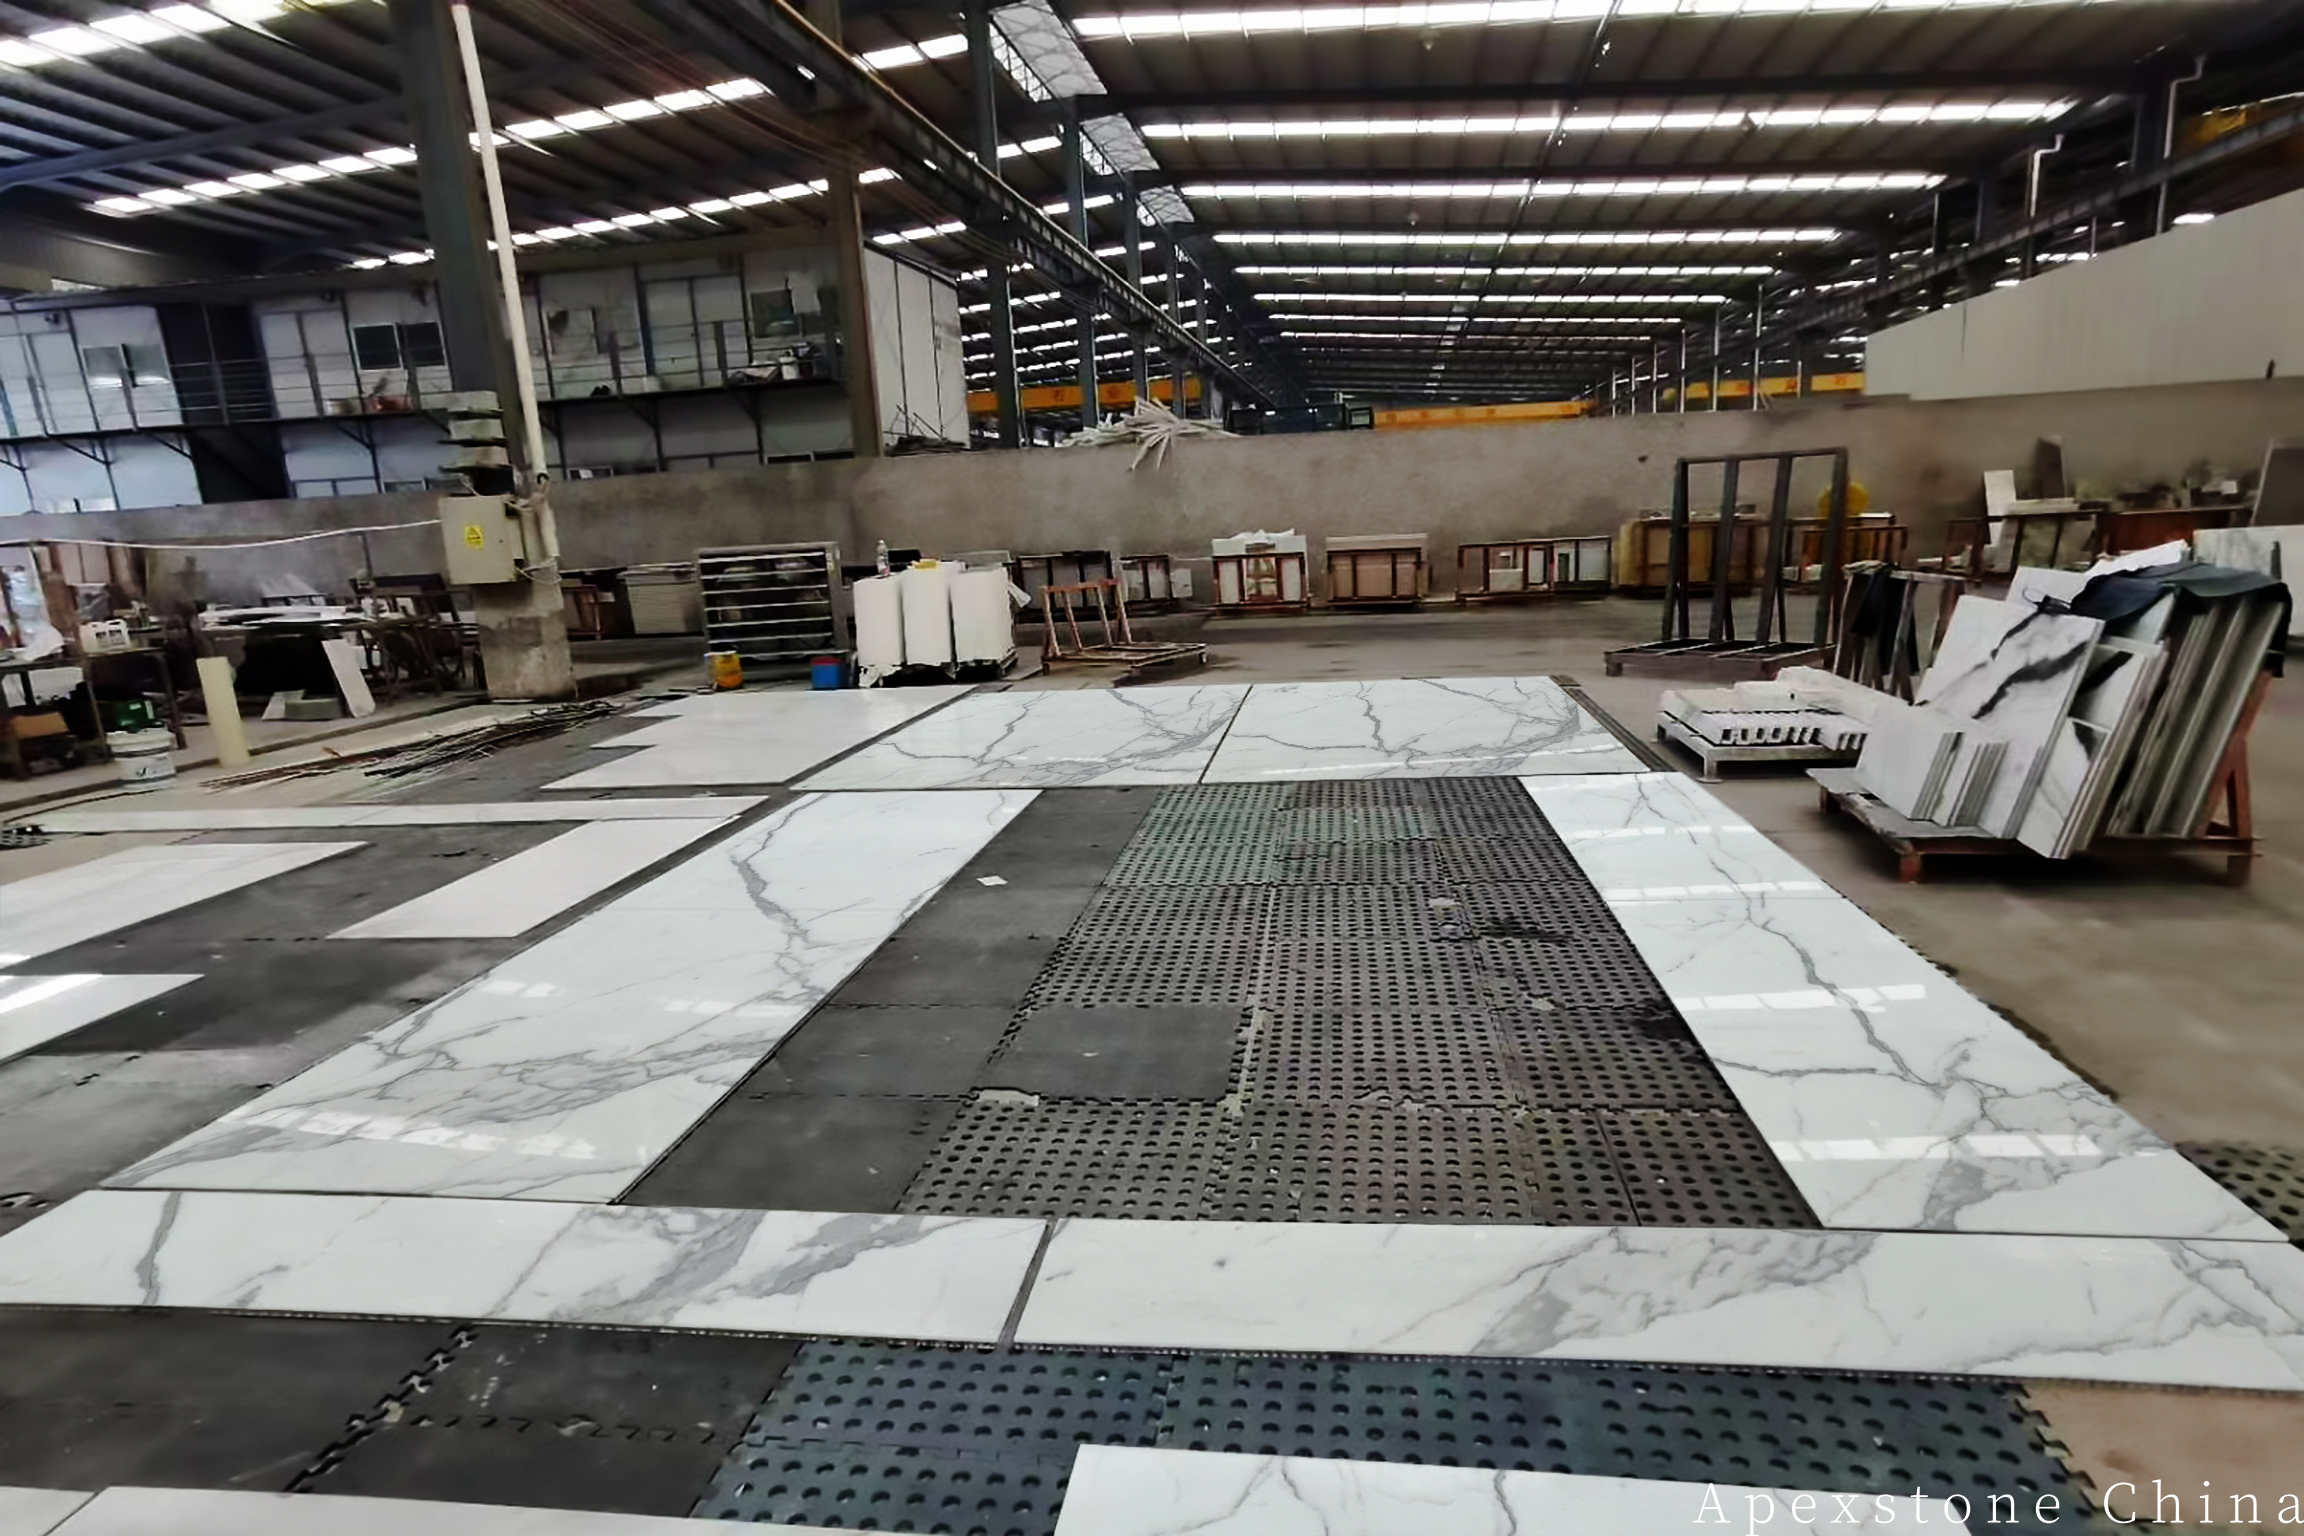
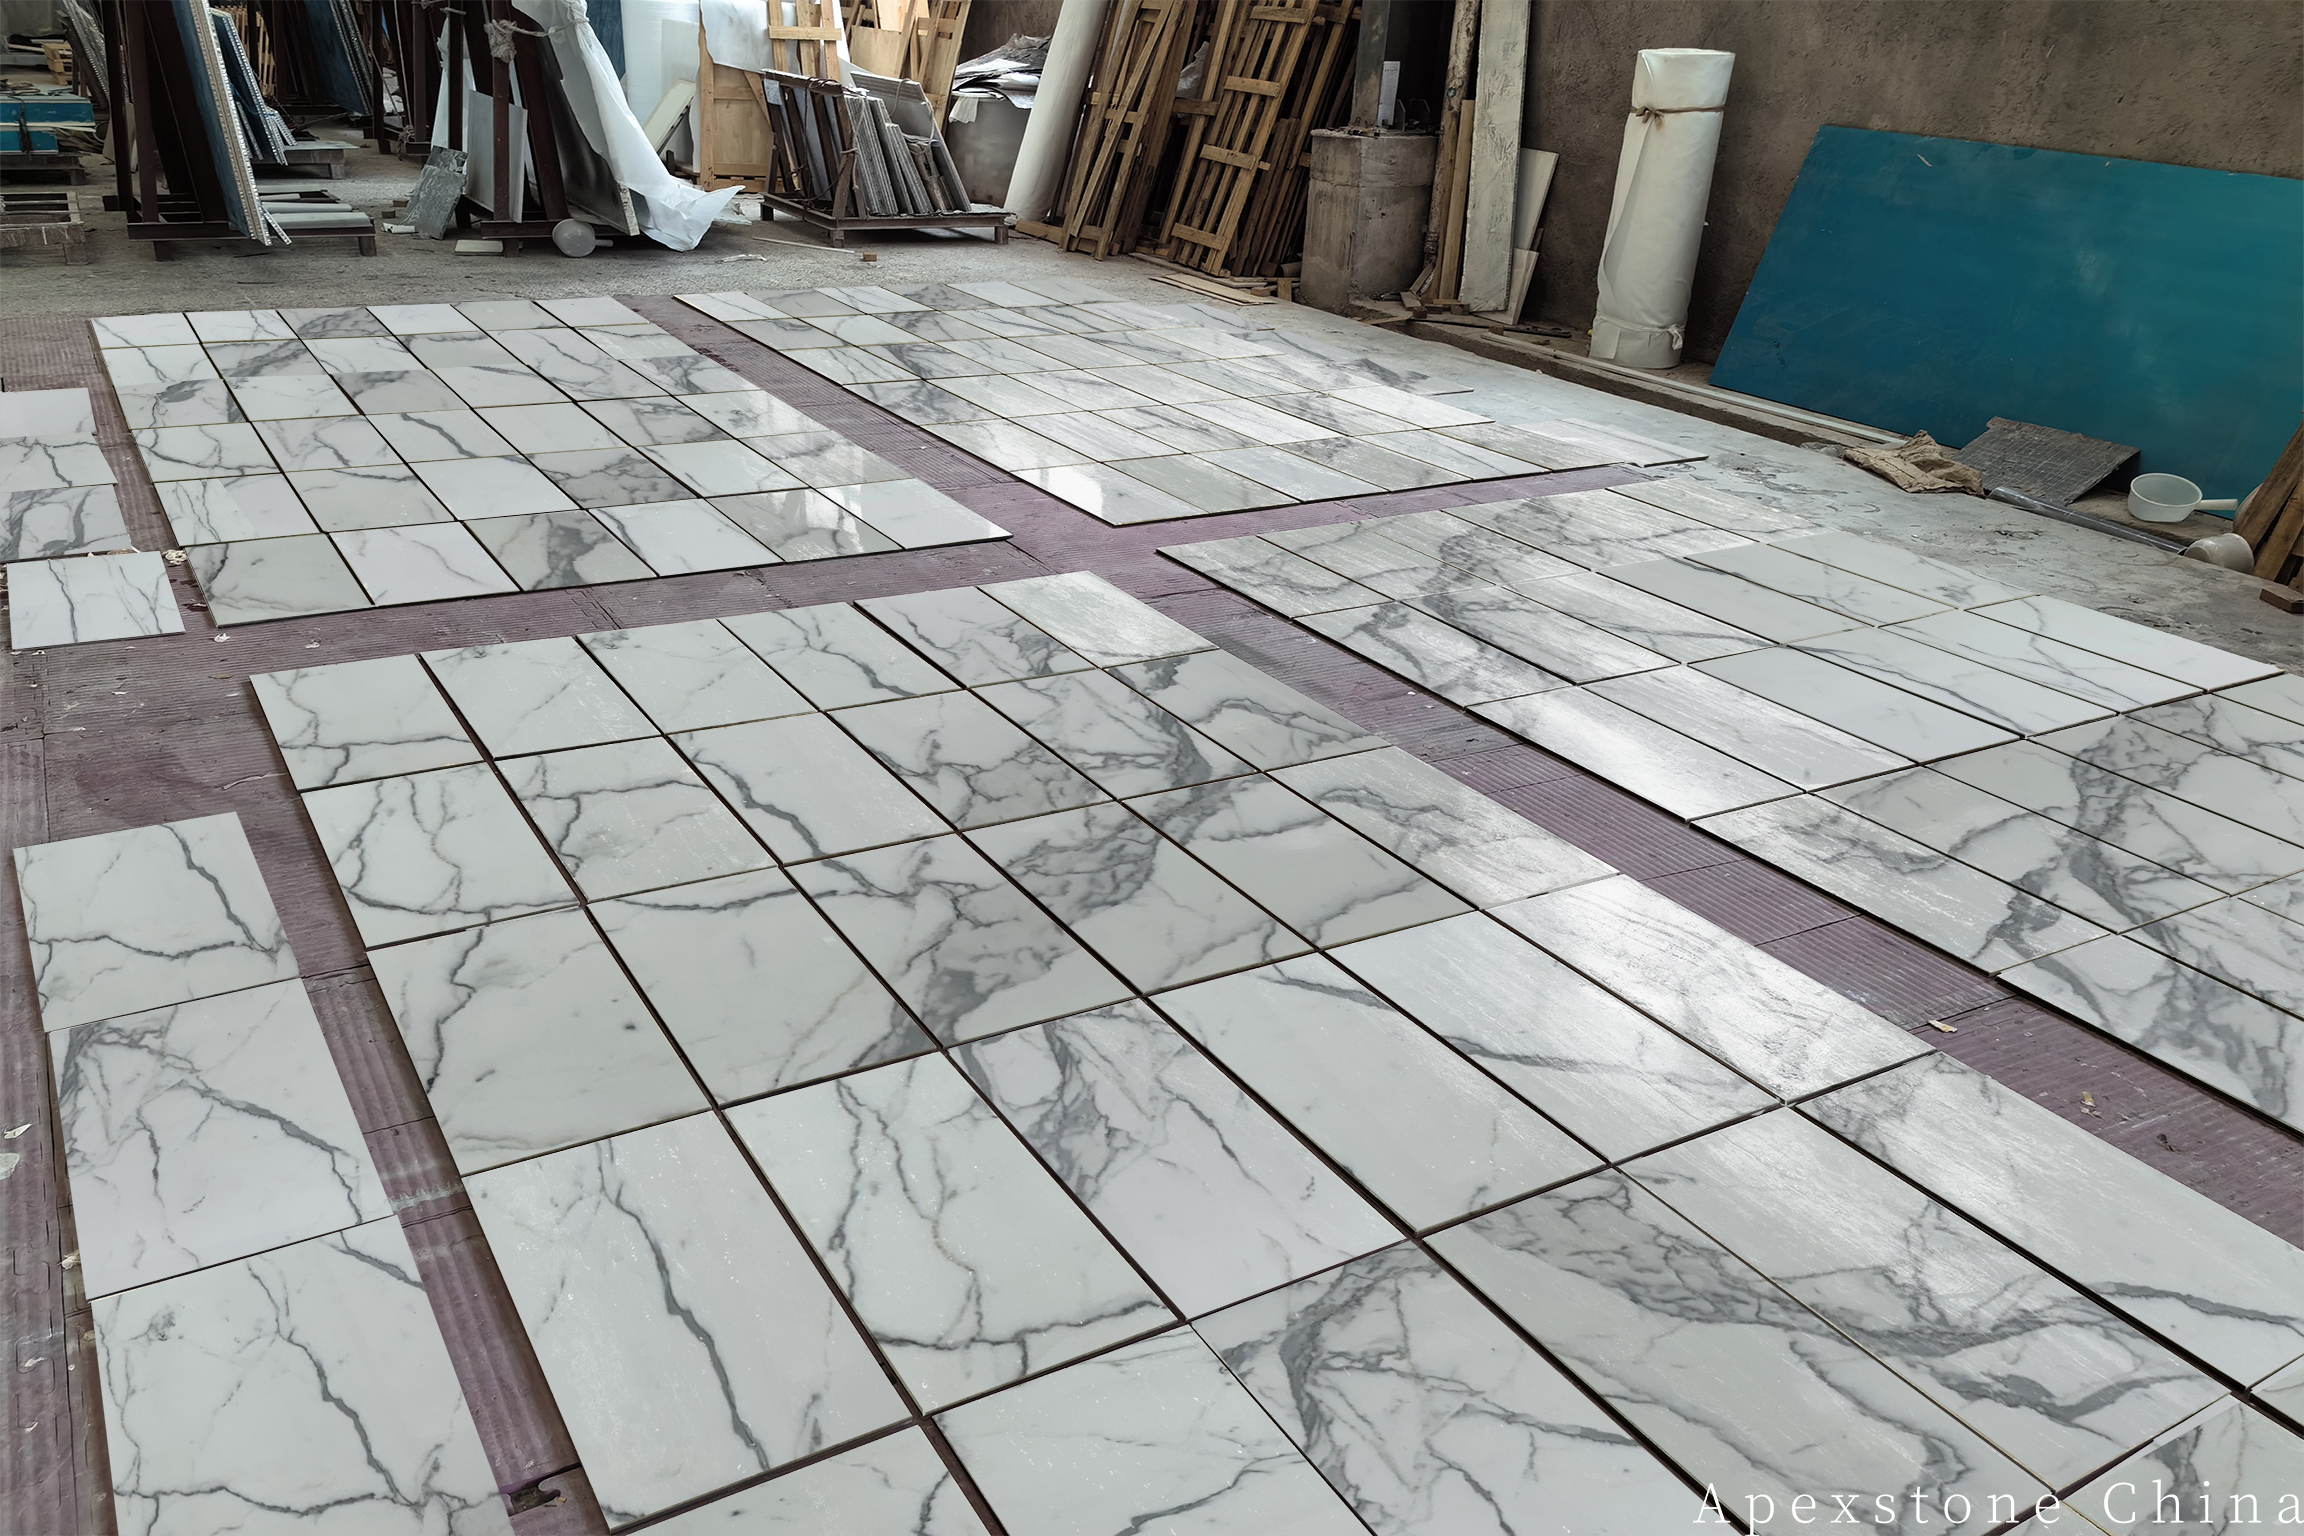
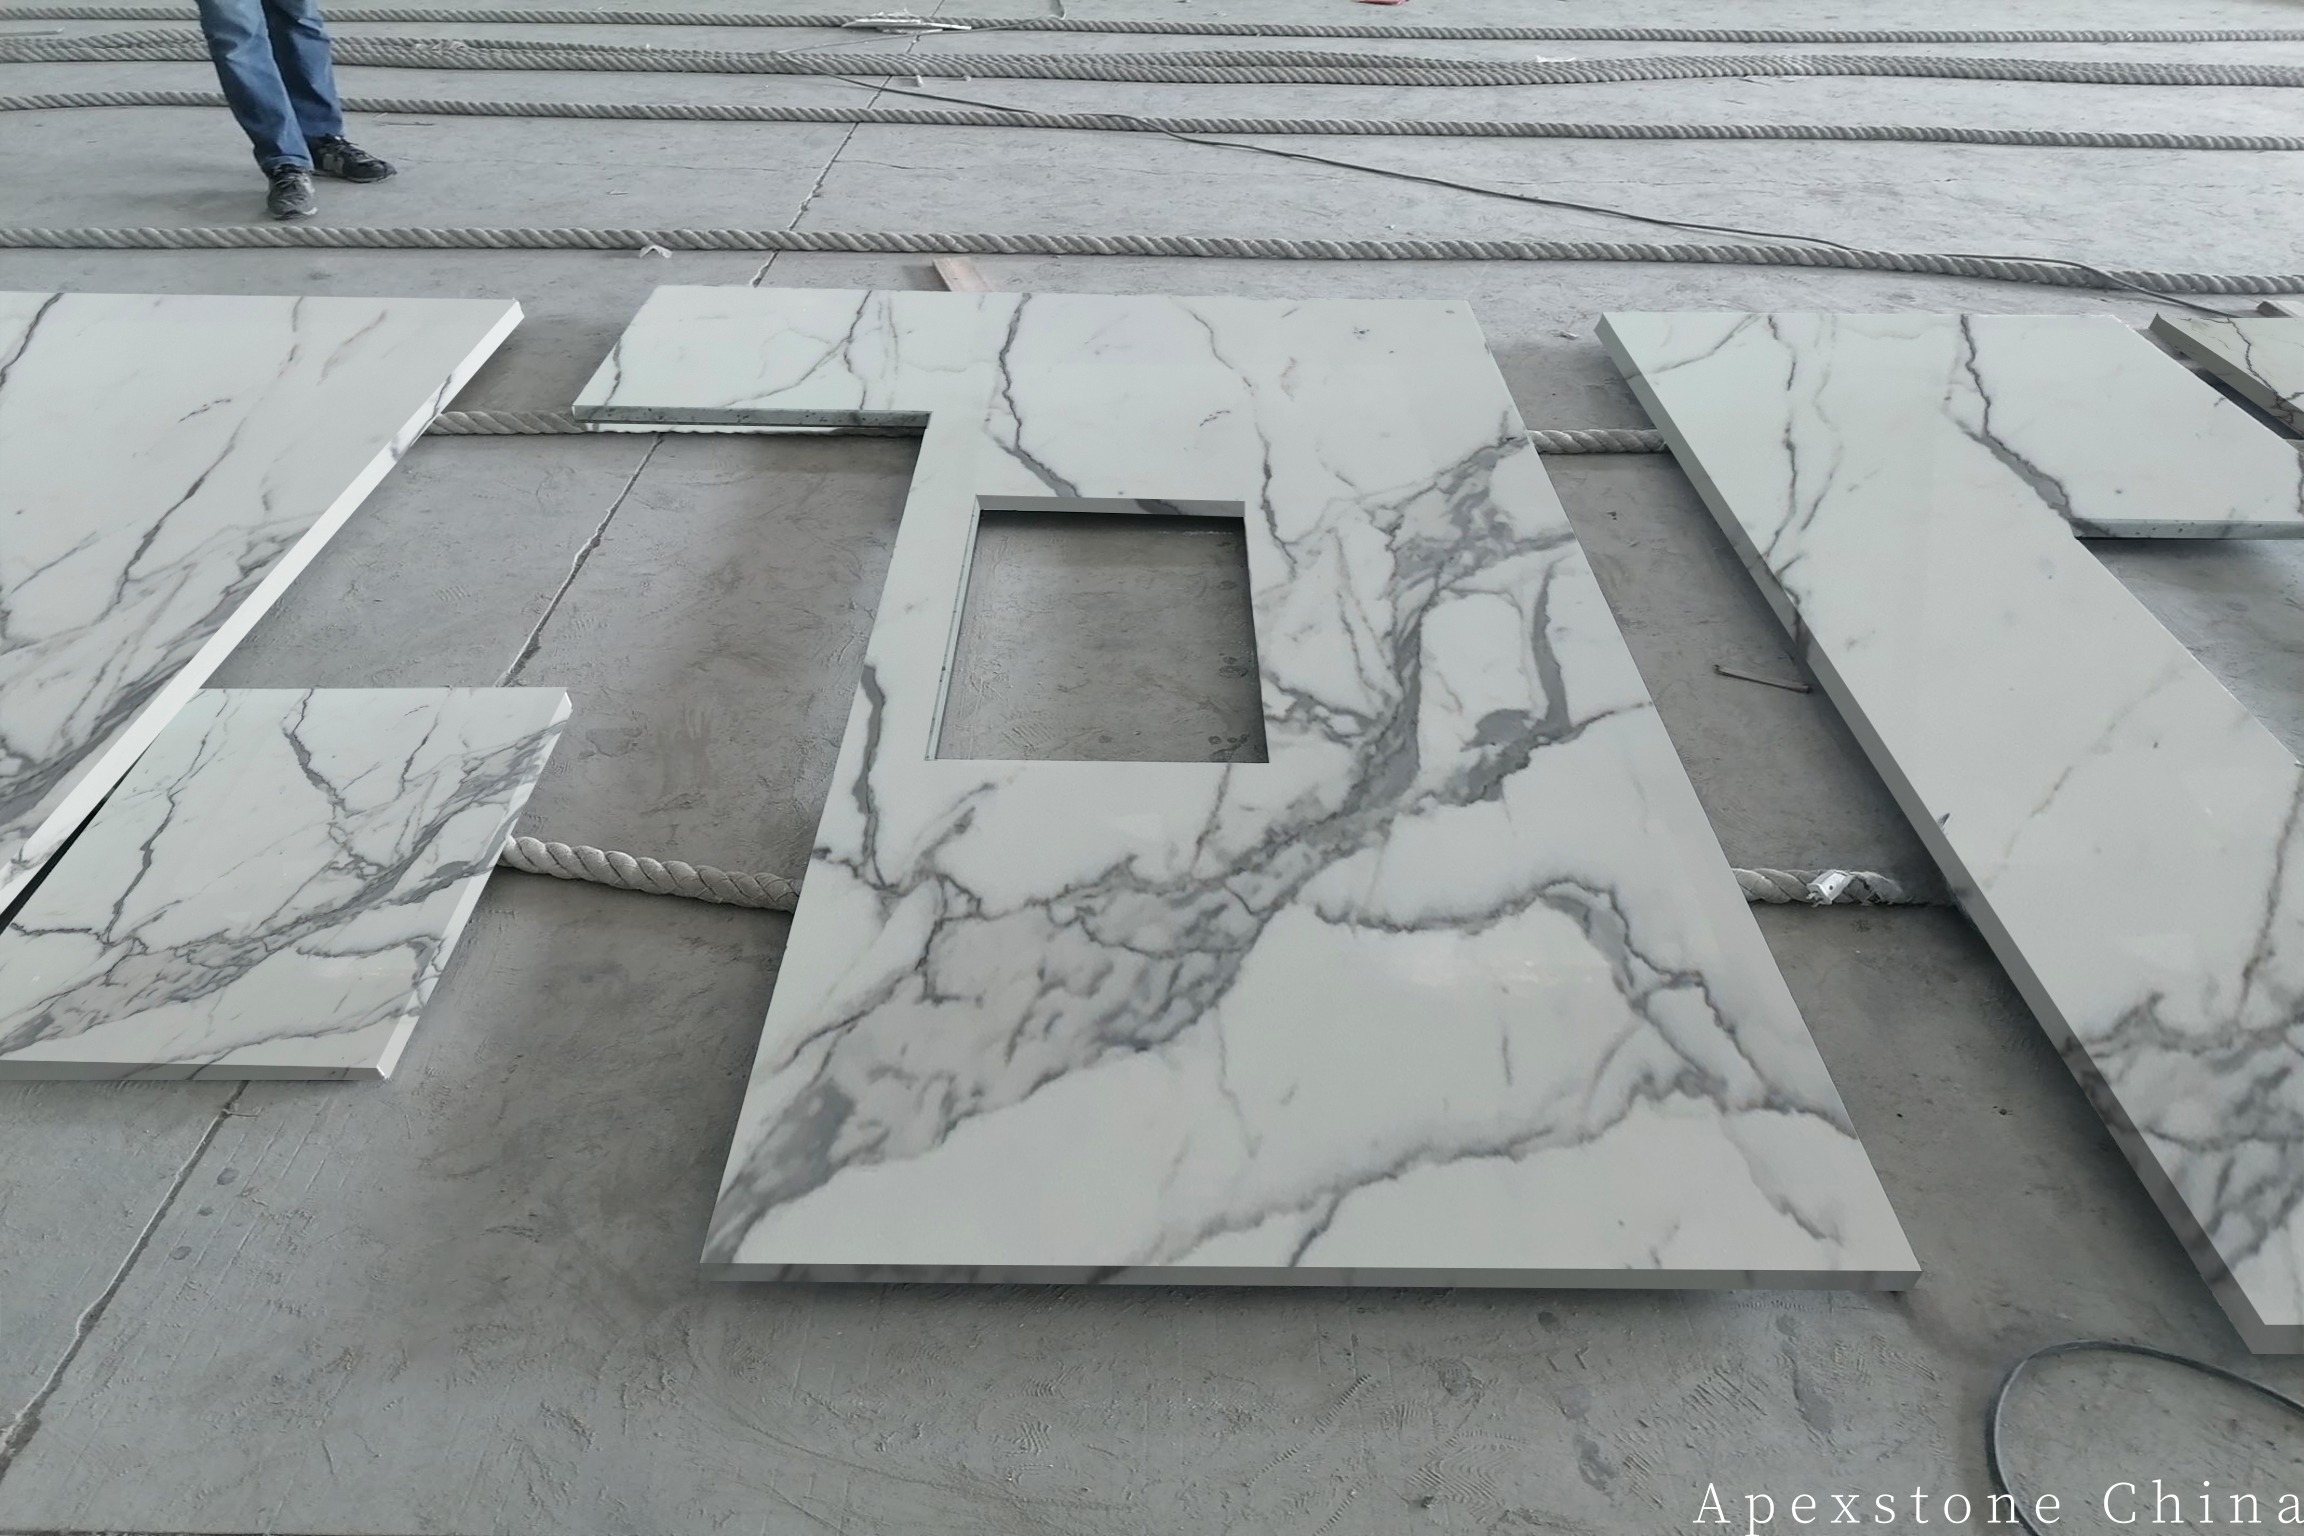
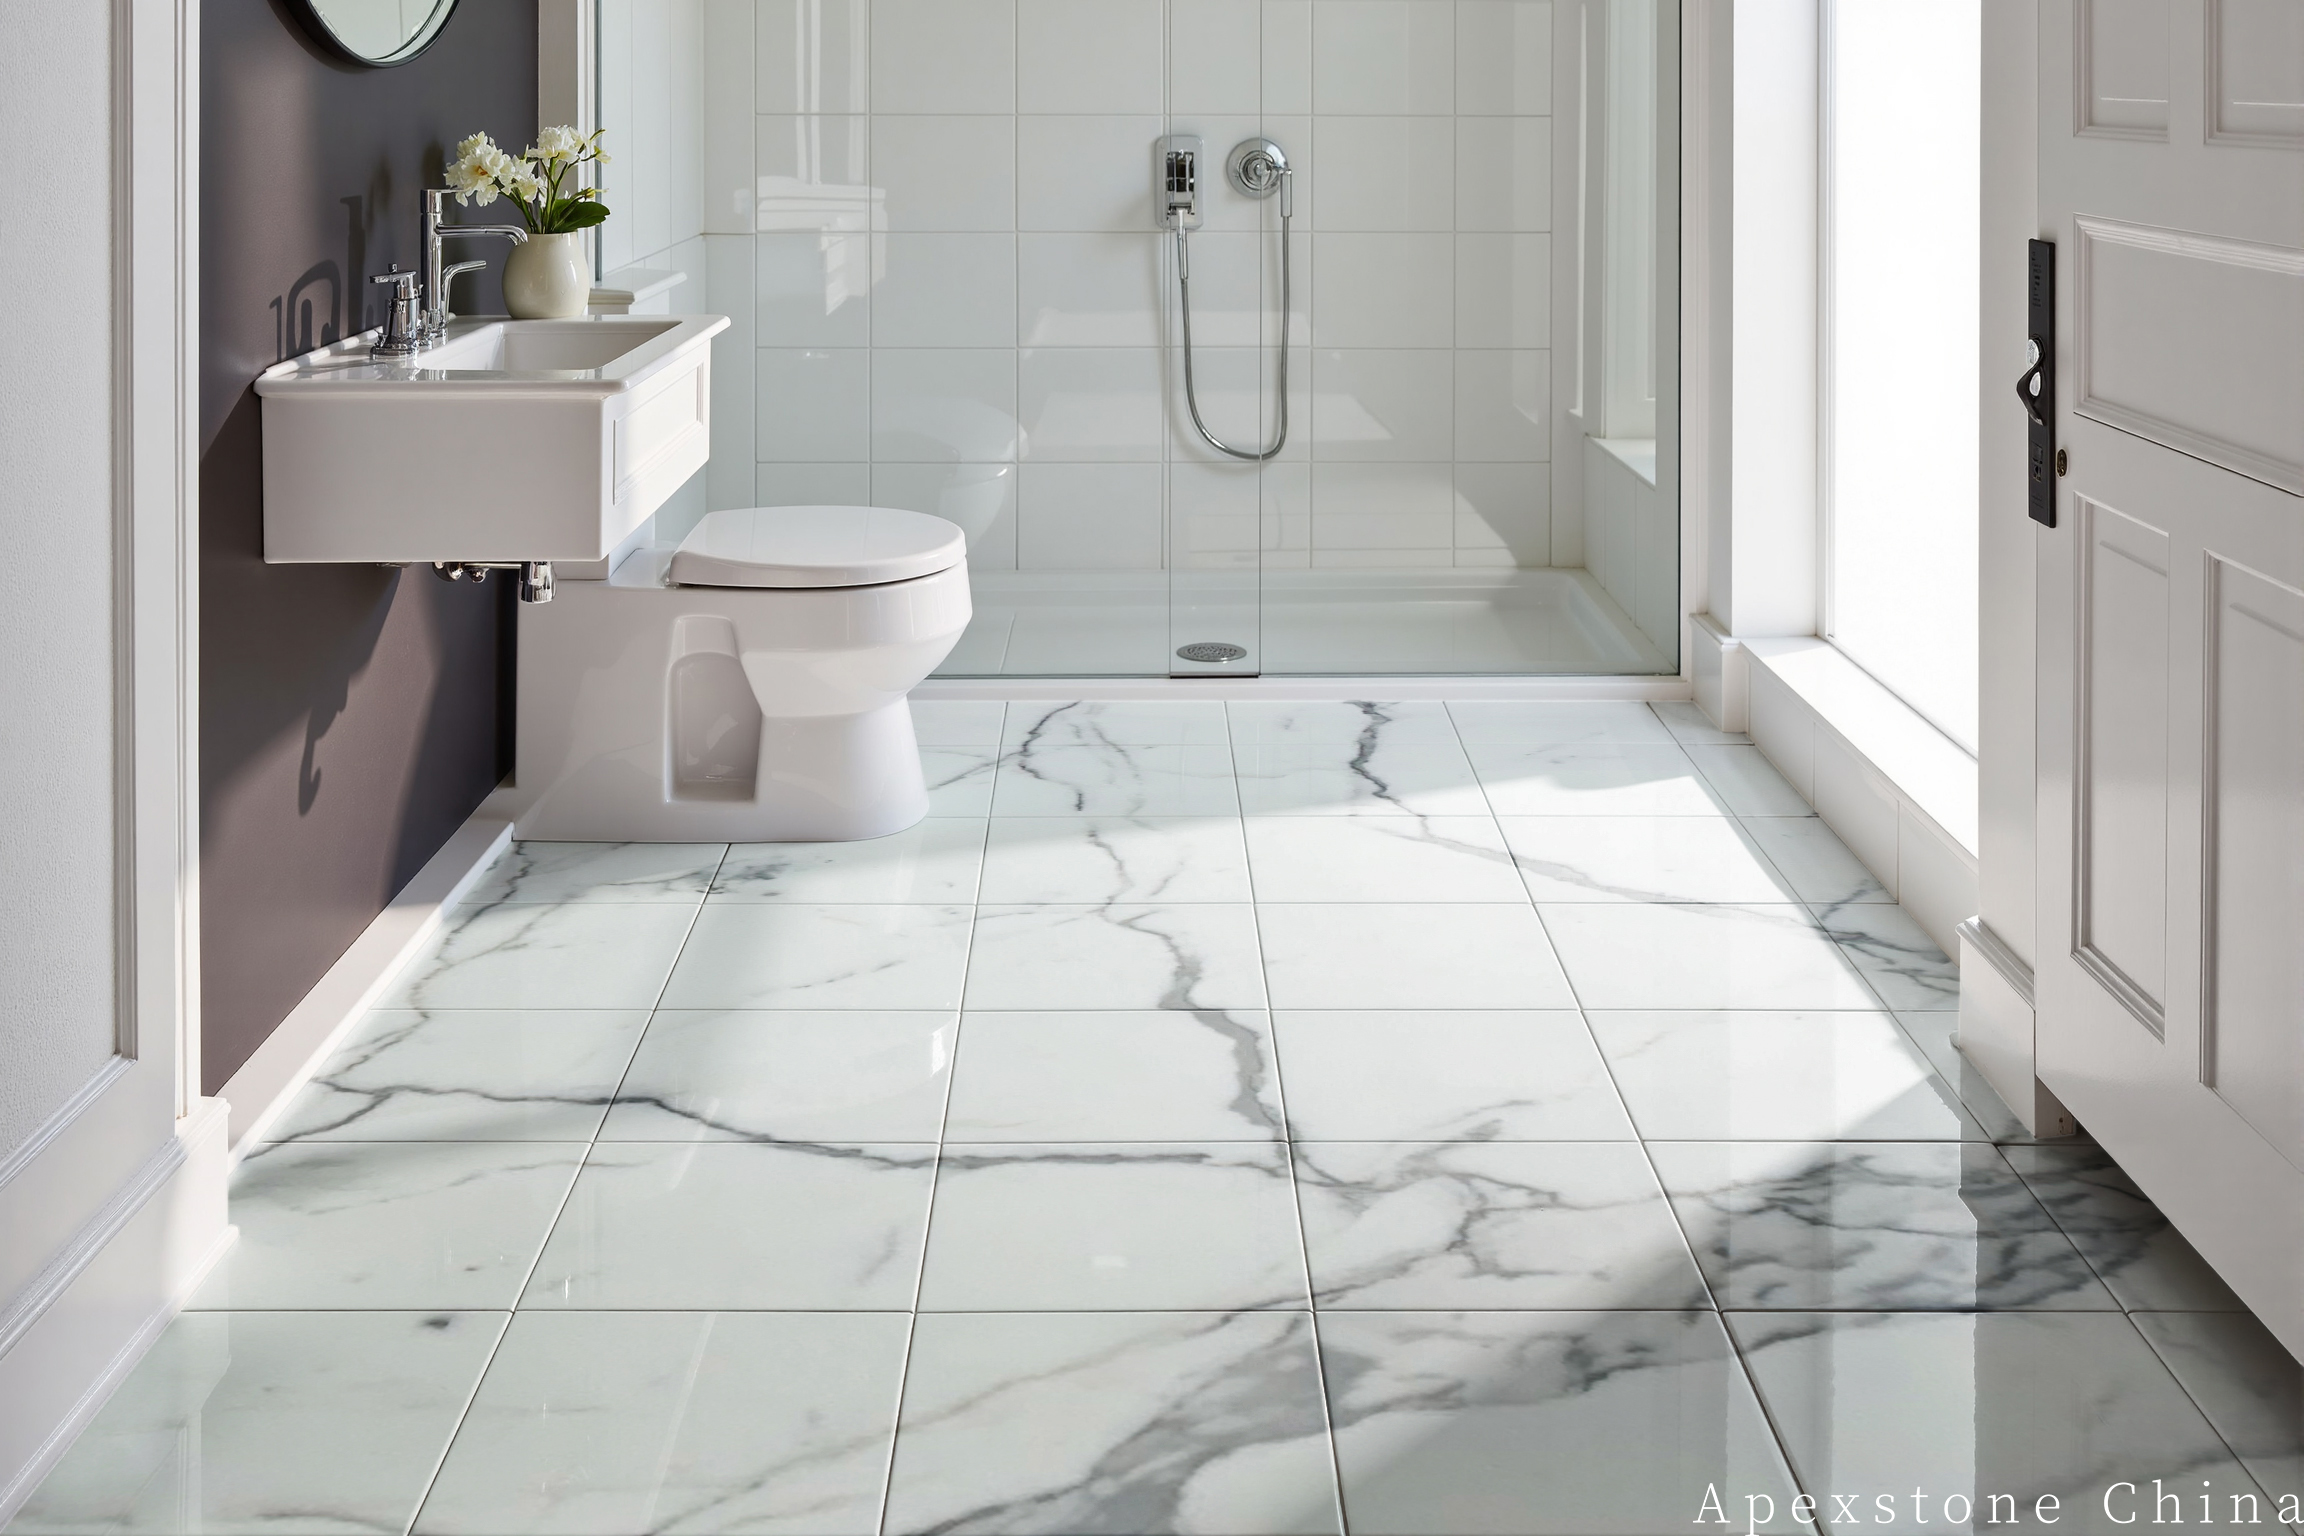
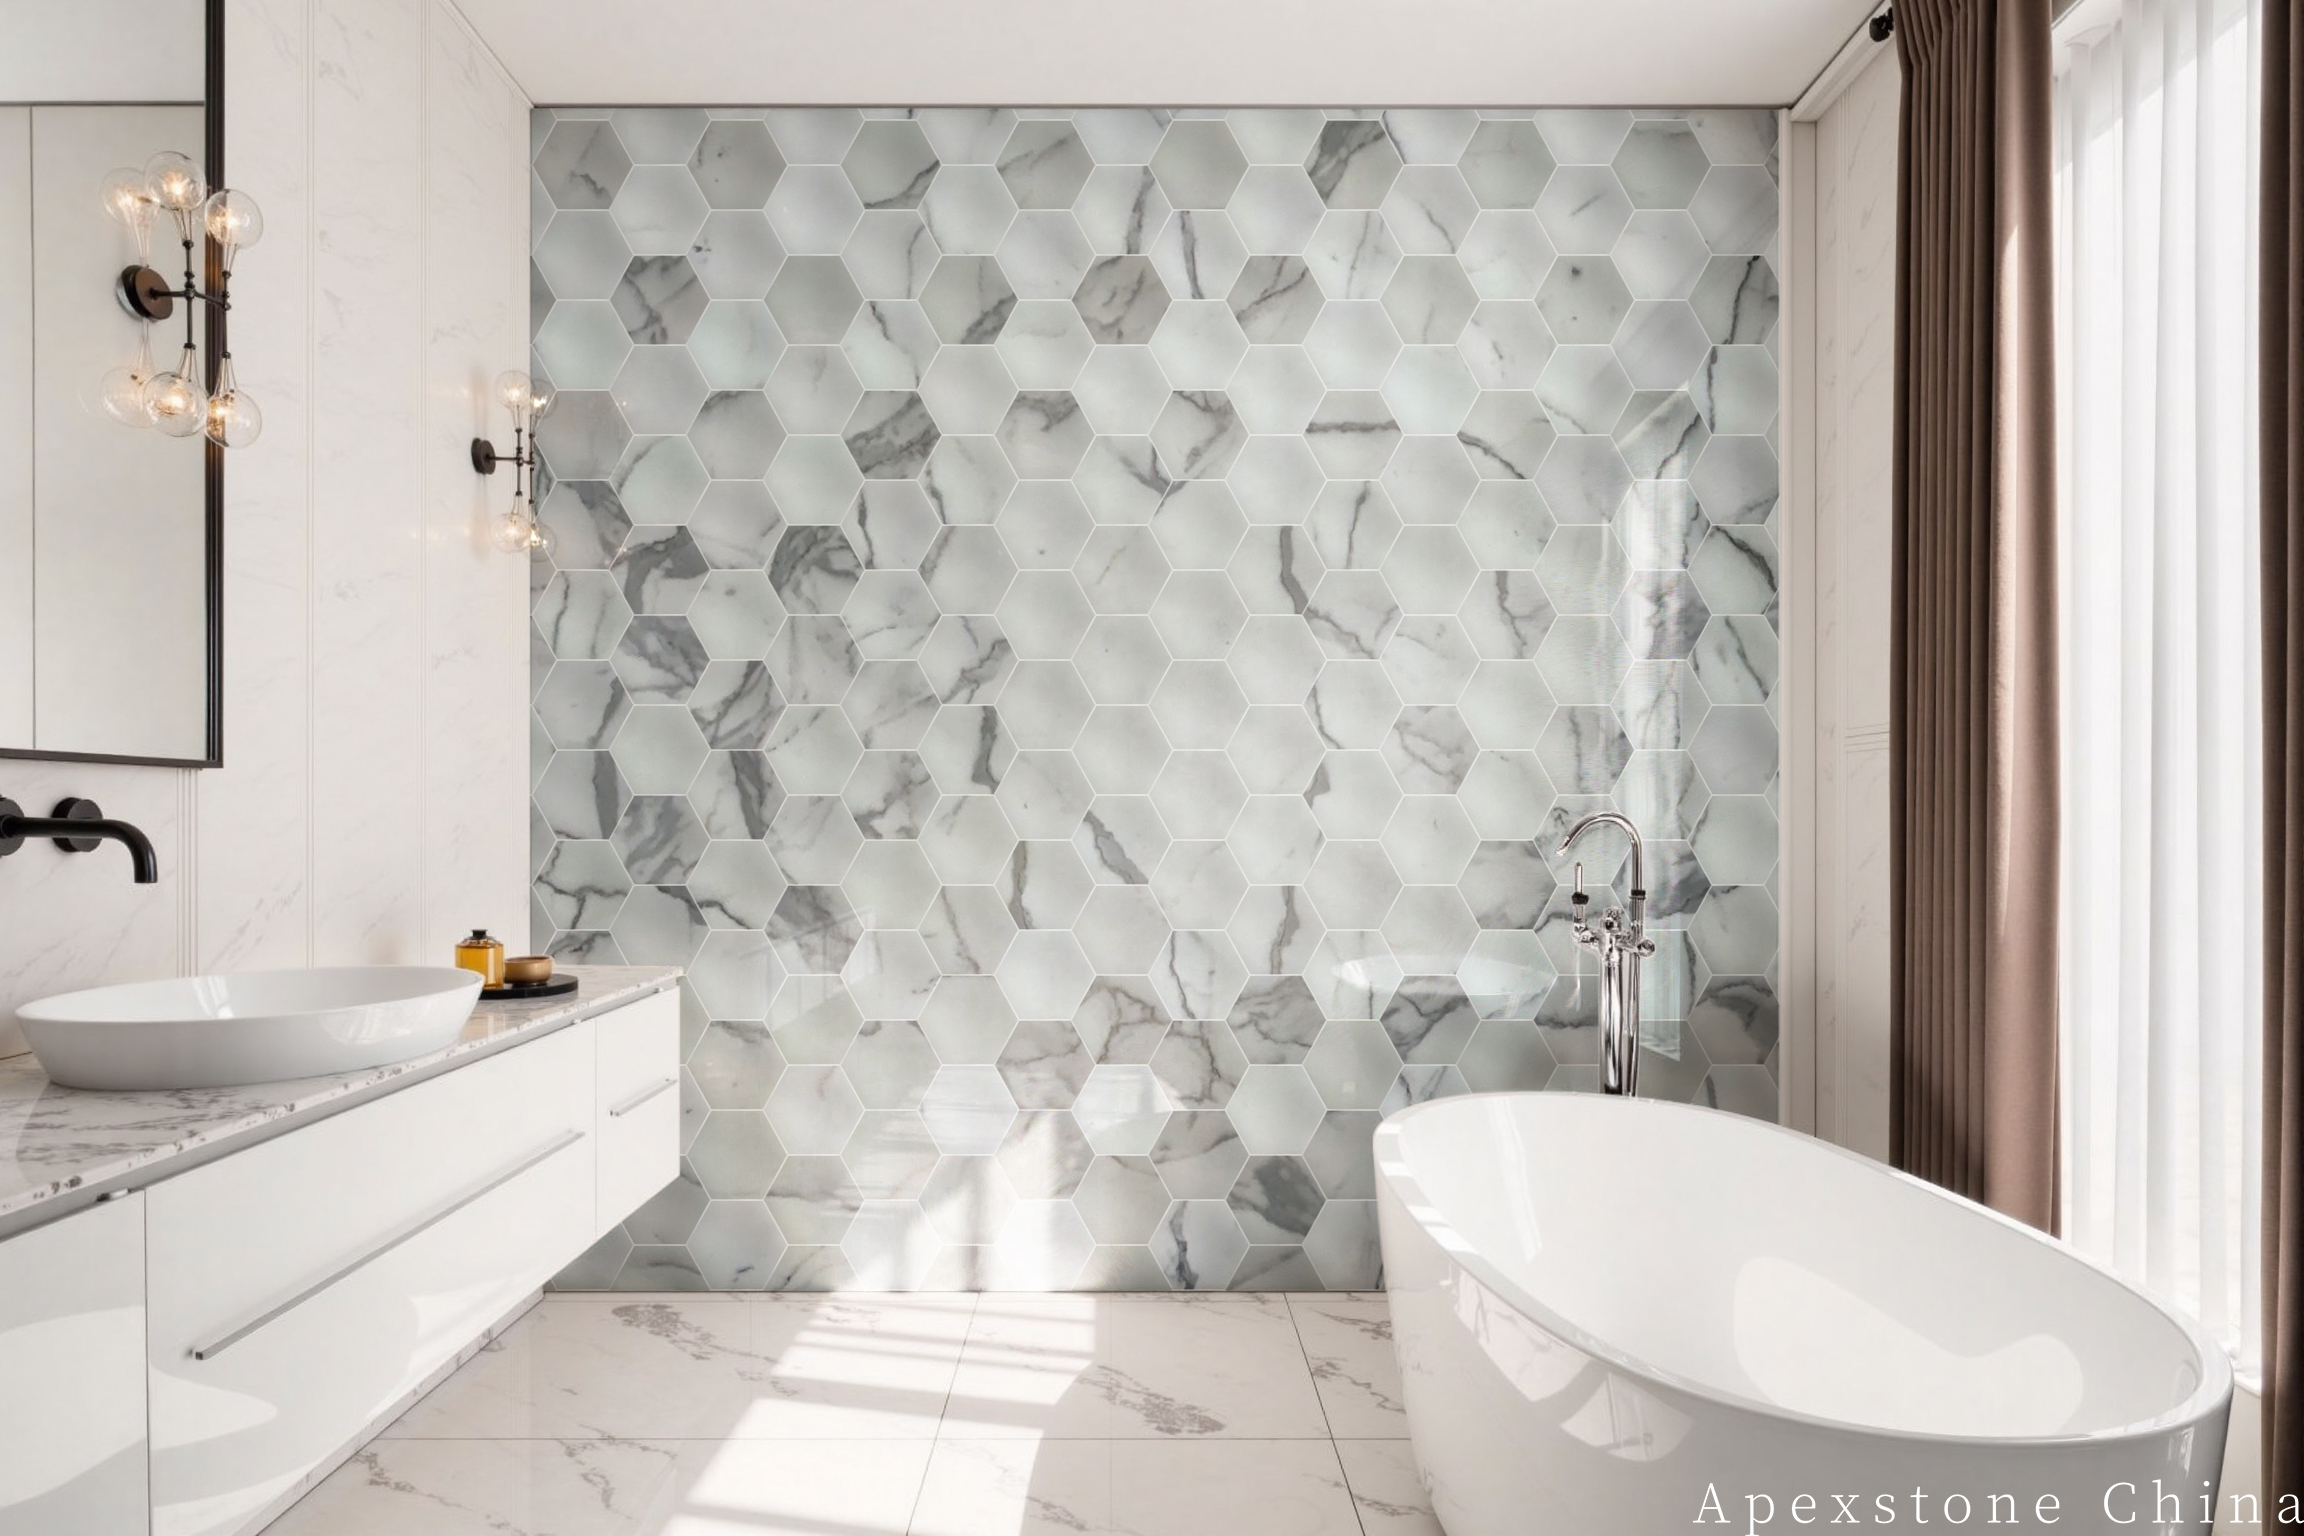
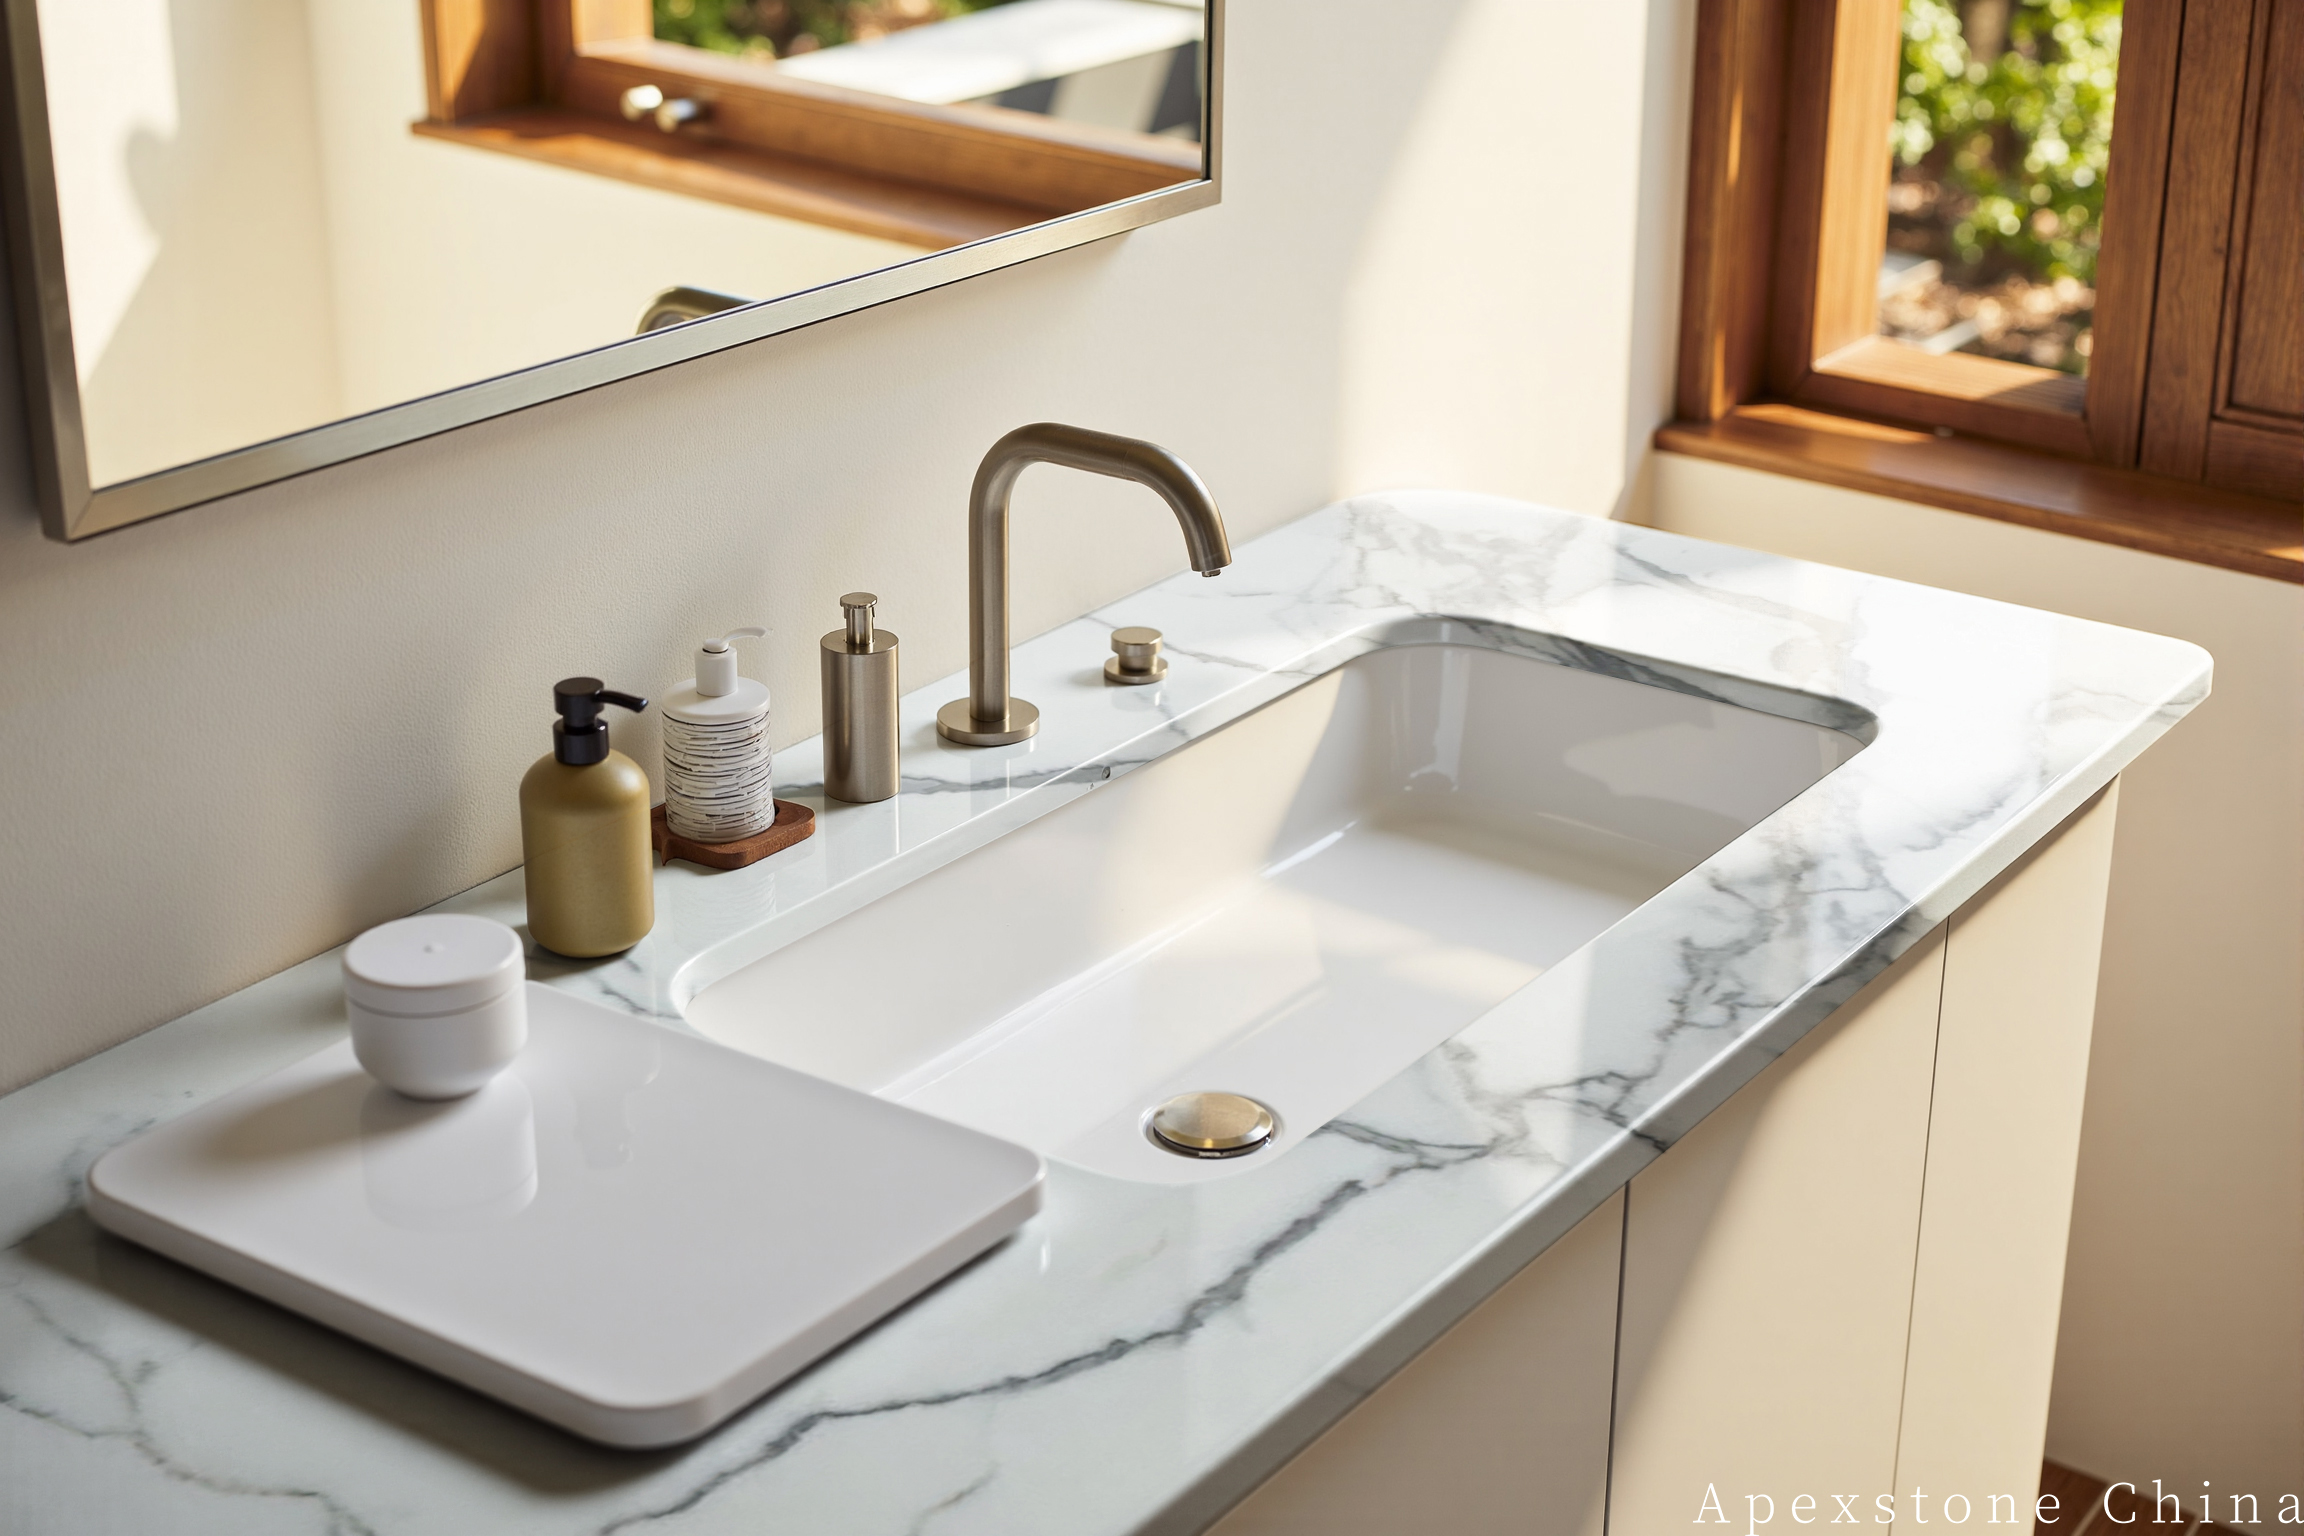
Six bathroom surfaces - shower floor, shower wall, full-panel surround, floor tile, patterned wall and vanity - each showing how the same Calacatta White batch changes character with scale and format.
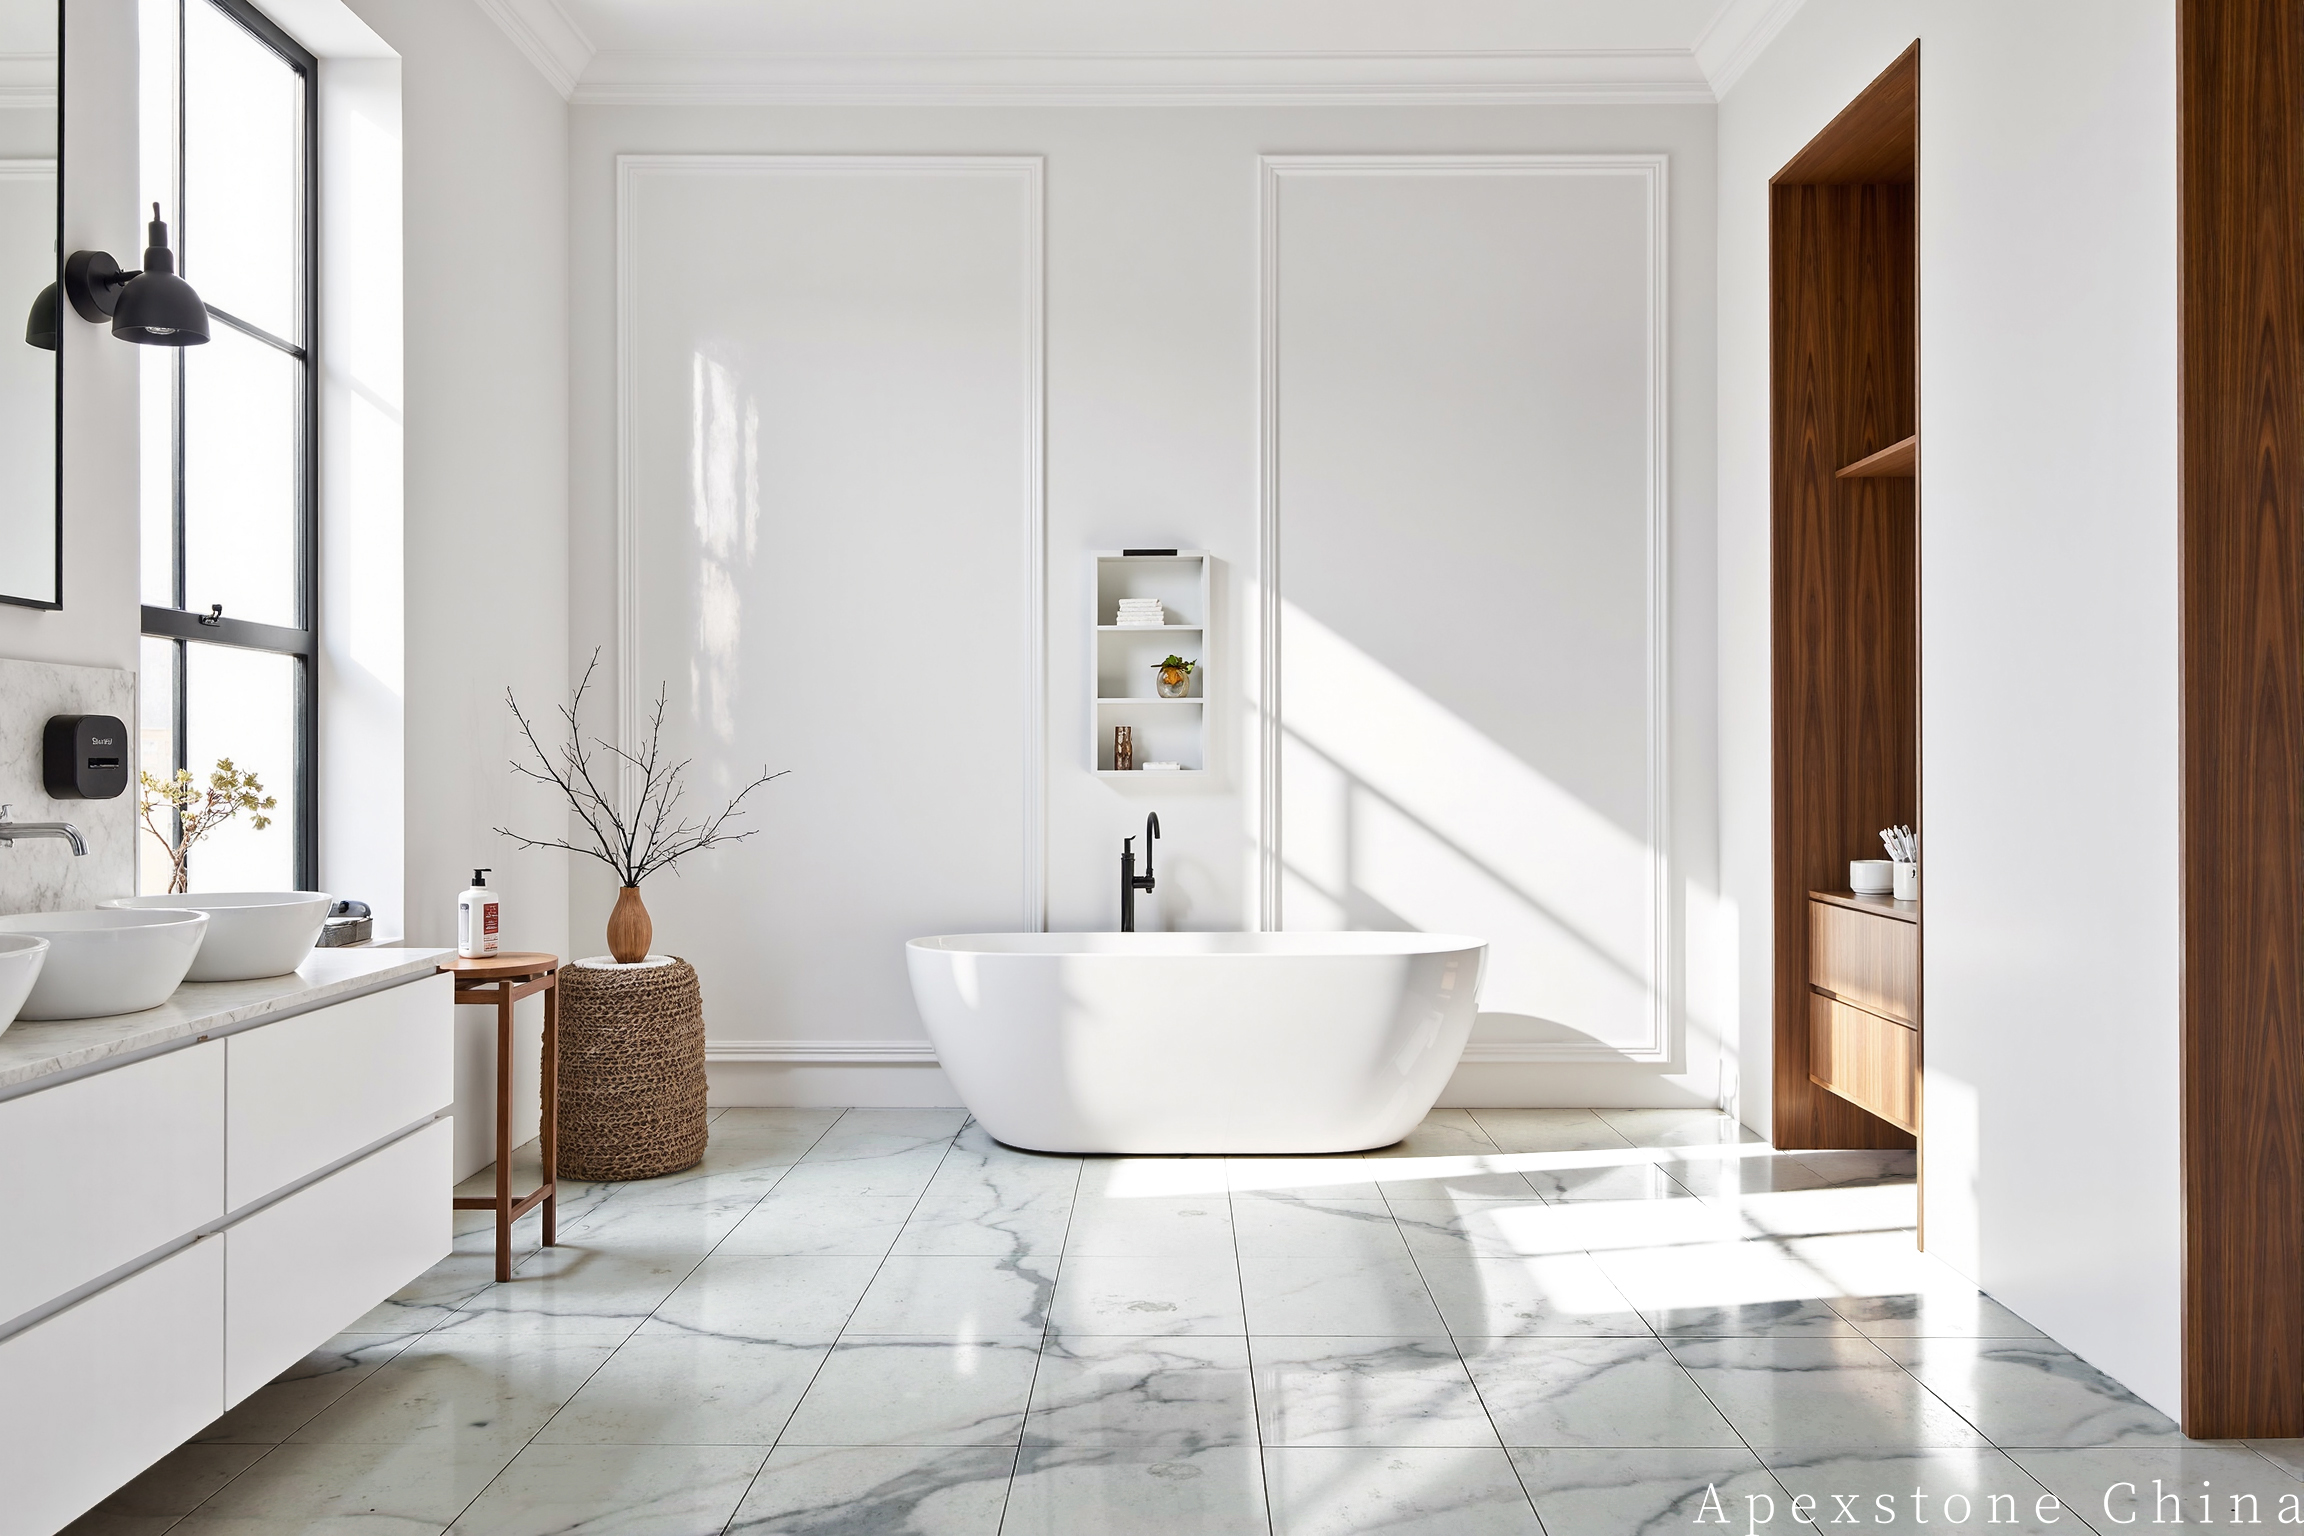
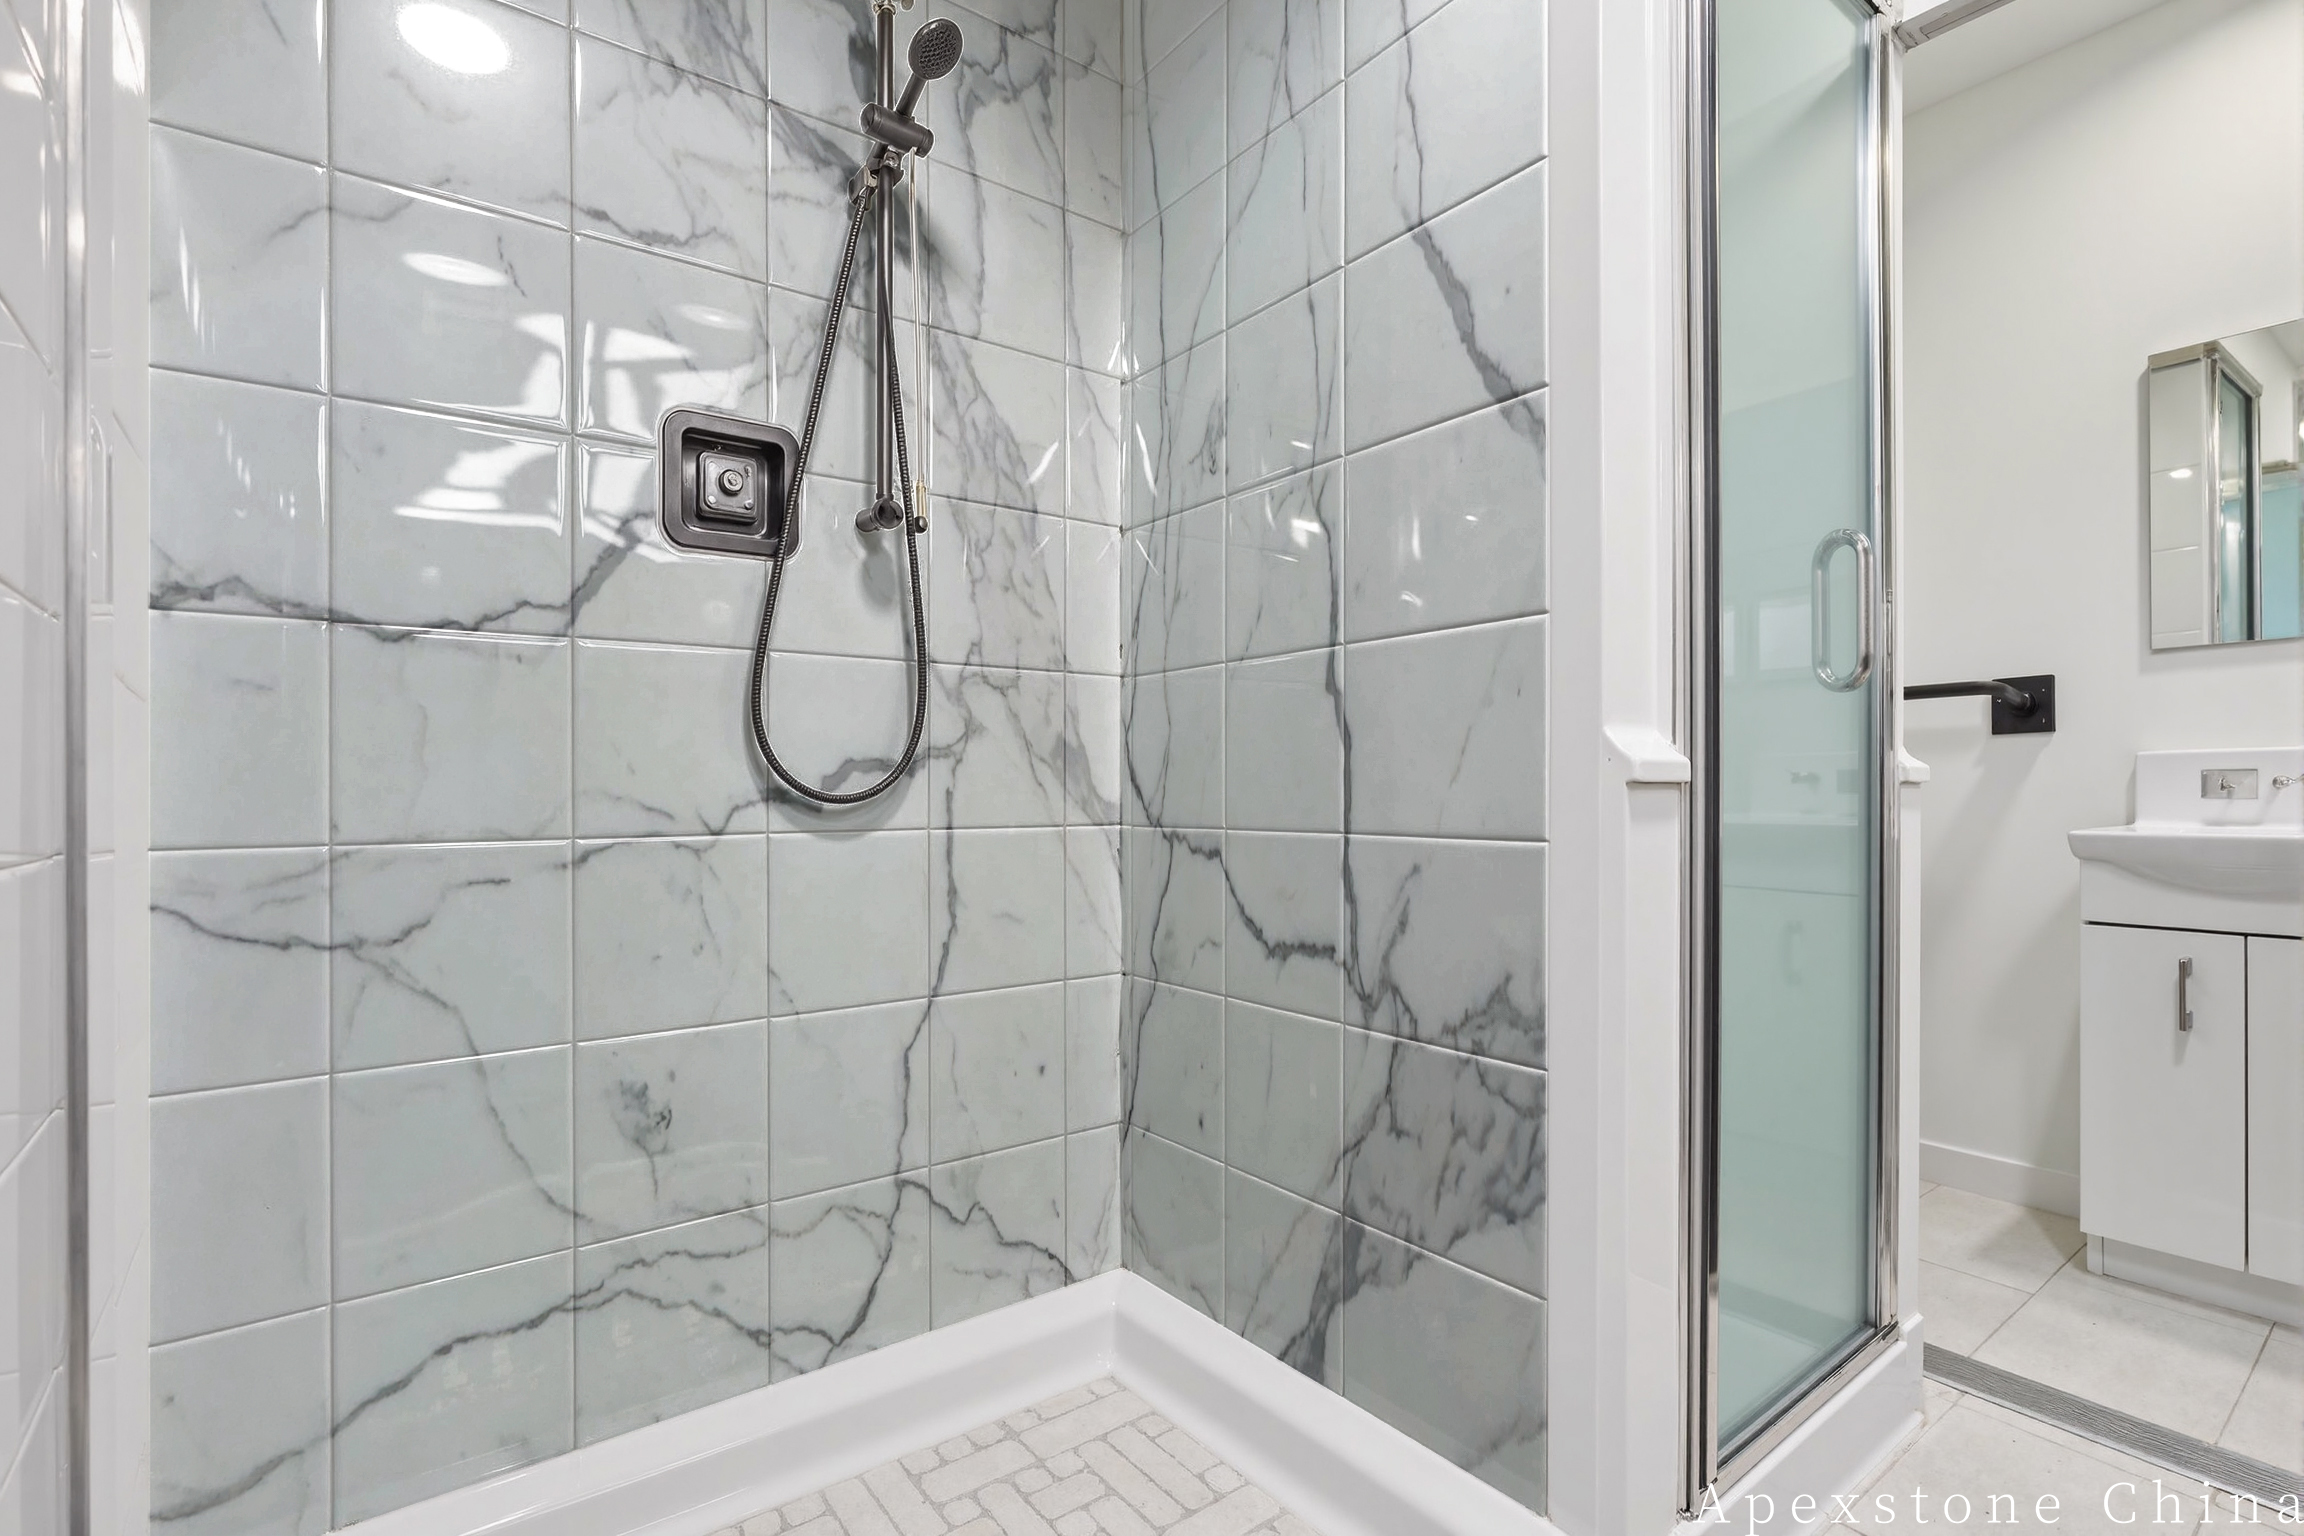
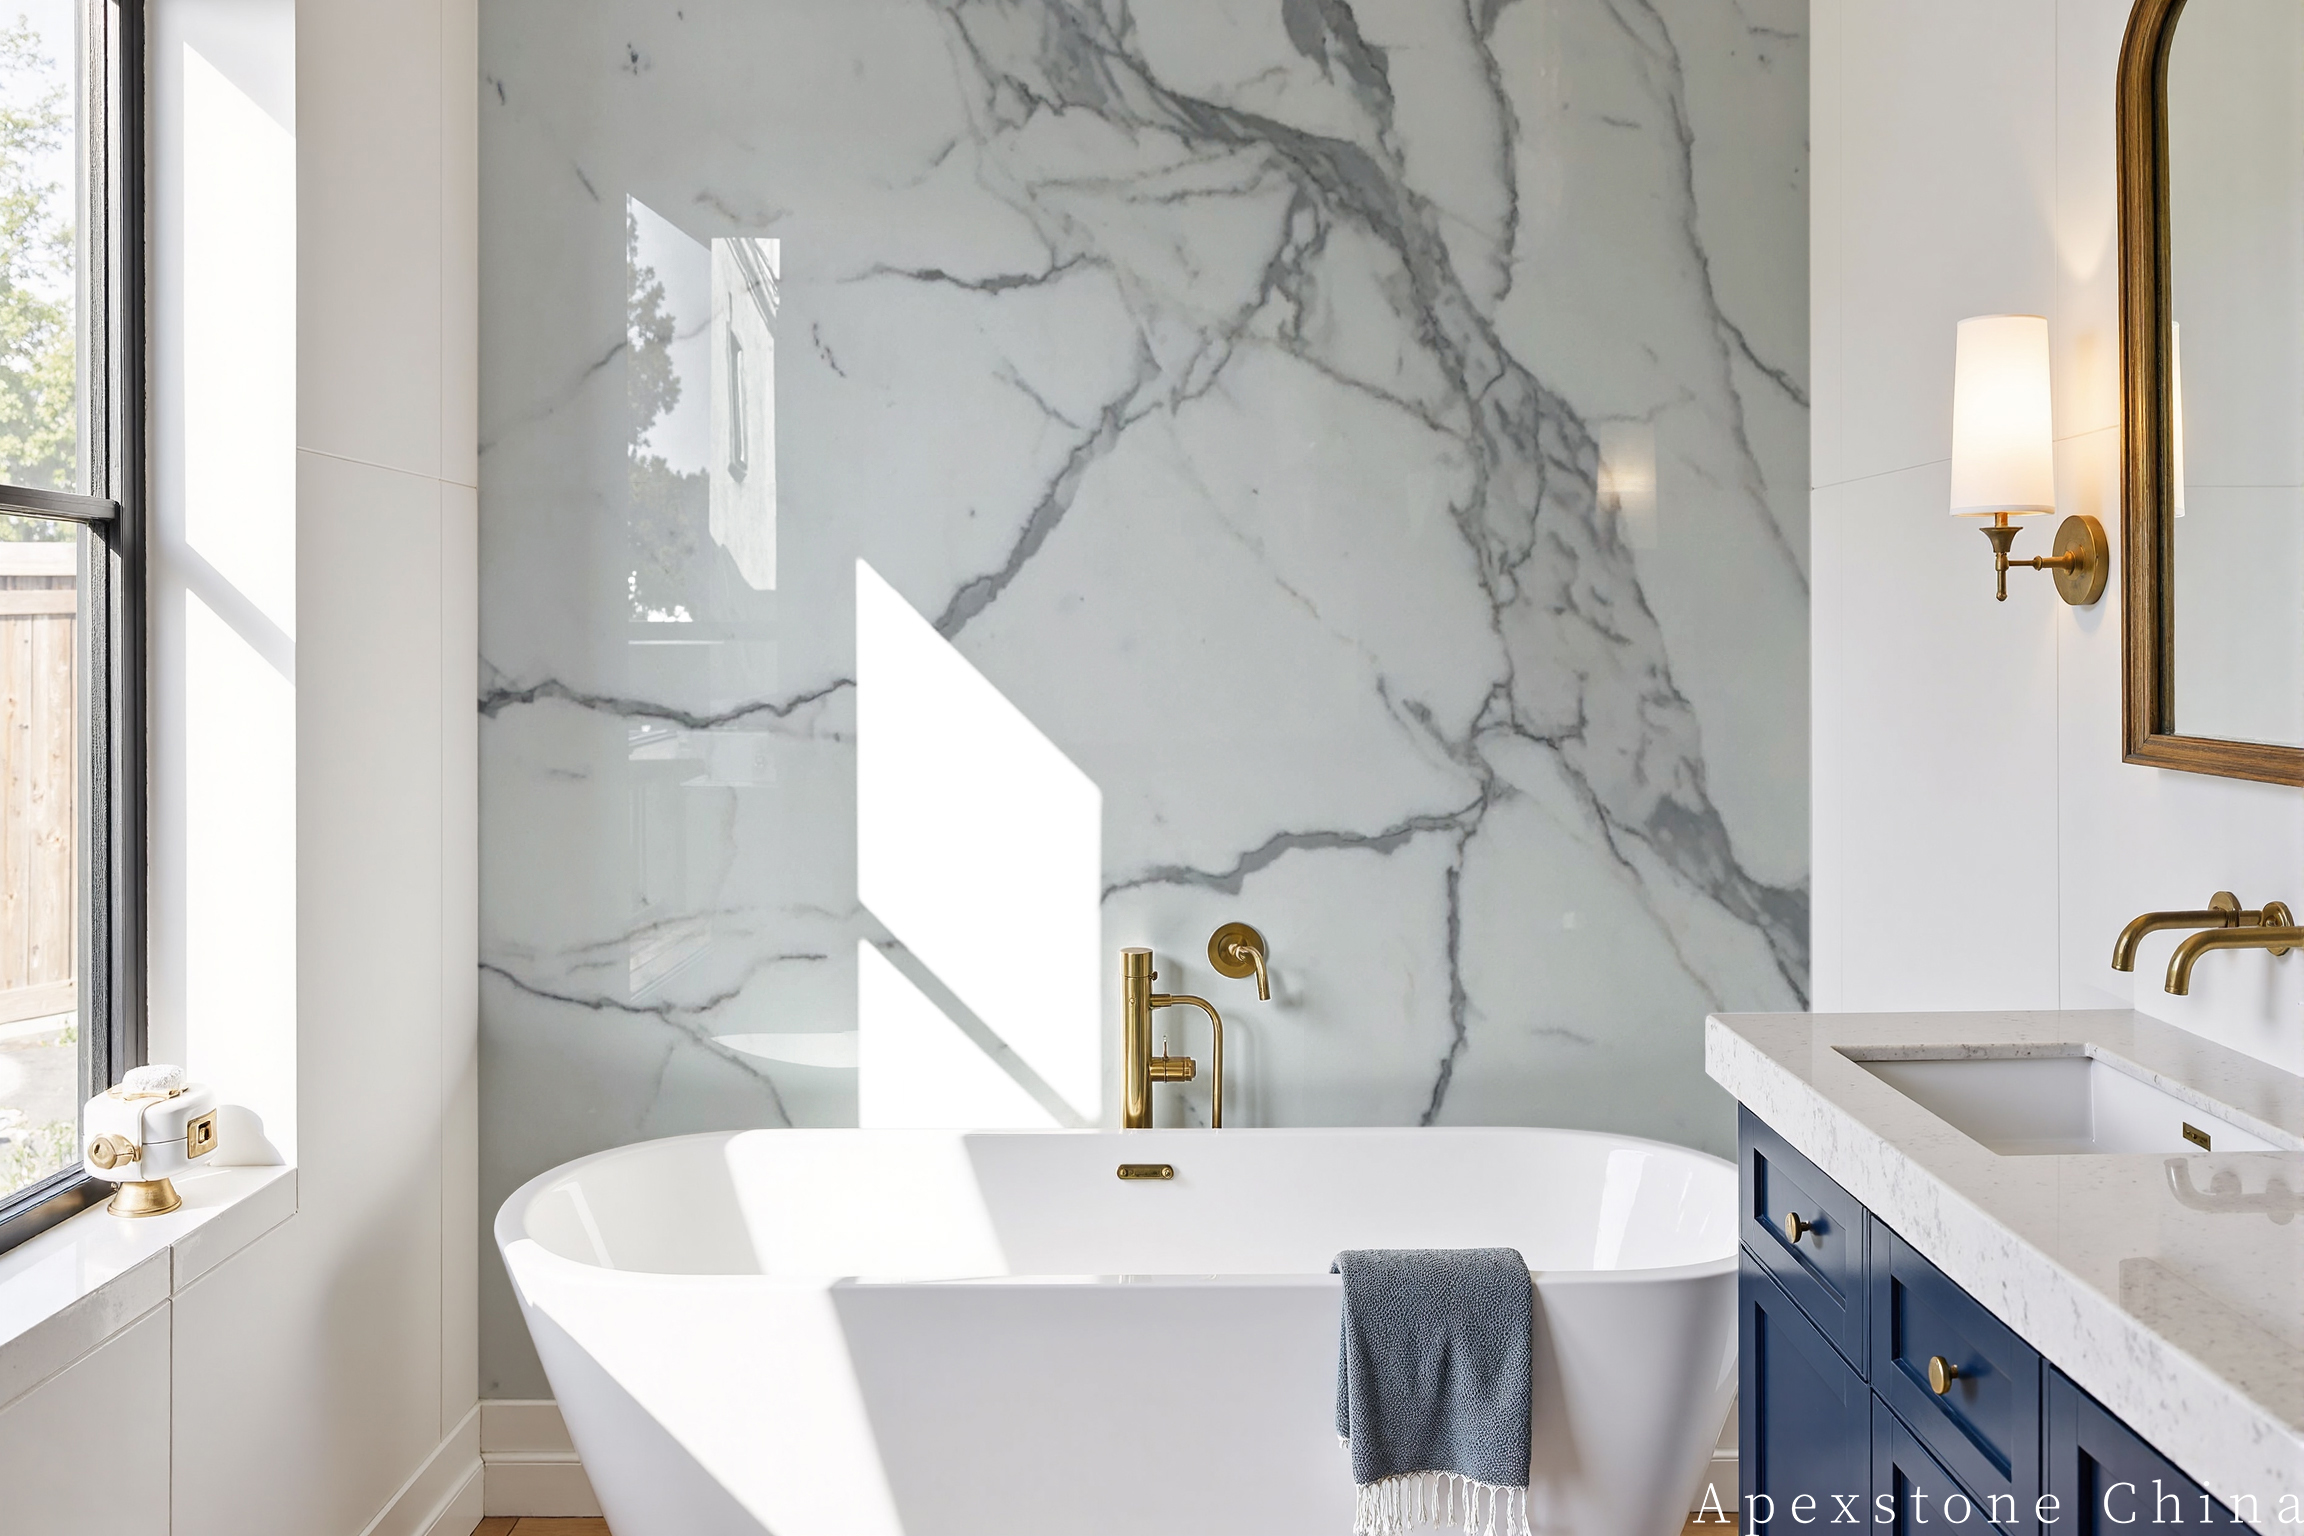
From the designer and installer desks
Five decisions to freeze before waterproofing is hidden
Name the focal plane before anything else
Every bathroom has one surface that guests remember - usually the shower wall or the wall behind a freestanding tub. Reserve the strongest vein moment of the slab batch for that plane, and let the vanity top and floor take quieter zones. A full-height shower wall in 12 x 24 inch (300 x 600 mm) tile with aligned veining reads as one continuous panel; the same stone scattered across every wall reads as wallpaper. Mark the focal plane on an actual-slab layout, not on a sample chip, because the vein that looks calm in a 4 x 4 inch sample can dominate a 60 inch wall.
Locate every penetration while the drawing is still soft
Basin centre, tap holes, shower valve, niche and mirror fixings all land on the stone. Each one is a chance to either frame the veining or slice through it. A wall-mount tap set 4 inch (100 mm) above a 36 inch vanity top sits inside the busiest vein band on many Calacatta slabs - shifting it 2 inch can move the drilling into a quiet zone at zero cost. Freeze these centres only after the slab zones are assigned, because marble gives one chance at drilling.
Pair the finish with the light and the wet zone
Polished Calacatta White doubles the reflected light in a windowless bathroom and deepens the grey veining - ideal for the focal wall and vanity top. Honed finish trades some depth for grip and a softer, matte calm, which suits bathroom floor tile and shower floors. A practical split used in many residential projects: polished on vertical surfaces, honed 12 x 12 inch (300 x 300 mm) or 12 x 24 inch (300 x 600 mm) floor modules, and honed inside the shower where water and soap sit. Review both finishes beside the actual lighting temperature before approving, since warm 2700K light flatters the cream undertone while cool 5000K light sharpens the grey.
Separate stone approval from waterproofing approval
A beautiful marble panel does not validate the substrate. Falls to the drain, membrane laps, movement joints and the compatibility of adhesives with natural stone are a separate sign-off, and they belong to the installer and the waterproofing contractor. Record both approvals separately: one for the slab batch and vein layout, one for the wet-area build-up behind it. When these are merged into a single sign-off, the stone gets blamed for leaks that were never a stone problem.
Write the owner care note before handover
Calacatta White is calcite marble: it etches on contact with acid, and no sealer changes that chemistry. What a penetrating sealer does is slow absorption, buying time to wipe spills. The care note should name the enemies - limescale removers, bleach-based sprays, acidic bathroom cleaners - and prescribe a pH-neutral cleaner plus a soft cloth. Etch marks on a honed surface are far less visible than on polished, which is one more reason honed suits family bathrooms. Hand over this note with the maintenance schedule, not after the first etch mark appears.
Room Zones
Place the marble where the decision is clearest
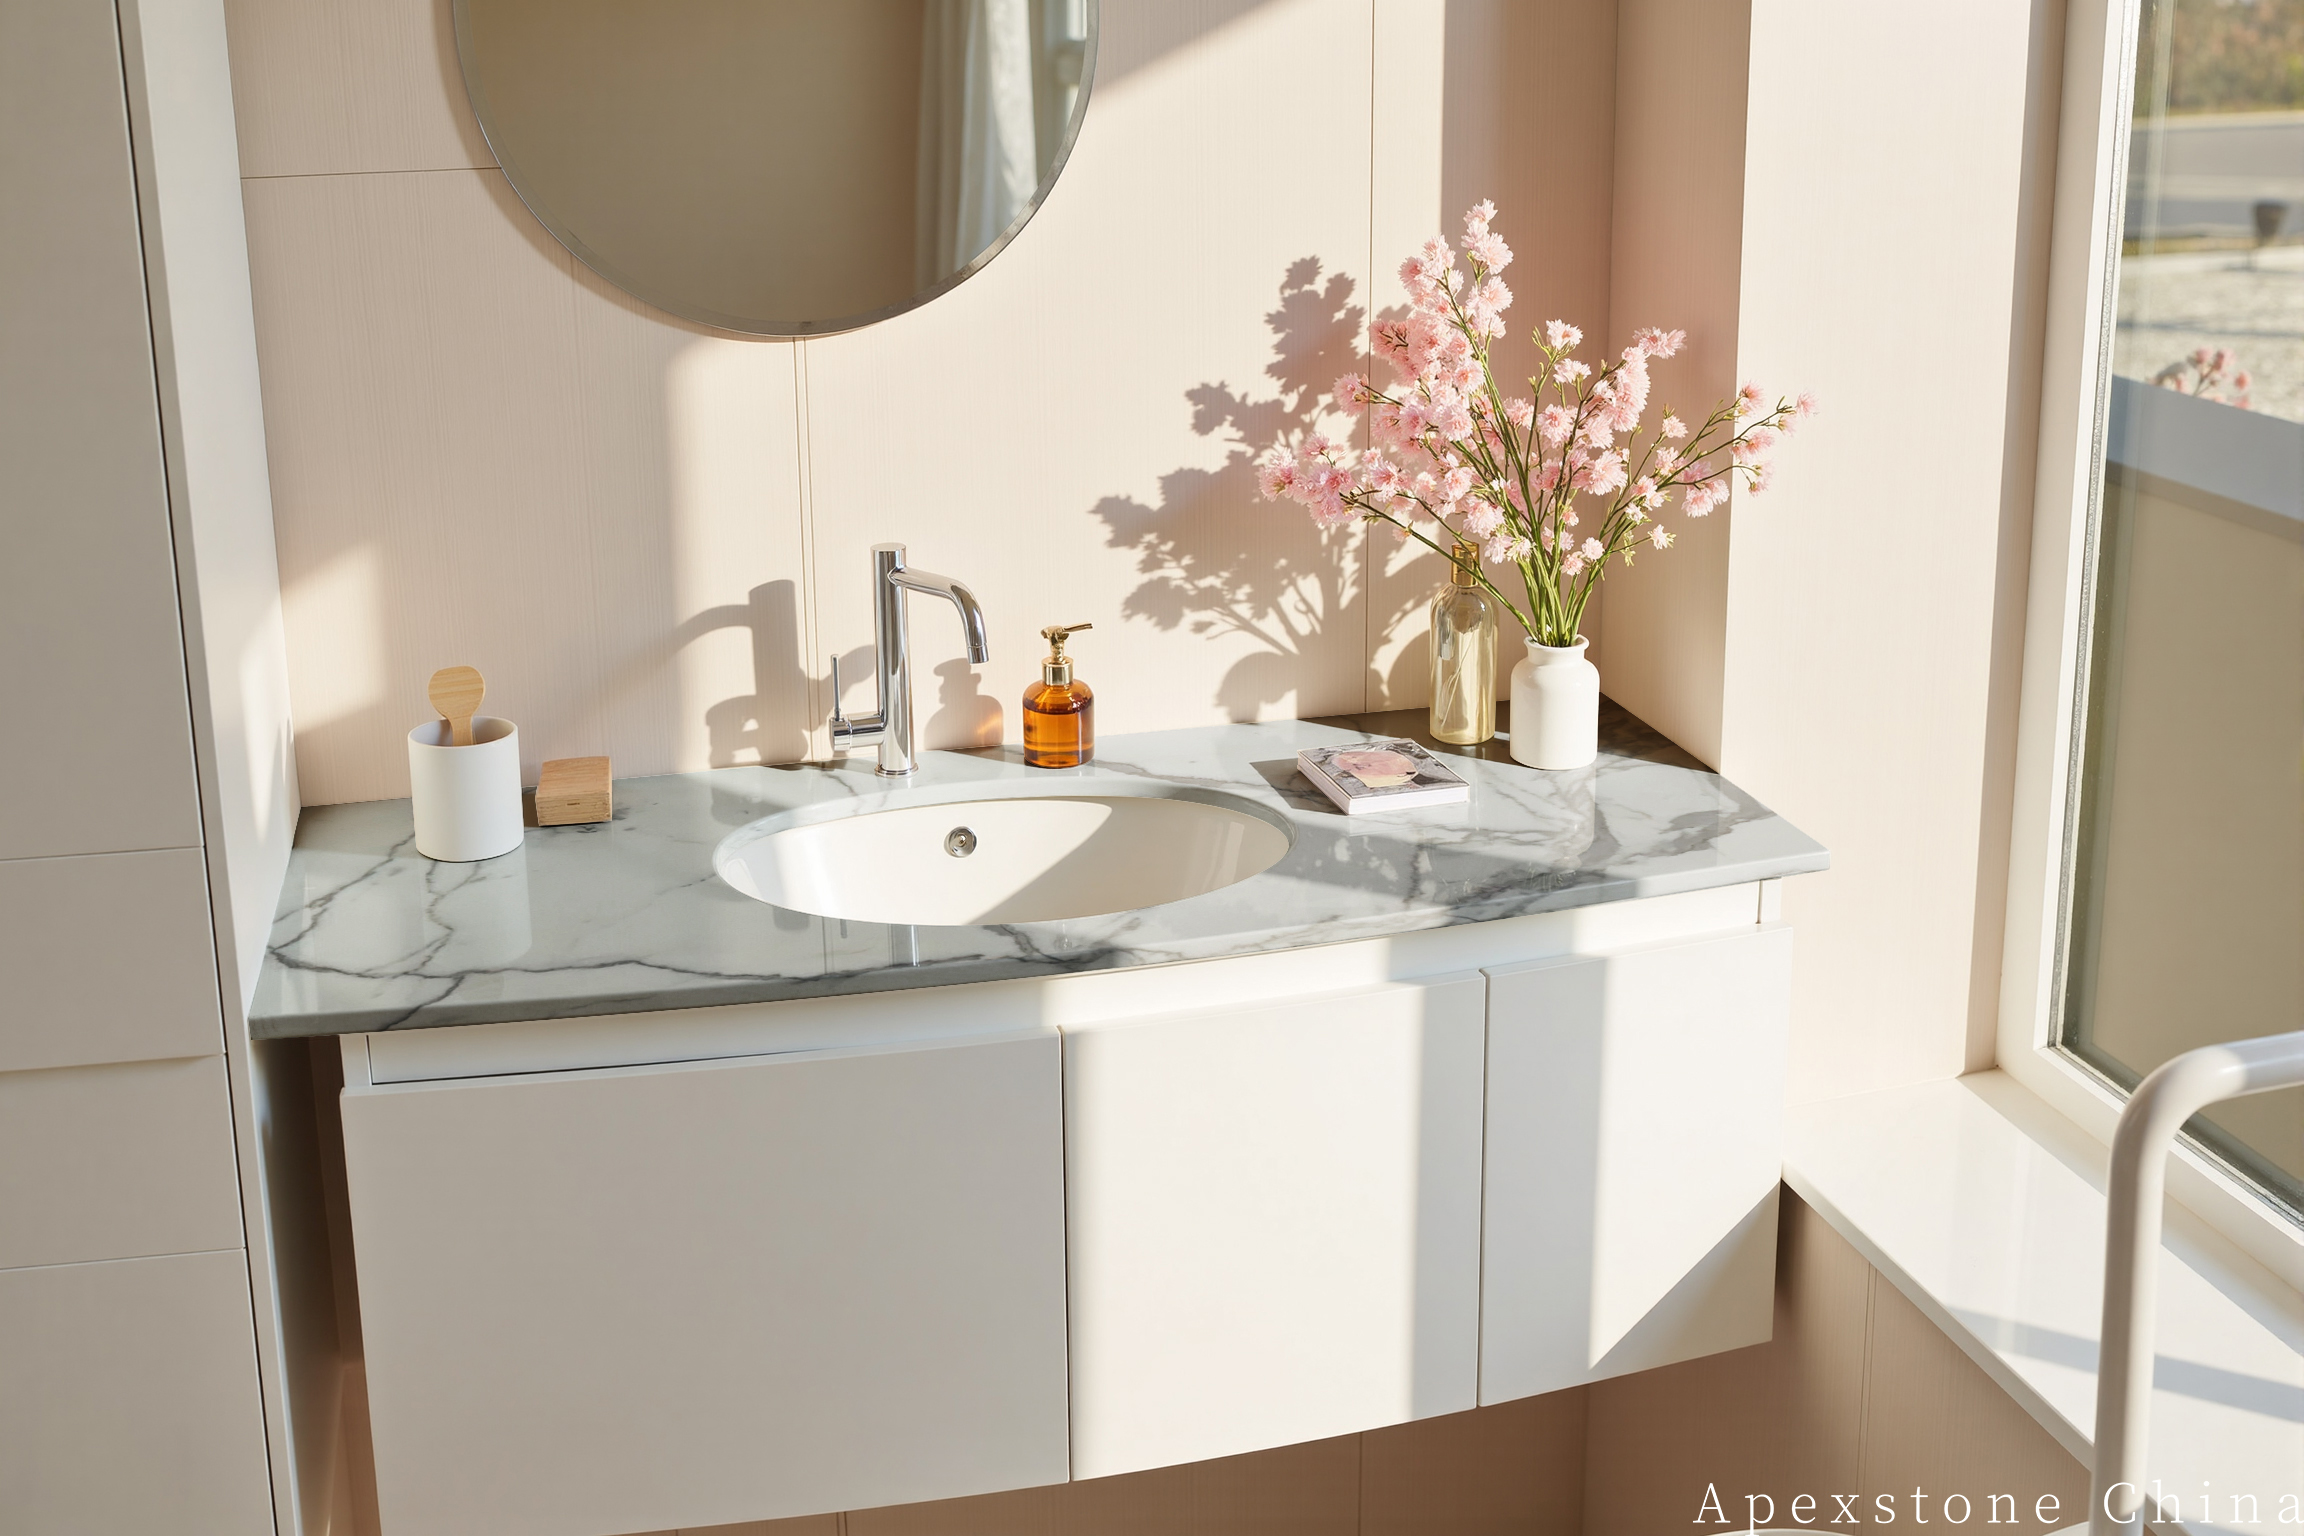
Double vanity in 60 or 72 inch
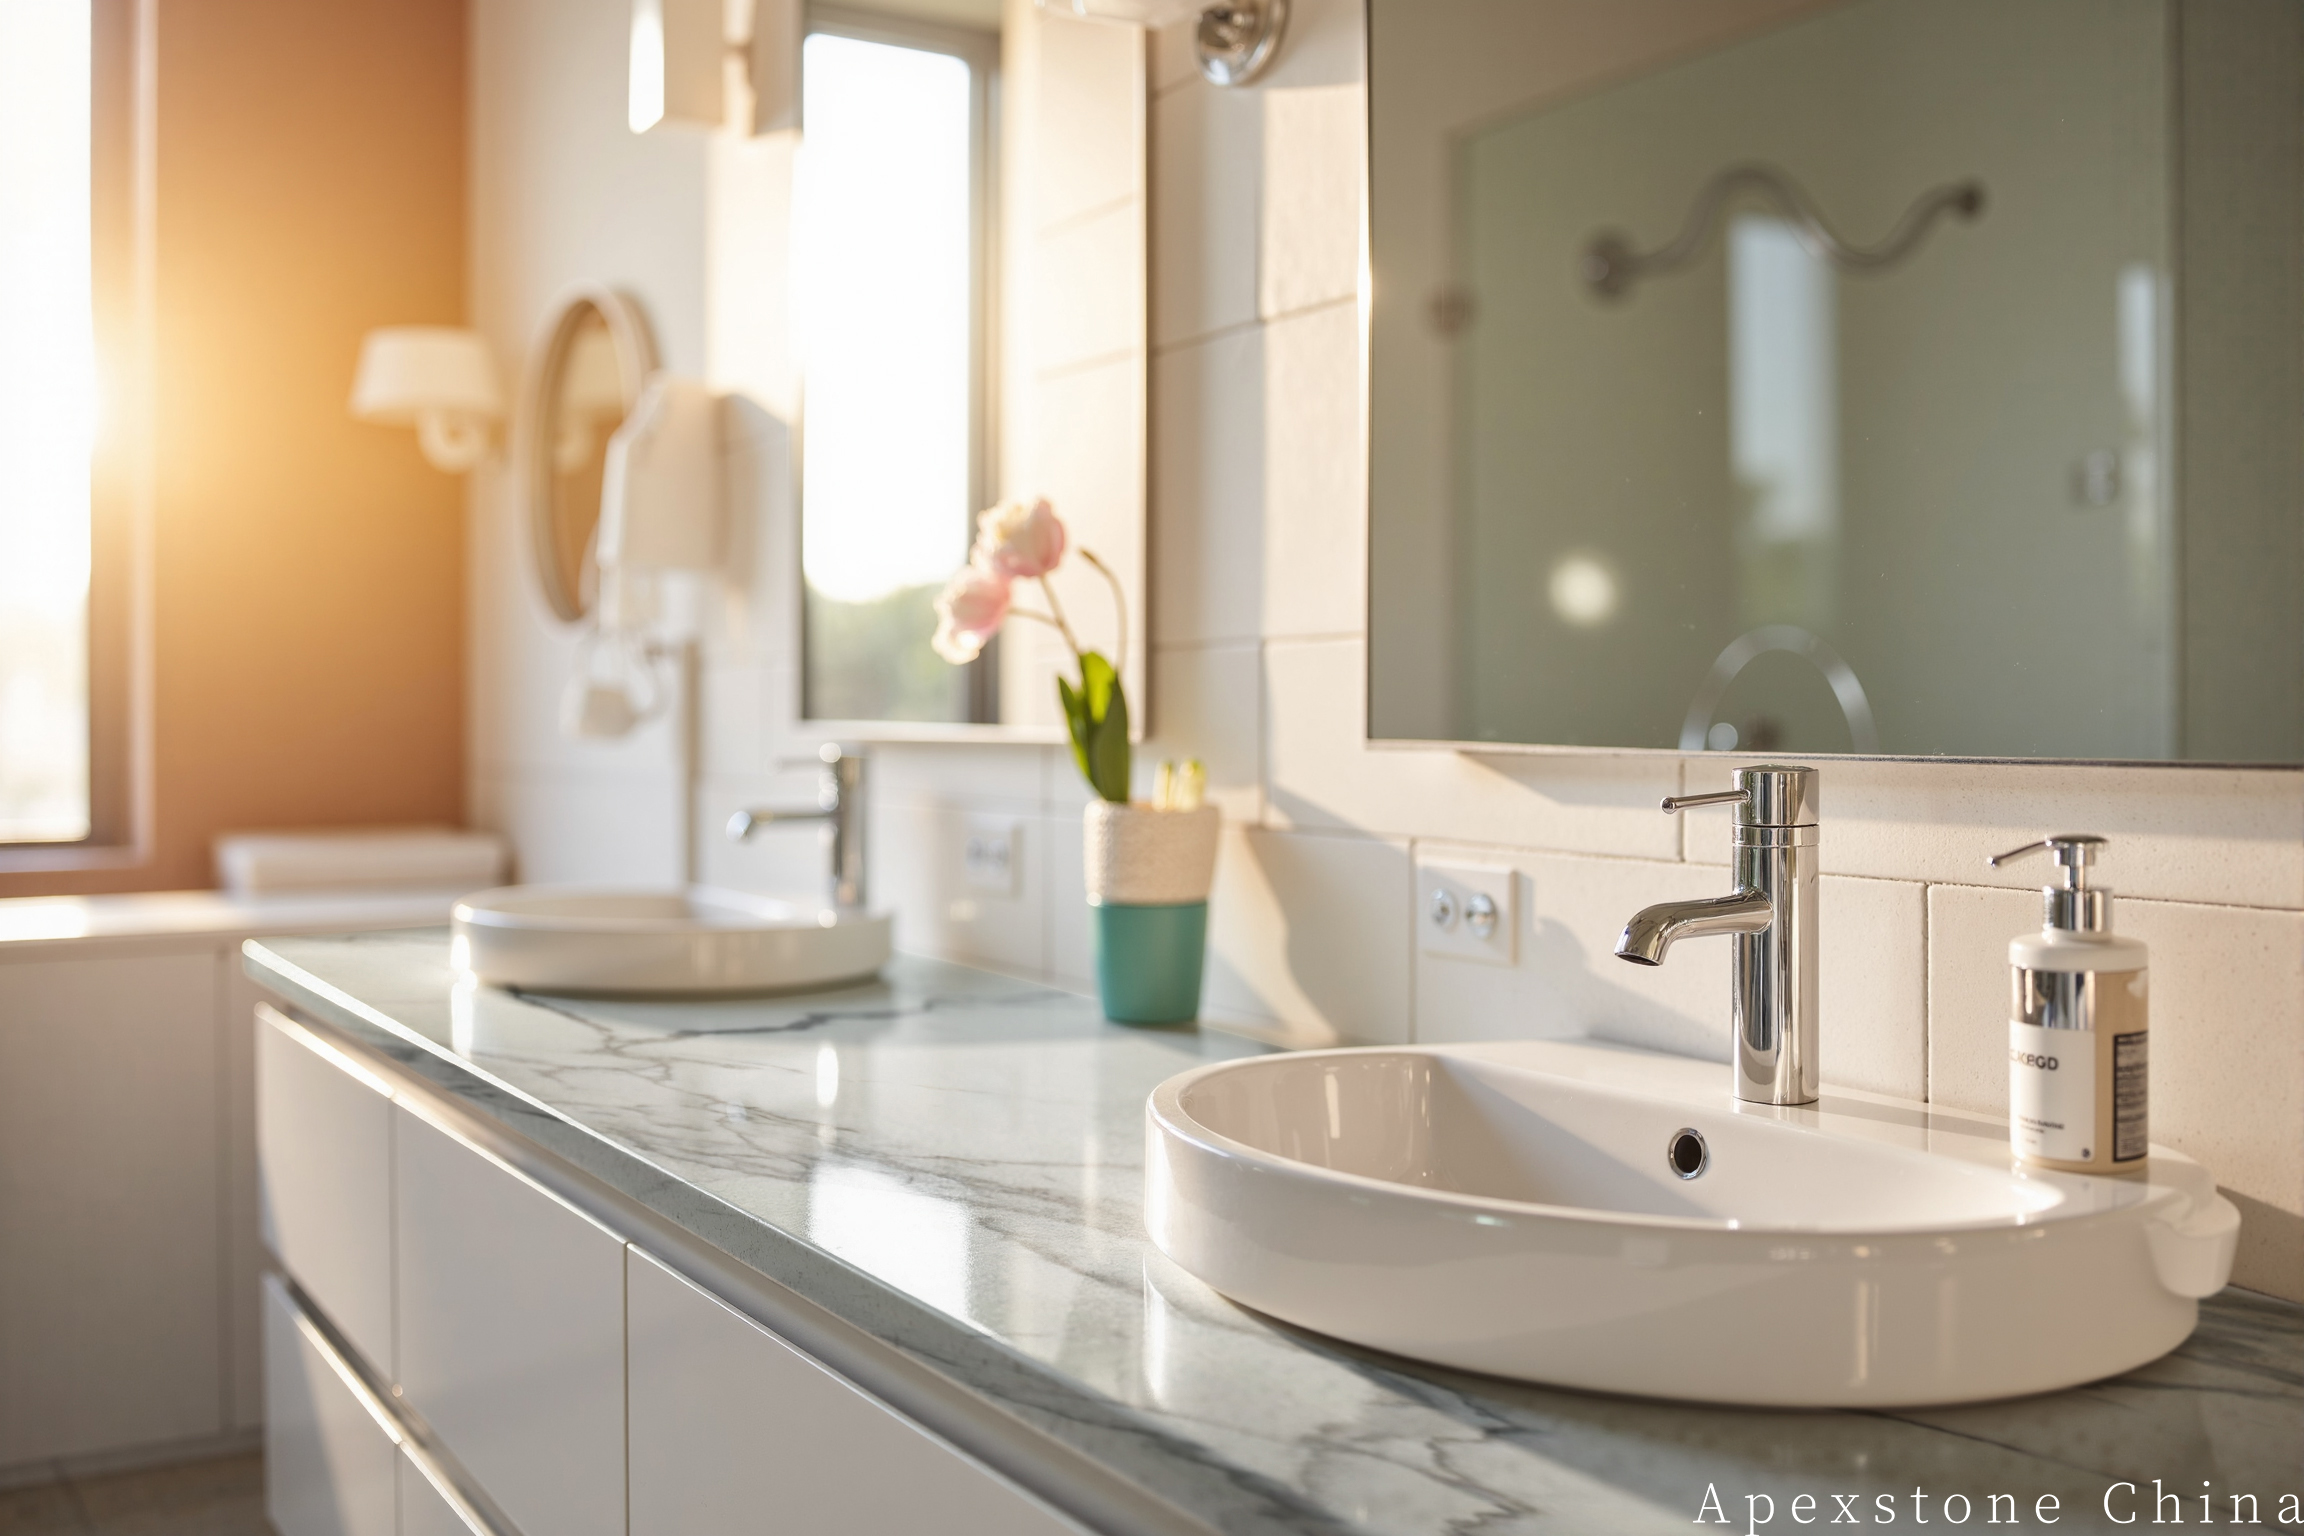
Mirror and vessel-basin composition
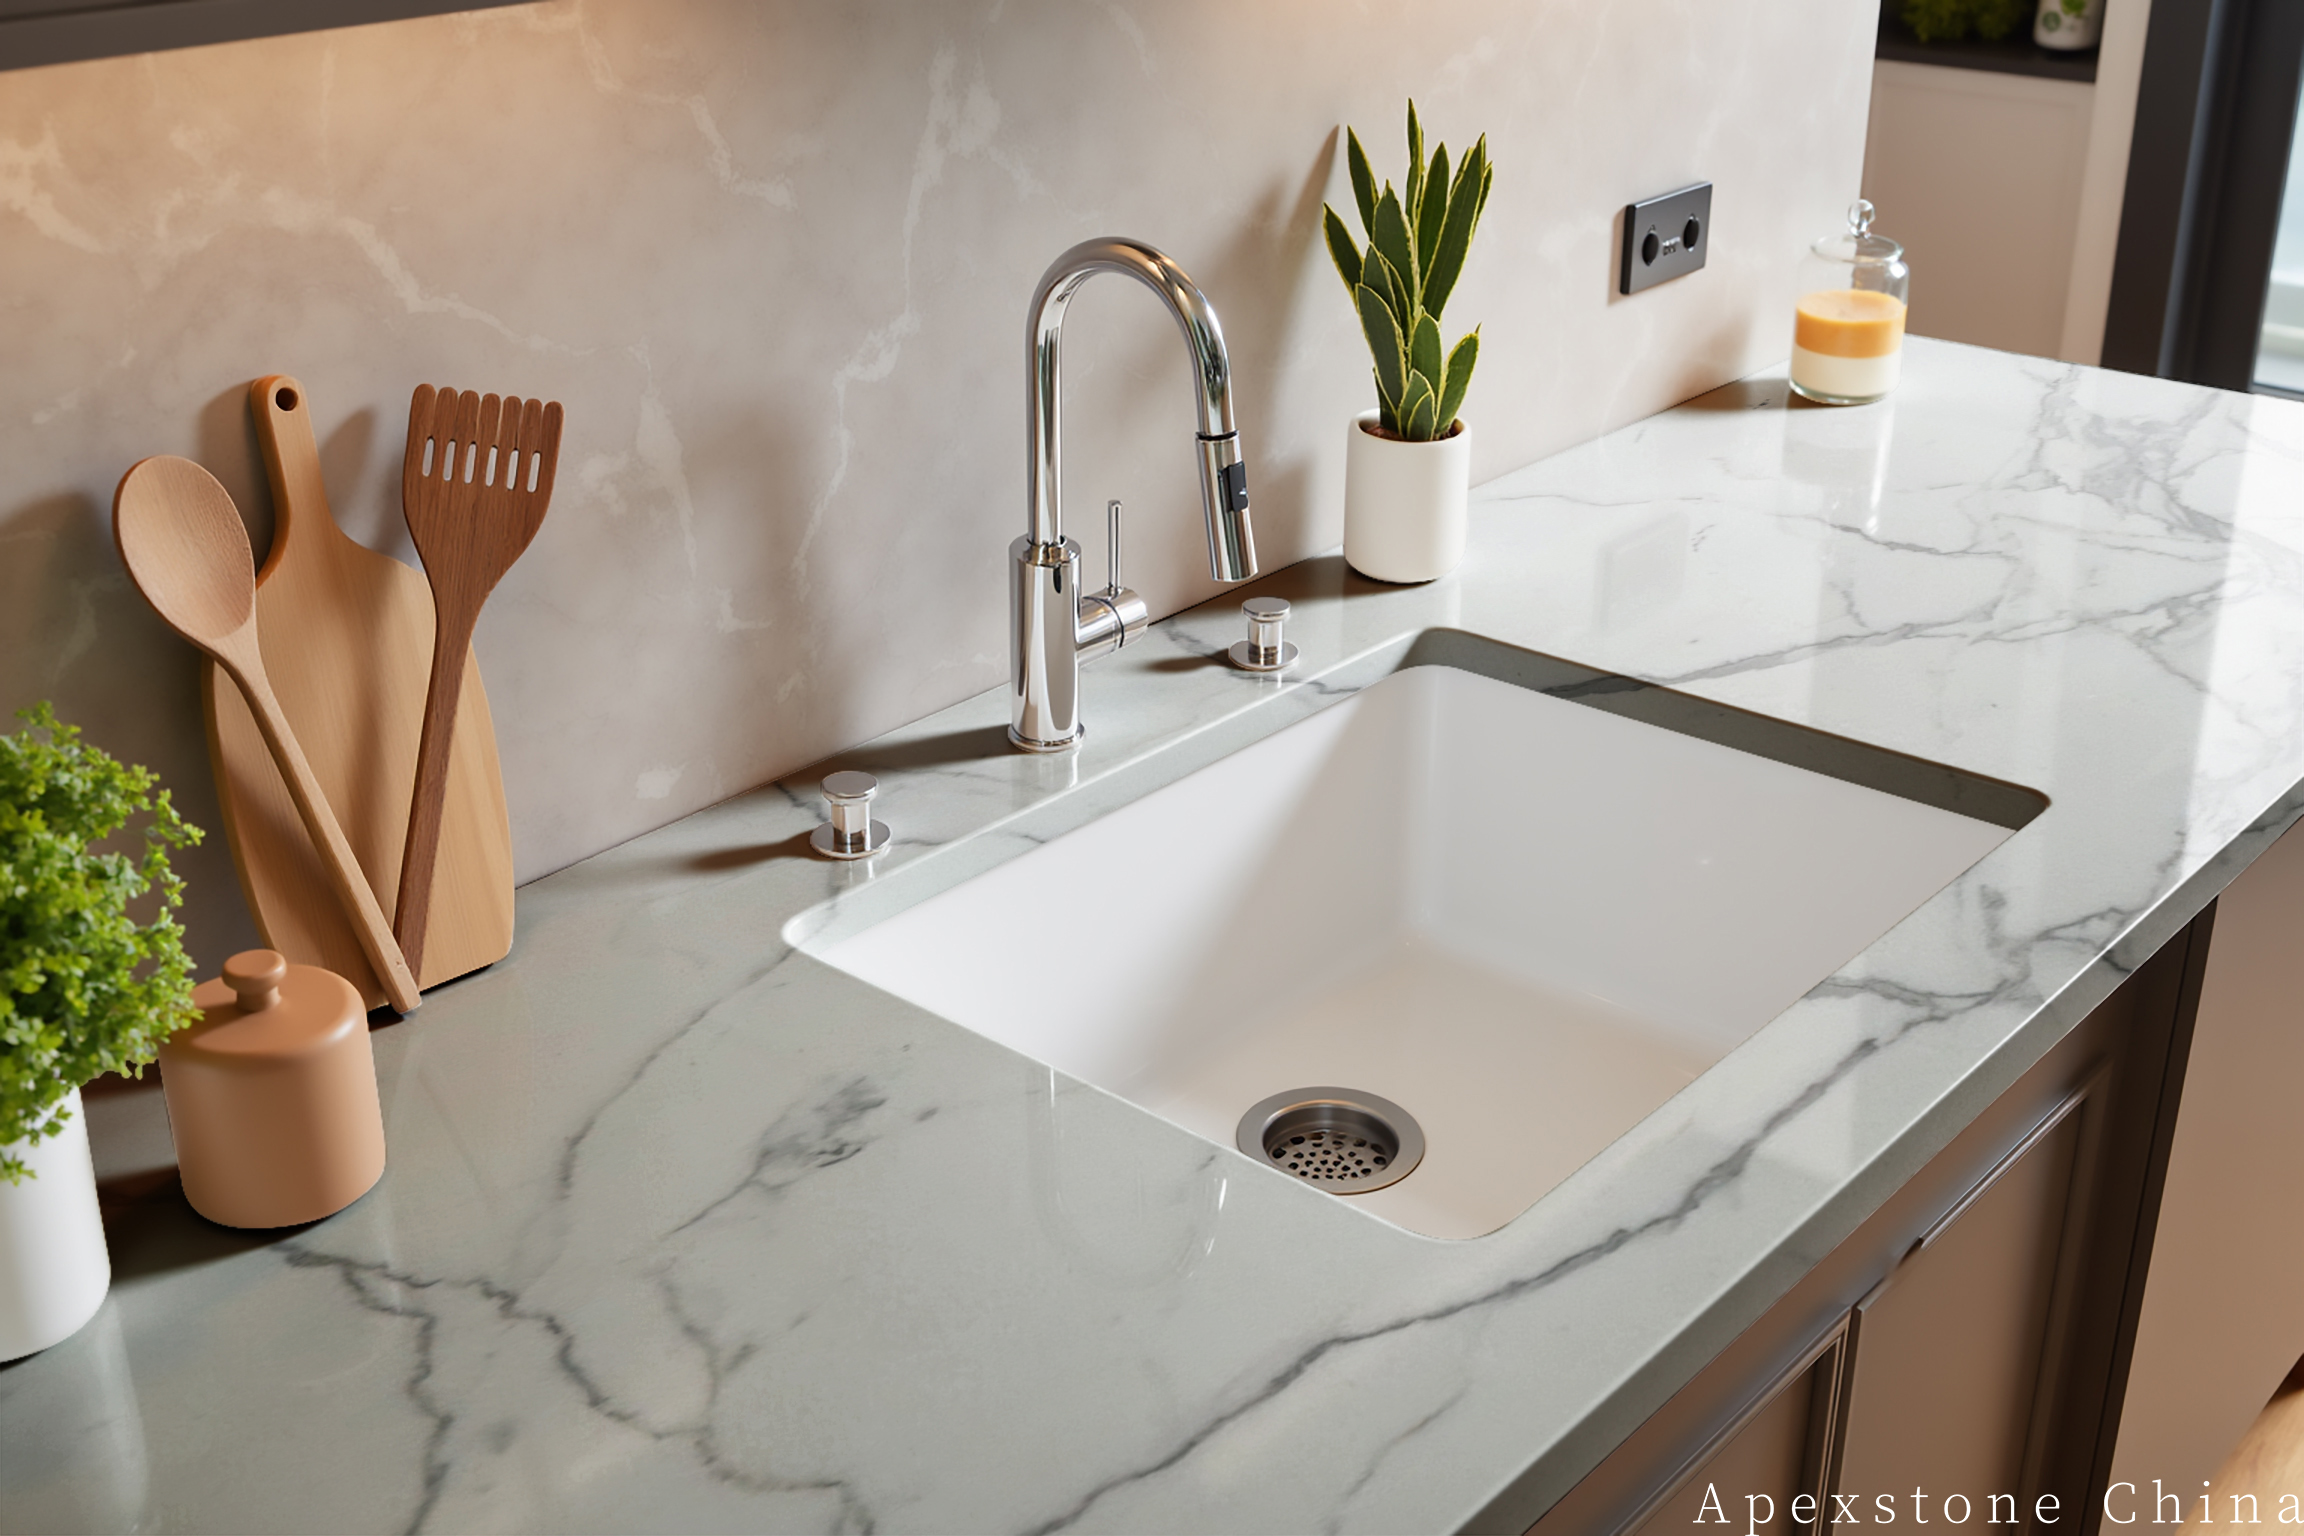
Stone sink focal point
Planning References
Dimensions to carry into the drawing
| Vanity widths | 25.5, 36, 37, 60, 72 inch (650, 915, 940, 1525, 1830 mm) |
| Vanity depth | 21-22 inch (535-560 mm), project-specific |
| Vanity thickness | 20 mm (3/4 in) or 30 mm (1-1/4 in) |
| Floor modules | 12 x 12 inch (300 x 300 mm) or 12 x 24 inch (300 x 600 mm) |
| Shower floor | 2 x 2 inch (50 x 50 mm) mosaic for drainage |
| Low splash | 4 inch (100 mm) planning reference |
| Finish | Honed or polished by sample approval |
Bathroom Decision Path
From visual hierarchy to owner hand-over
This sequence follows bathroom decisions, not a generic factory route. The names and count are specific to the room.
- ✓
1. Draw the wet envelope
Locate drains, falls, membrane boundaries, niches and every penetration before any stone is discussed.
- ✓
2. Assign the focal slab zone
Reserve the strongest vein area of the batch for the chosen wall or vanity, in writing.
- ✓
3. Lock the fittings
Approve basin, tap, shower hardware, mirror and light centres against the vein map.
- ✓
4. Reconcile stone and waterproofing
Confirm panel joints, tile grid, movement joints and compatible installation materials.
- ✓
5. Handover with care limits
Record seal treatment, pH-neutral cleaning and the fact that marble can etch.
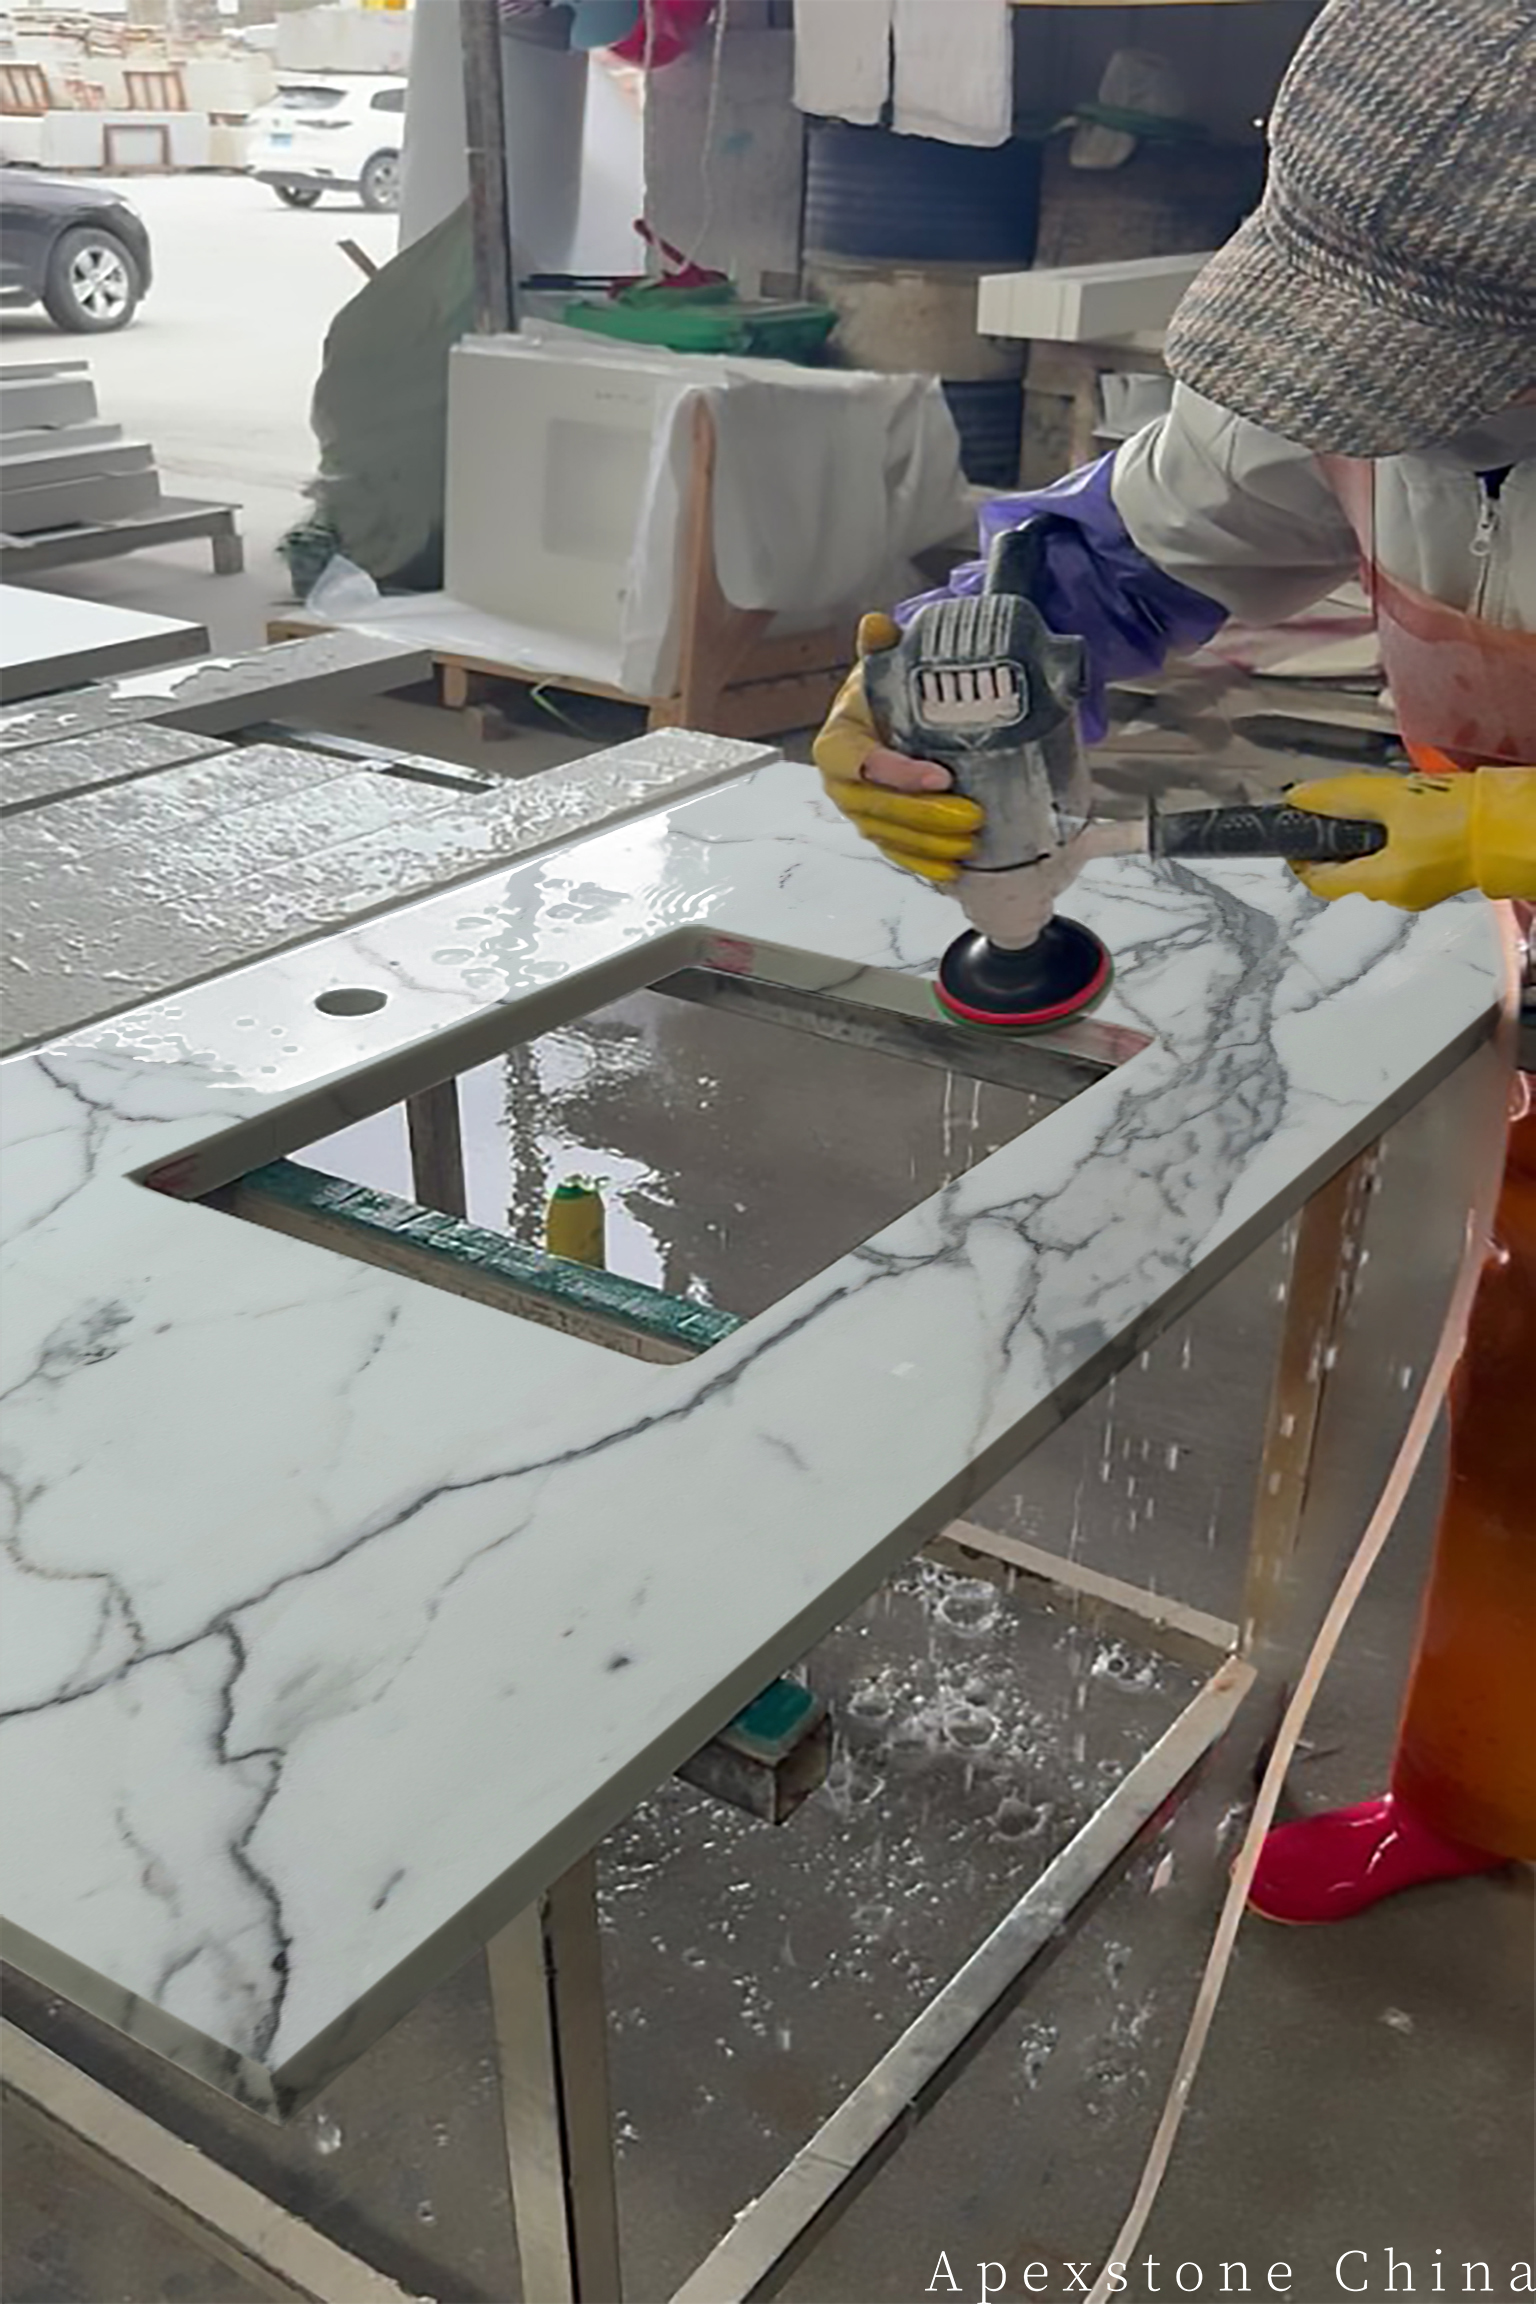
Bring the room, not only a mood board
Send the elevation and fitting schedule for a batch-specific layout
Send the elevation, fitting schedule and preferred vanity size - 36, 60 or 72 inch - and the discussion can move to actual slab zones, vein mapping and a fabrication layout that matches the room.