Feature Wall Design
Designing a Travertine Romano Feature Wall That Reads as Architecture
Use scale, vein direction, disciplined joints and grazing light to turn warm beige Italian travertine into a calm architectural focal point—not a patchwork of stone panels.
Design Strategy
Start with the wall elevation, not the slab catalogue
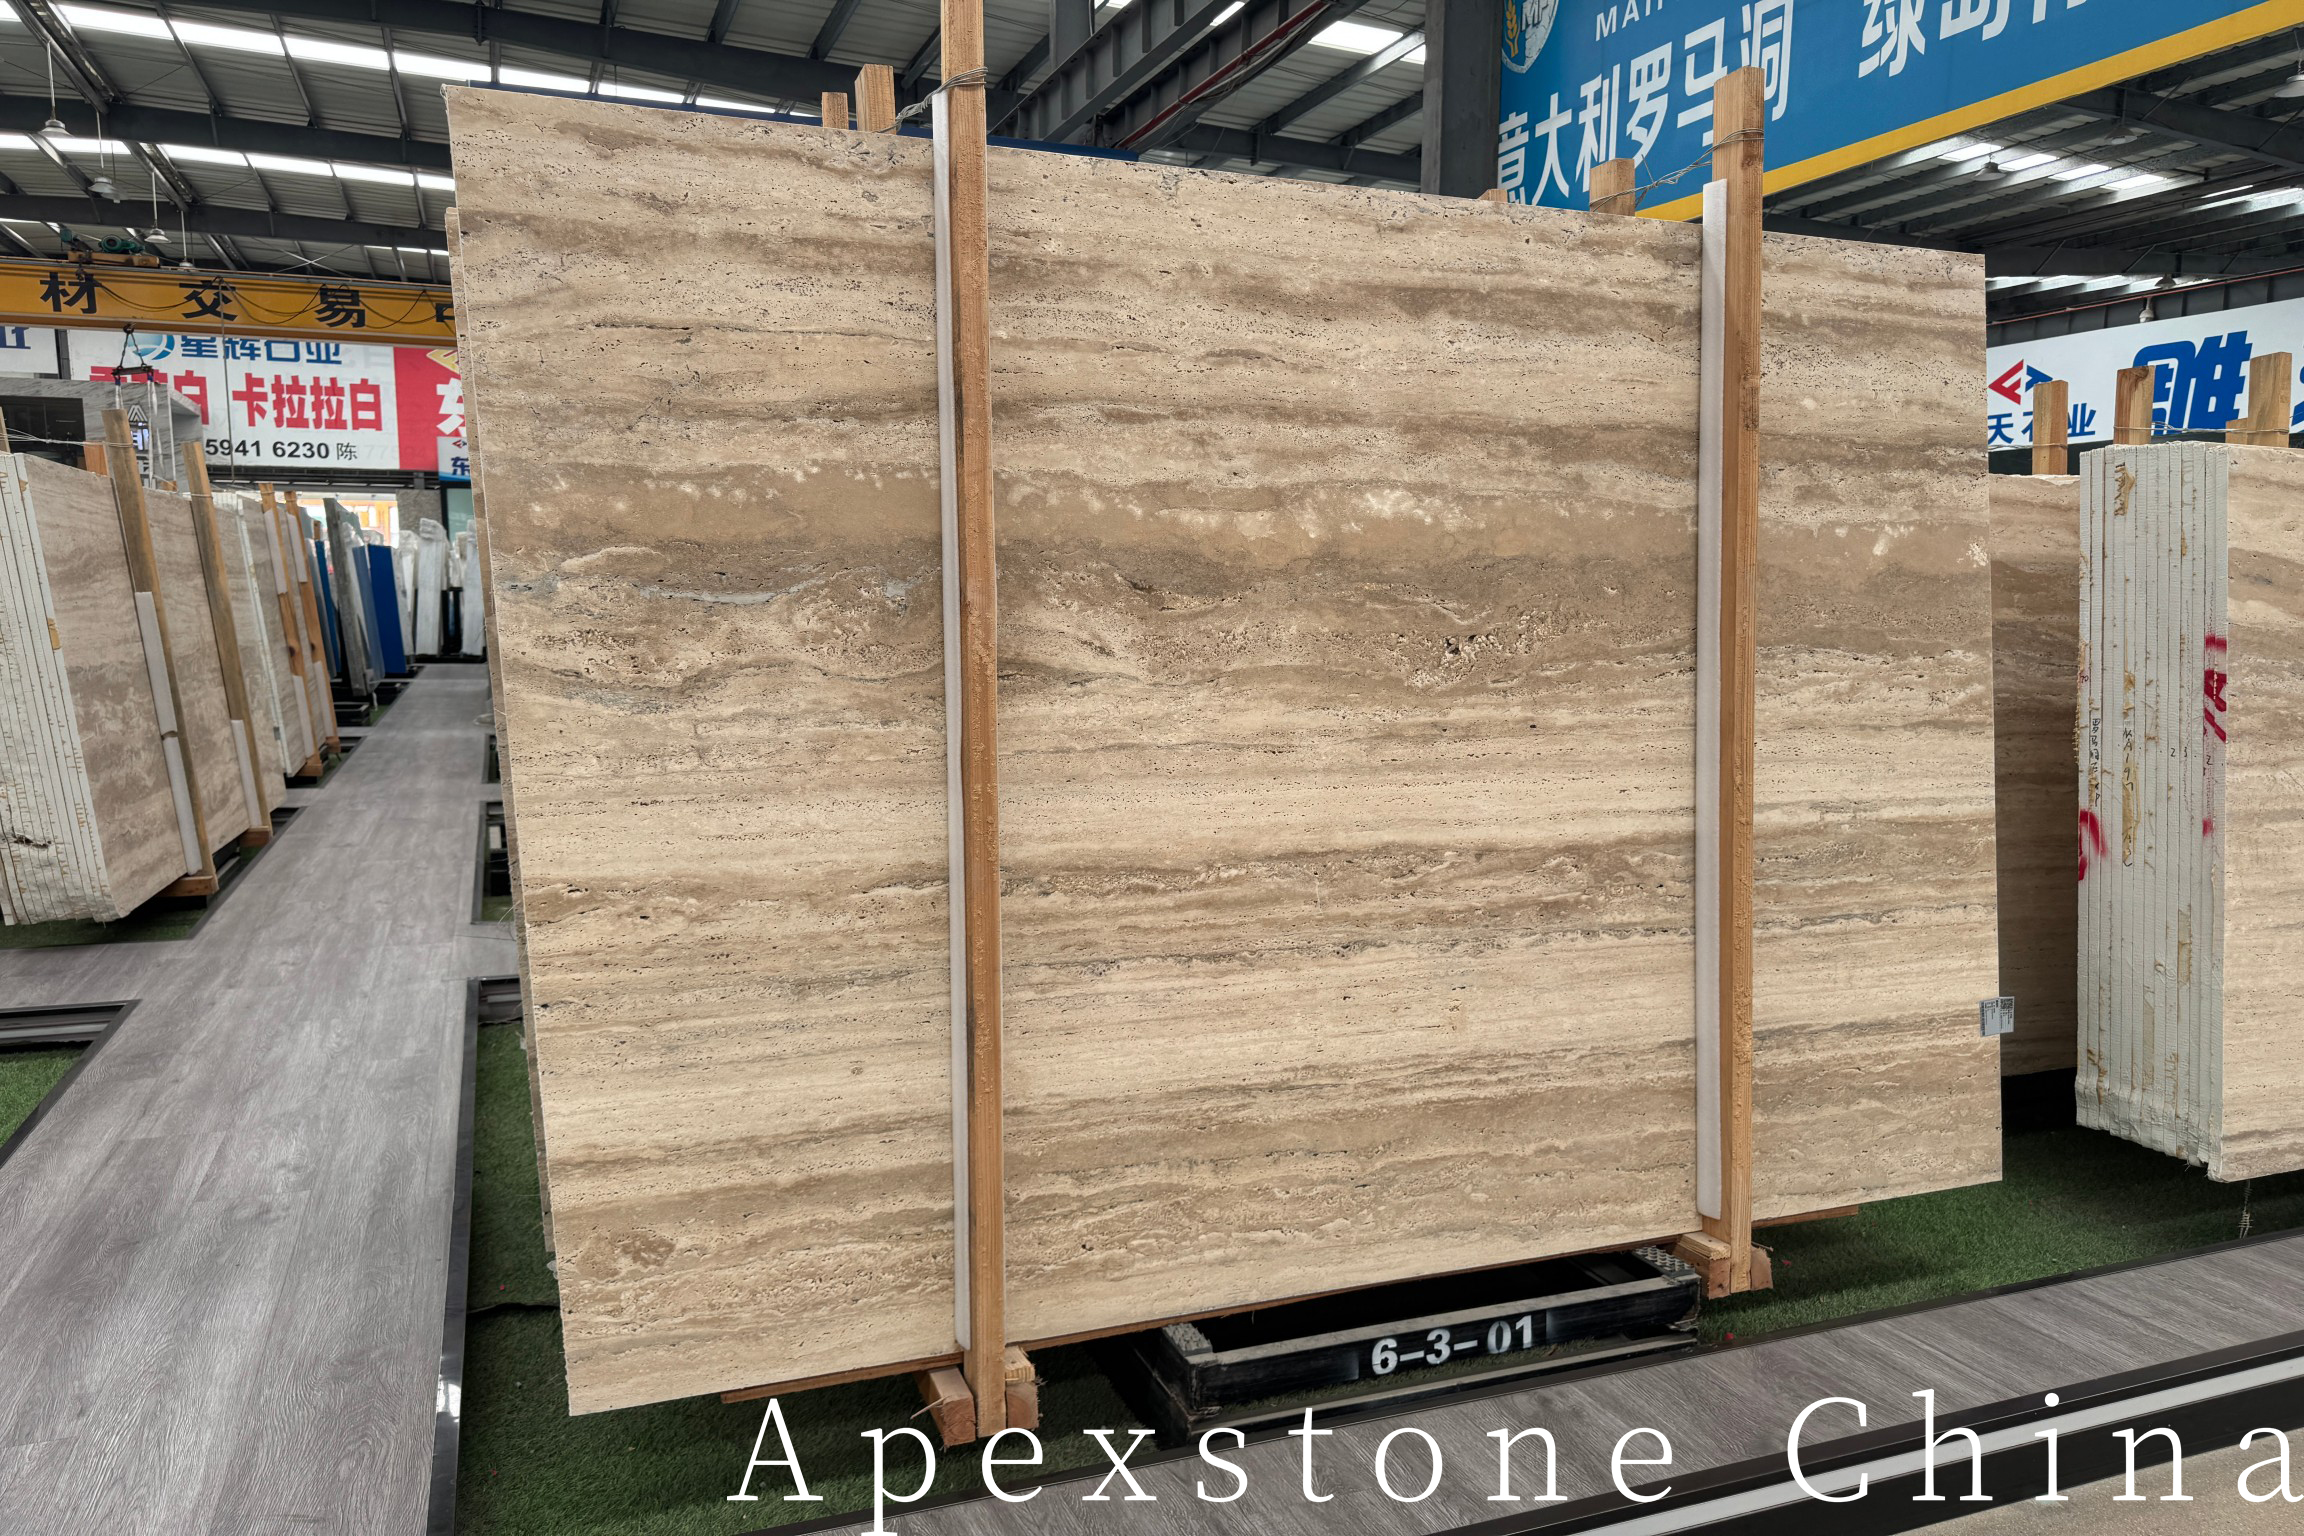
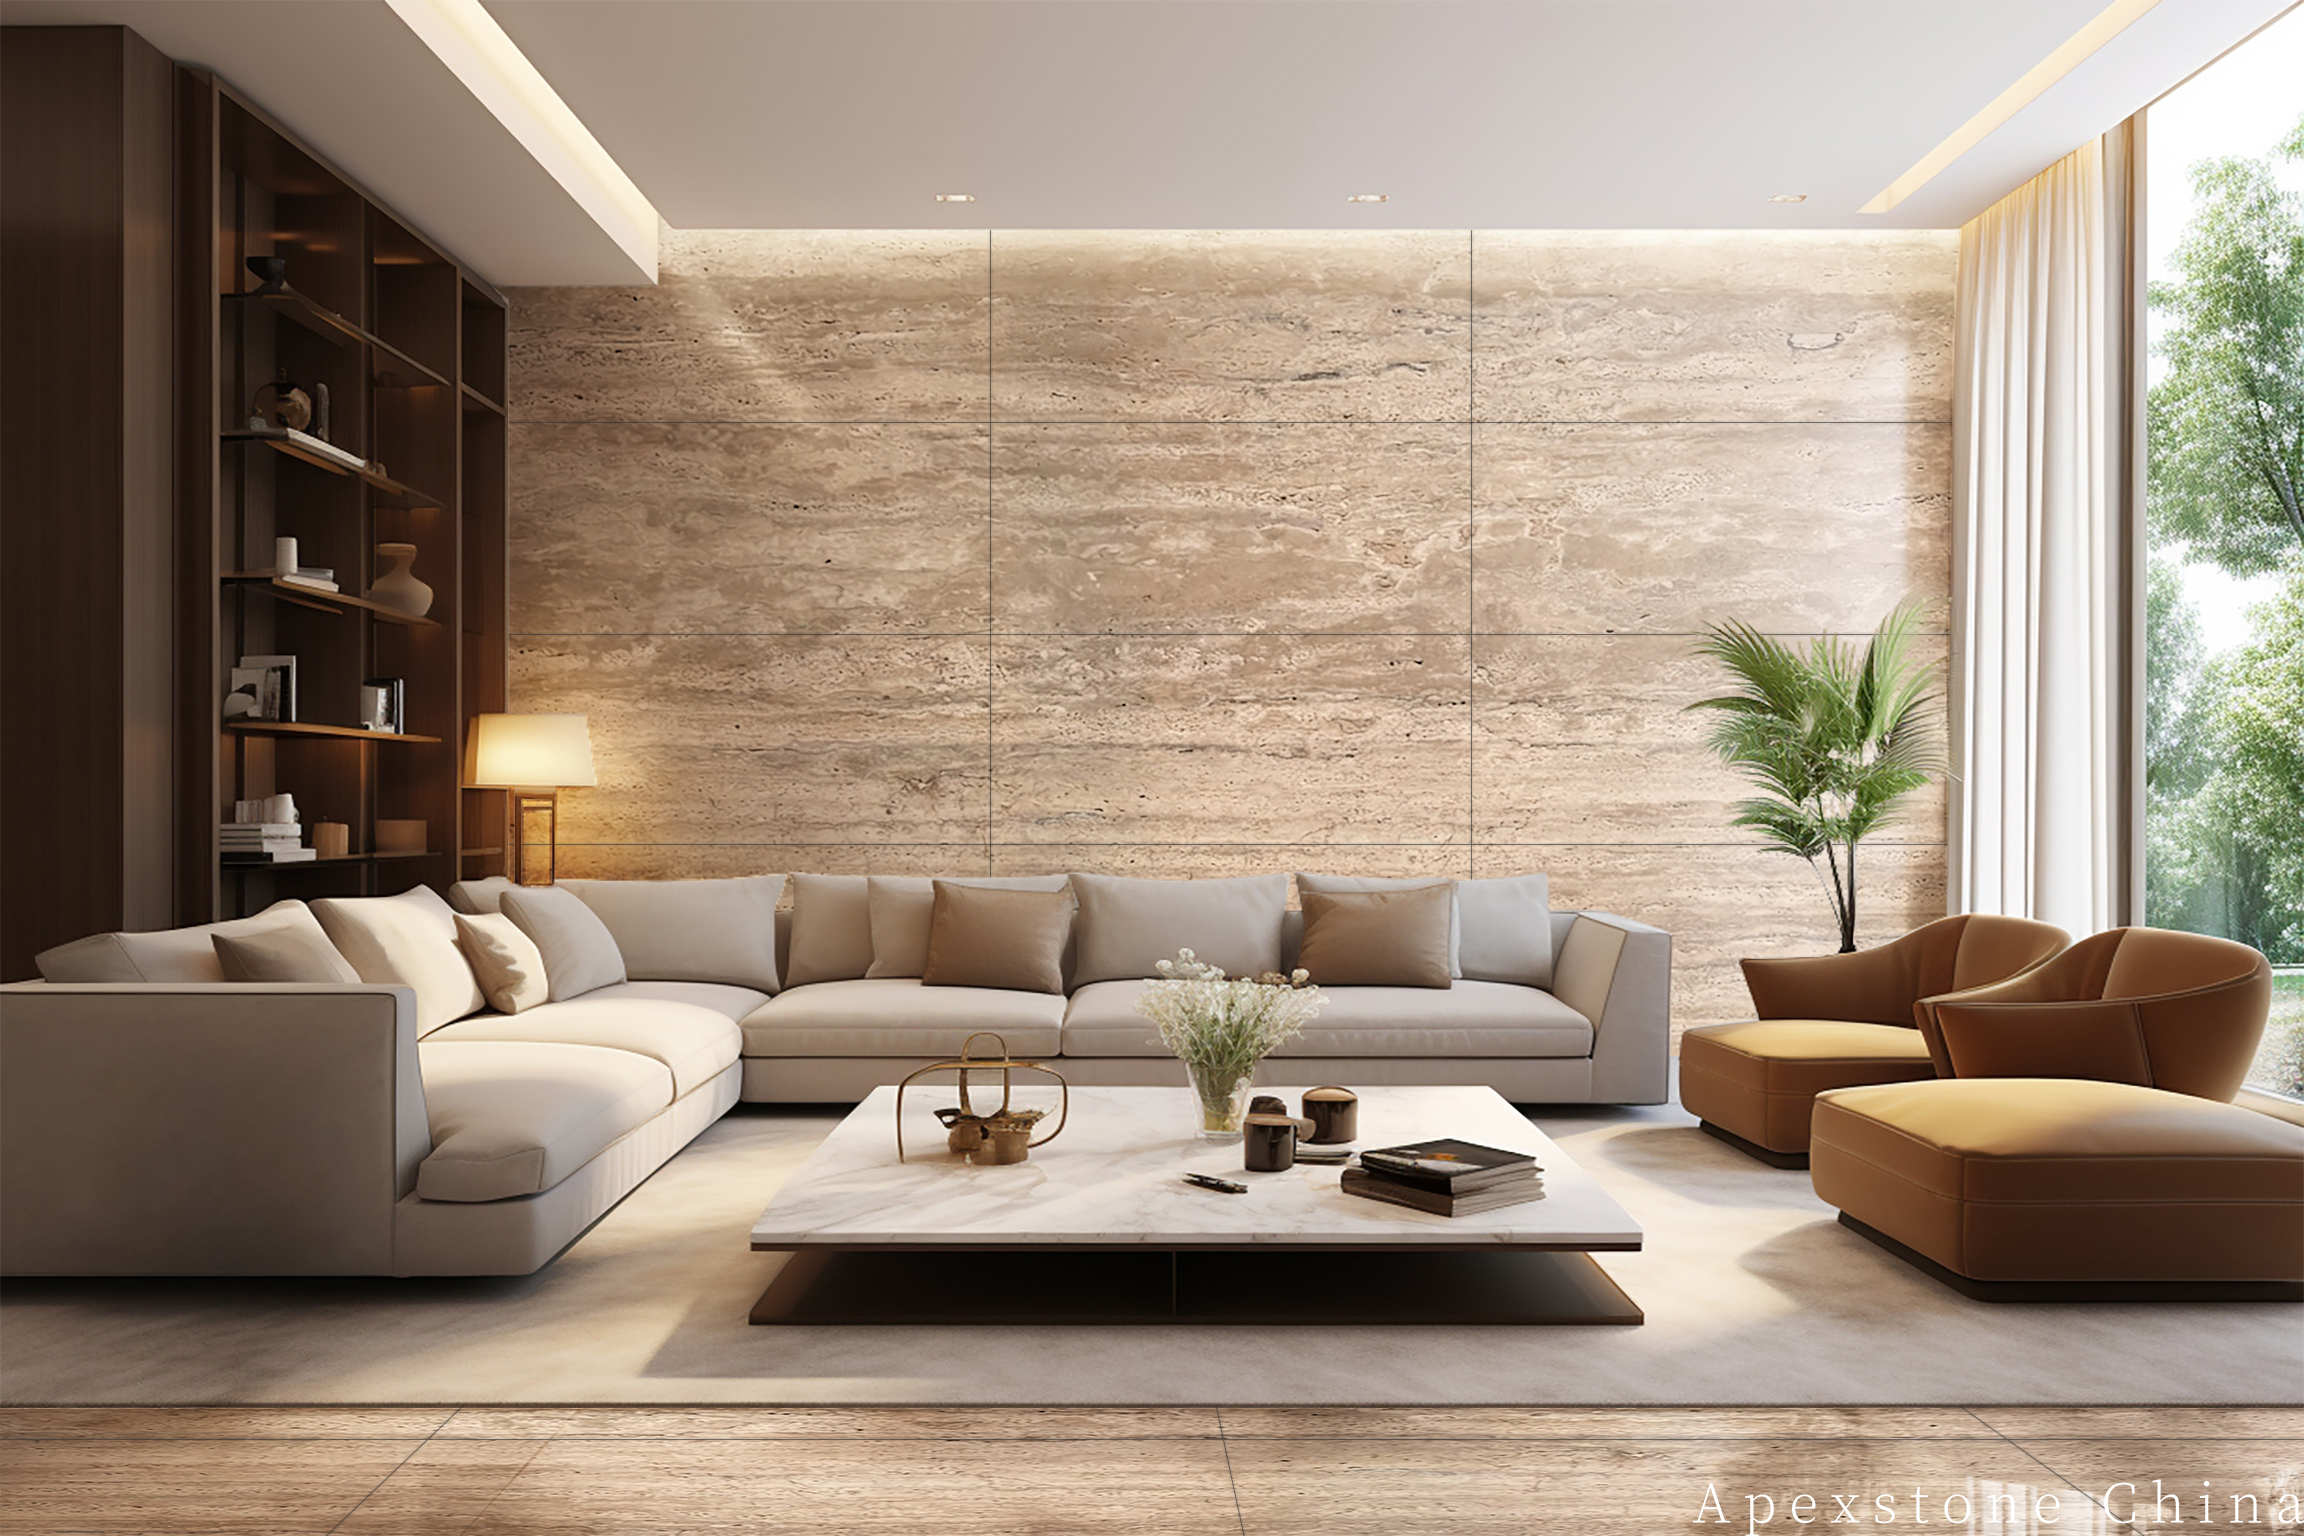
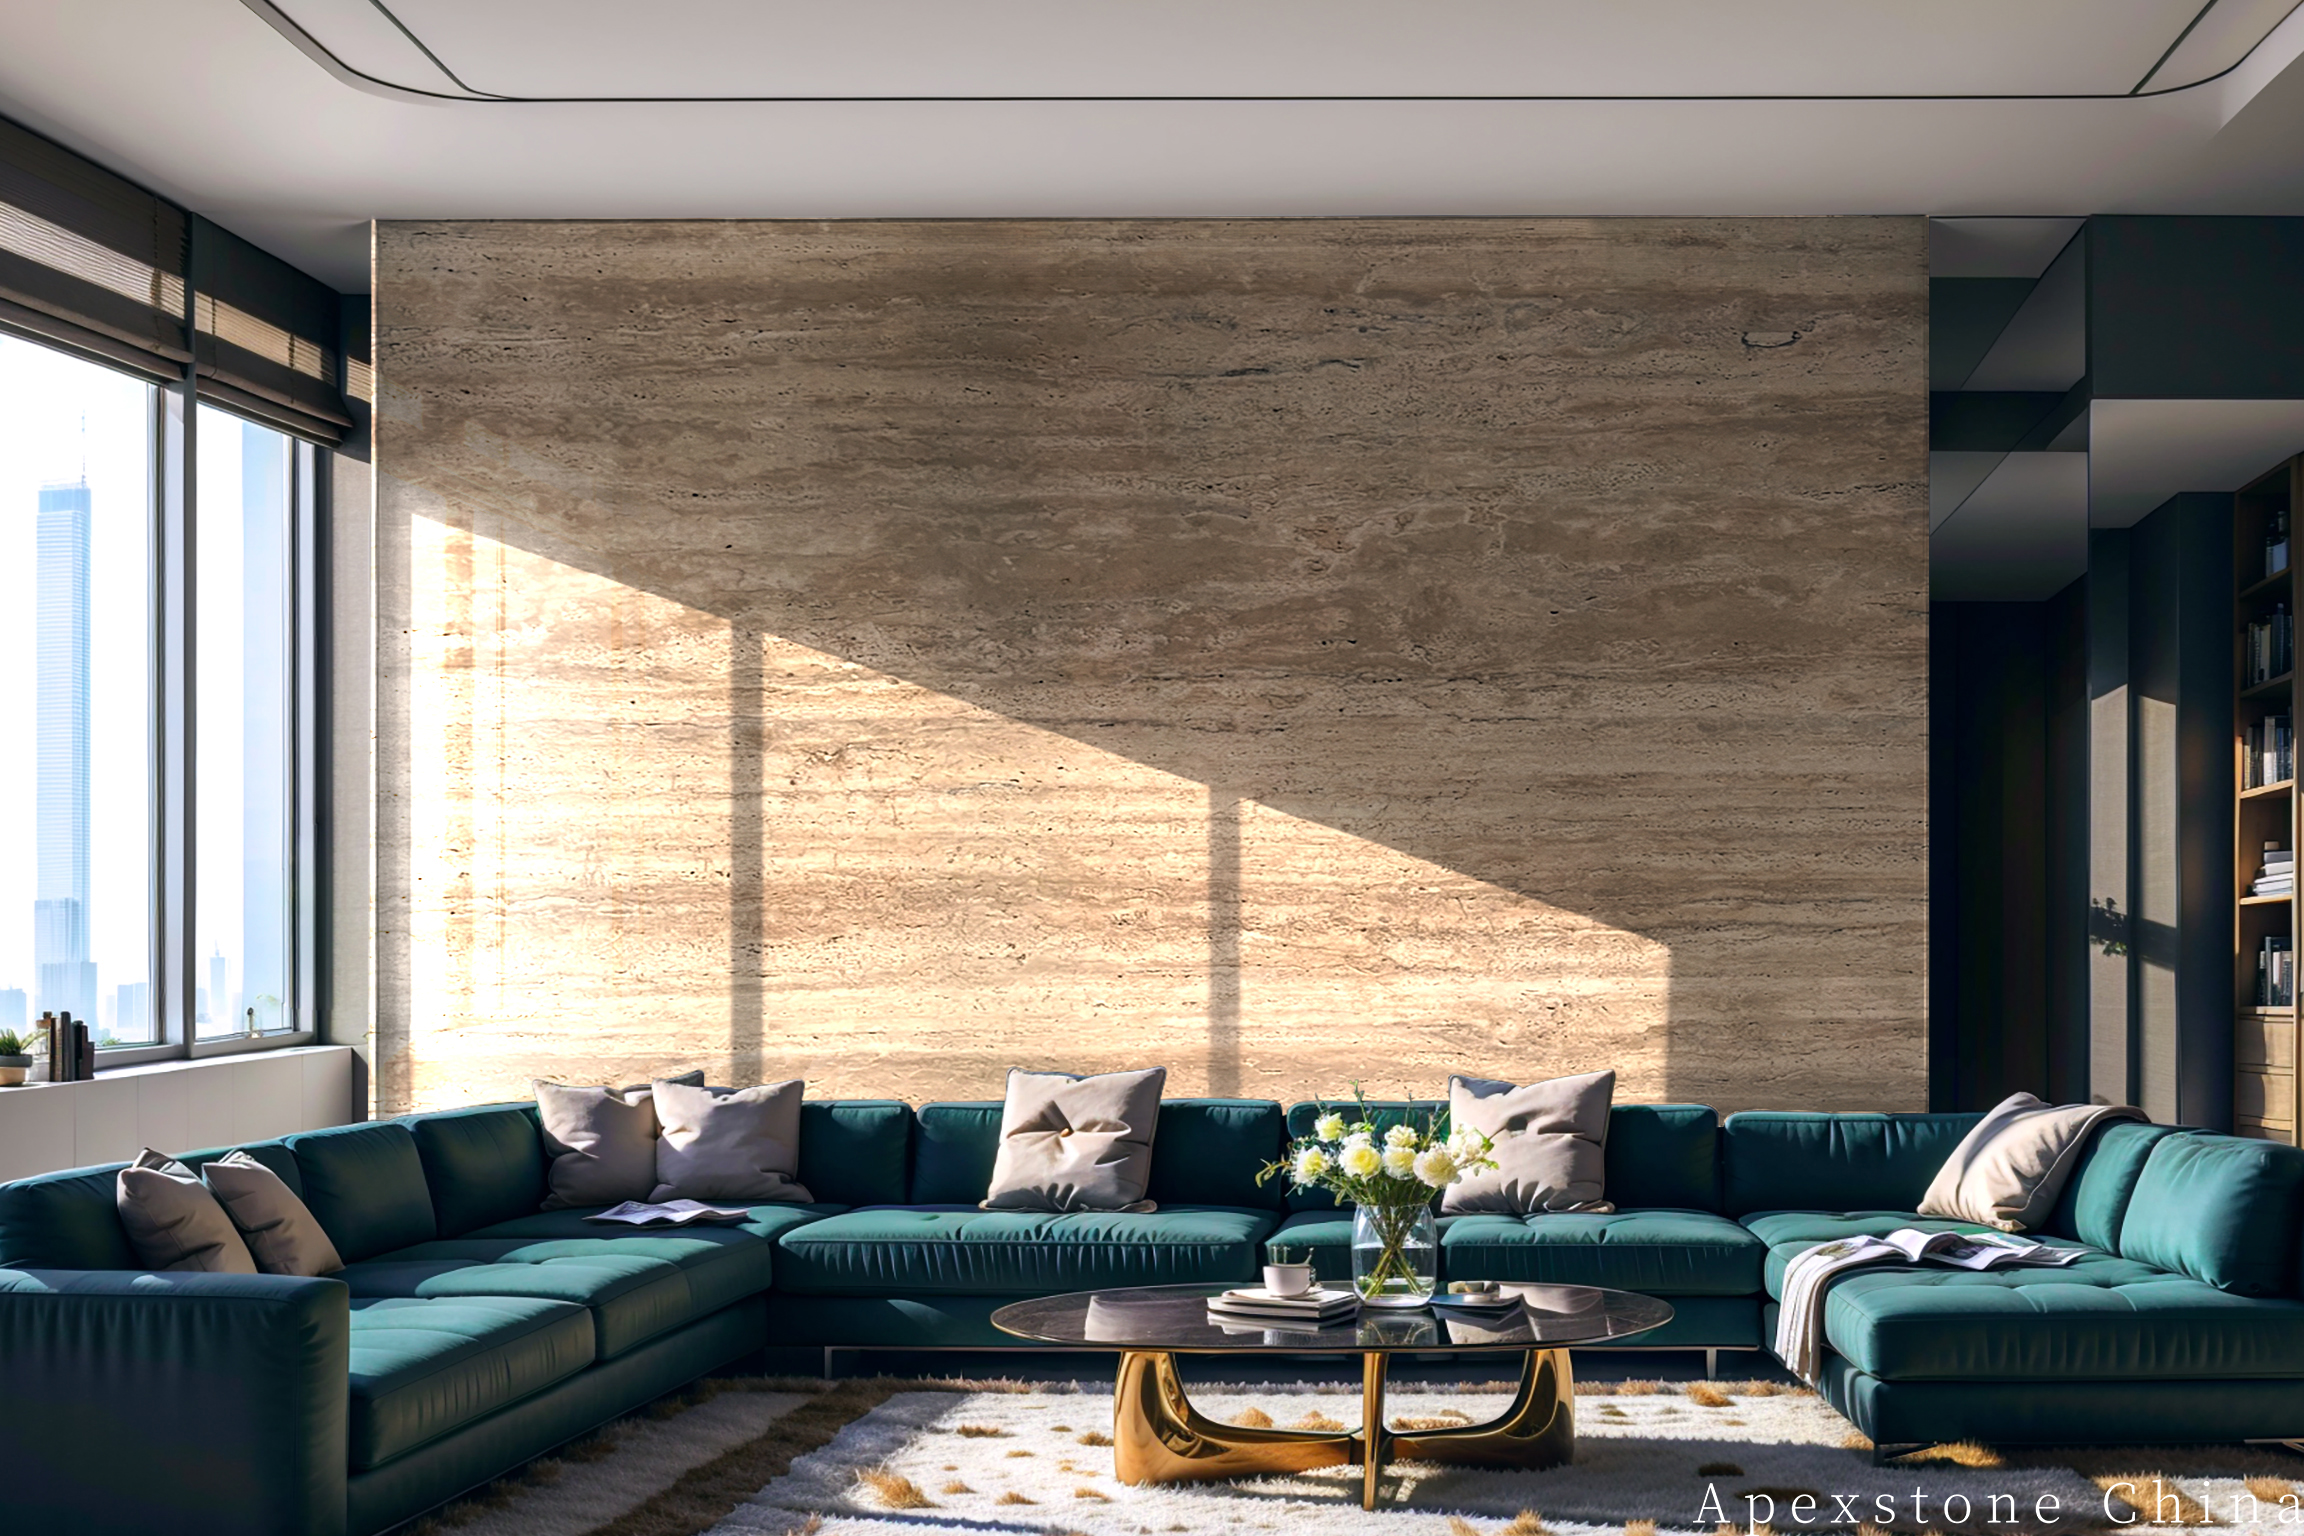
Travertine Classico Roma is defined by warm beige layering and the open pores formed as mineral-rich water deposited calcium carbonate near Rome. On a feature wall, those geological lines can make a room feel wider, taller or more grounded depending on how the panels are cut and oriented. Vein-cut slabs show directional horizontal bands; cross-cut slabs show cloud-like movement. The right choice begins with the room's proportions and the wall elevation.
Apexstone recommends approving a numbered slab layout before fabrication. The elevation should locate every panel, joint, outlet, niche, screen and fireplace opening. Consecutive slabs can be matched for tonal continuity, but Travertine Romano should not be presented as a translucent backlit stone. Its character is best revealed with concealed cove lighting, wall washers or close-set grazing light that skims across the surface.
Material & Layout
From slab character to finished wall
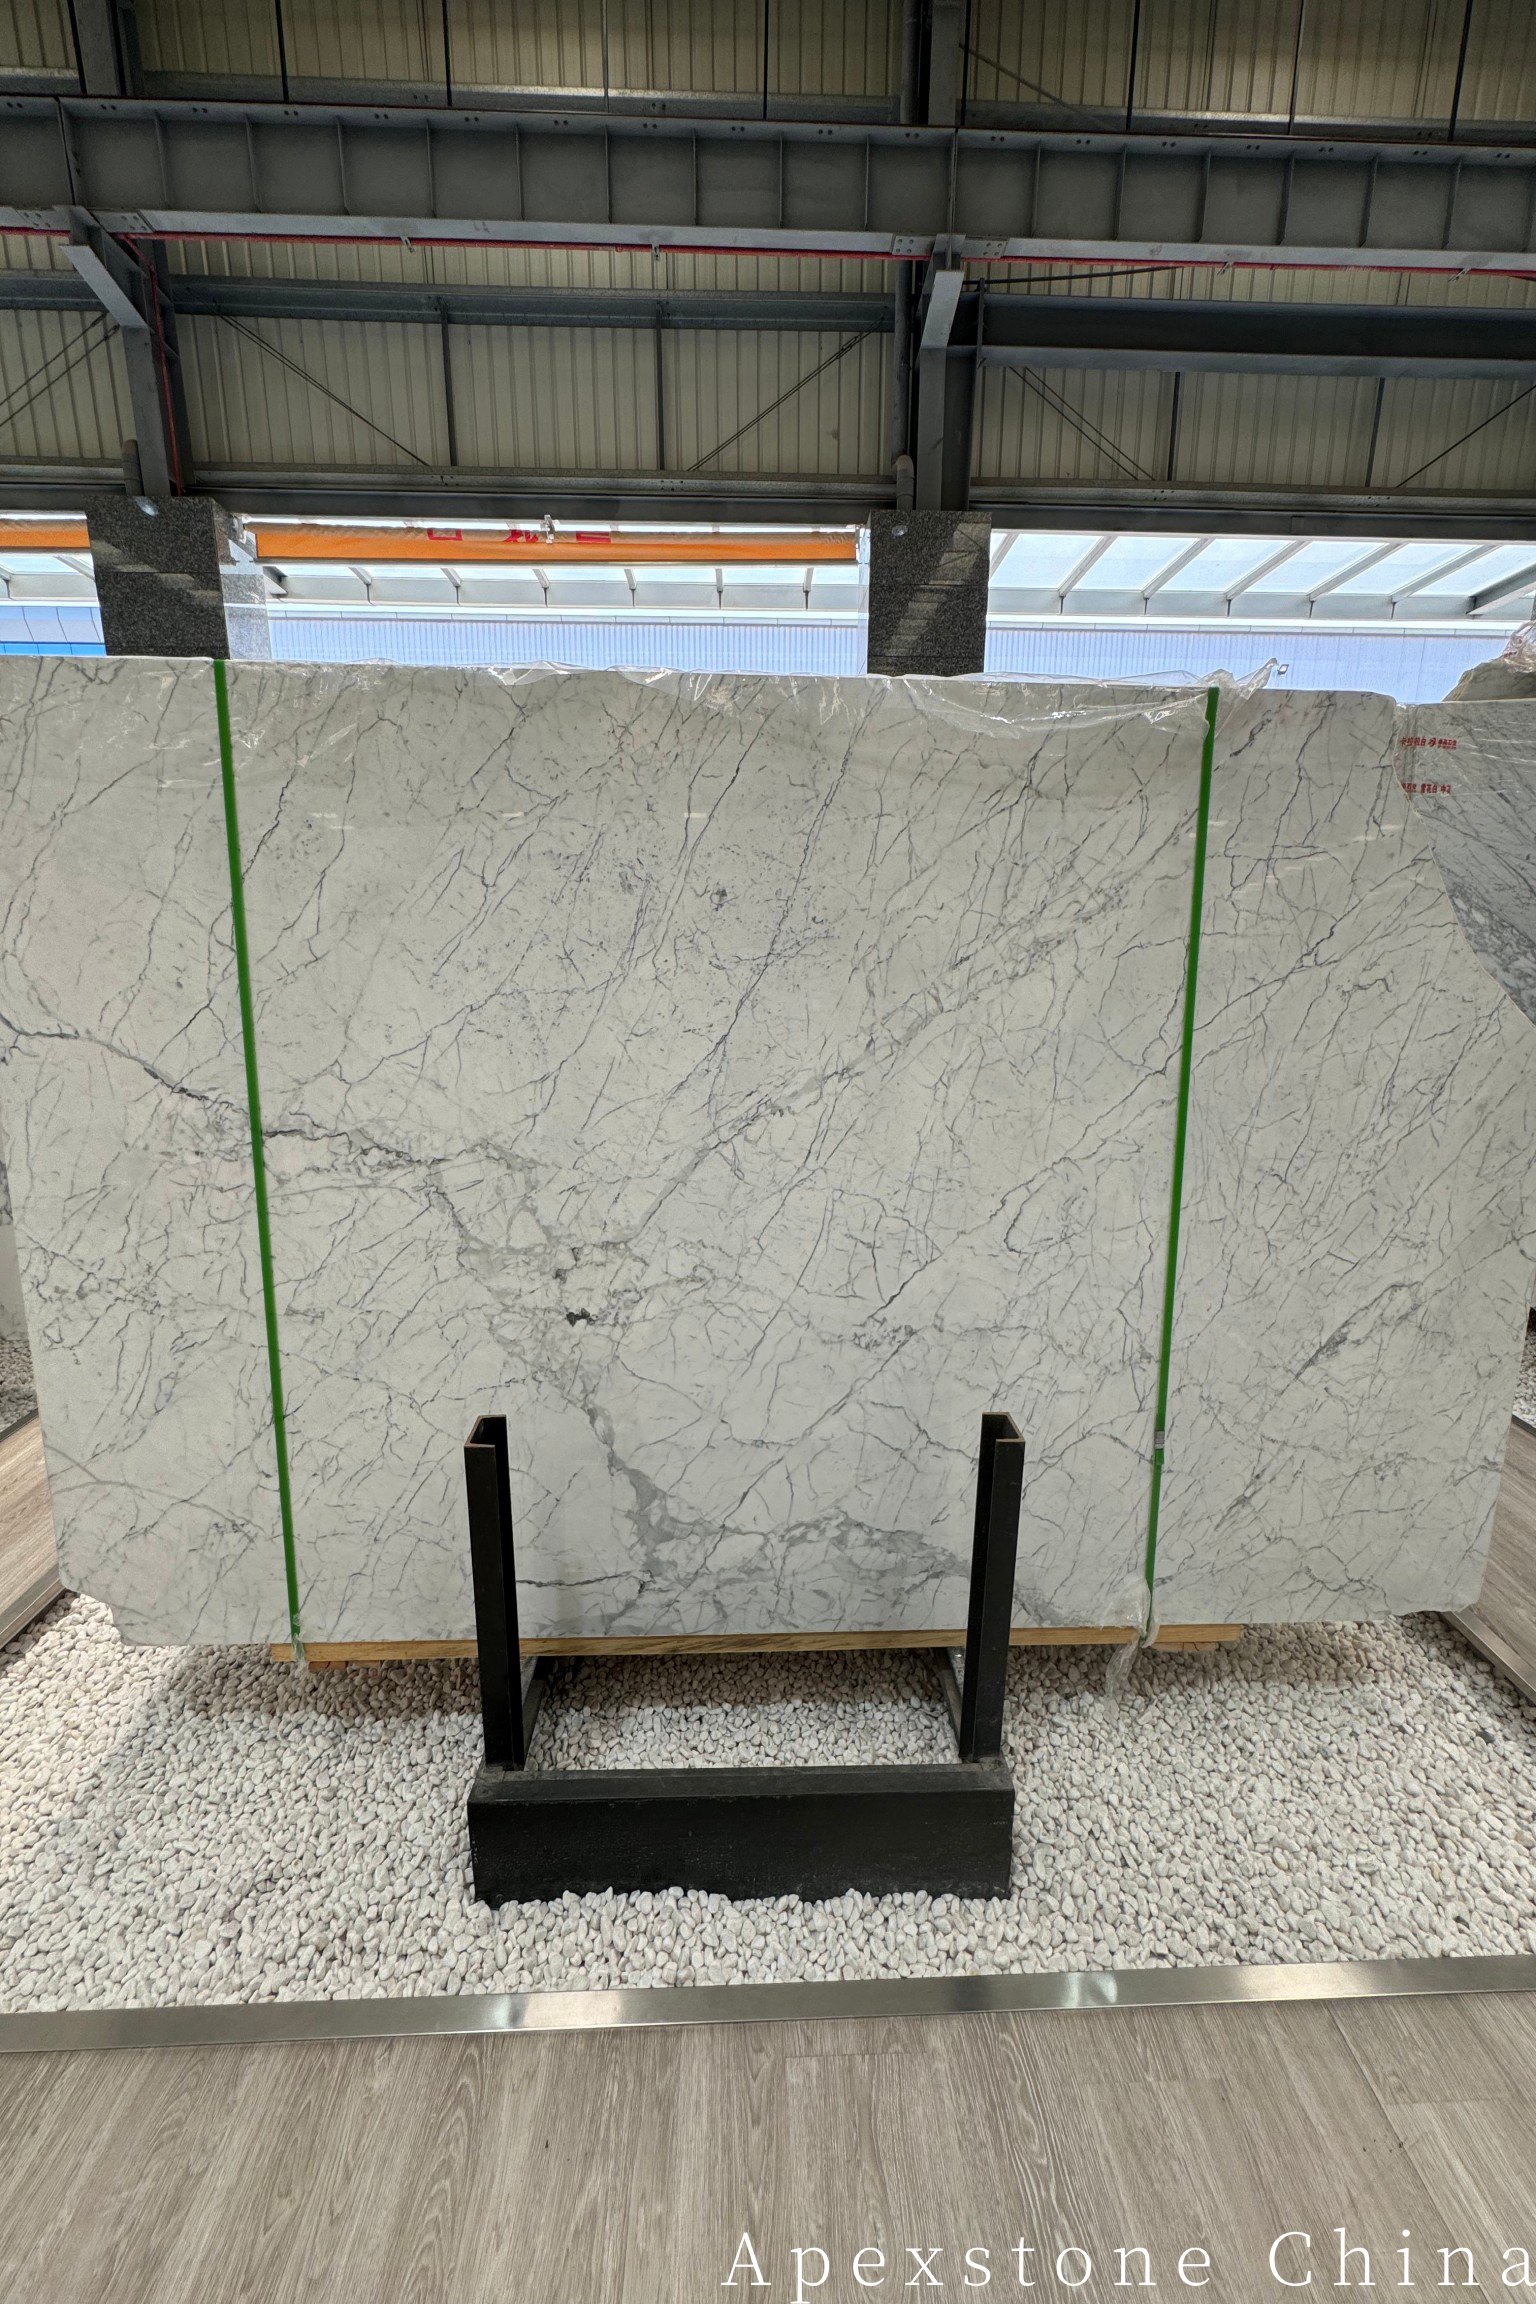
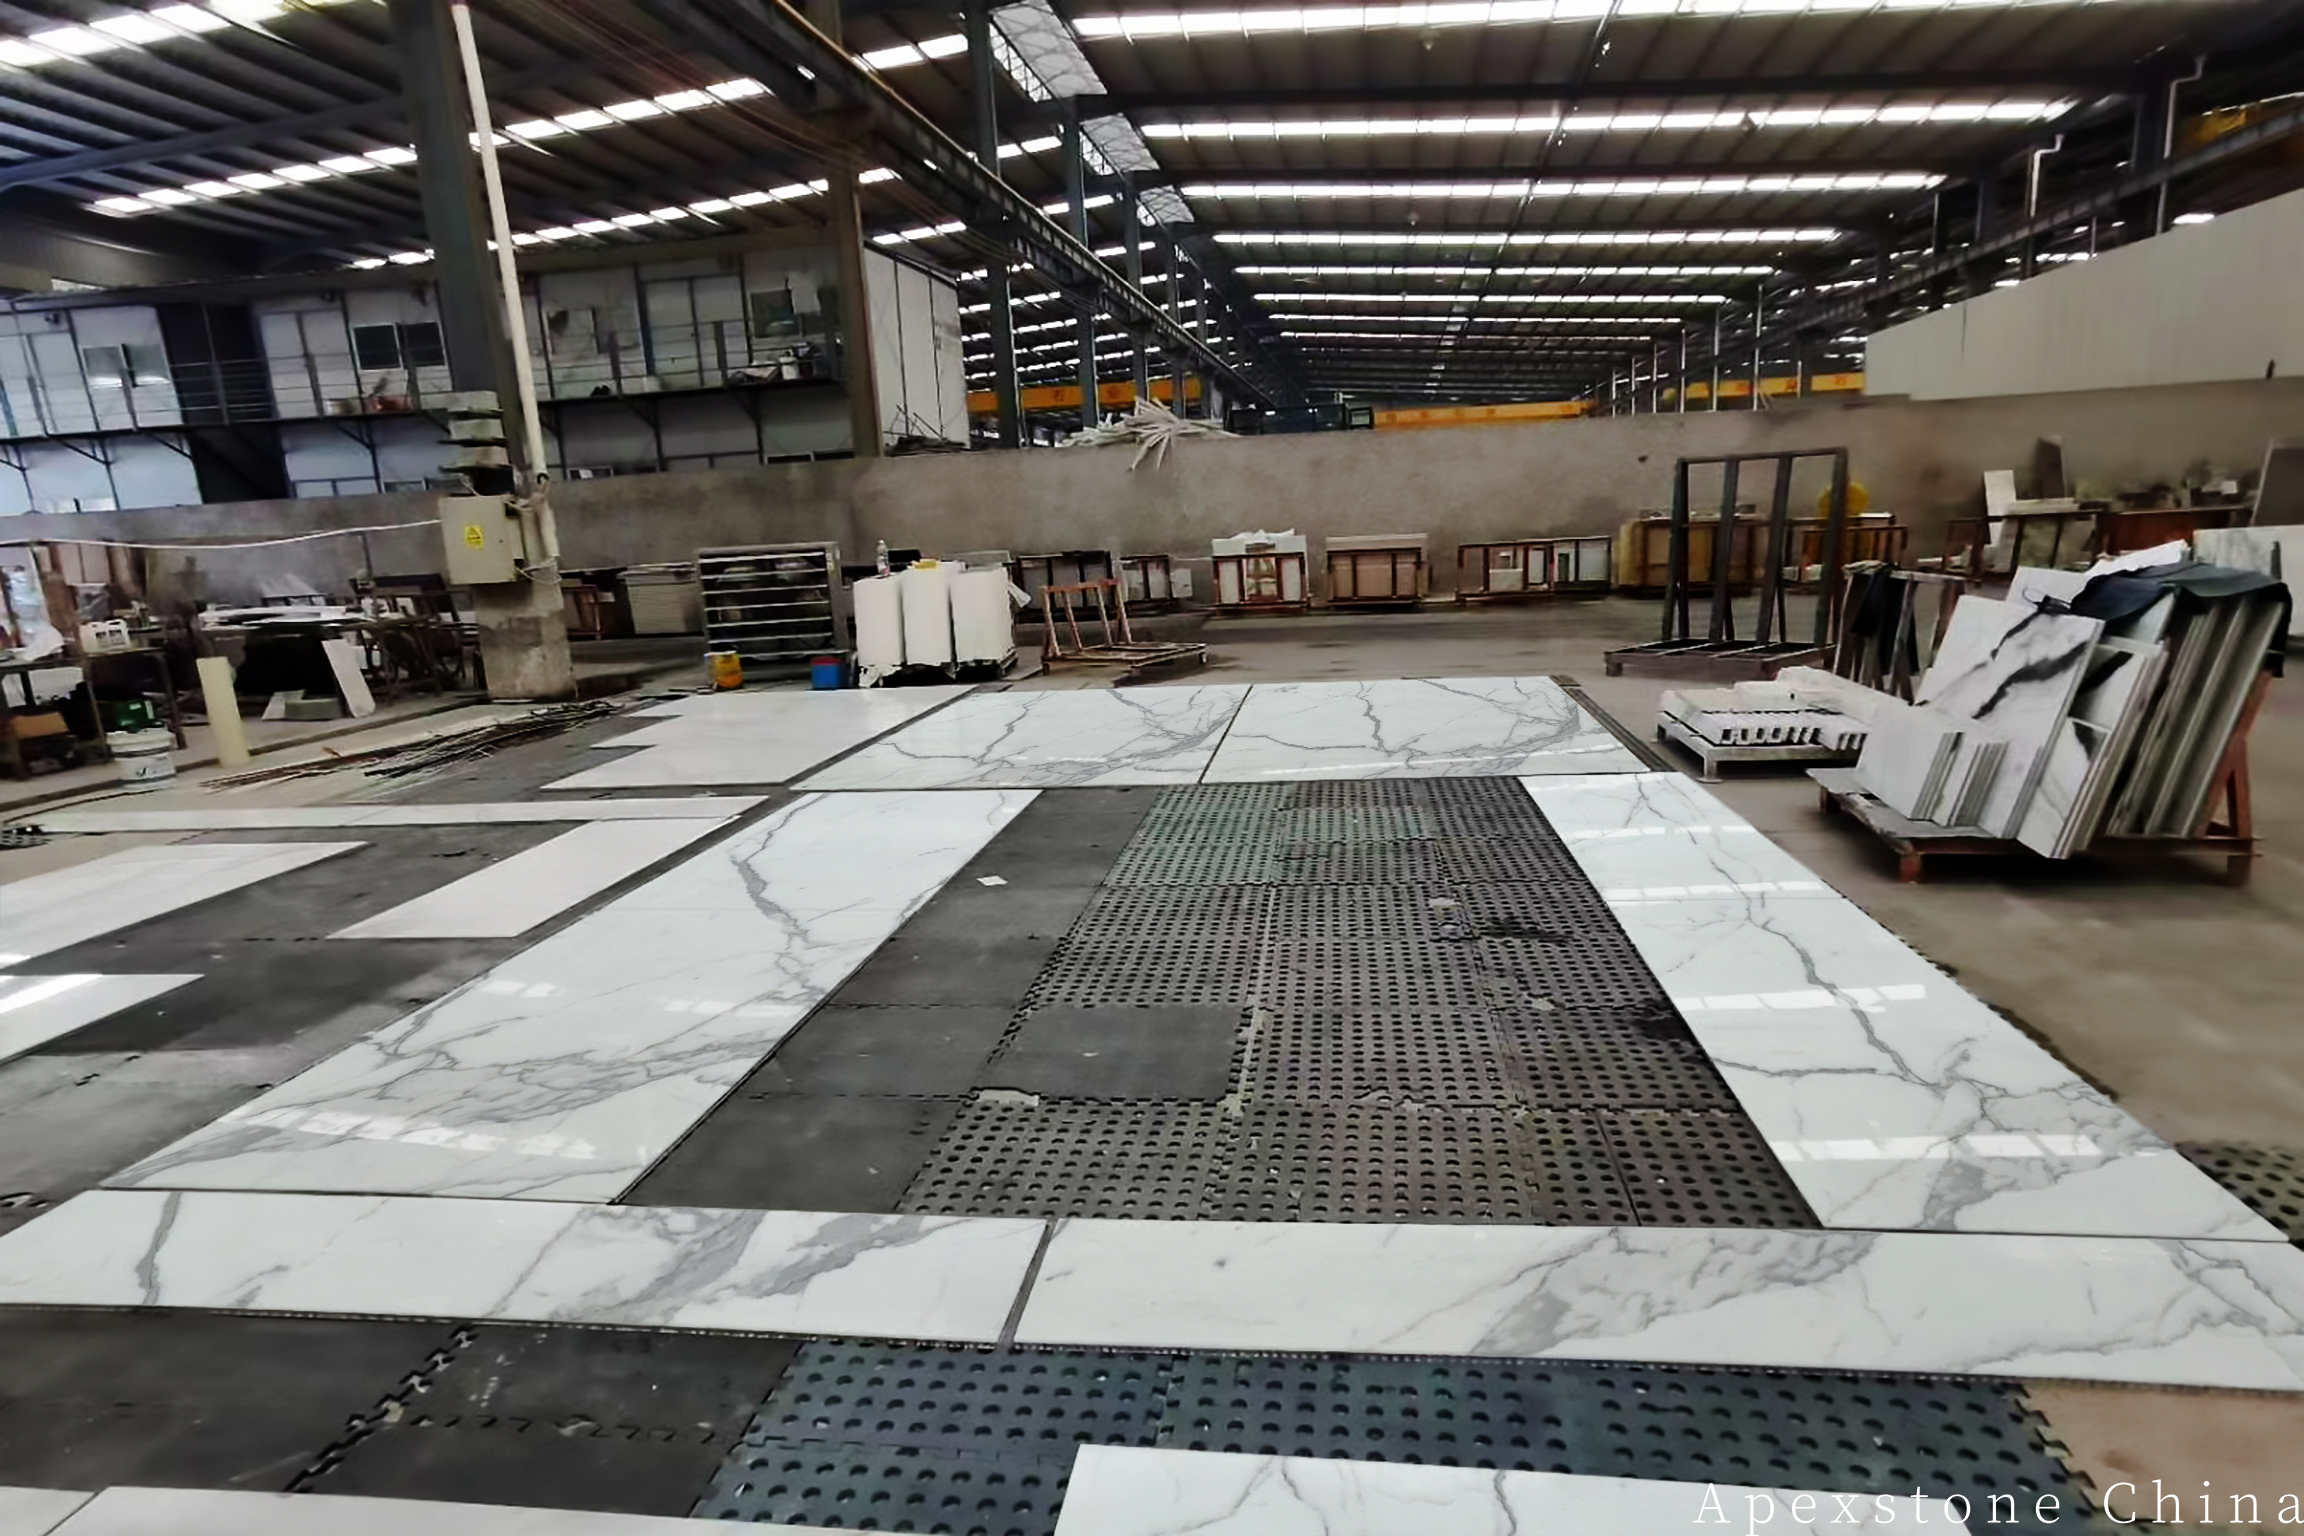
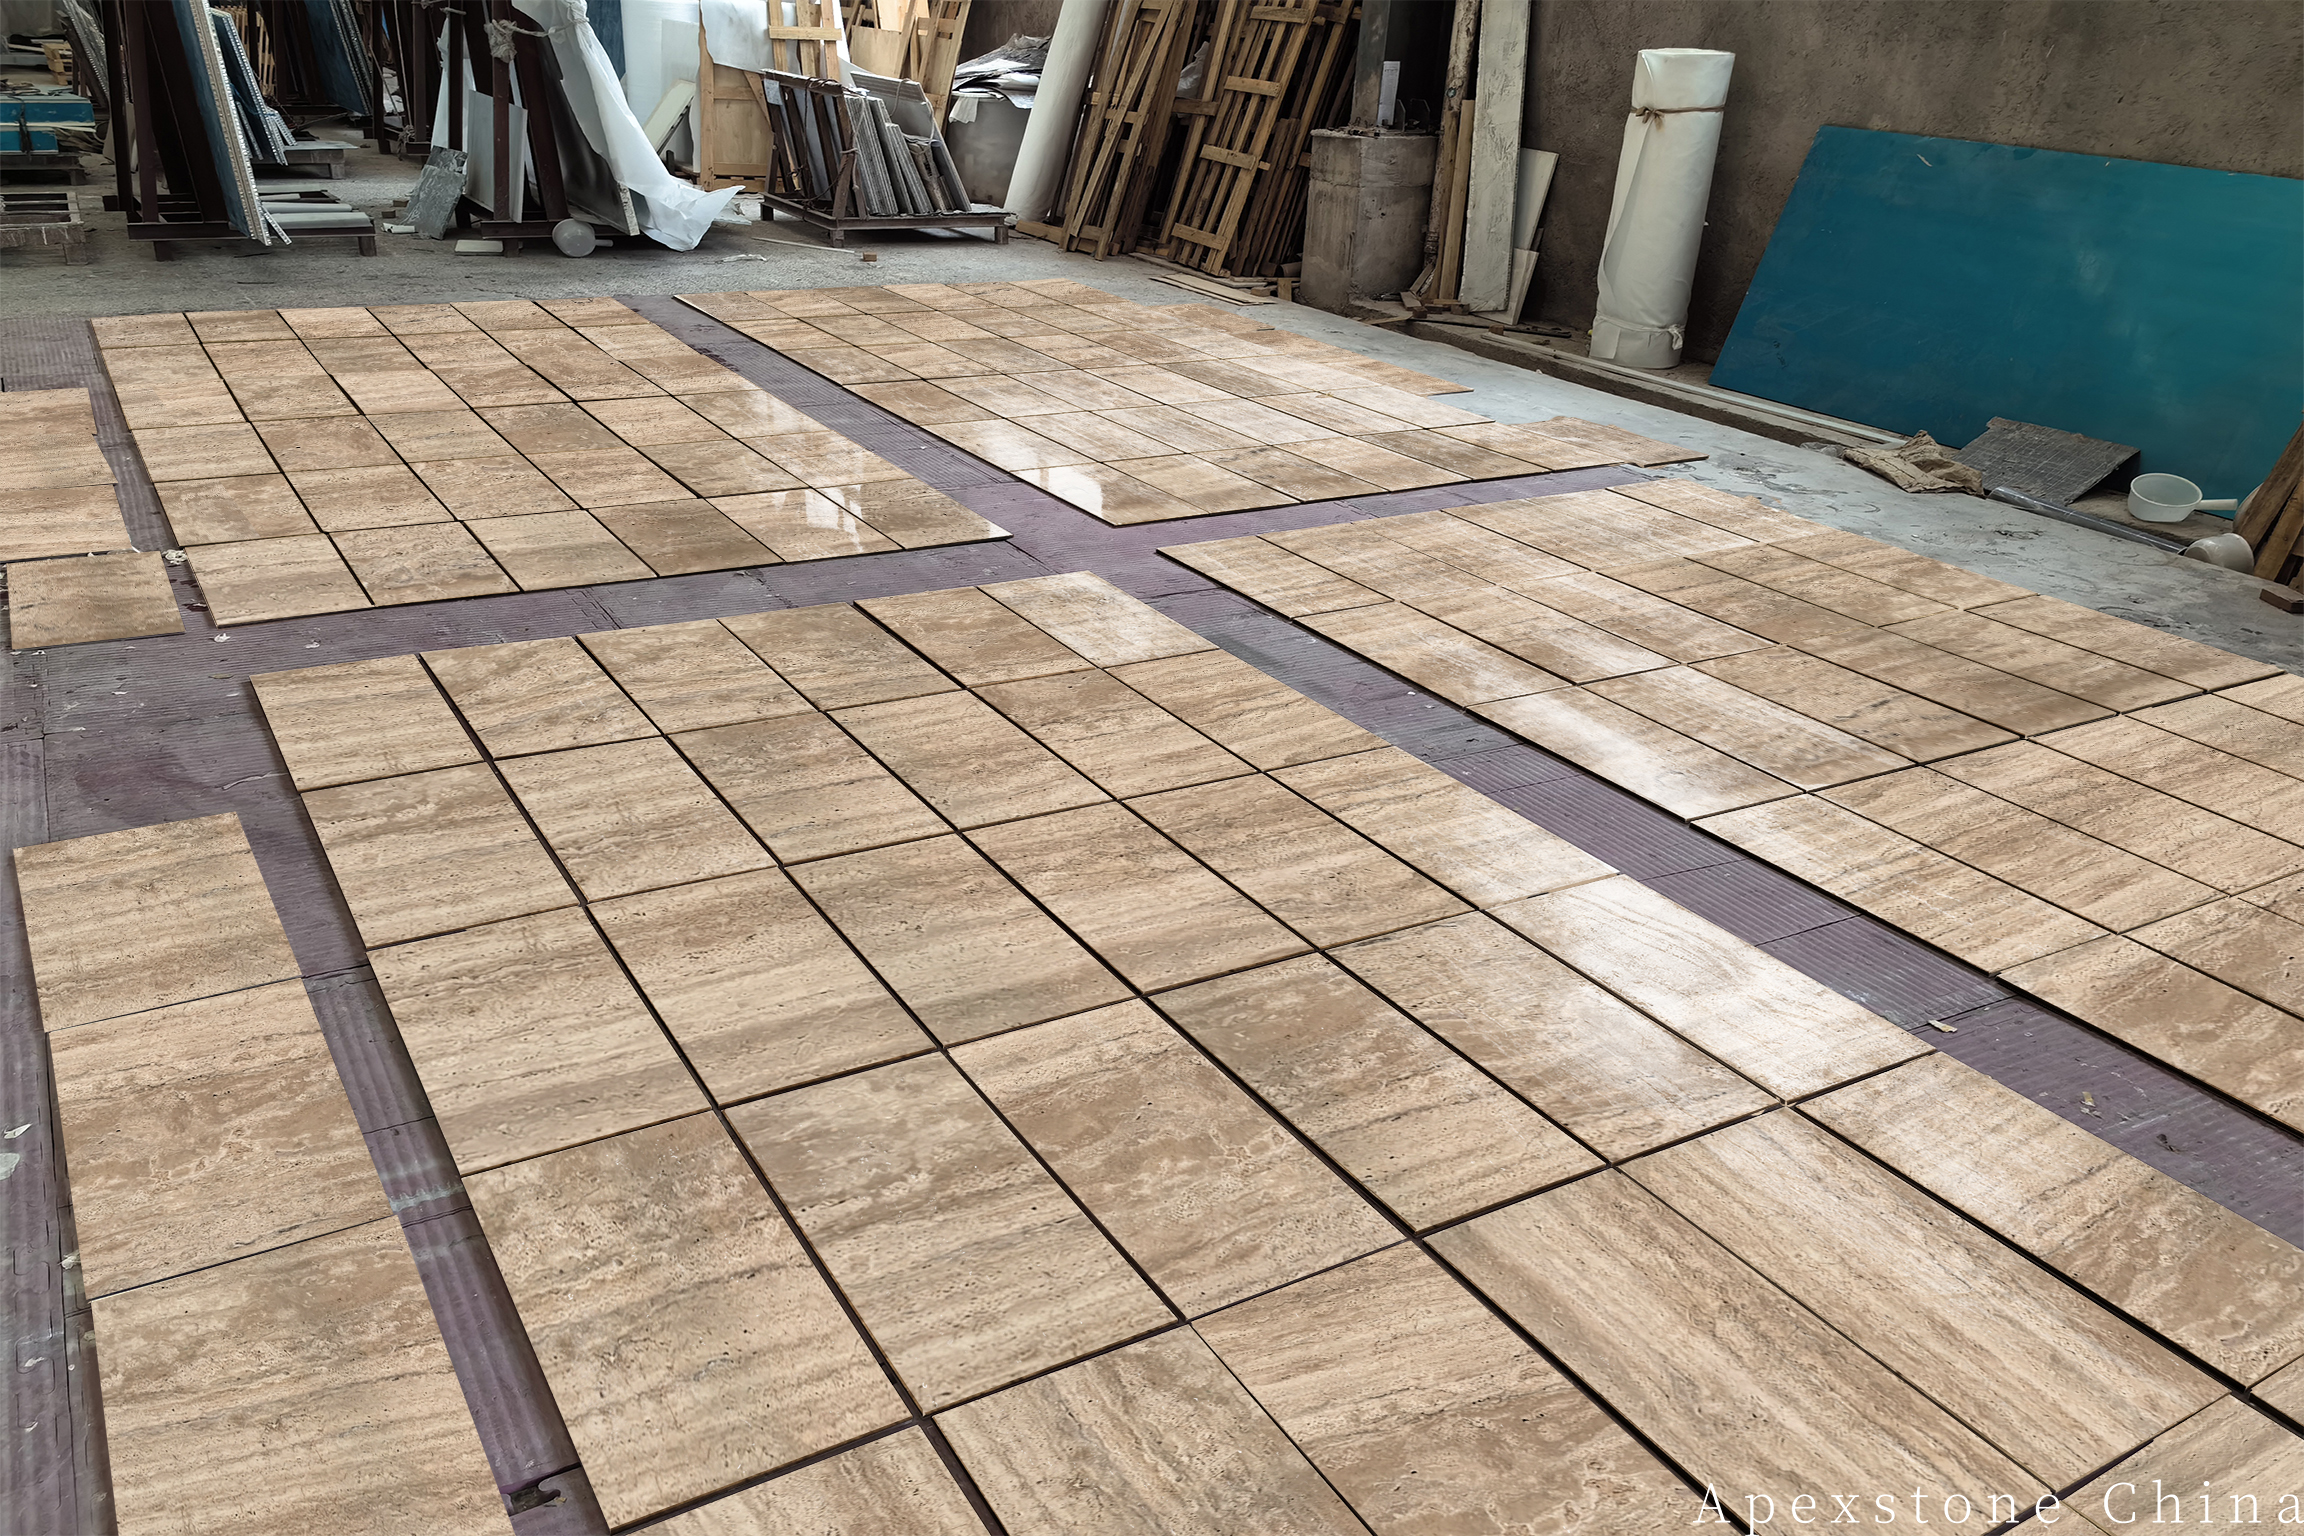
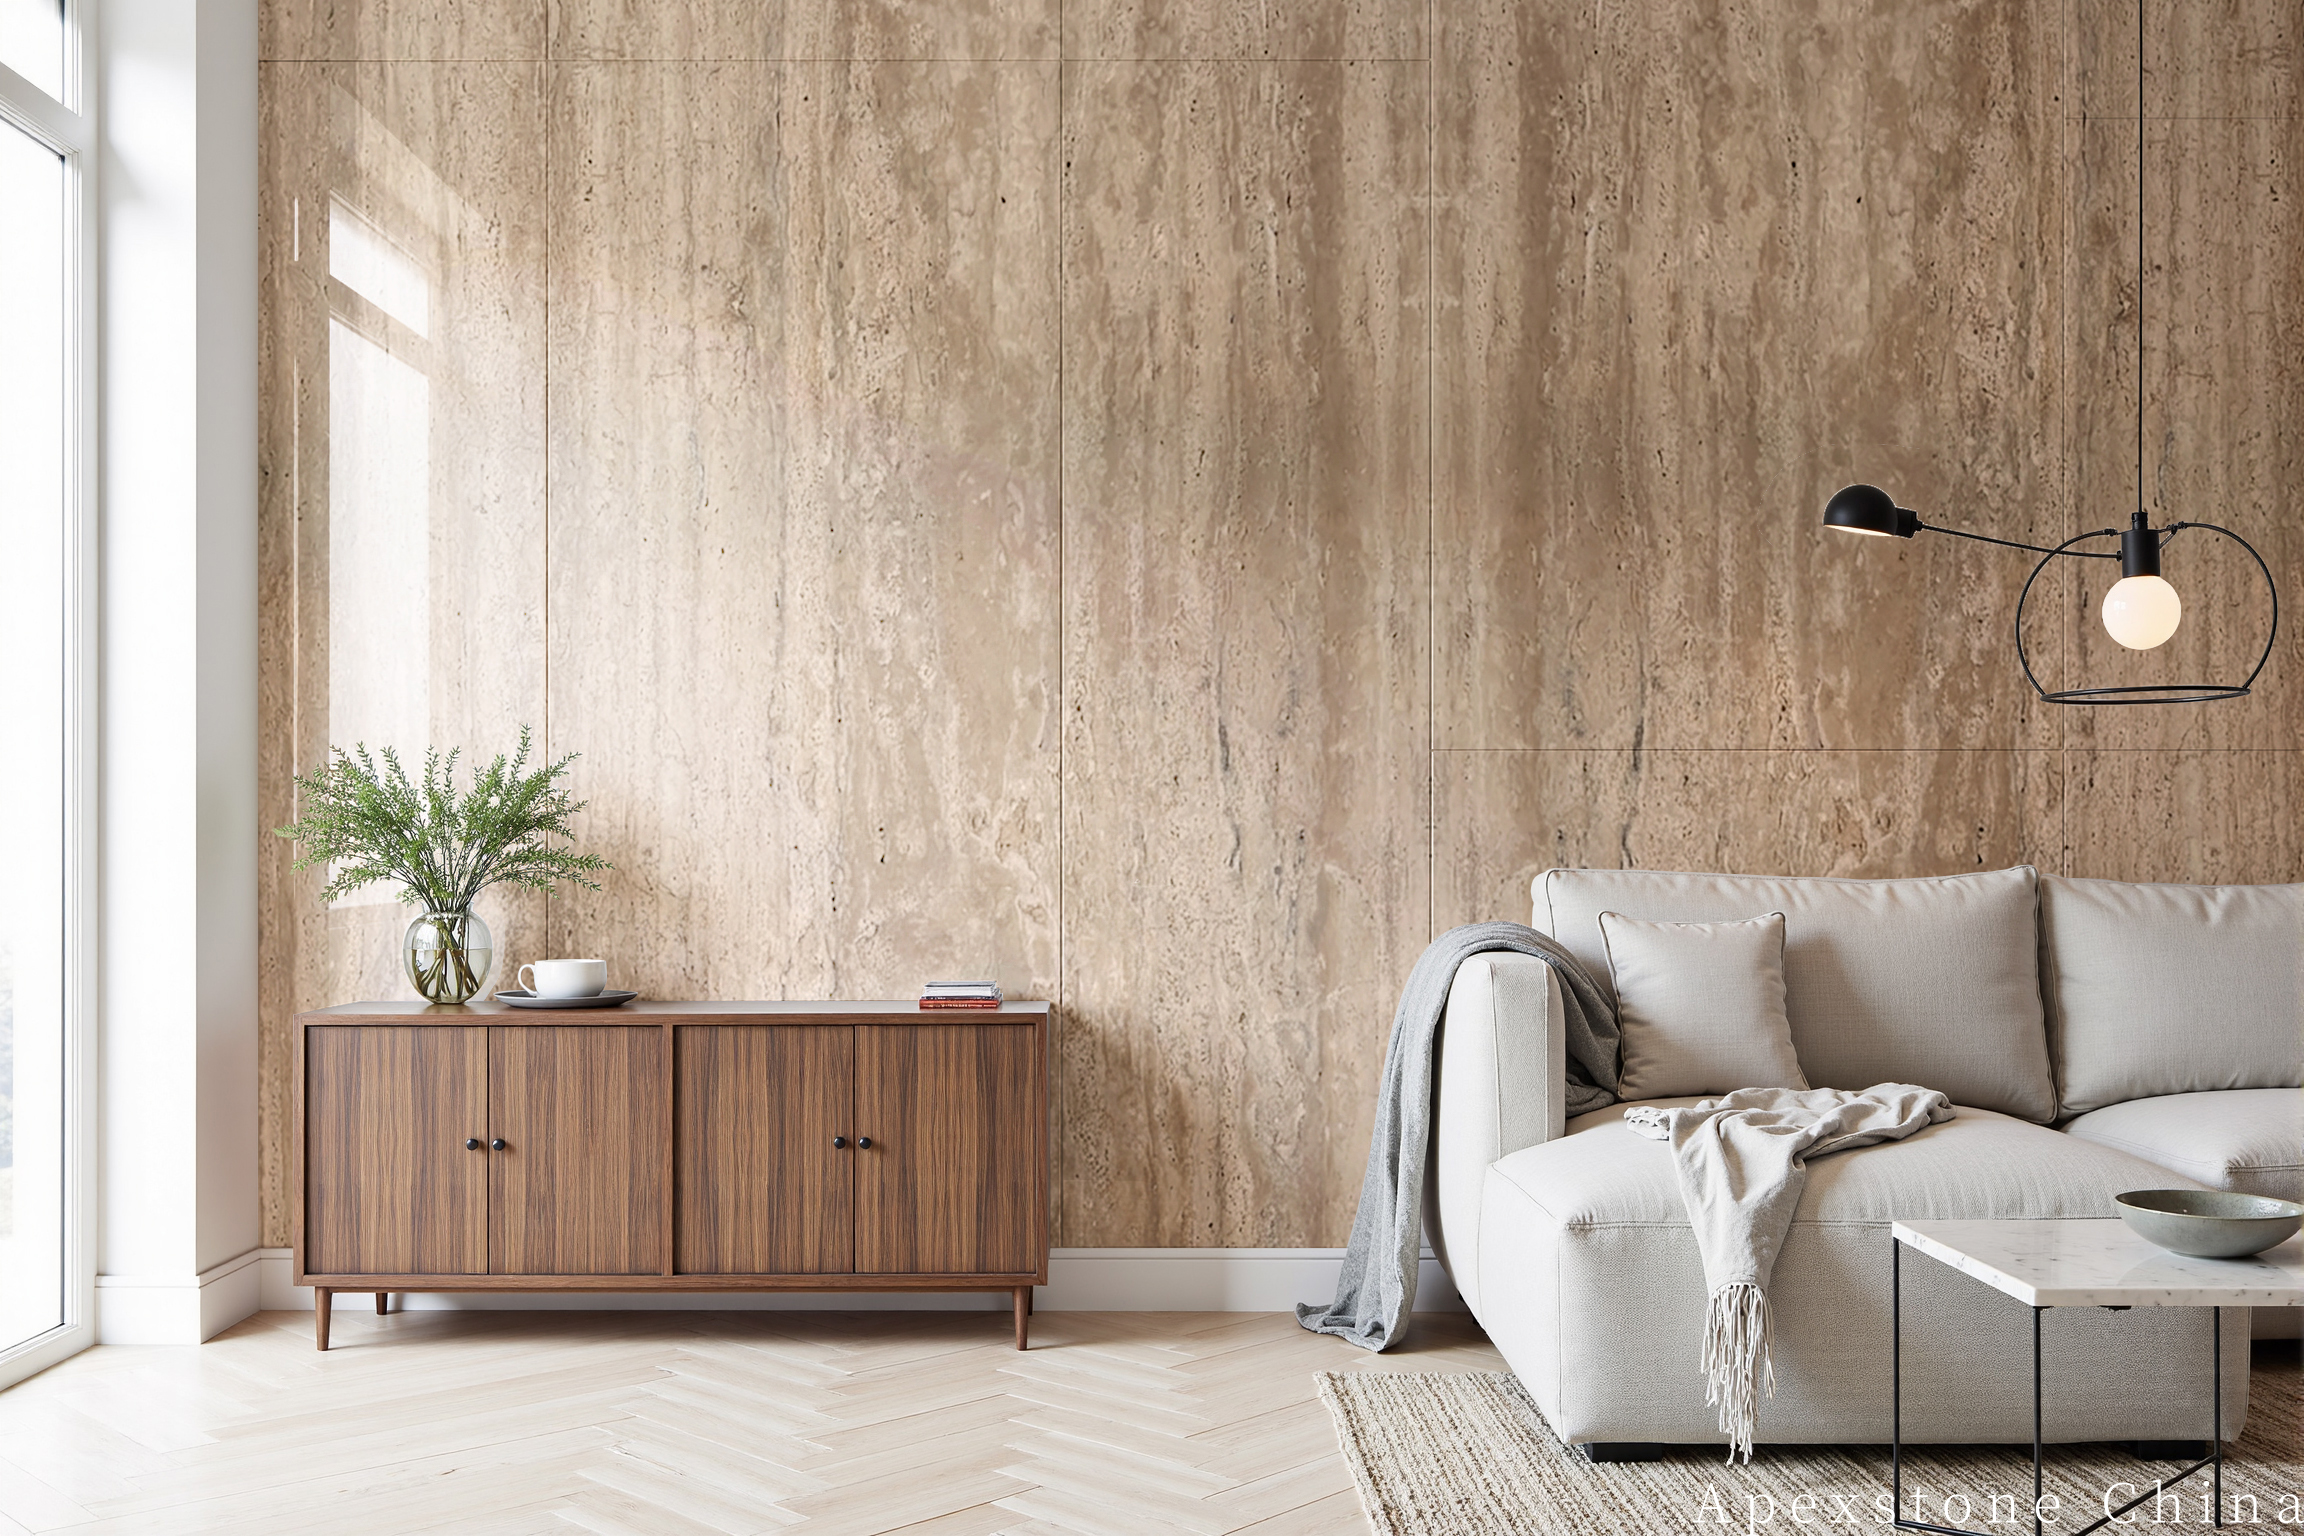
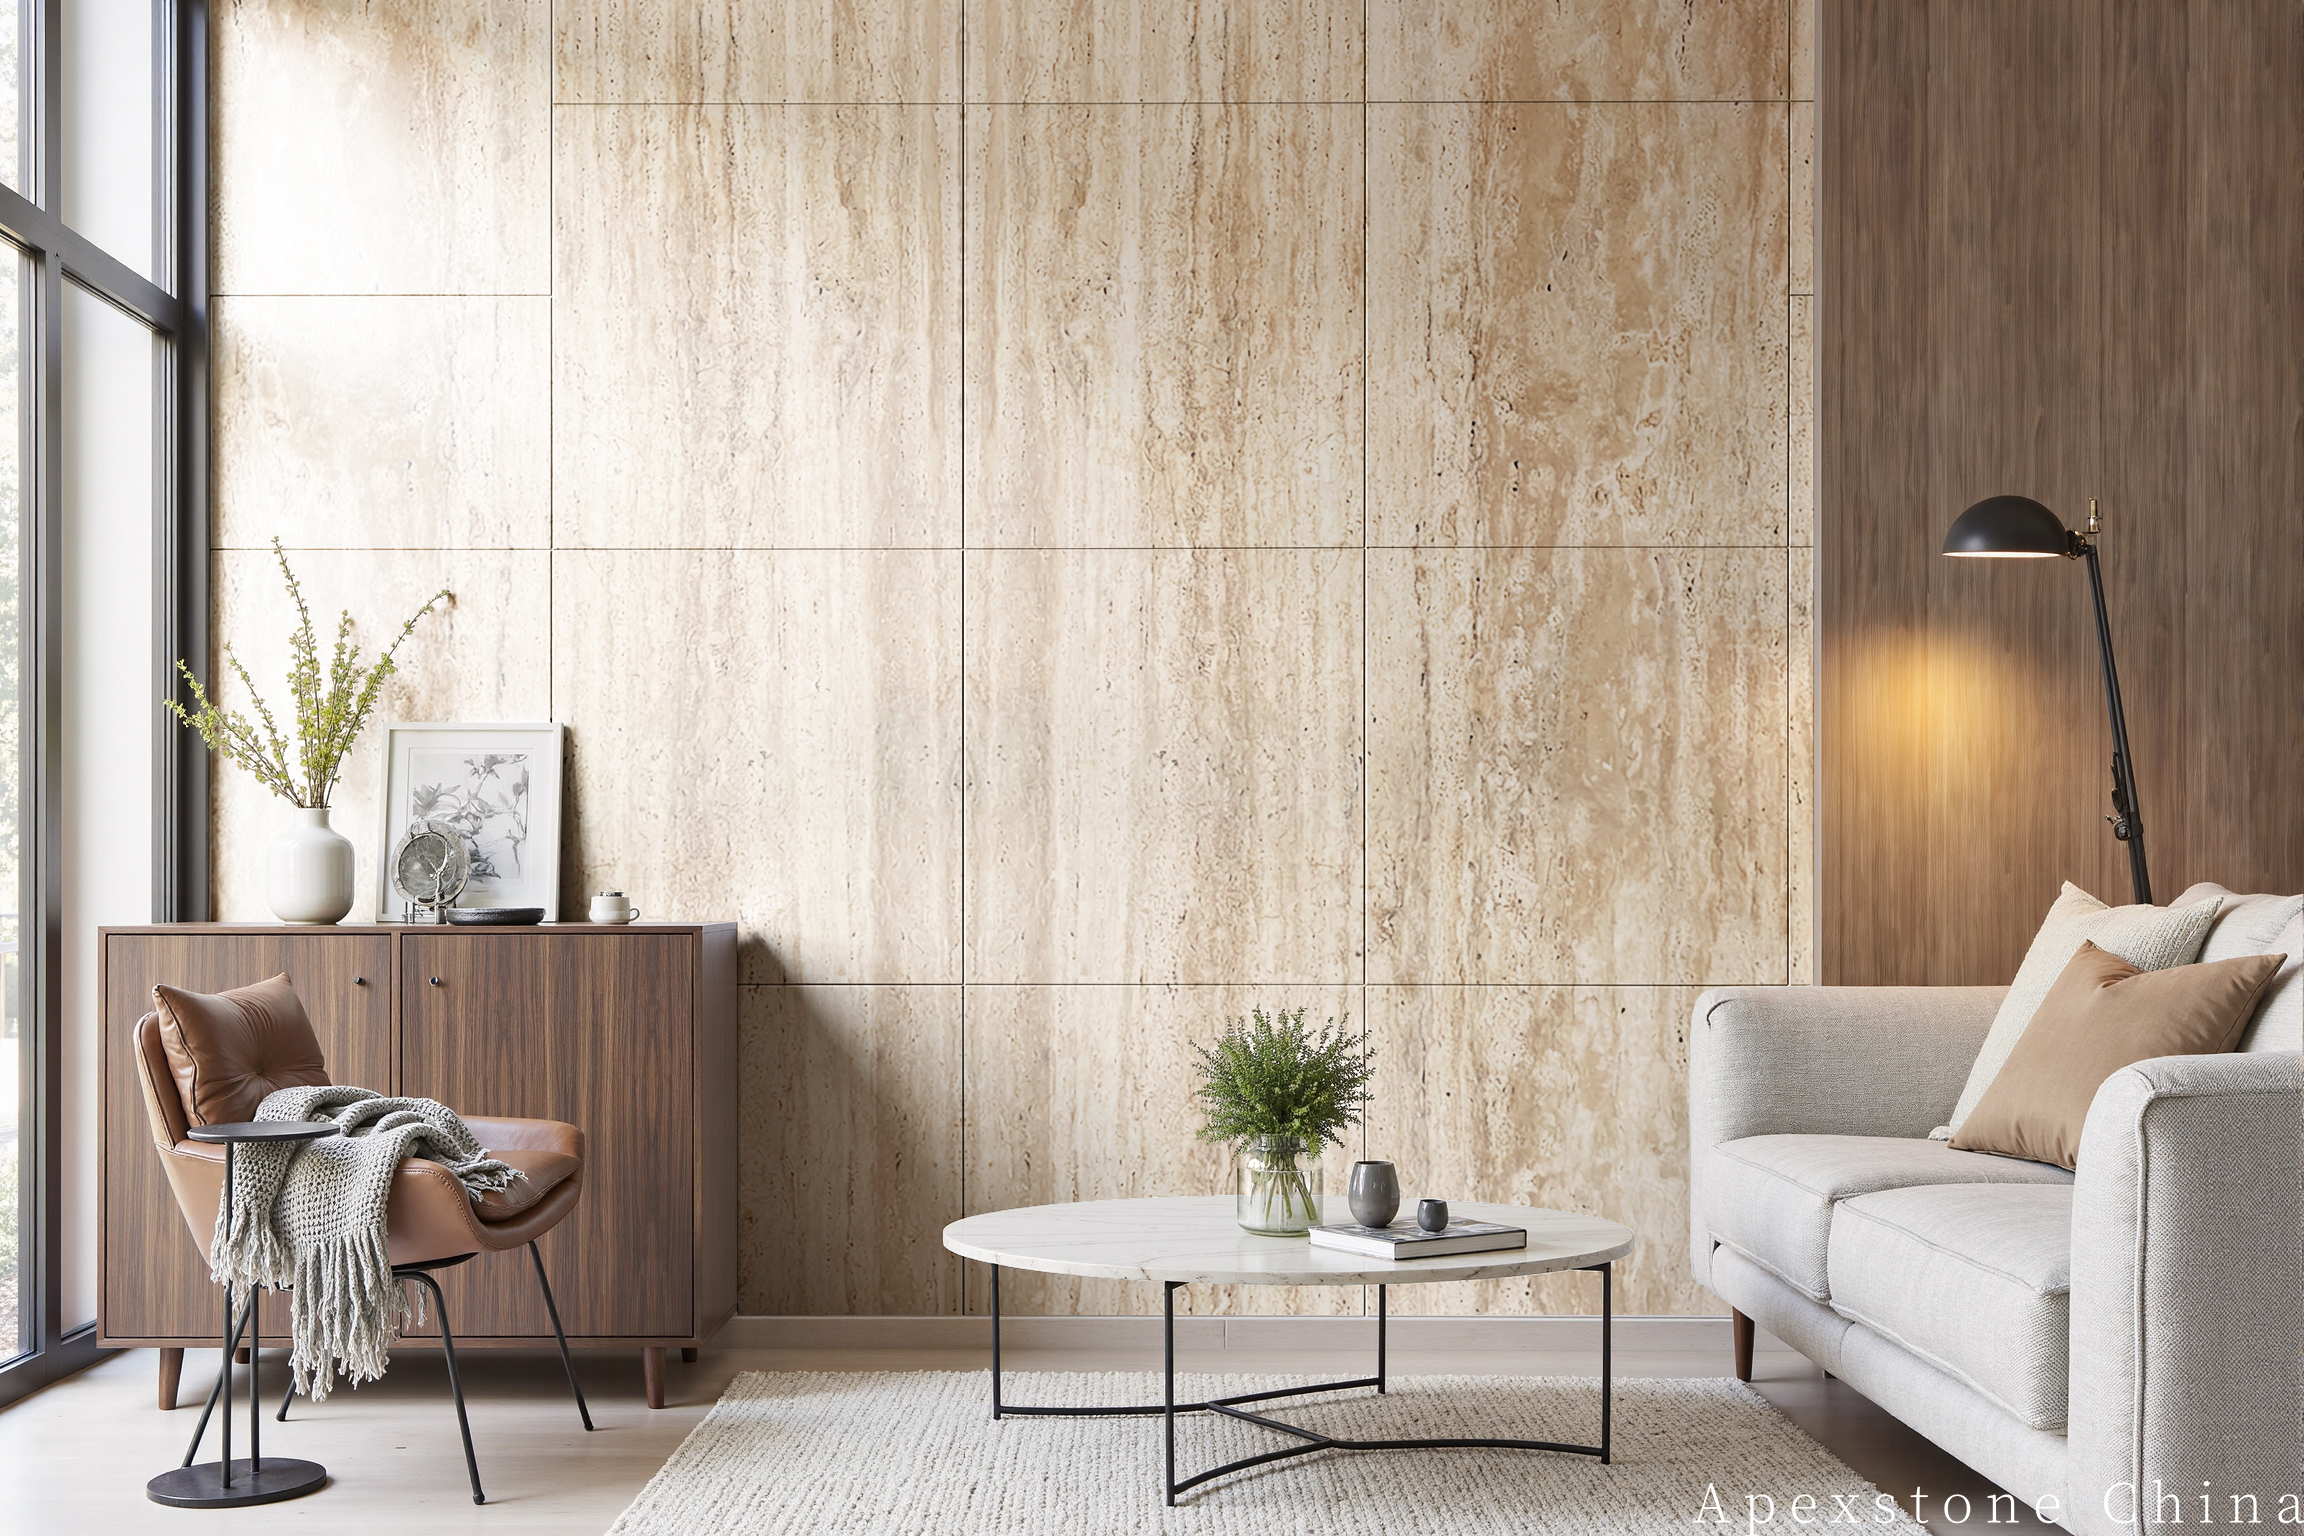
Use these material views to coordinate vein direction, panel scale, finish and adjacent details before cutting begins.
Horizontal Vein Direction
Vertical Panel Rhythm
Joint Planning
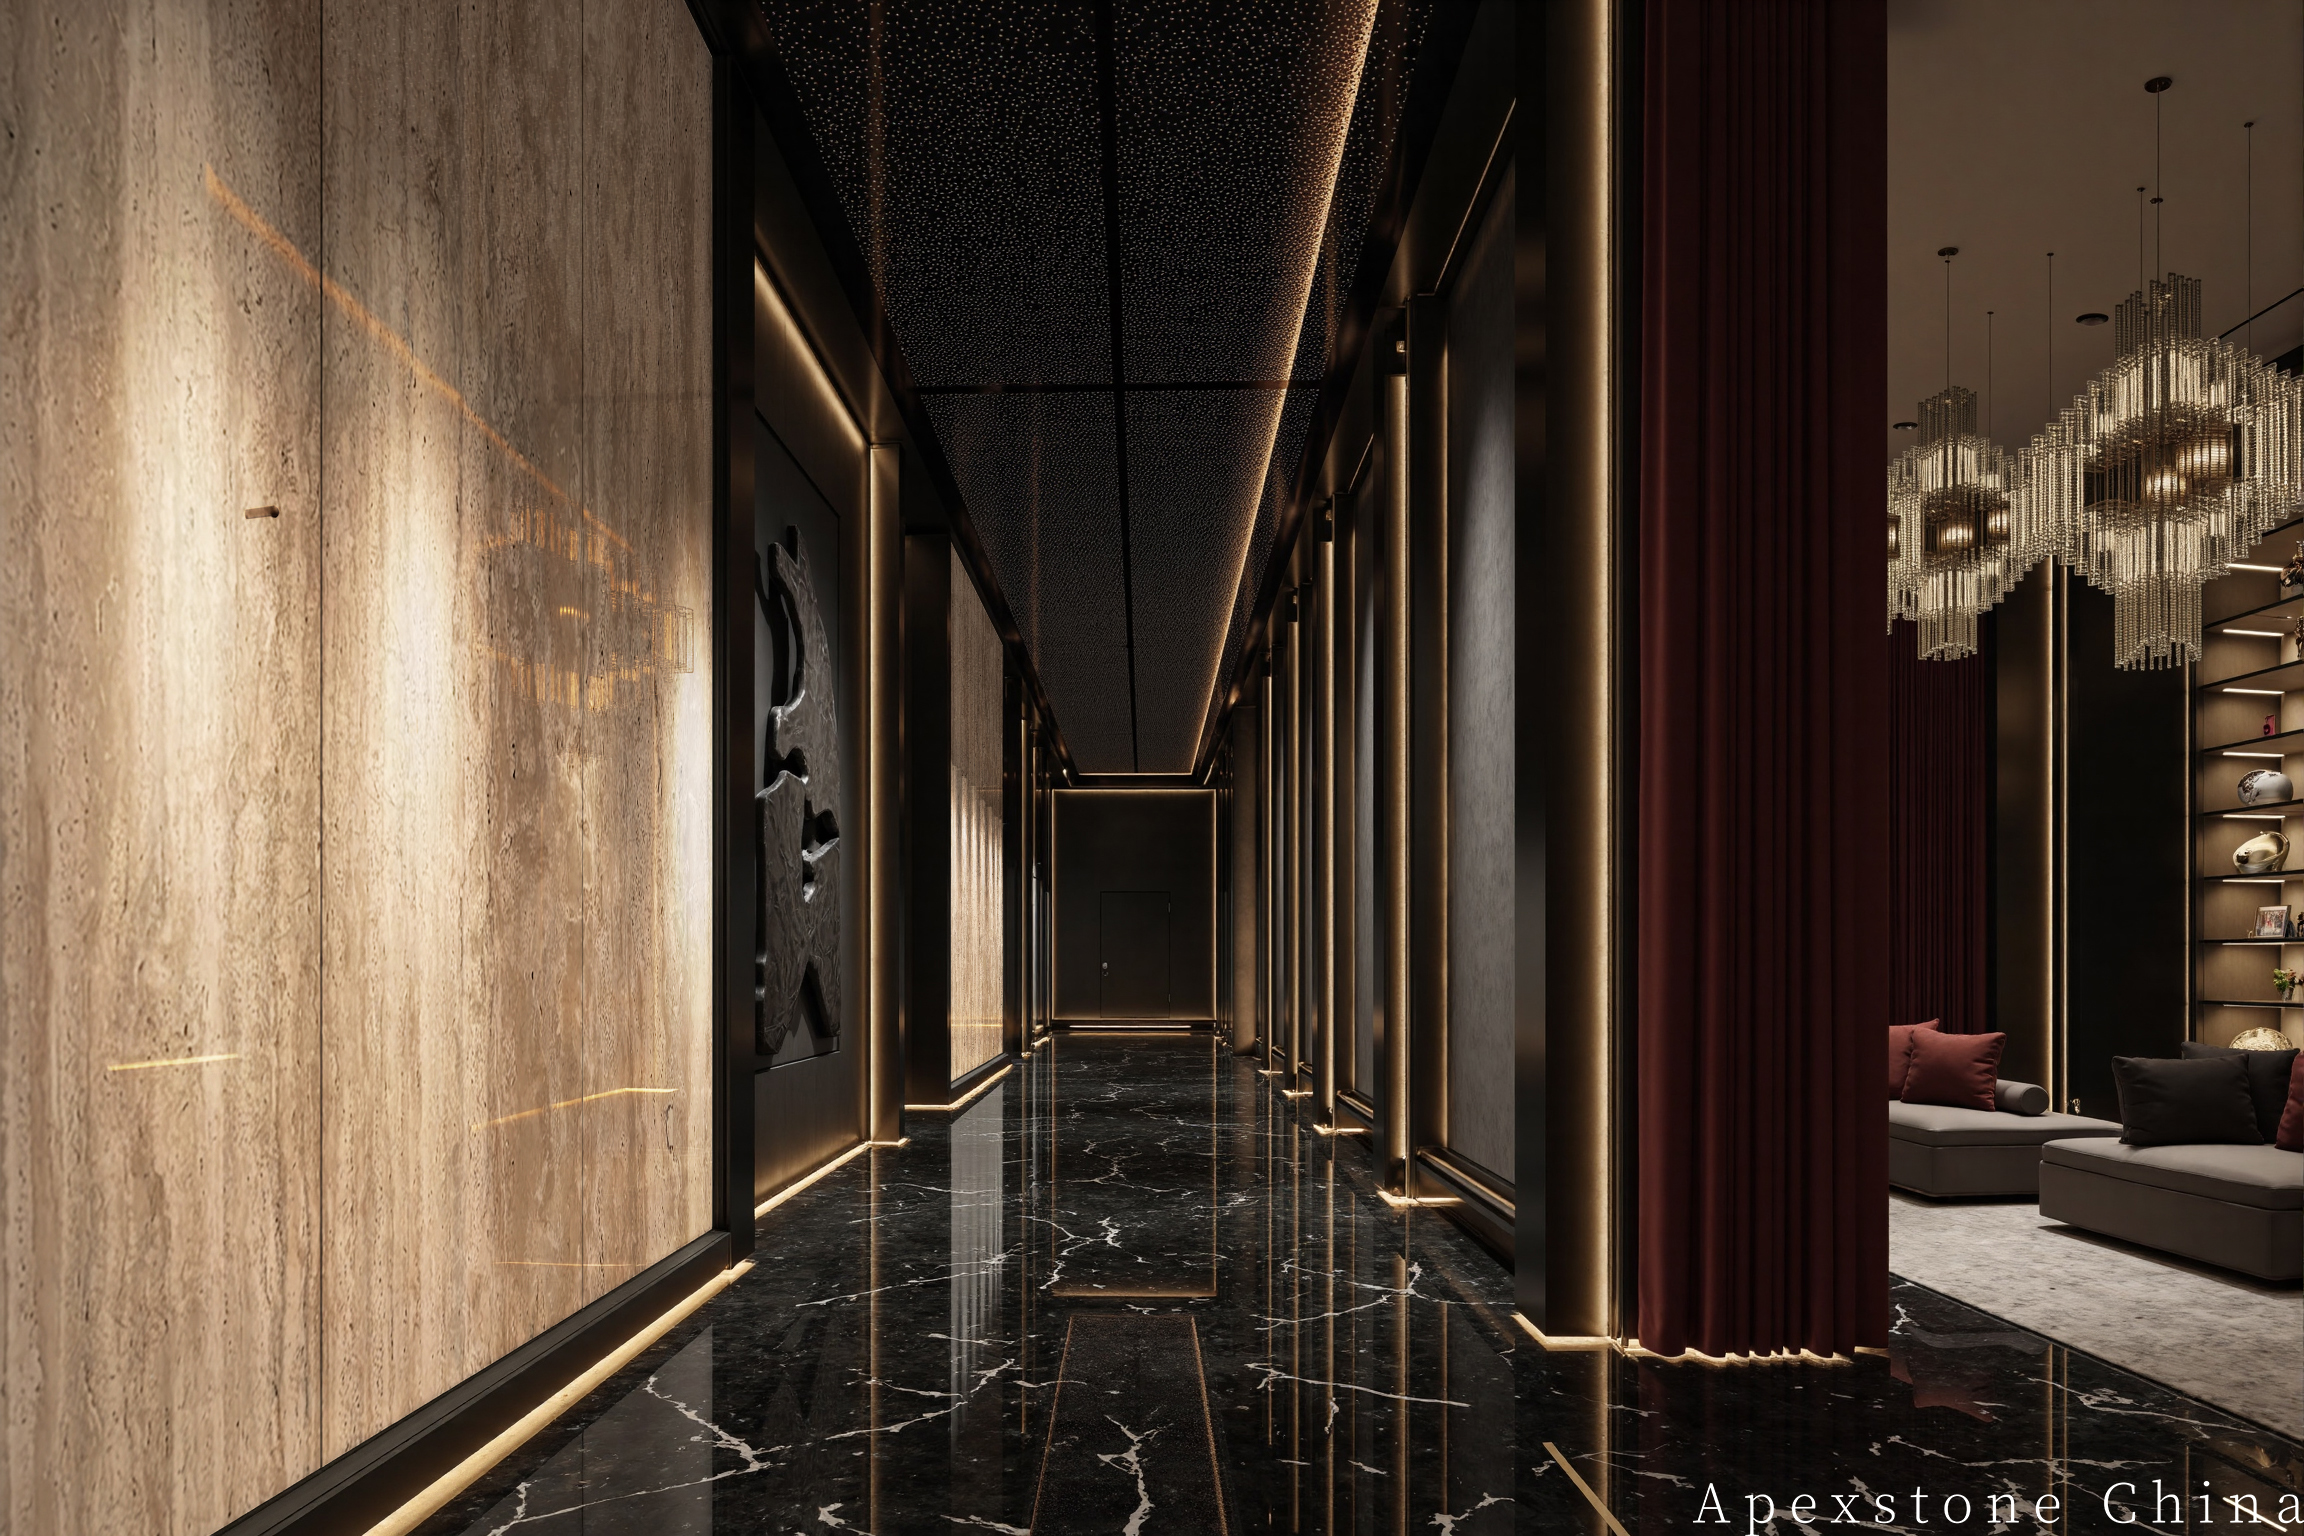
Grazing Light
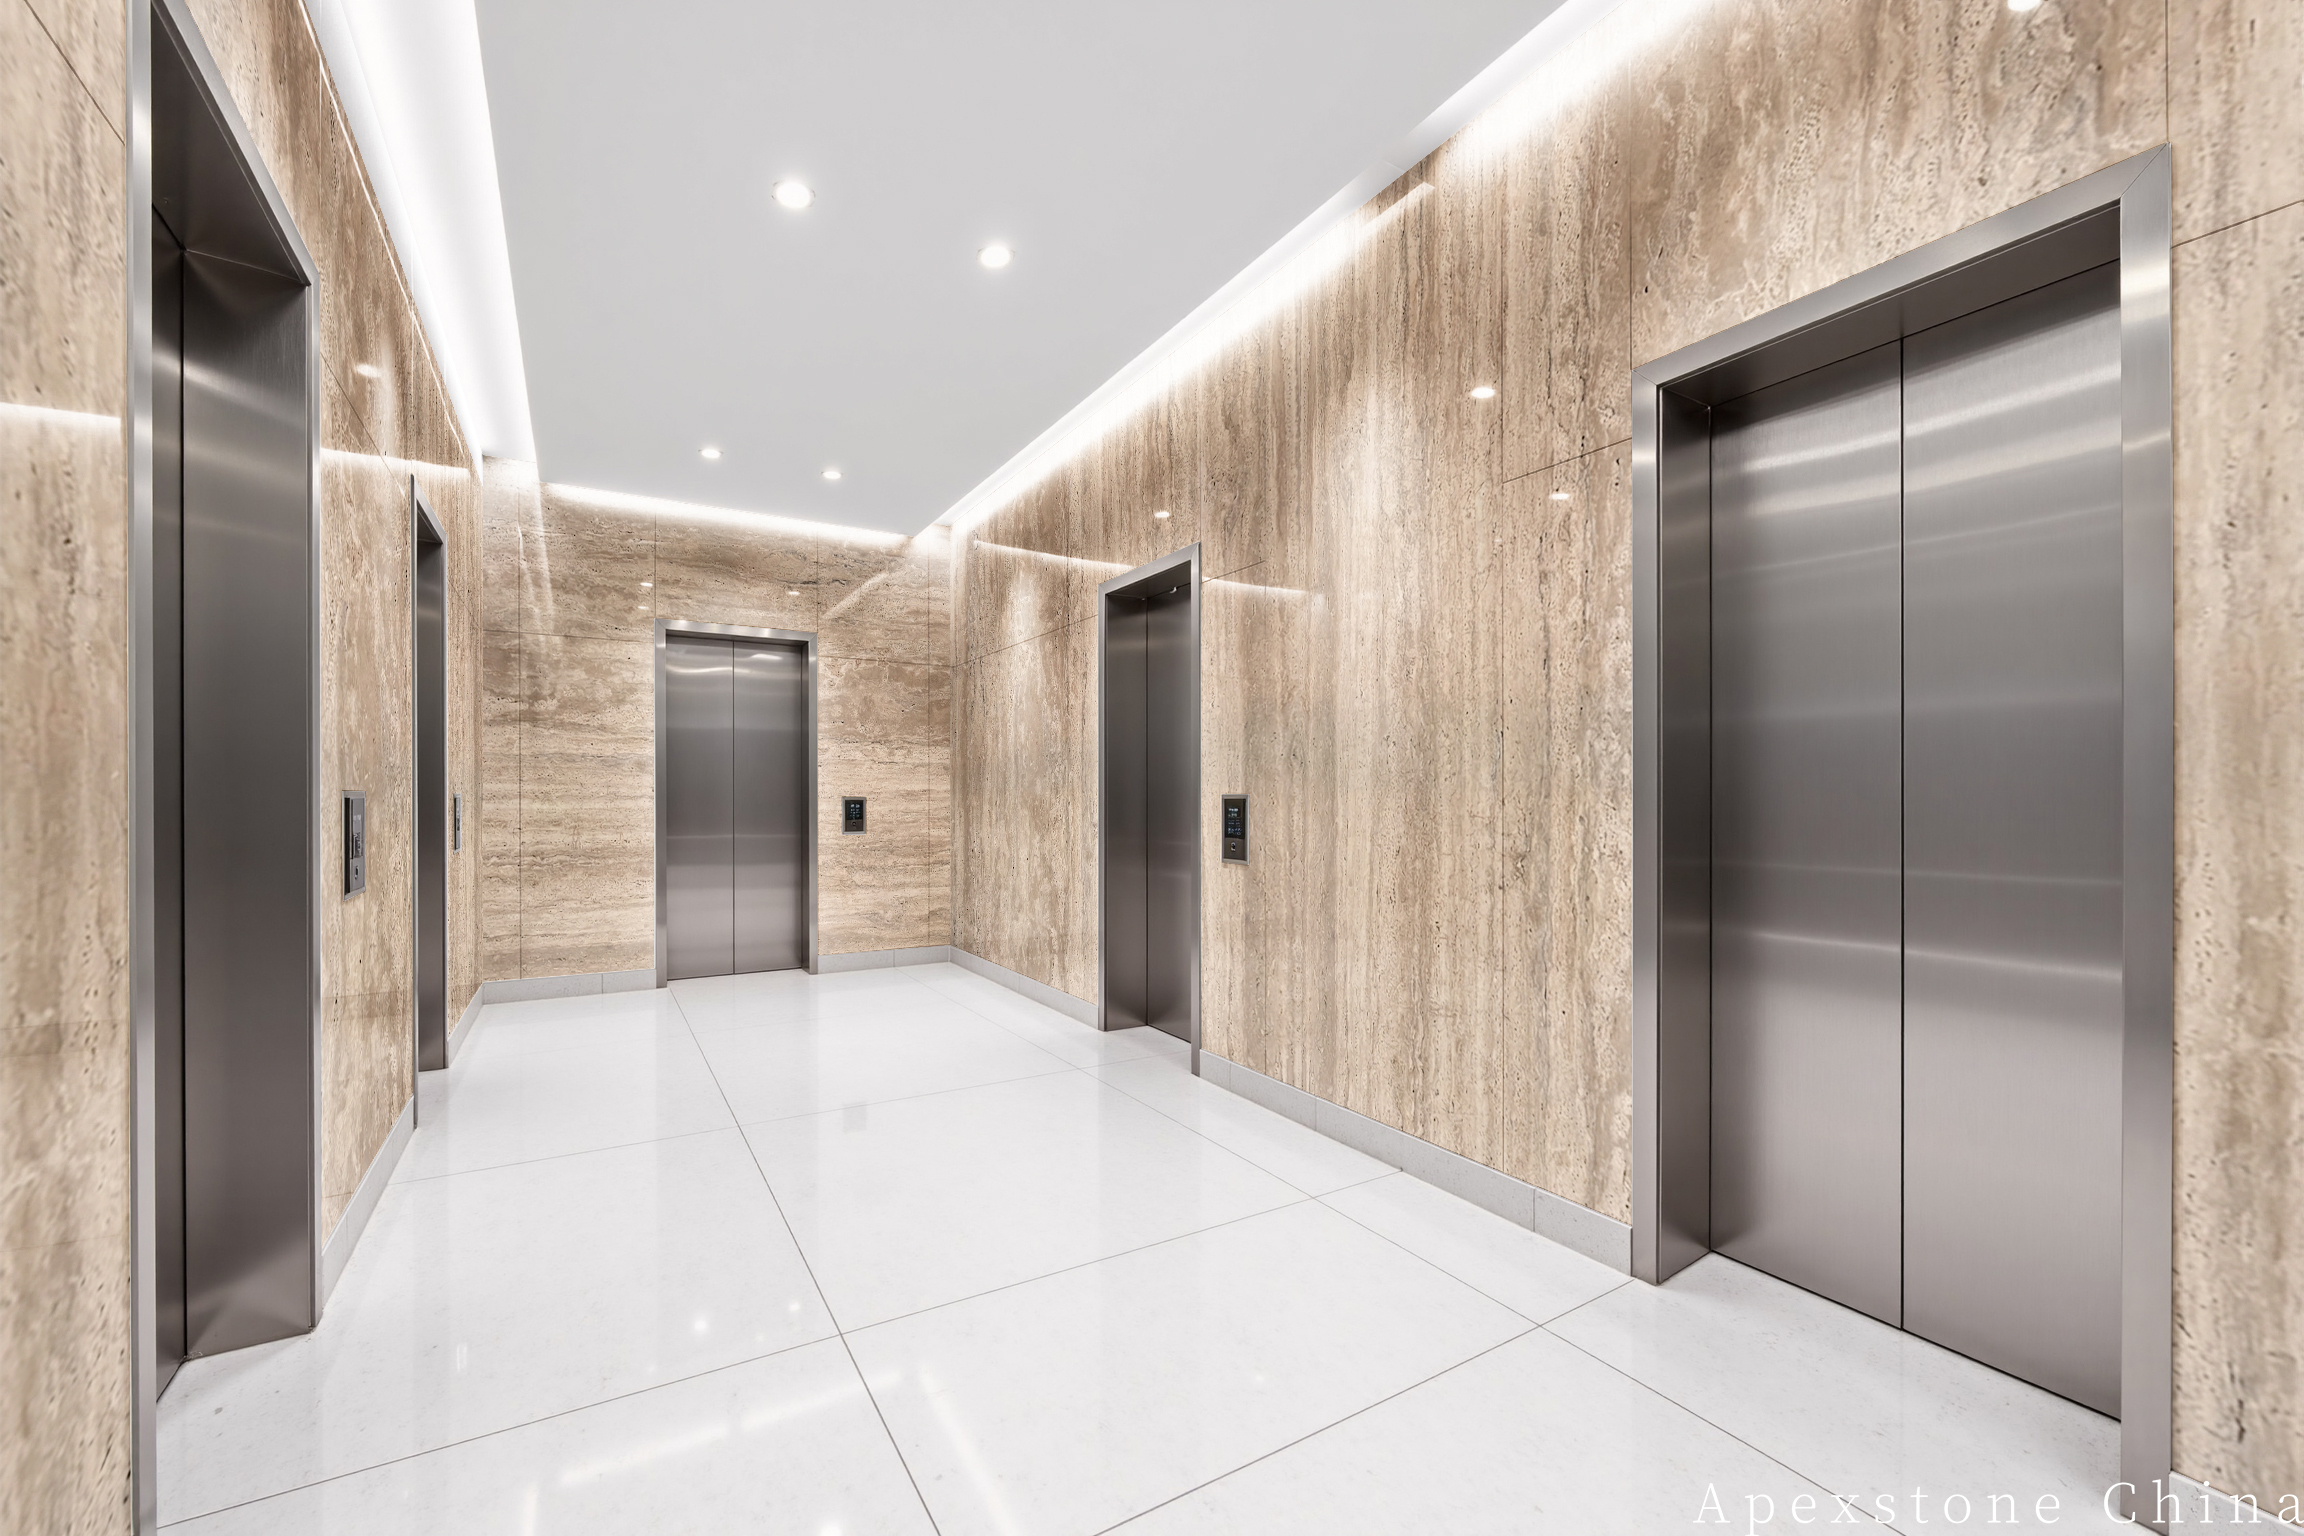
Entrance Wall Grid
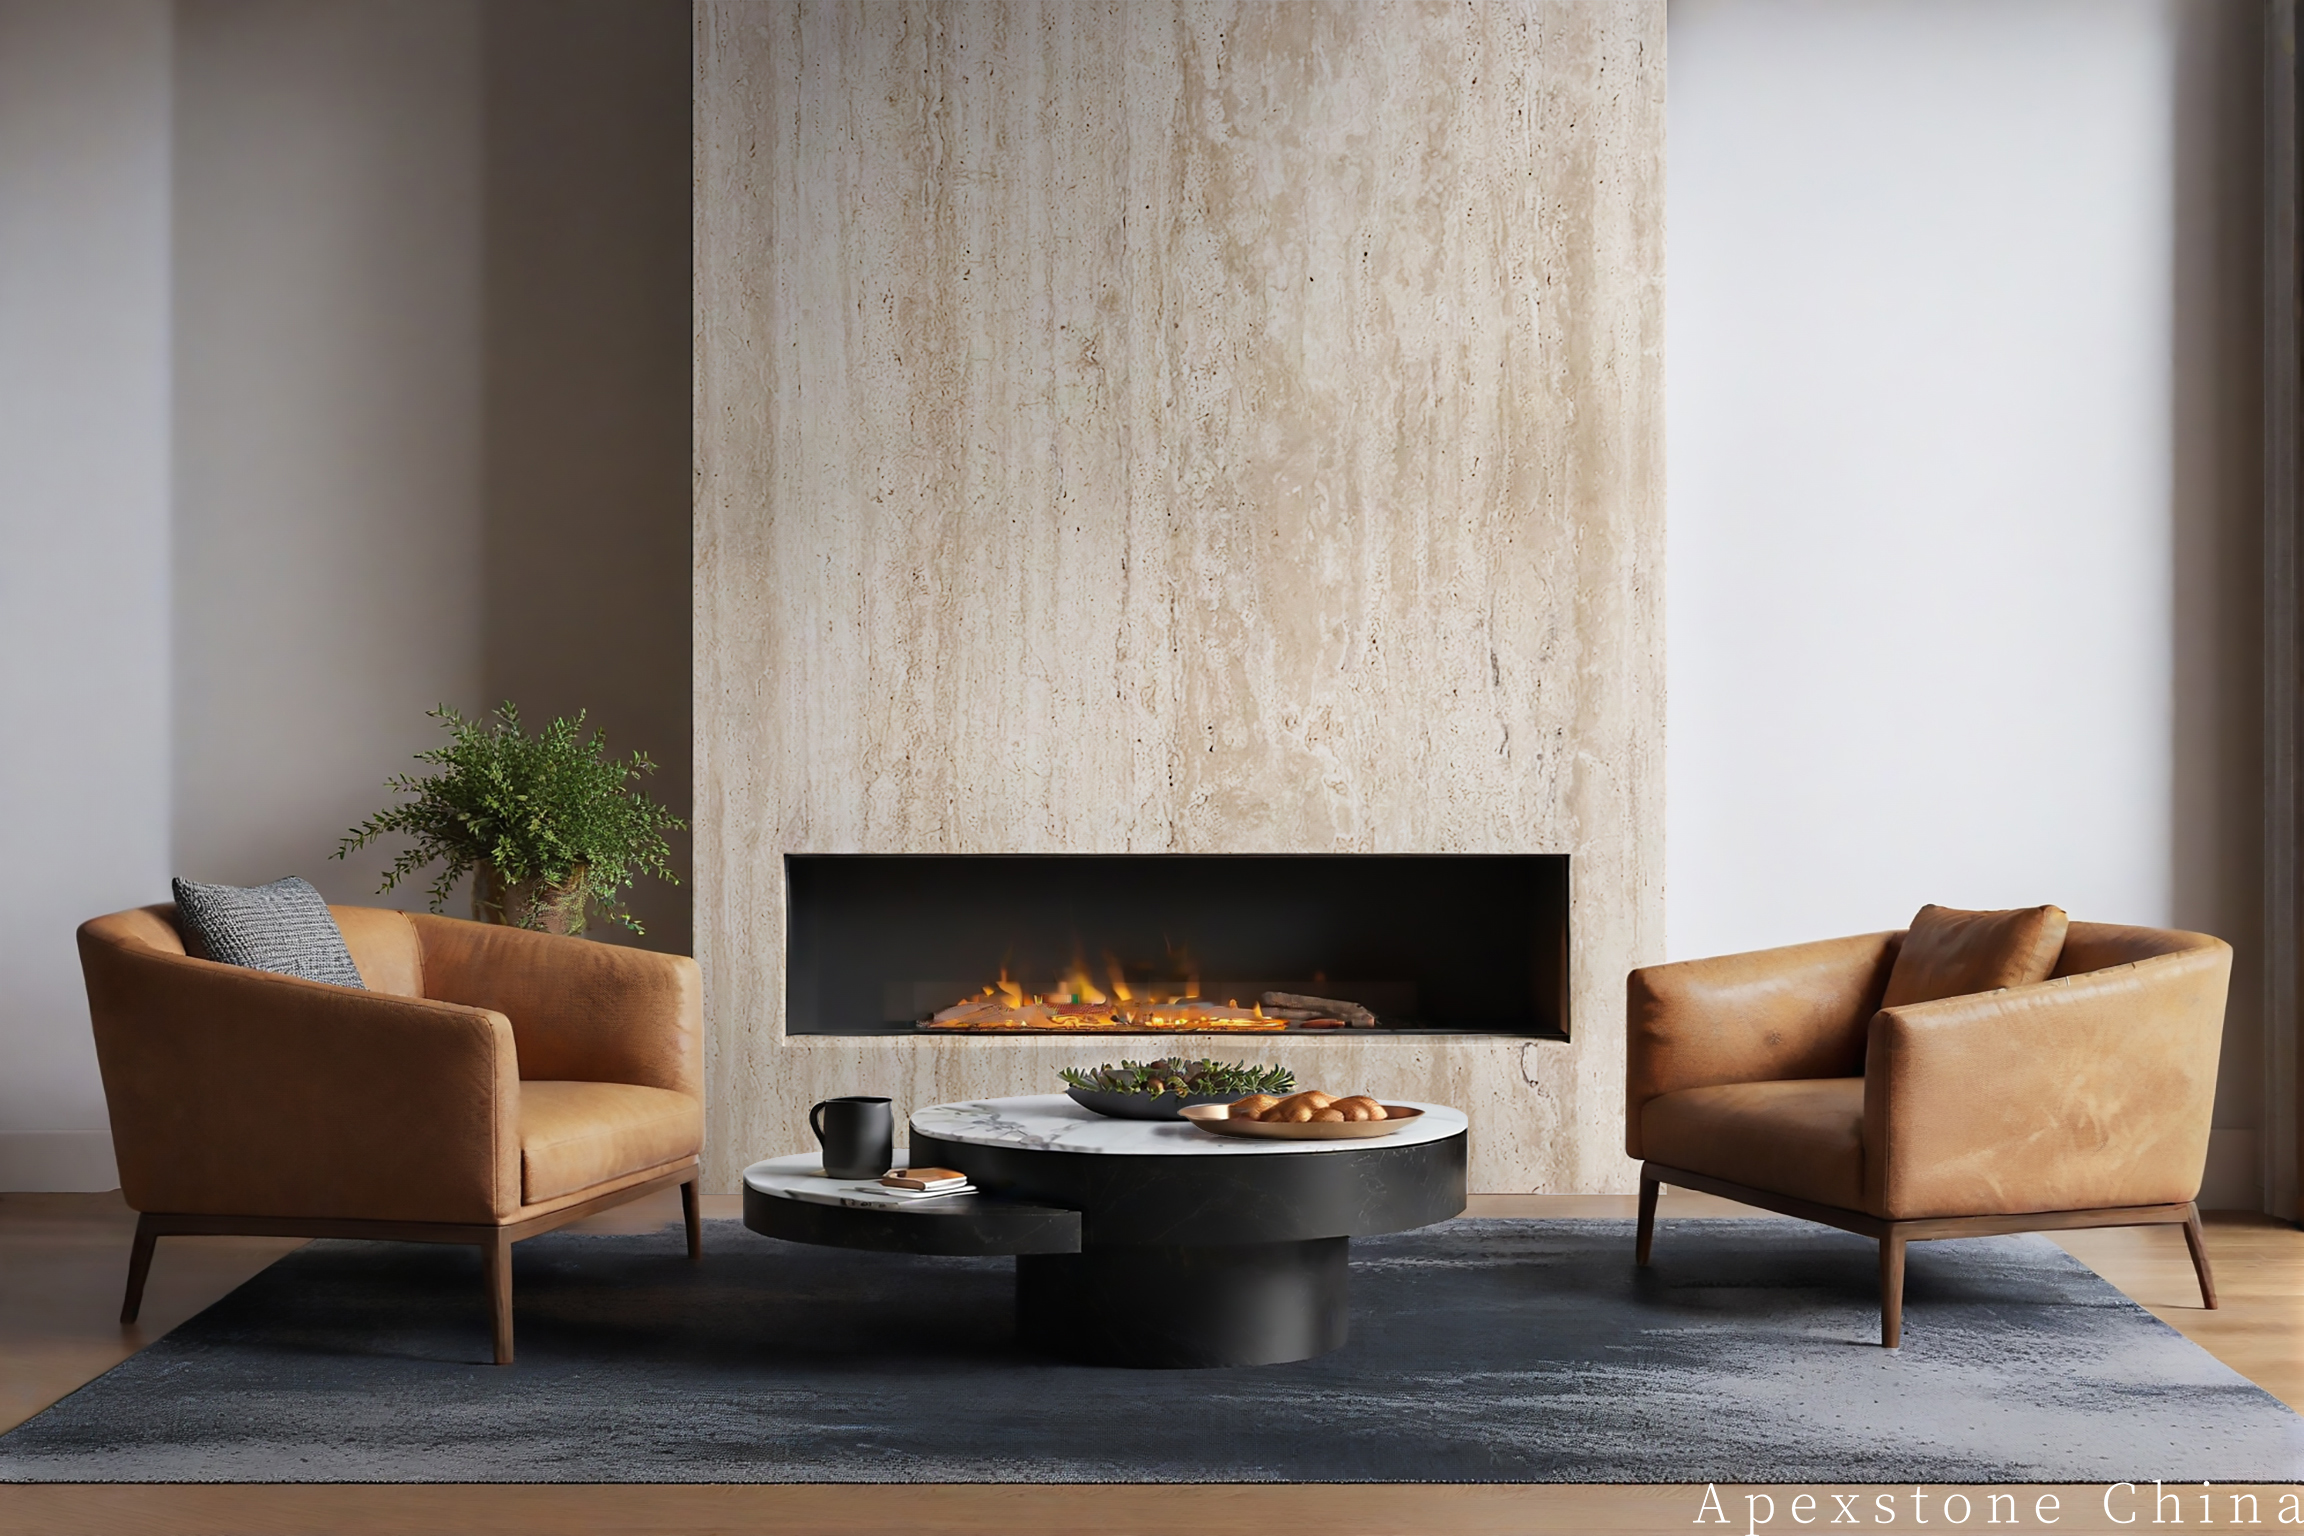
Full-Height Fireplace
Design Notes
Four decisions to lock before fabrication
Choose vein-cut or cross-cut intentionally
Vein-cut panels create horizontal bands and a strong architectural rhythm. Cross-cut panels read softer and more cloud-like. Do not mix the two on one continuous focal wall unless the transition is deliberately framed.
Make joints part of the elevation
Align vertical joints with cabinetry, door reveals, screen edges or fireplace openings. Avoid narrow infill strips at corners. For large-format panels, a controlled shadow joint usually looks more intentional than trying to make every seam disappear.
Select the fill and finish by viewing distance
Filled honed travertine gives a calm, refined surface for living rooms and lobbies. Unfilled brushed material produces stronger relief for close-range walls, but open pores collect dust and need a realistic maintenance plan.
Use grazing light—not light through the stone
Travertine Romano is not translucent onyx. Position linear LED wall washers or concealed cove lights so they skim across the face. Test fixture spacing on a full-size sample to avoid scallops and exaggerated filler patches.
Applications
Feature wall compositions that suit the material
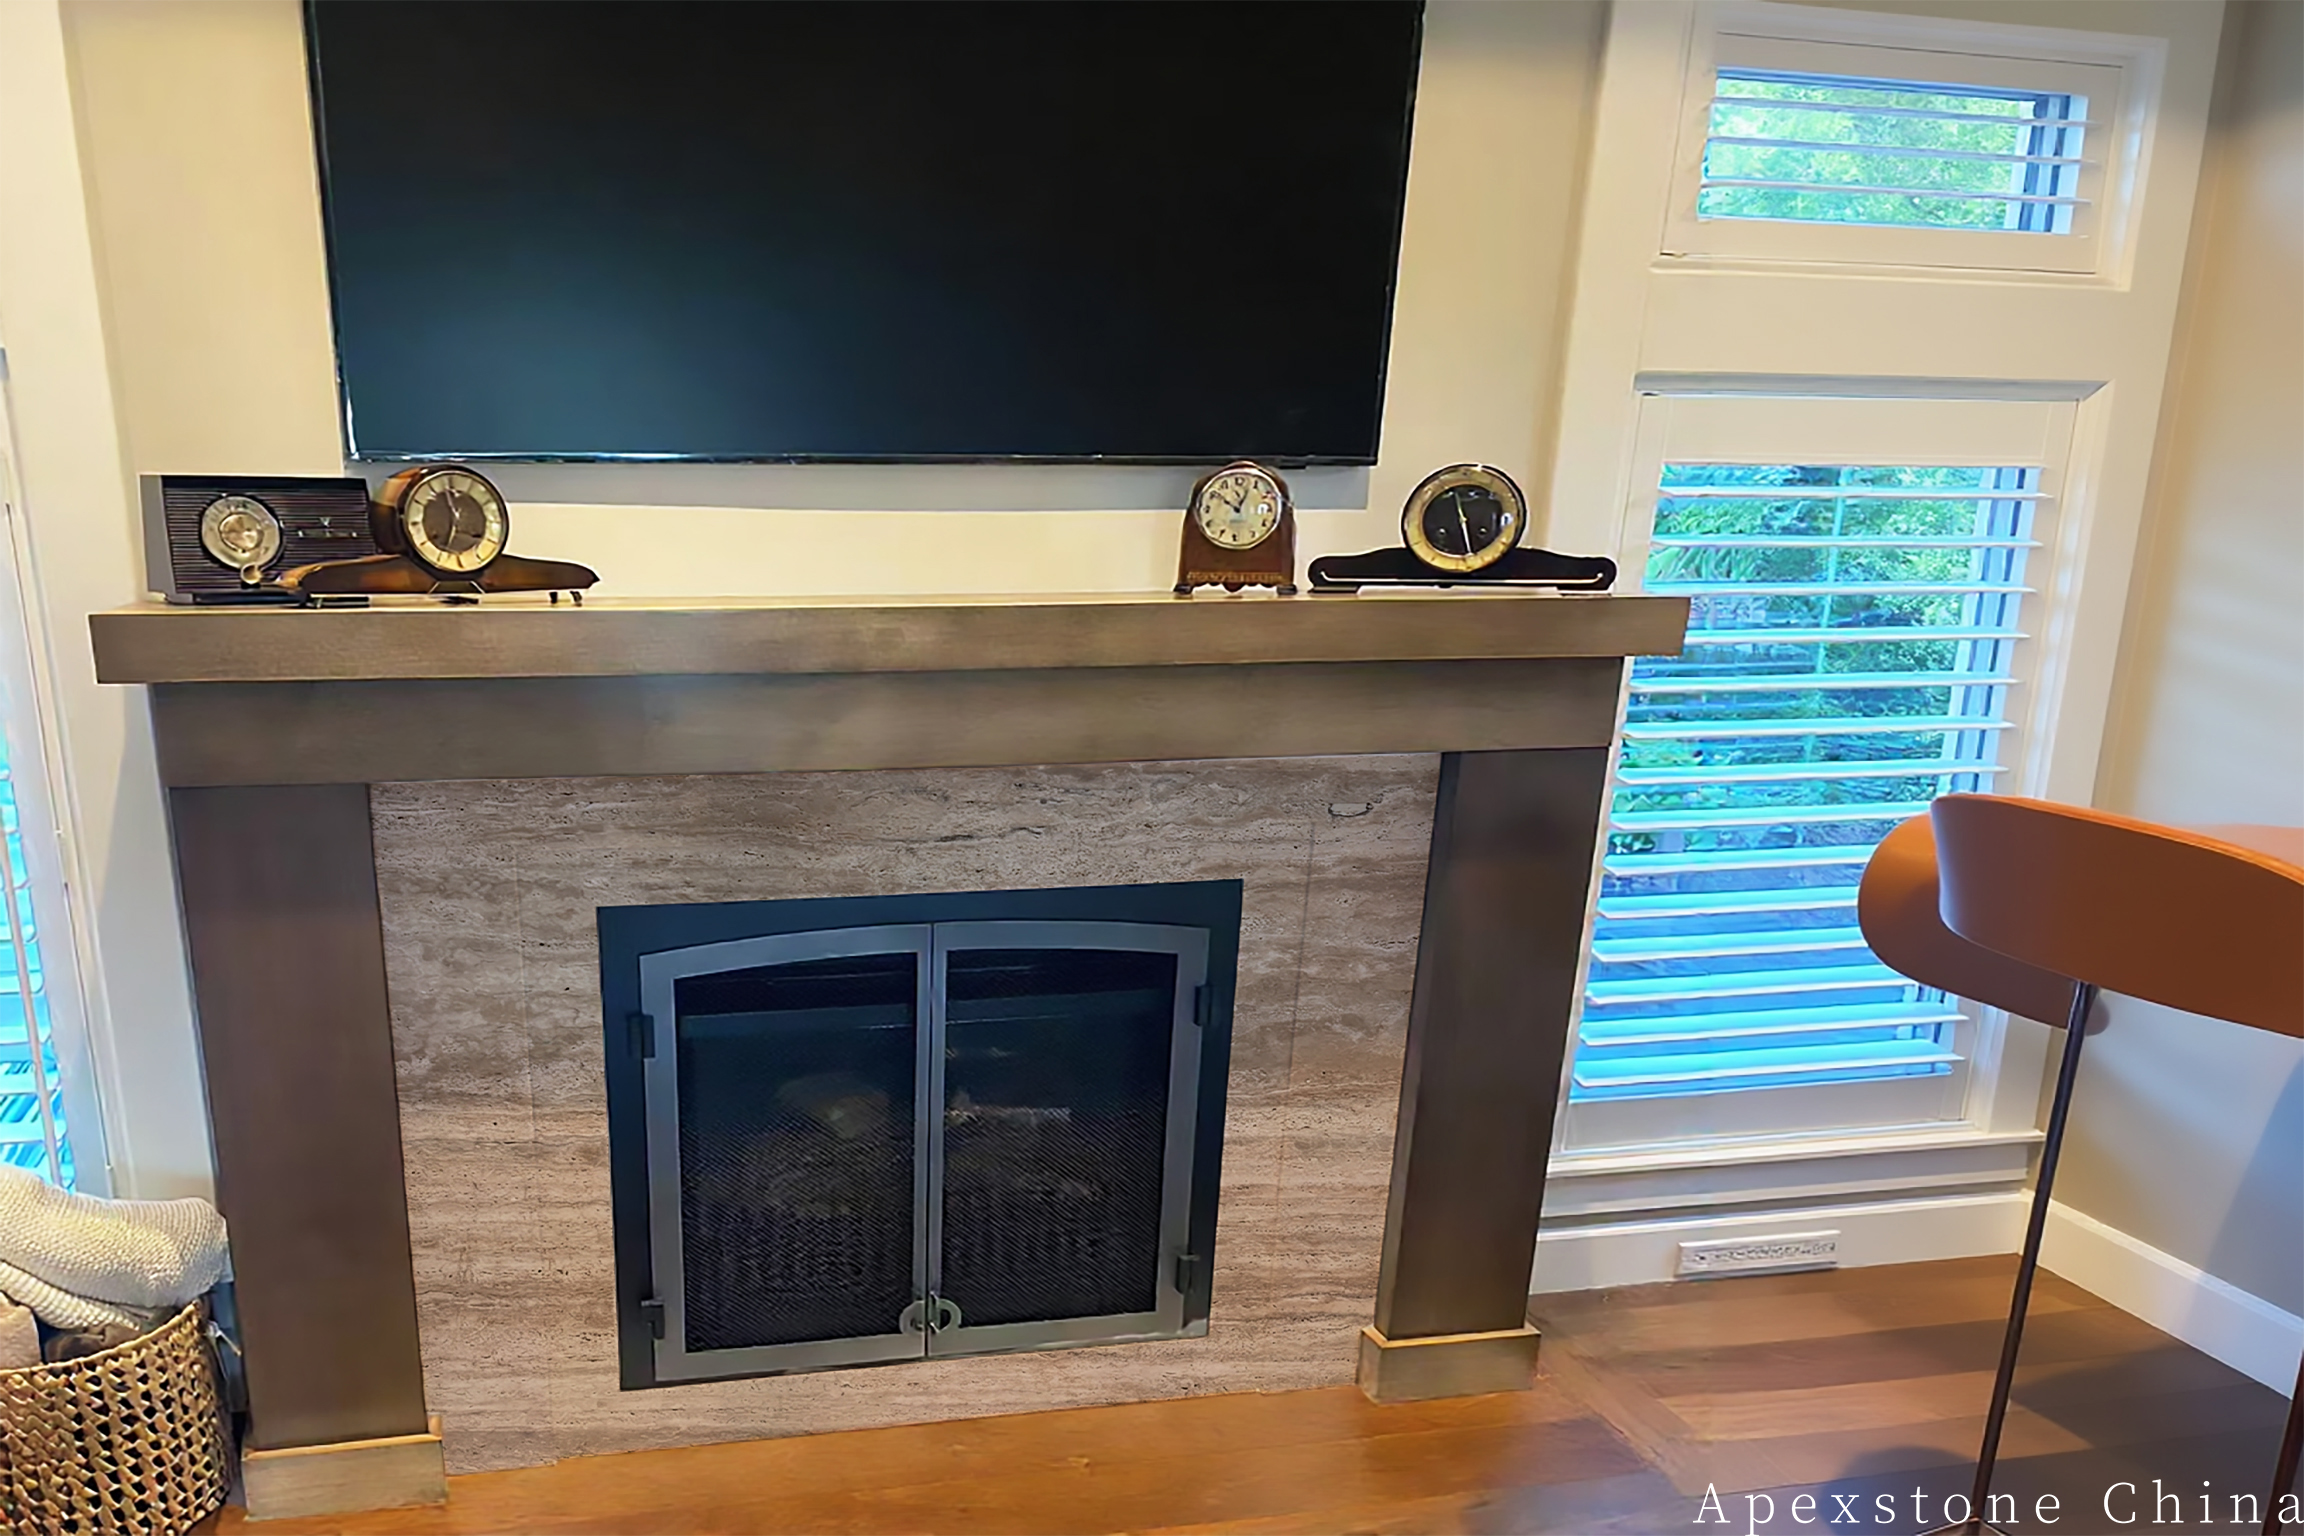
Living Room Media Wall
Use broad vein-cut panels with joints aligned to the television and joinery. A honed finish reduces glare, while concealed top lighting reveals the layered grain without competing with the screen.
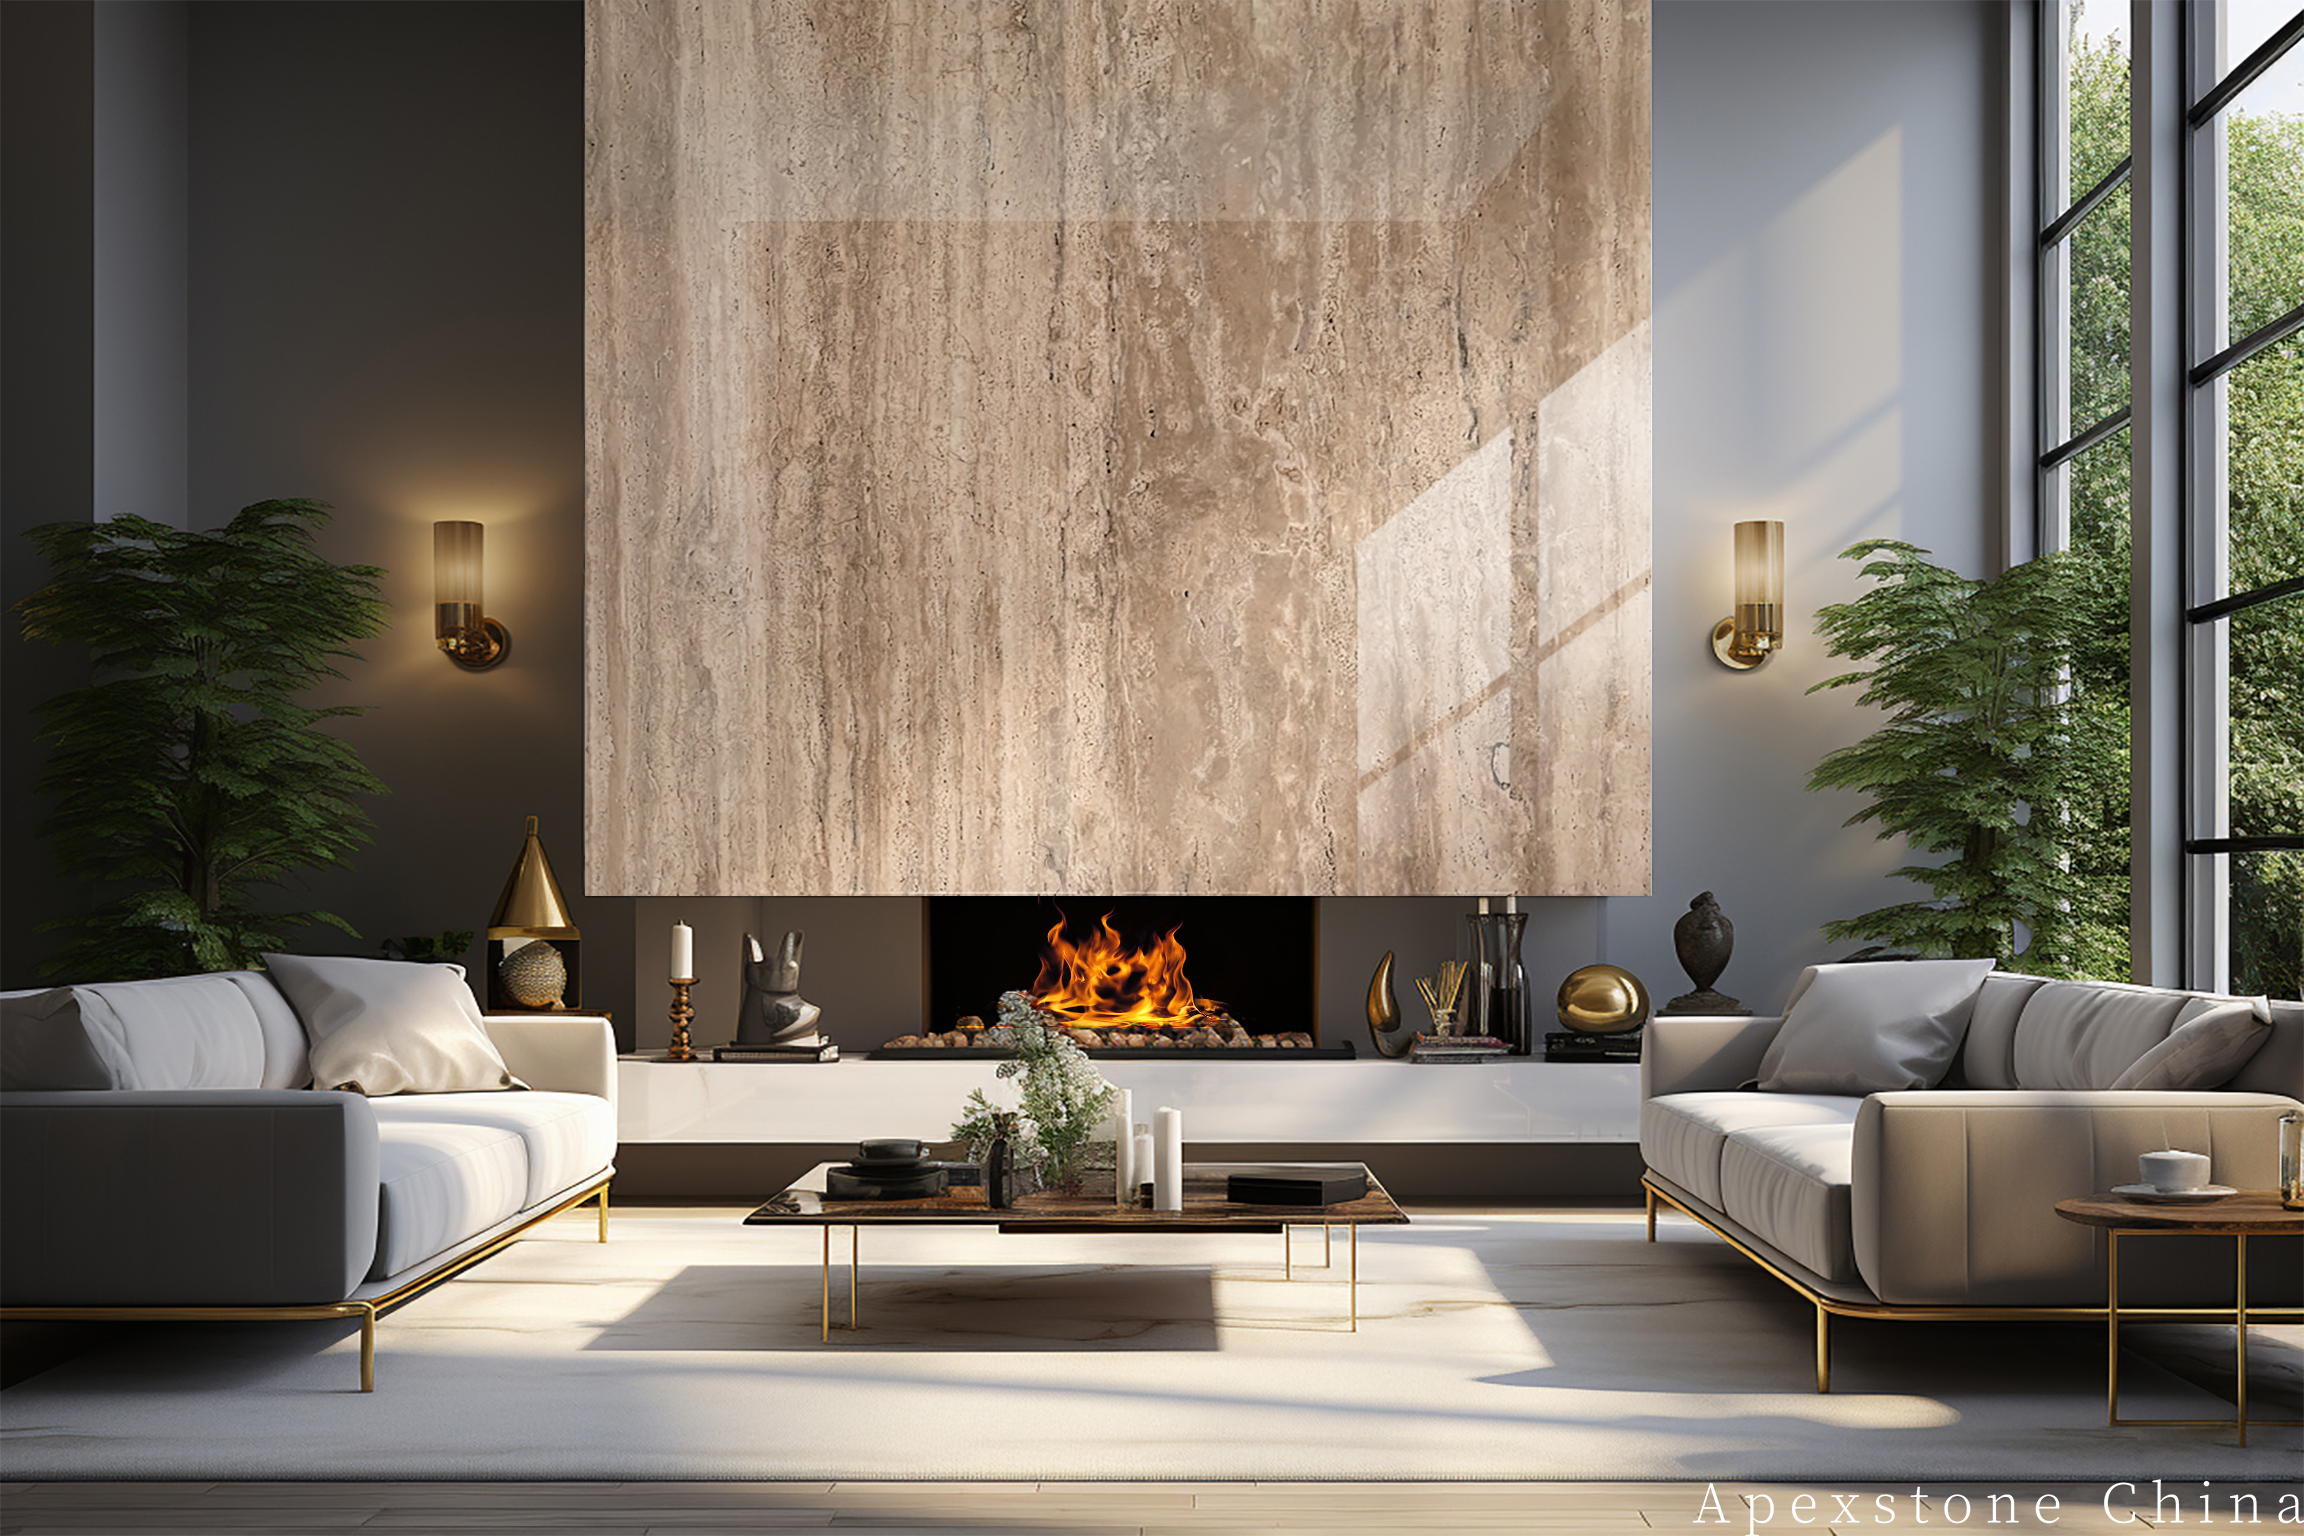
Fireplace Surround & Full-Height Chimney
Continue the slab sequence across the hearth, surround and chimney breast. Confirm clearances and substrate requirements with the fireplace system supplier before stone fabrication.
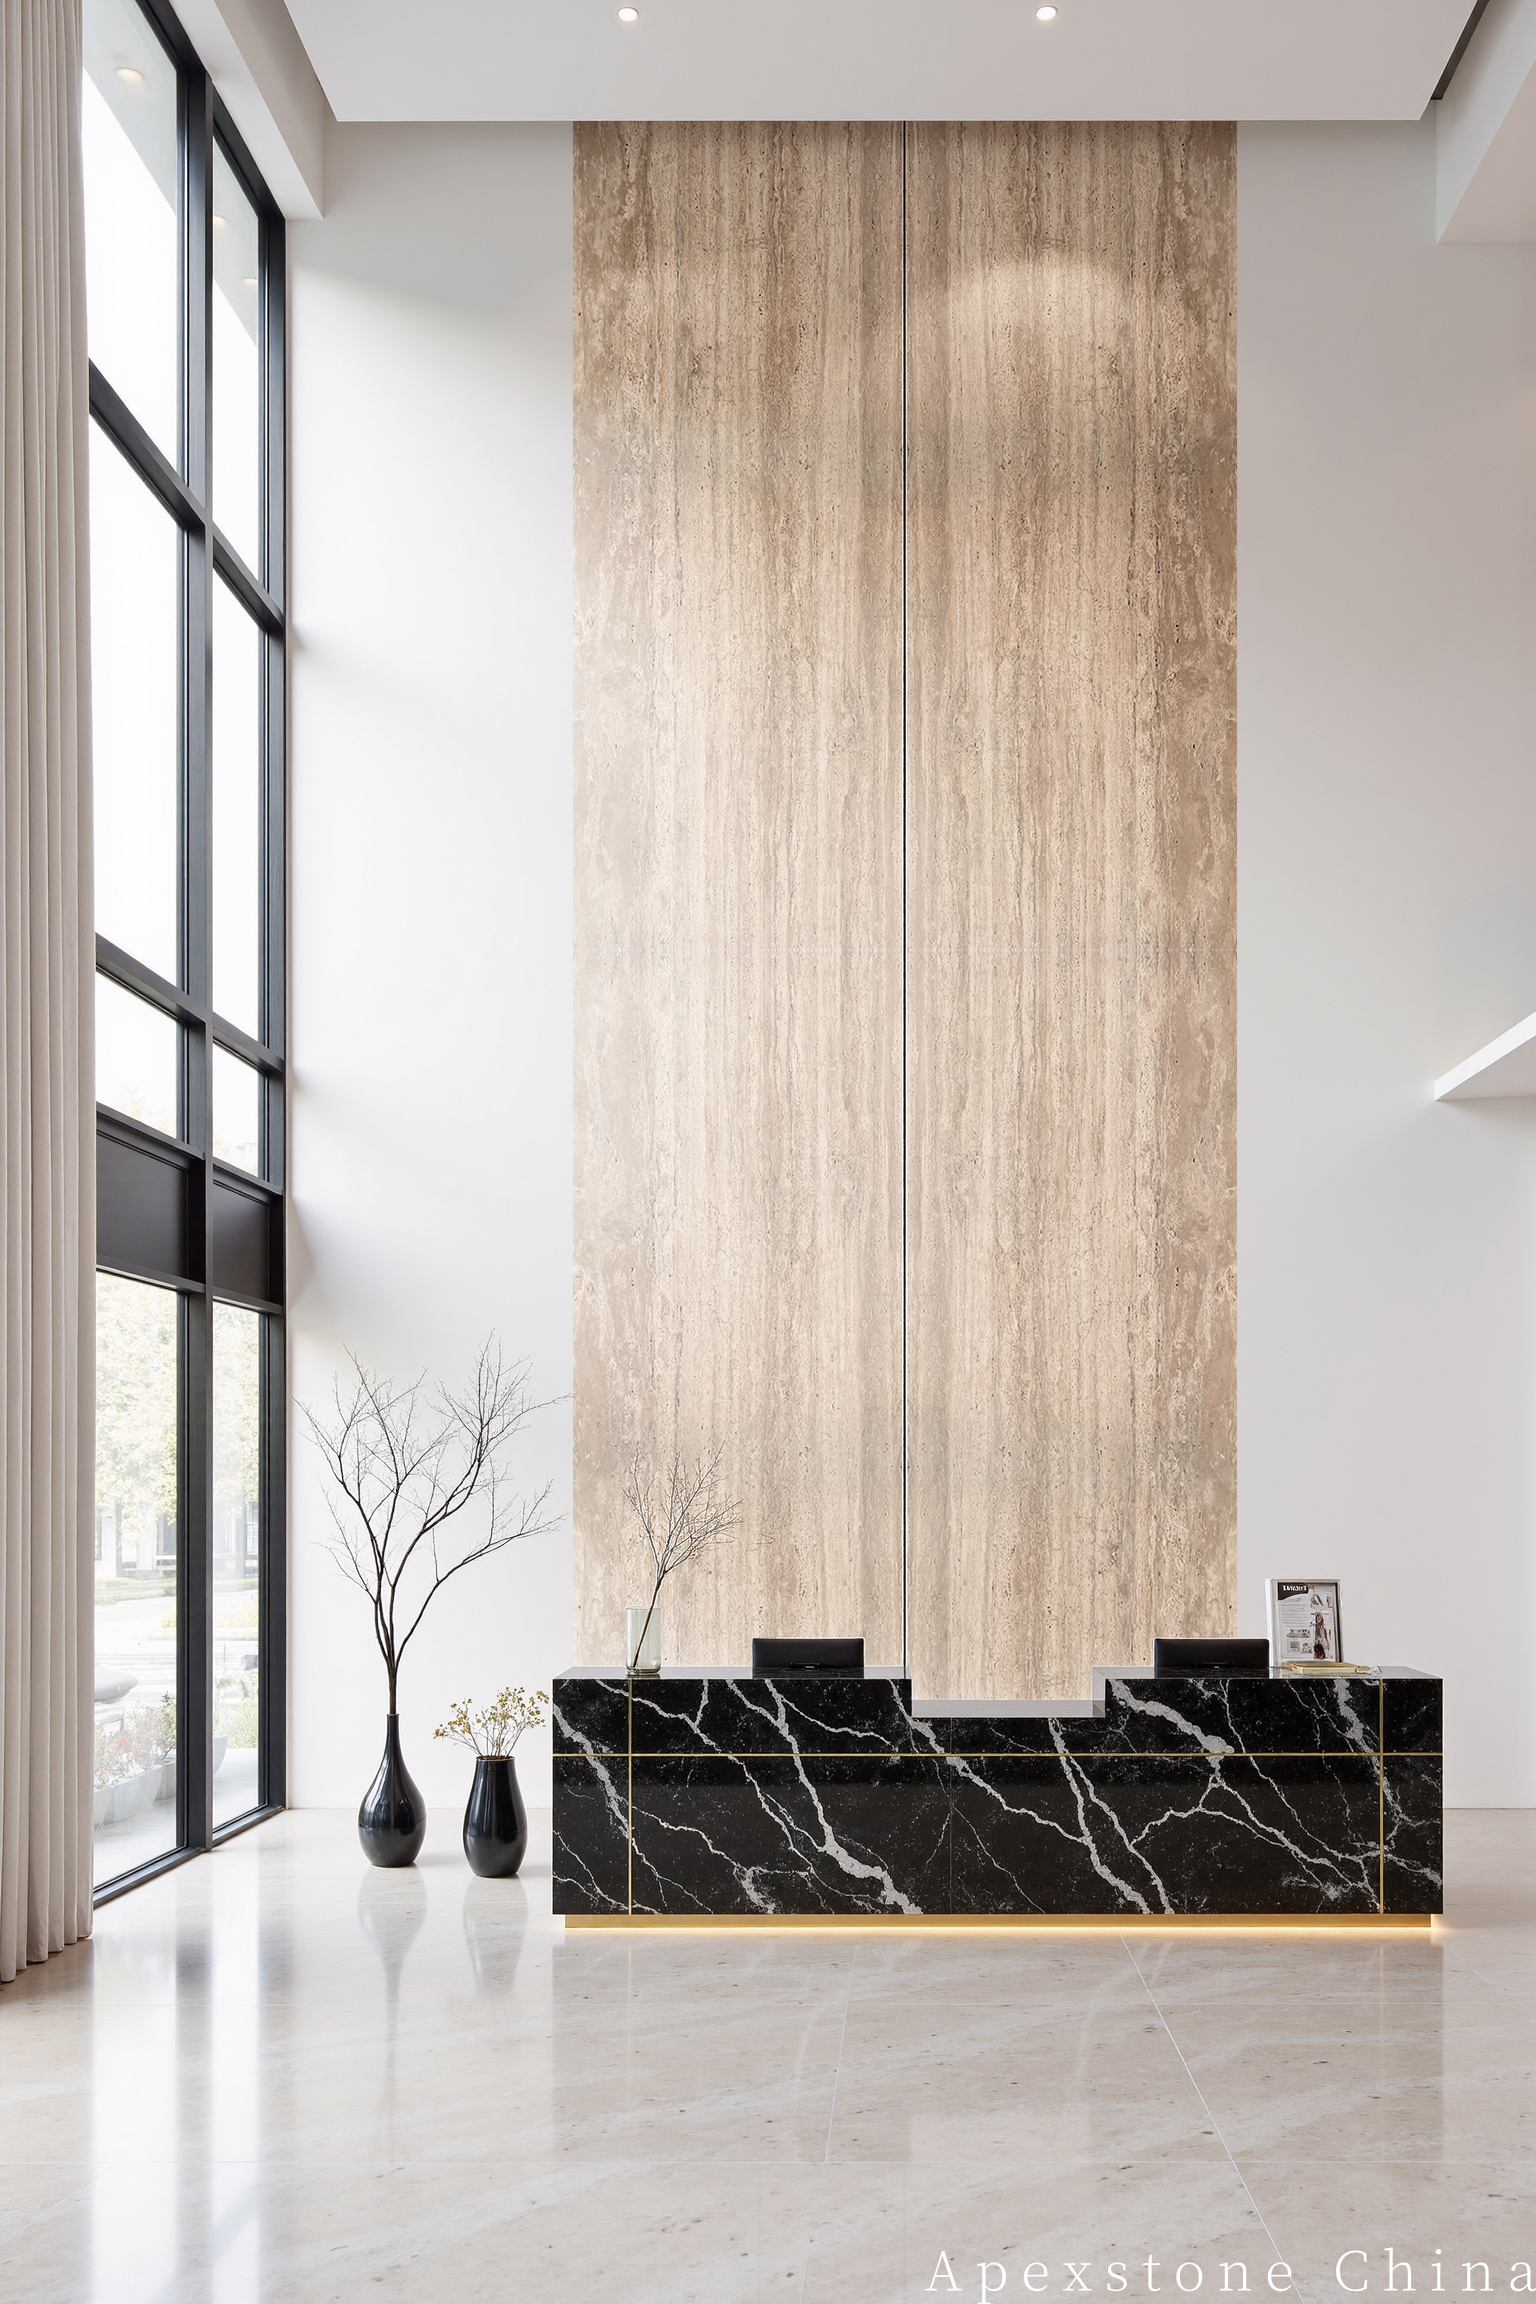
Hotel or Reception Backdrop
Large-format panels create a durable, warm backdrop behind reception desks. Coordinate signage fixings, access panels and power outlets within the joint grid.
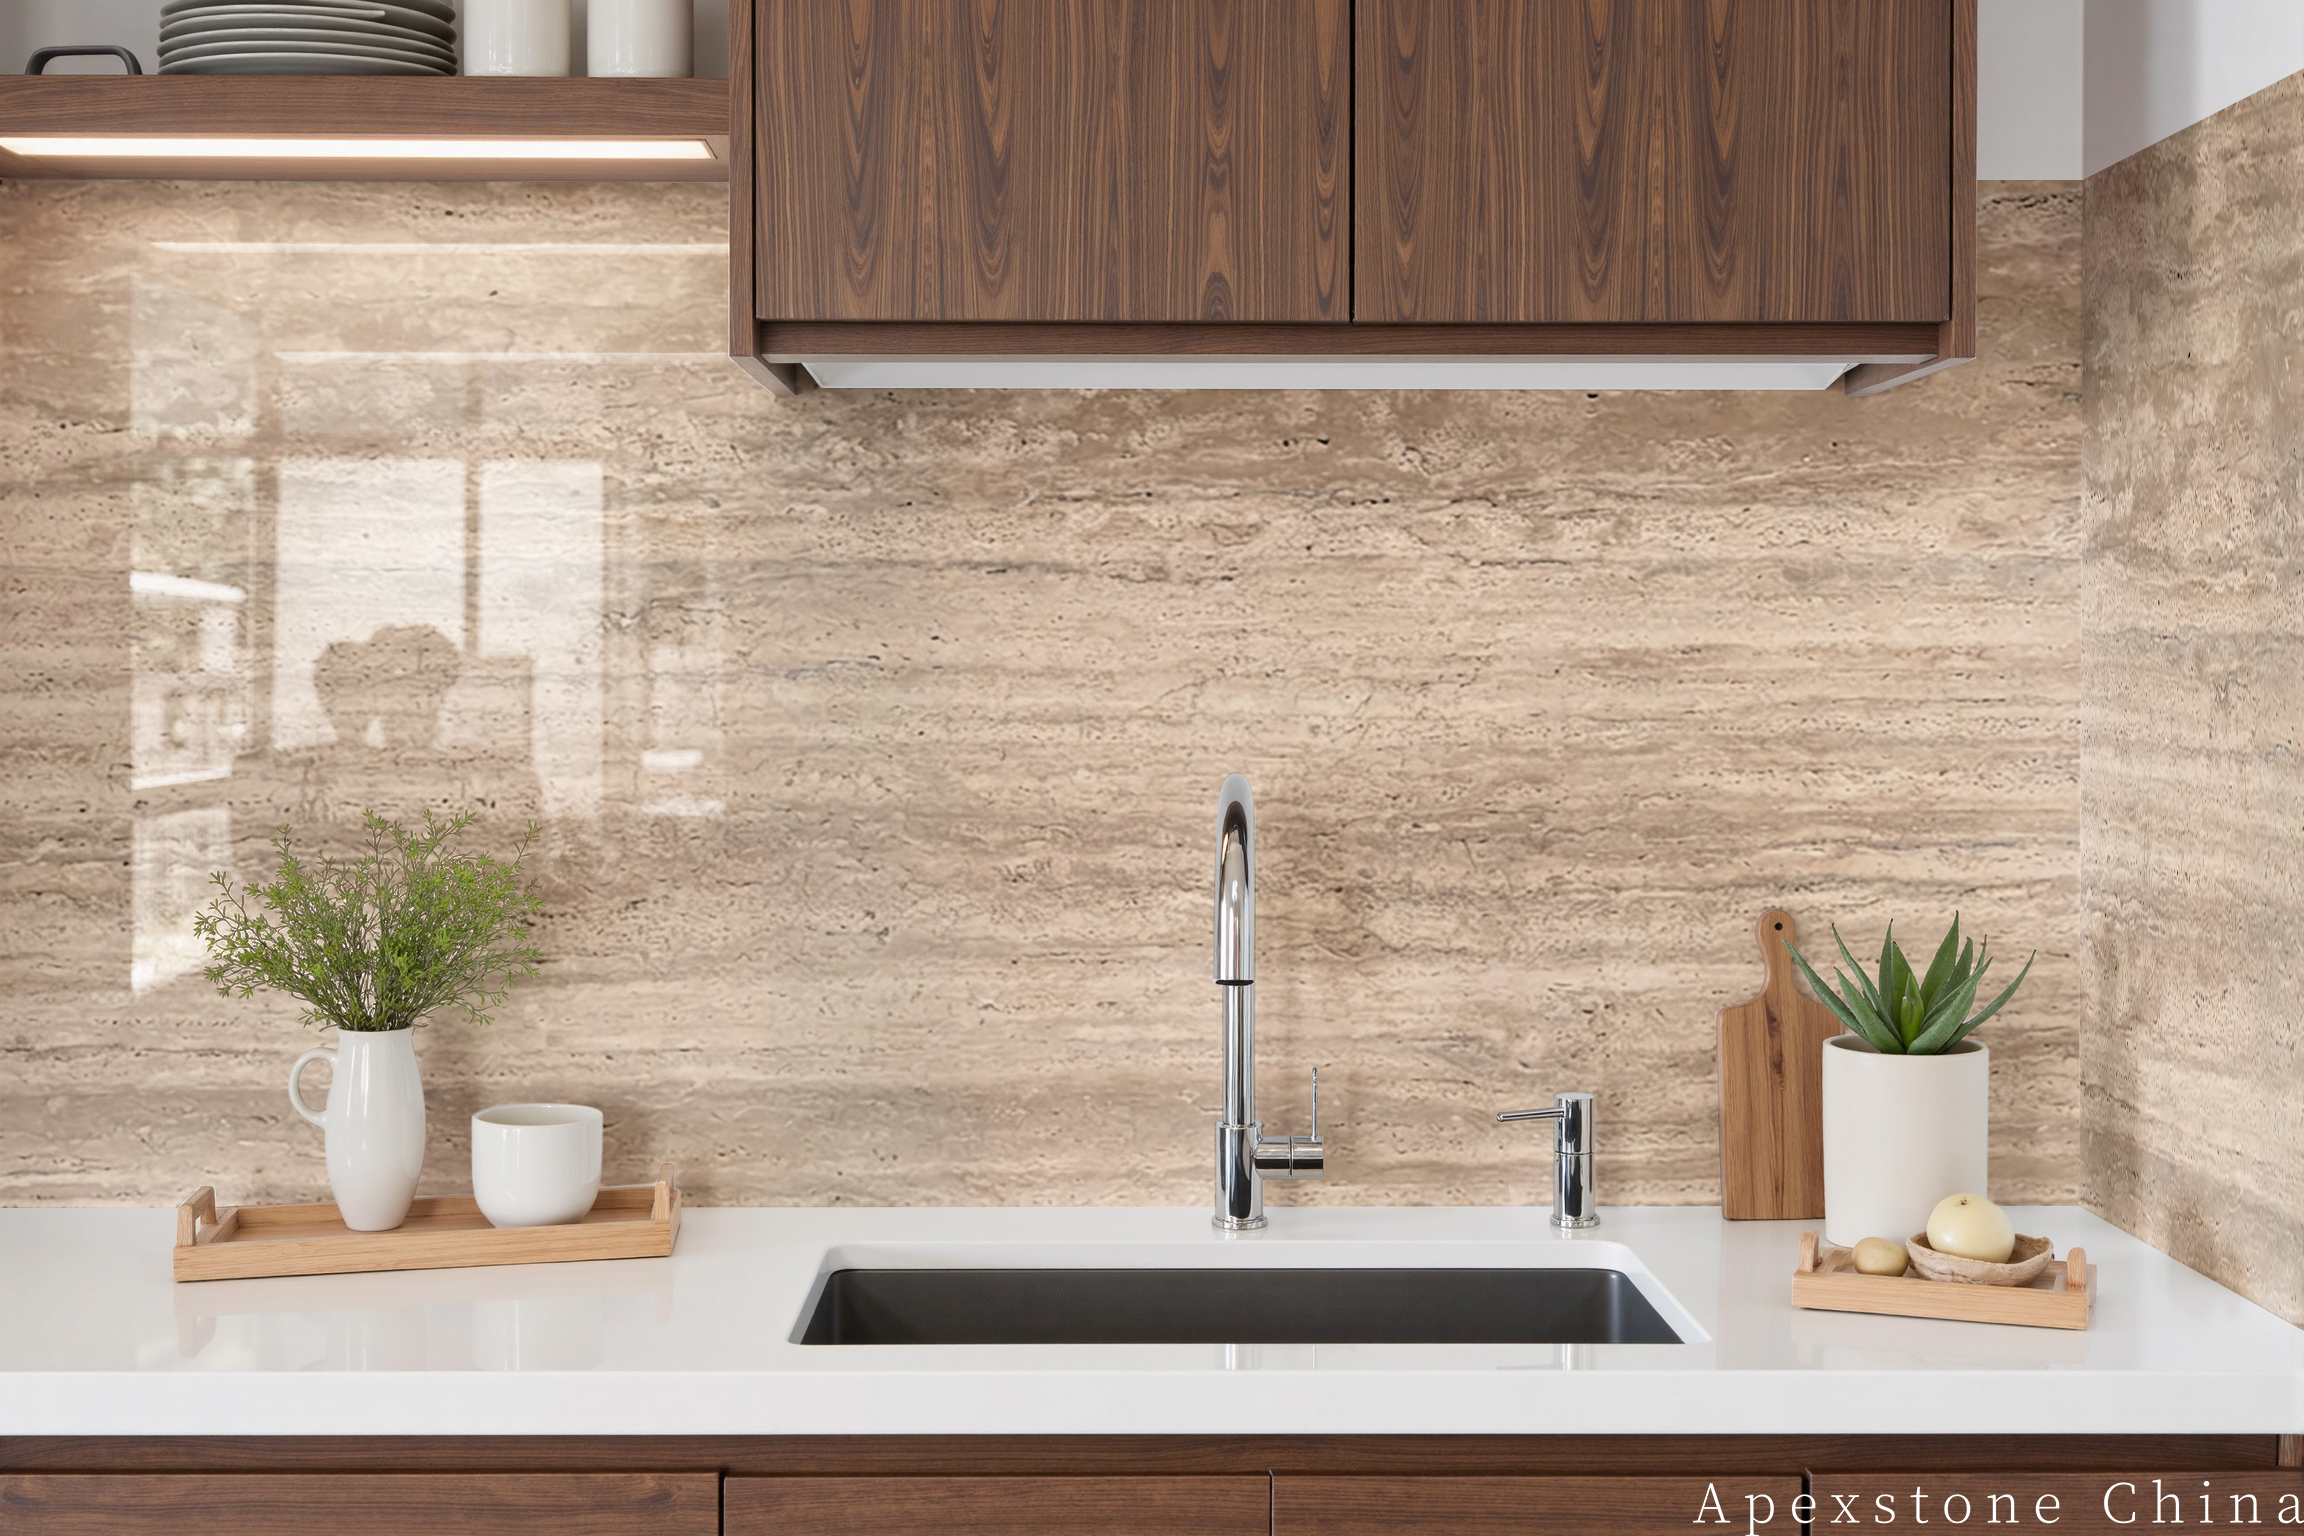
Dining Niche or Bar Backsplash
A smaller field of cross-cut or fine-vein panels introduces texture without overwhelming the room. Filled honed surfaces are easier to clean near food and beverage zones.
Specification Guide
Recommended starting specification
| Stone | Travertine Classico Roma / Travertine Romano |
| Origin | Italy, Lazio region near Rome |
| Visual Character | Warm beige ground with linear bedding and natural pores |
| Cut Direction | Vein-cut for directional bands; cross-cut for cloud-like movement |
| Interior Thickness | 10 mm lightweight panels or 18-20 mm standard panels, subject to fixing design |
| Panel Format | Up to approximately 1800 × 900 mm; custom cut-to-size |
| Preferred Finish | Filled honed for refined interiors; unfilled brushed for tactile feature zones |
| Edges | Straight-cut, fine bevel or chamfered shadow-line |
| Lighting | Wall washing, grazing light or concealed cove light; not through-stone backlighting |
| Sealing | Penetrating sealer after dry fitting and again after installation as specified |
| MOQ | From 30 m² for coordinated feature-wall production |
| Typical Lead Time | 25-35 days after drawings and slab layout are approved |
Project Workflow
A five-step wall planning sequence
The strongest result comes from locking the stone layout before other wall-mounted elements are installed. This workflow keeps design intent, fabrication tolerances and site coordination connected.
- ✓
Survey the finished wall
Confirm substrate, finished dimensions, corners, openings, movement joints and all service penetrations.
- ✓
Approve slab range
Review representative dry slabs for colour, pore density, cut direction and acceptable filler tone.
- ✓
Build the digital elevation
Number every panel and align joints to architectural datums, furniture and equipment.
- ✓
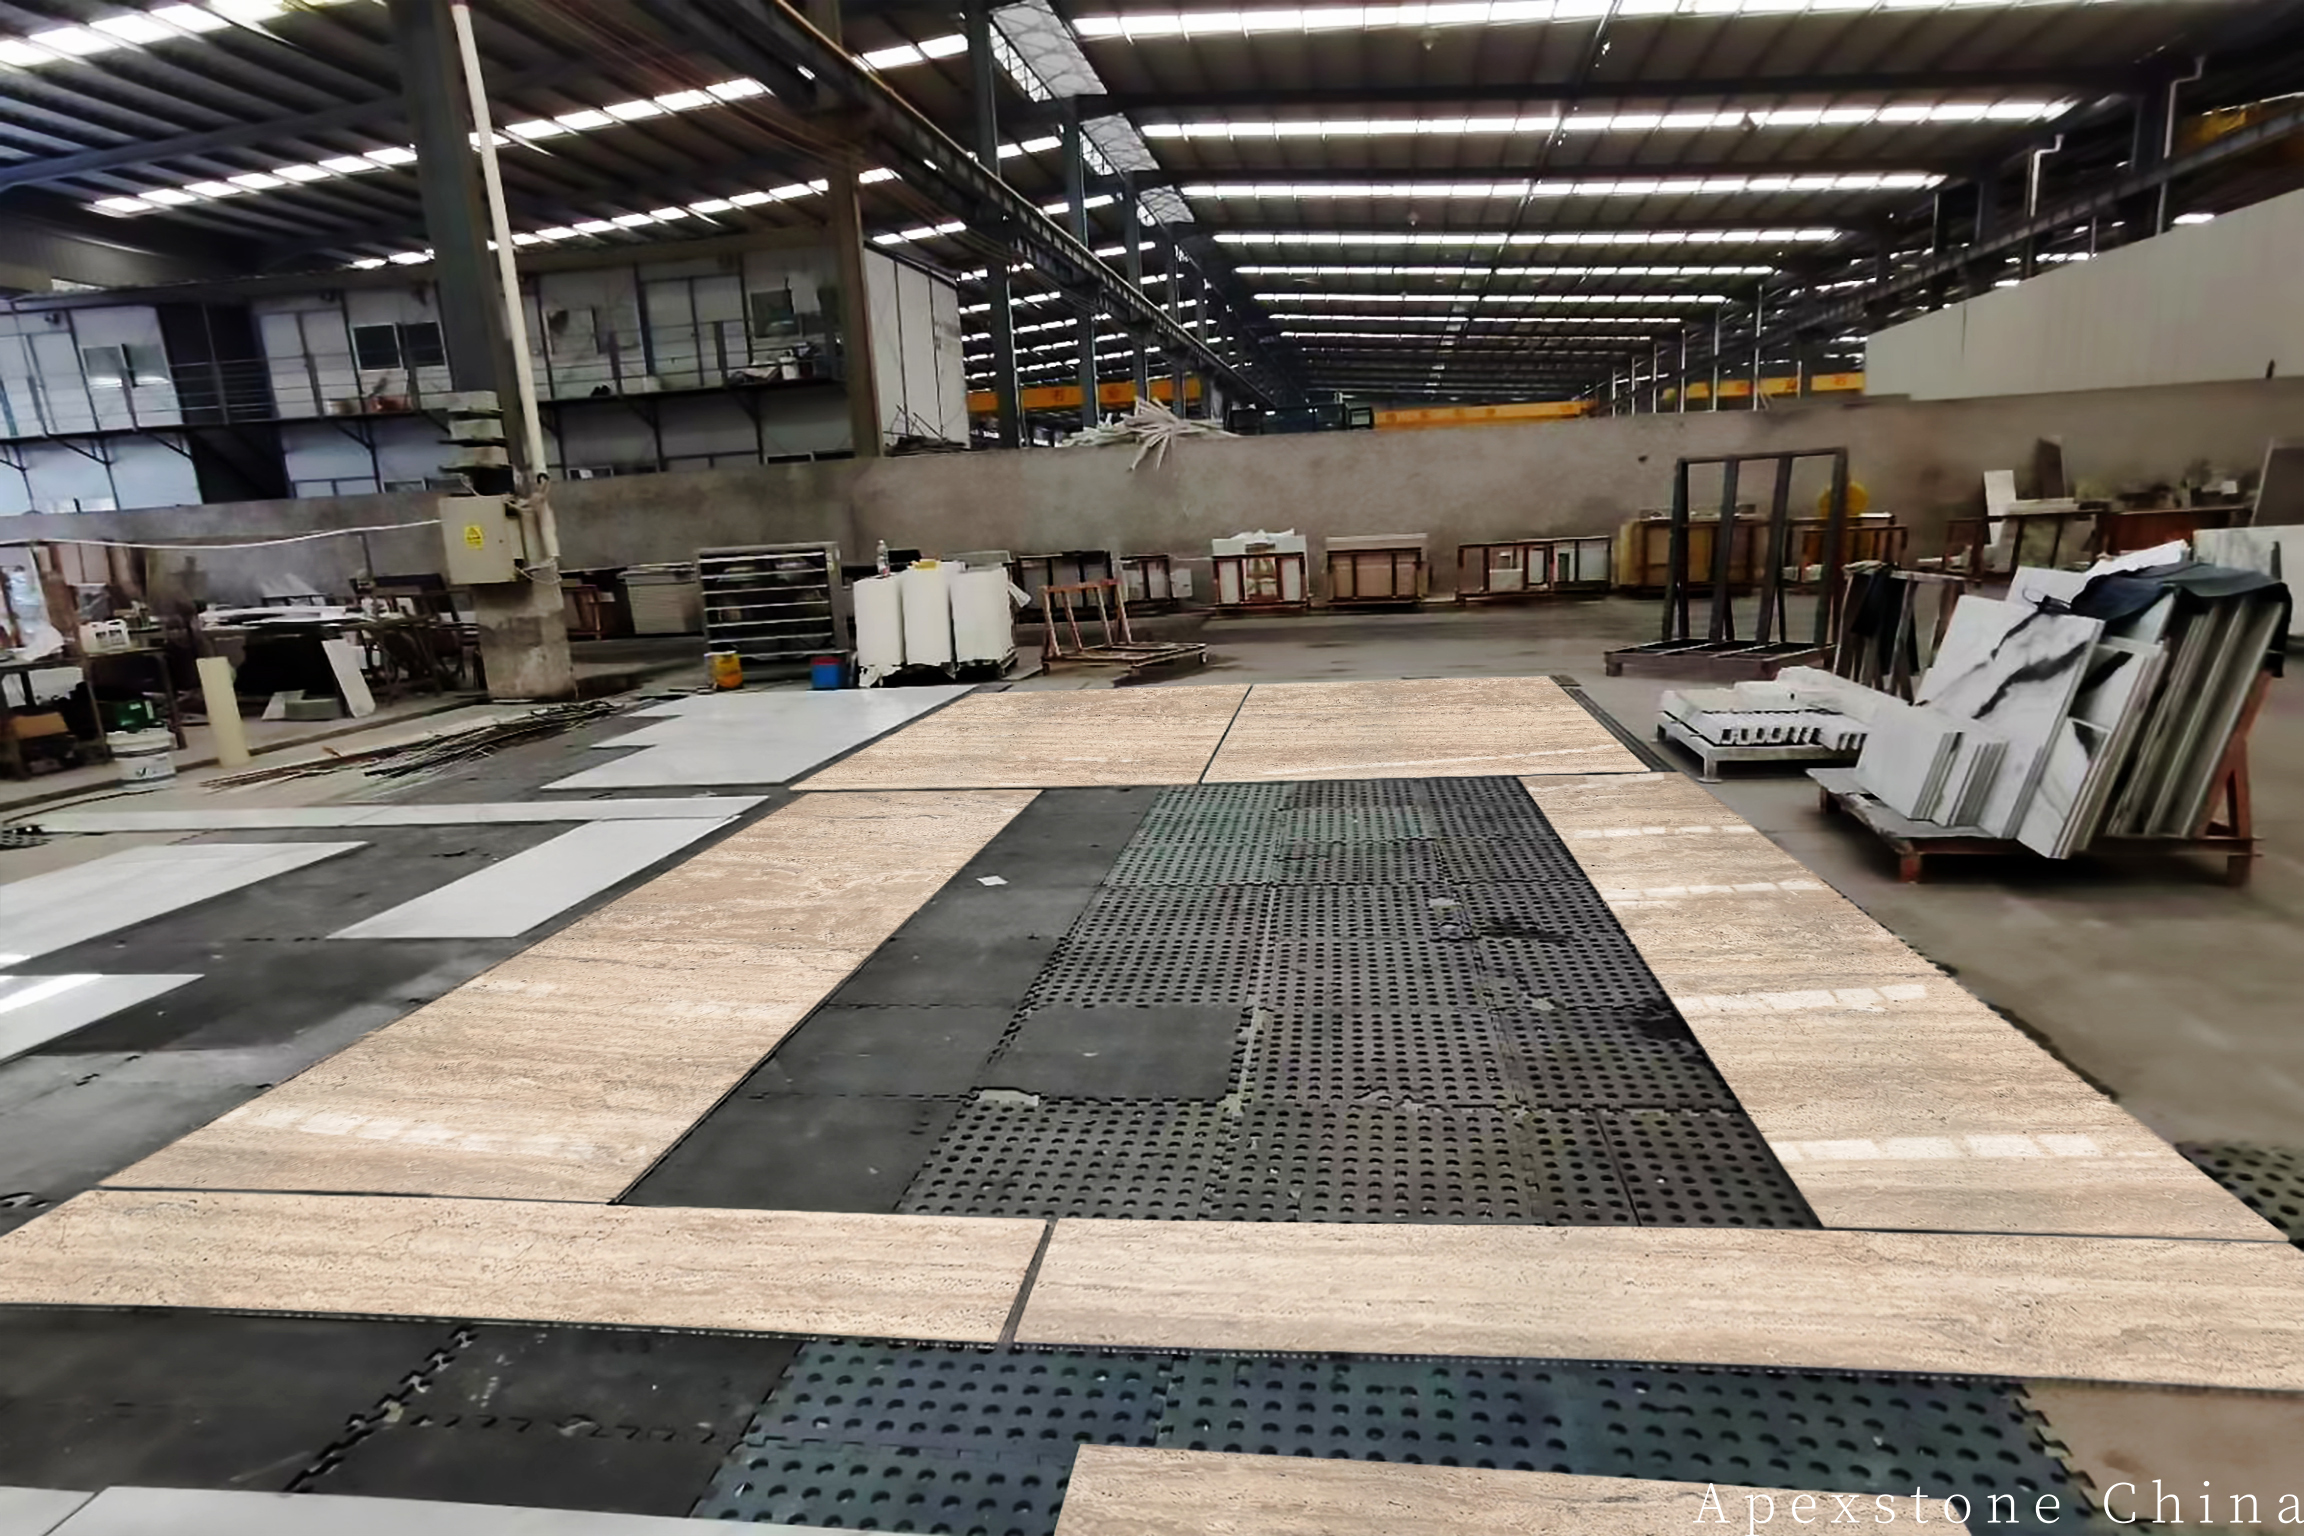
Fabricate and dry lay
CNC-cut panels, finish edges, dry lay the sequence and photograph the approved arrangement.
- ✓
Install, light and seal
Install in numbered order, tune the grazing-light angle, complete final cleaning and apply the specified sealer.
Plan the Elevation
Send the wall drawing before selecting panel sizes
Share the finished wall dimensions, lighting concept and reference images. Apexstone can prepare a slab allocation and numbered panel proposal for review.