Kitchen Material Planning
Pandora Quartzite Kitchen: Design the Bloom, Then the Room
A residential planning guide for Pandora quartzite kitchens - where the large brown floral movement should sit, which formats keep the room calm, and how polished, honed and leathered finishes change the mood.
One flower, one stage
Give the movement a beginning and an end
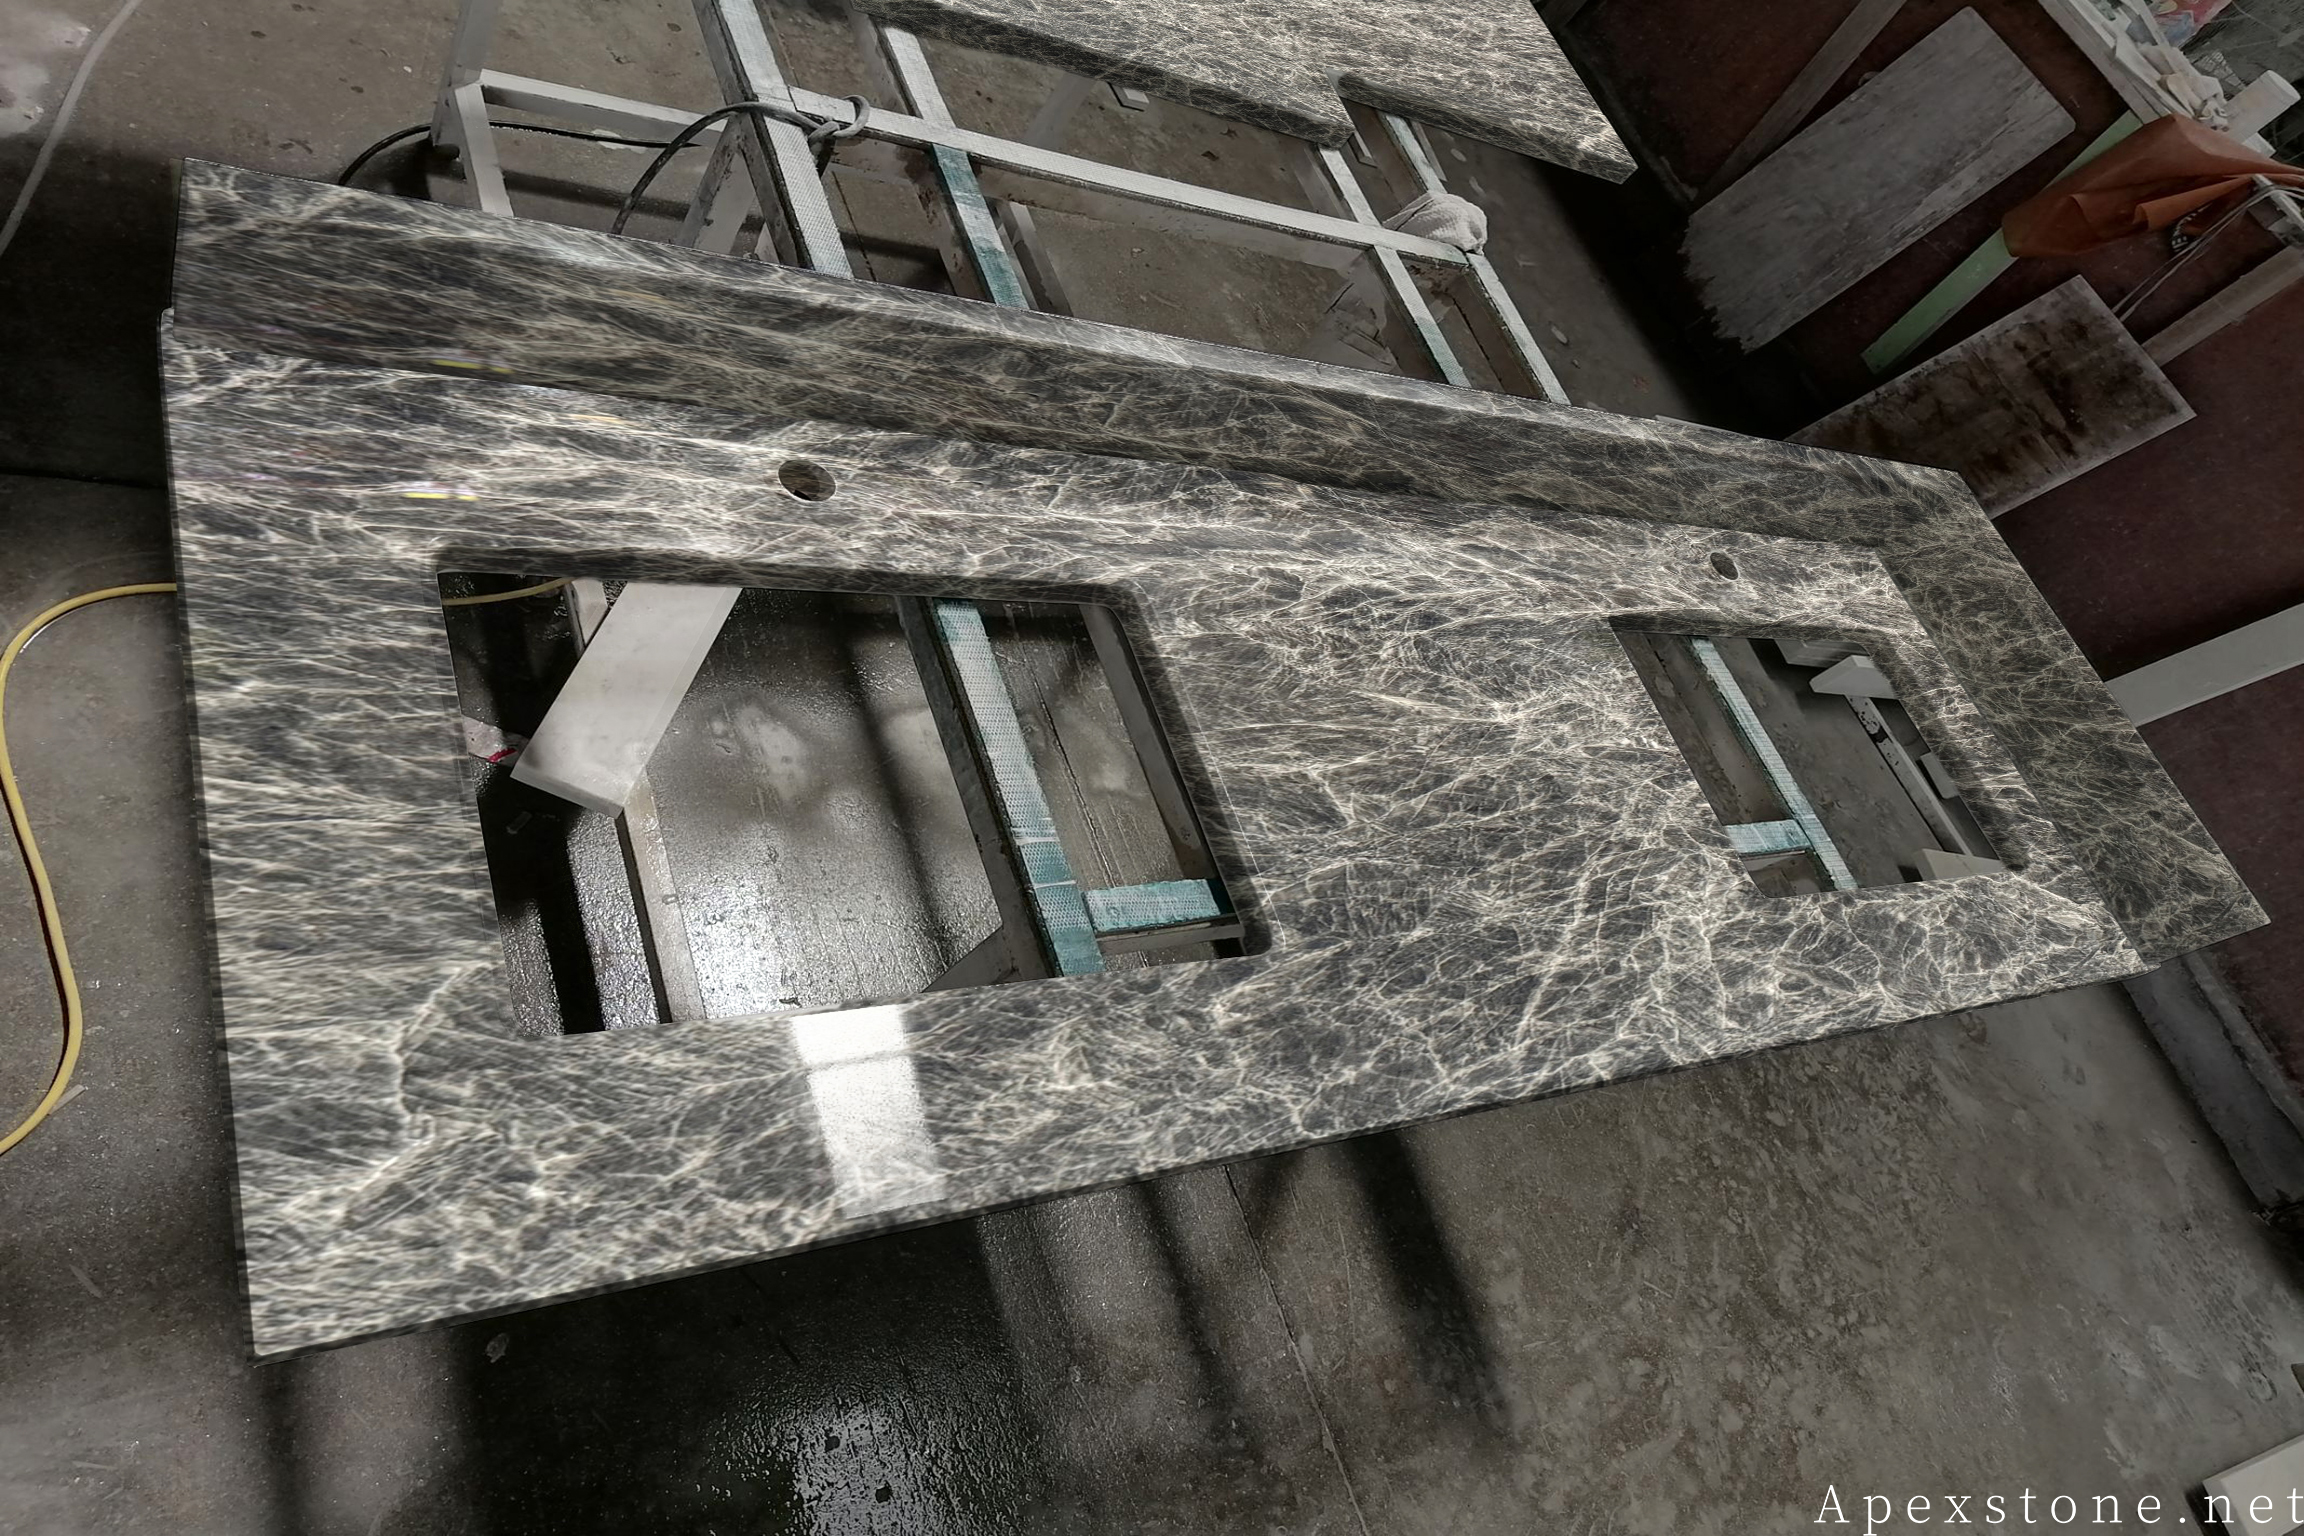
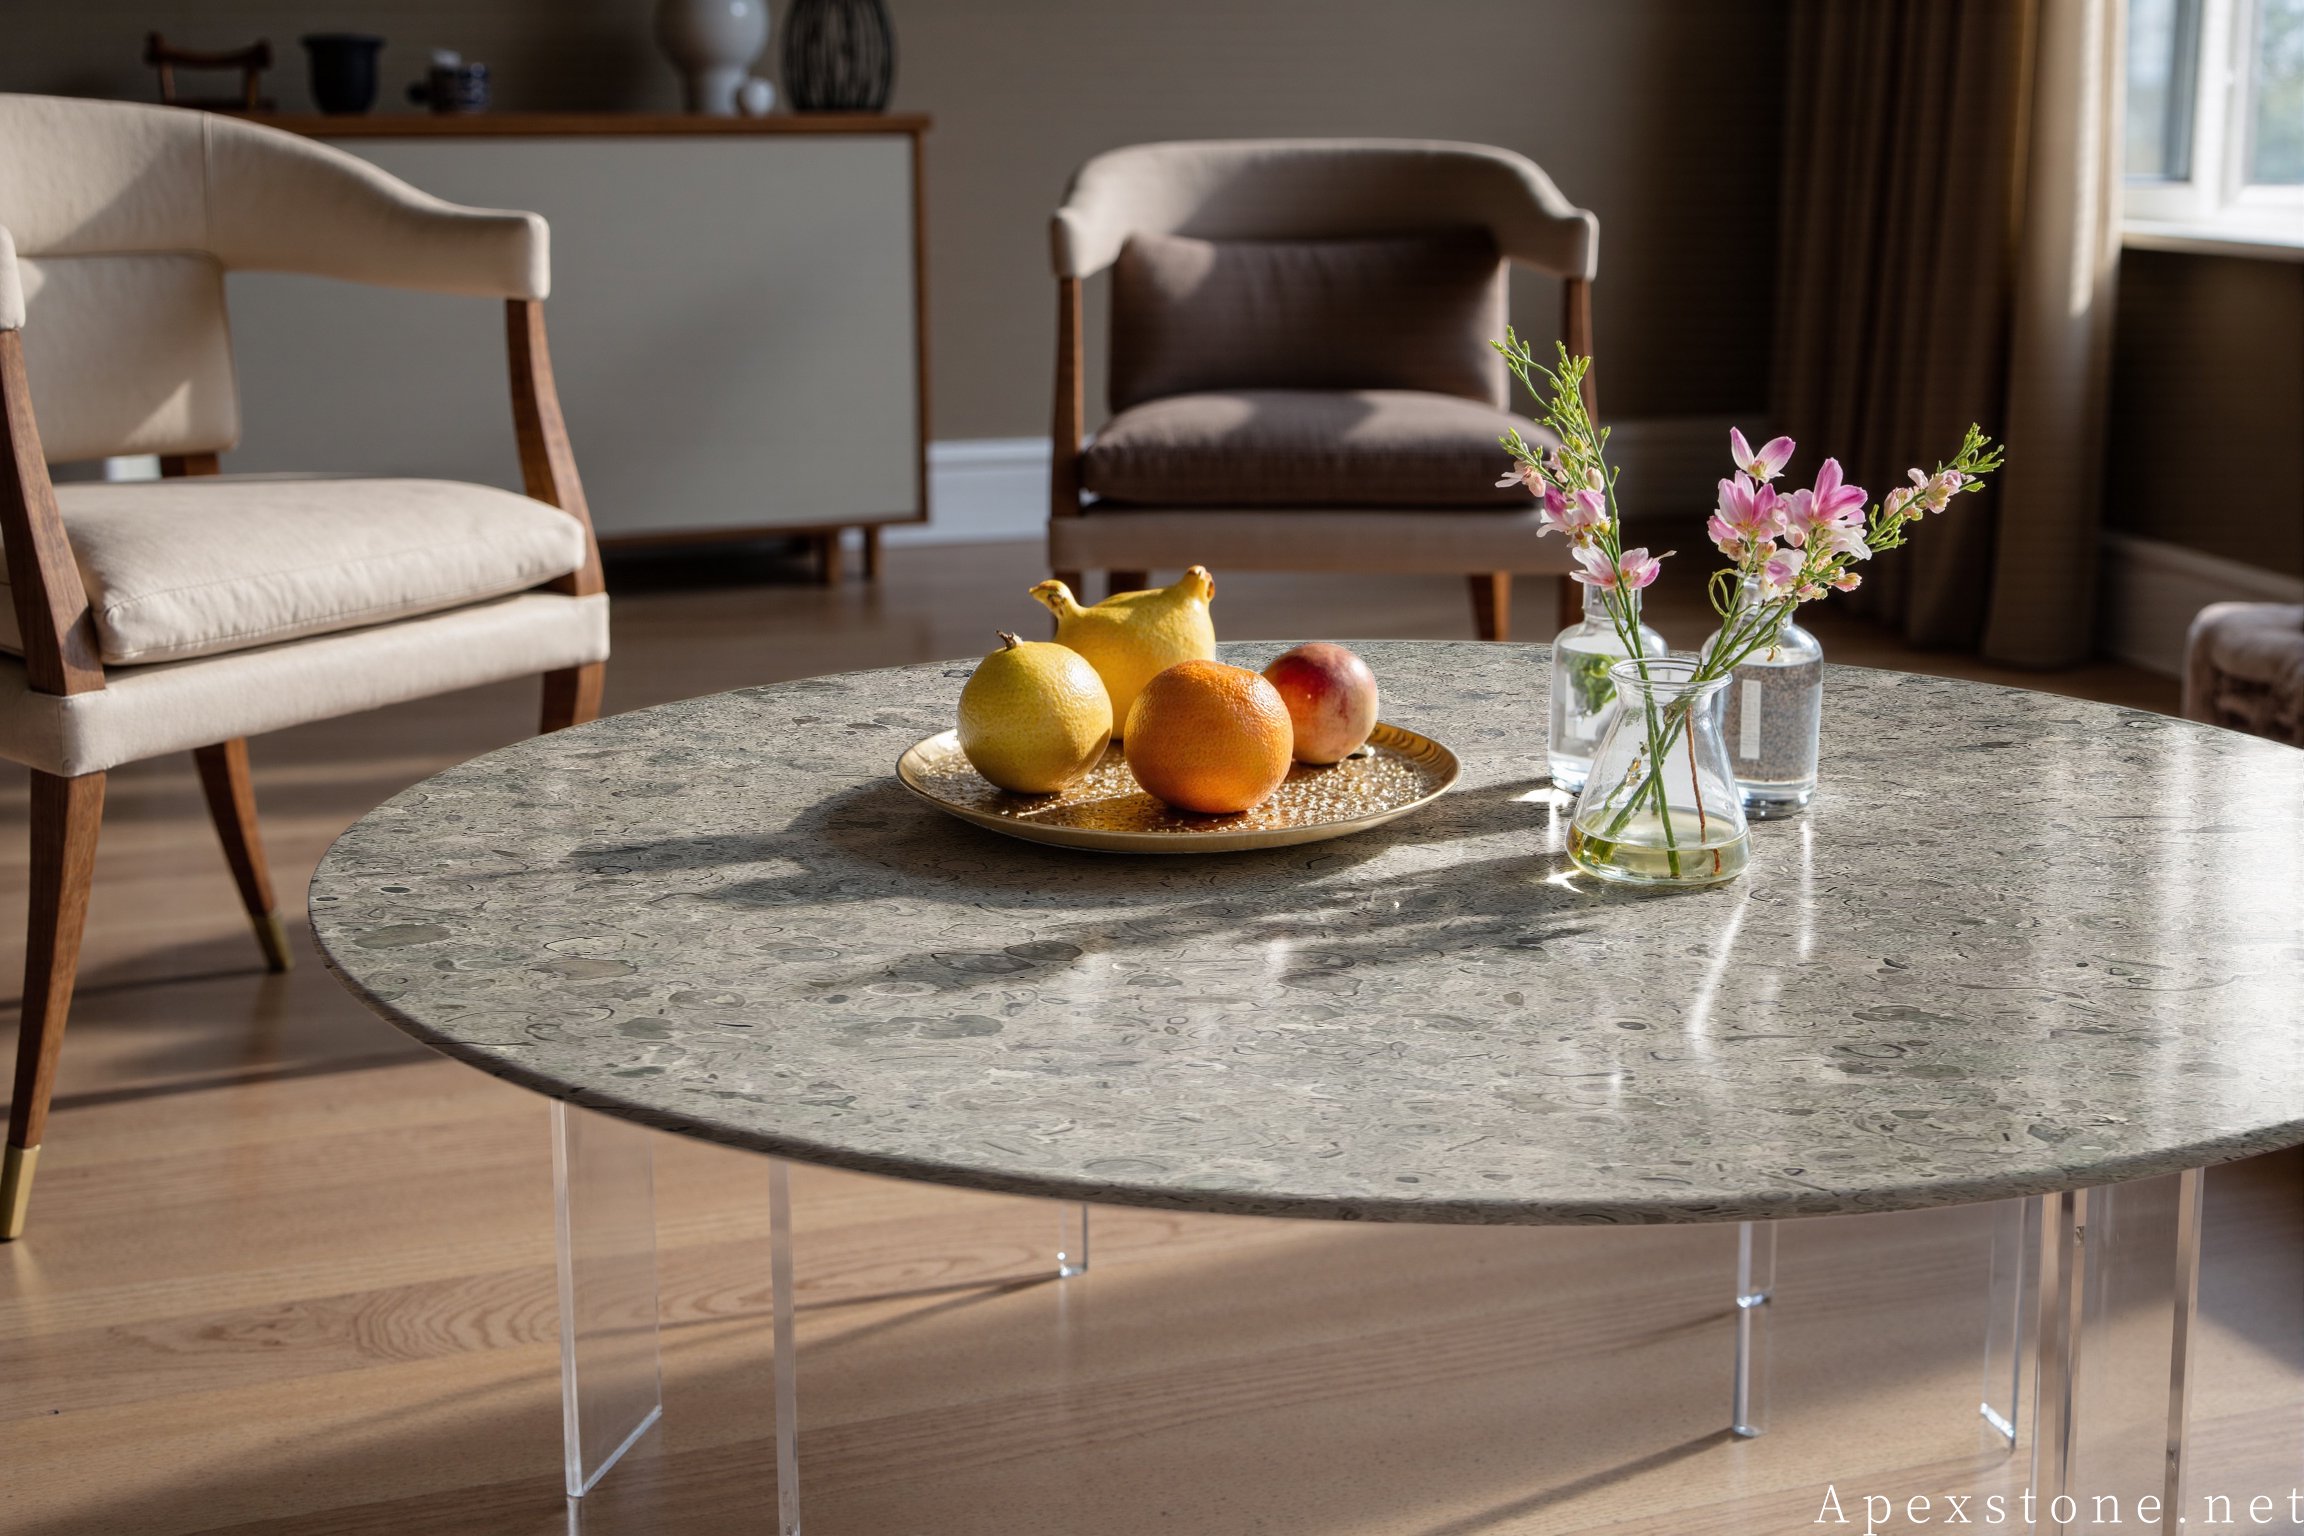
Pandora is a natural quartzite from Brazil with a warm cream ground and large brown floral movement - a pattern that behaves less like veining and more like blooms scattered across the slab. In a kitchen that scale is a gift and a risk at once: concentrated on one surface, it becomes the reason the room is remembered; scattered across island, perimeter, splash and floor at once, it turns into noise. The planning rule is the same one that governs any dramatic stone - decide which surface leads, and make the others quieter by format, finish or placement.
Work from industry-standard formats rather than converted numbers. Islands run 96 in or 72 in long by 36 in or 48 in deep; perimeter base runs sit at 25.5 in depth; splash tiles come in 12 x 24 in (300 x 600 mm) with 600 x 600 mm floor modules as the metric counterpart. Thickness is 2 cm (3/4 in) or 3 cm (1-1/4 in), with mitred build-ups for deeper edges. These are planning references - the actual room, the fittings and the selected slab batch govern the final fabrication drawing.
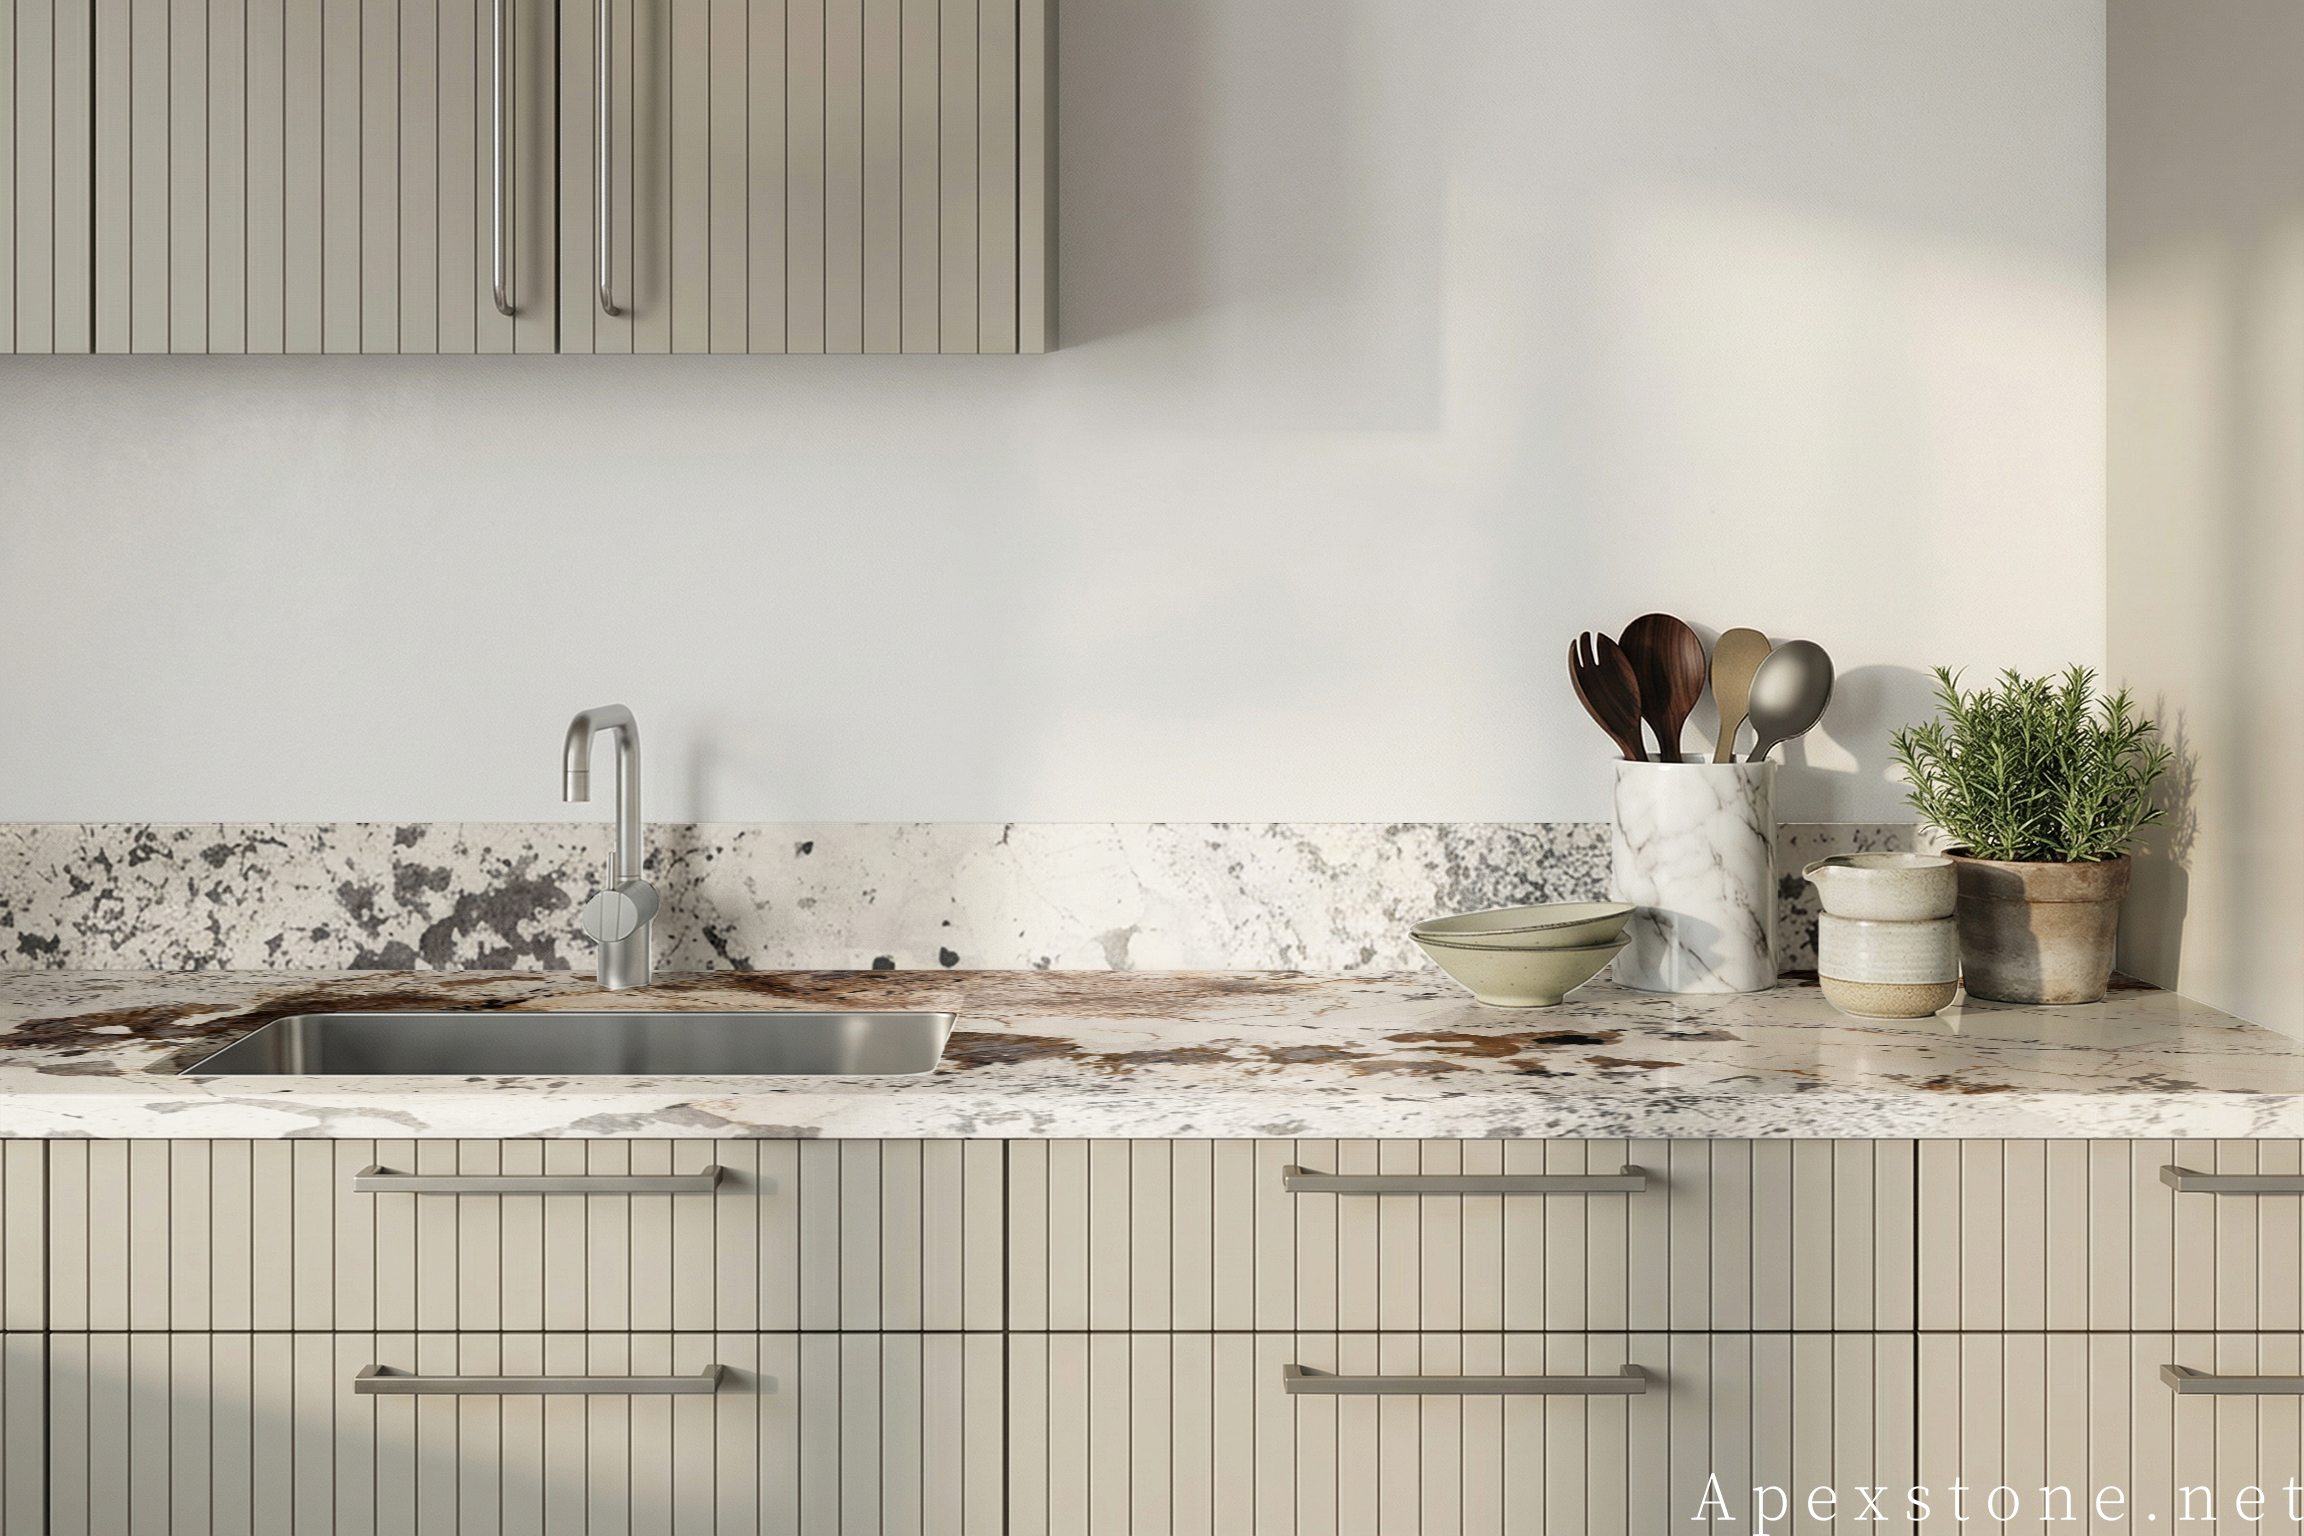
Mapped Kitchen Views
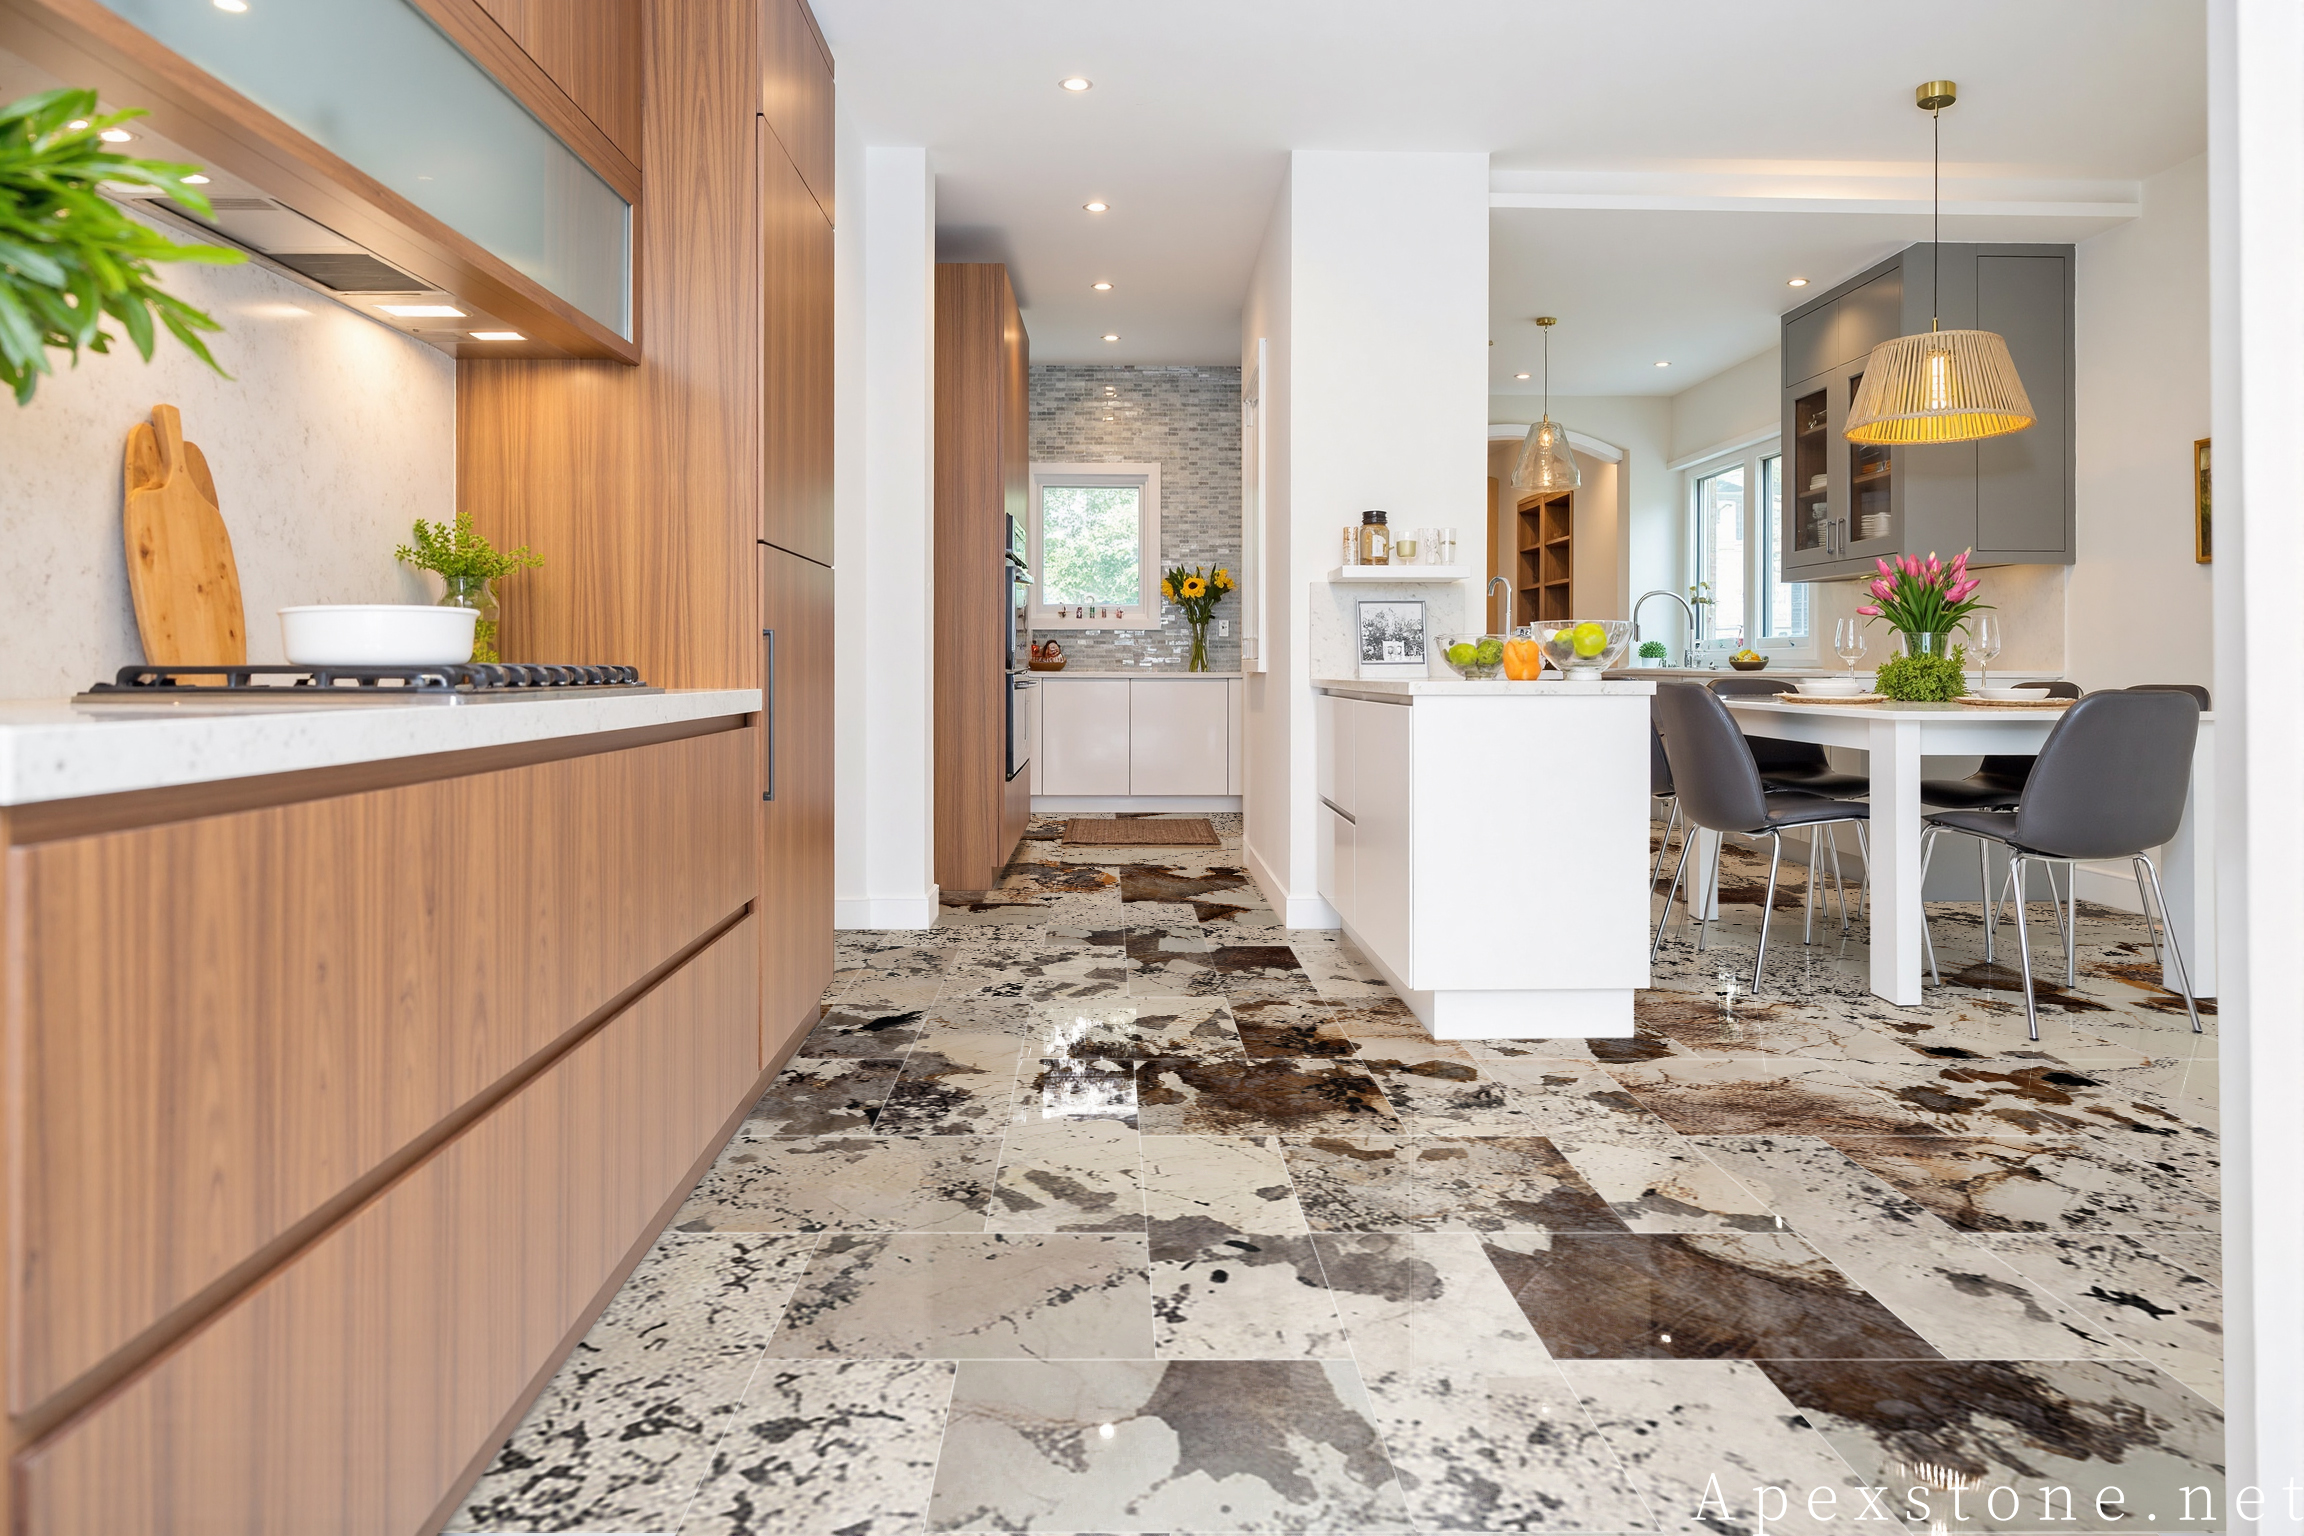
Four surfaces, one stone, four registers
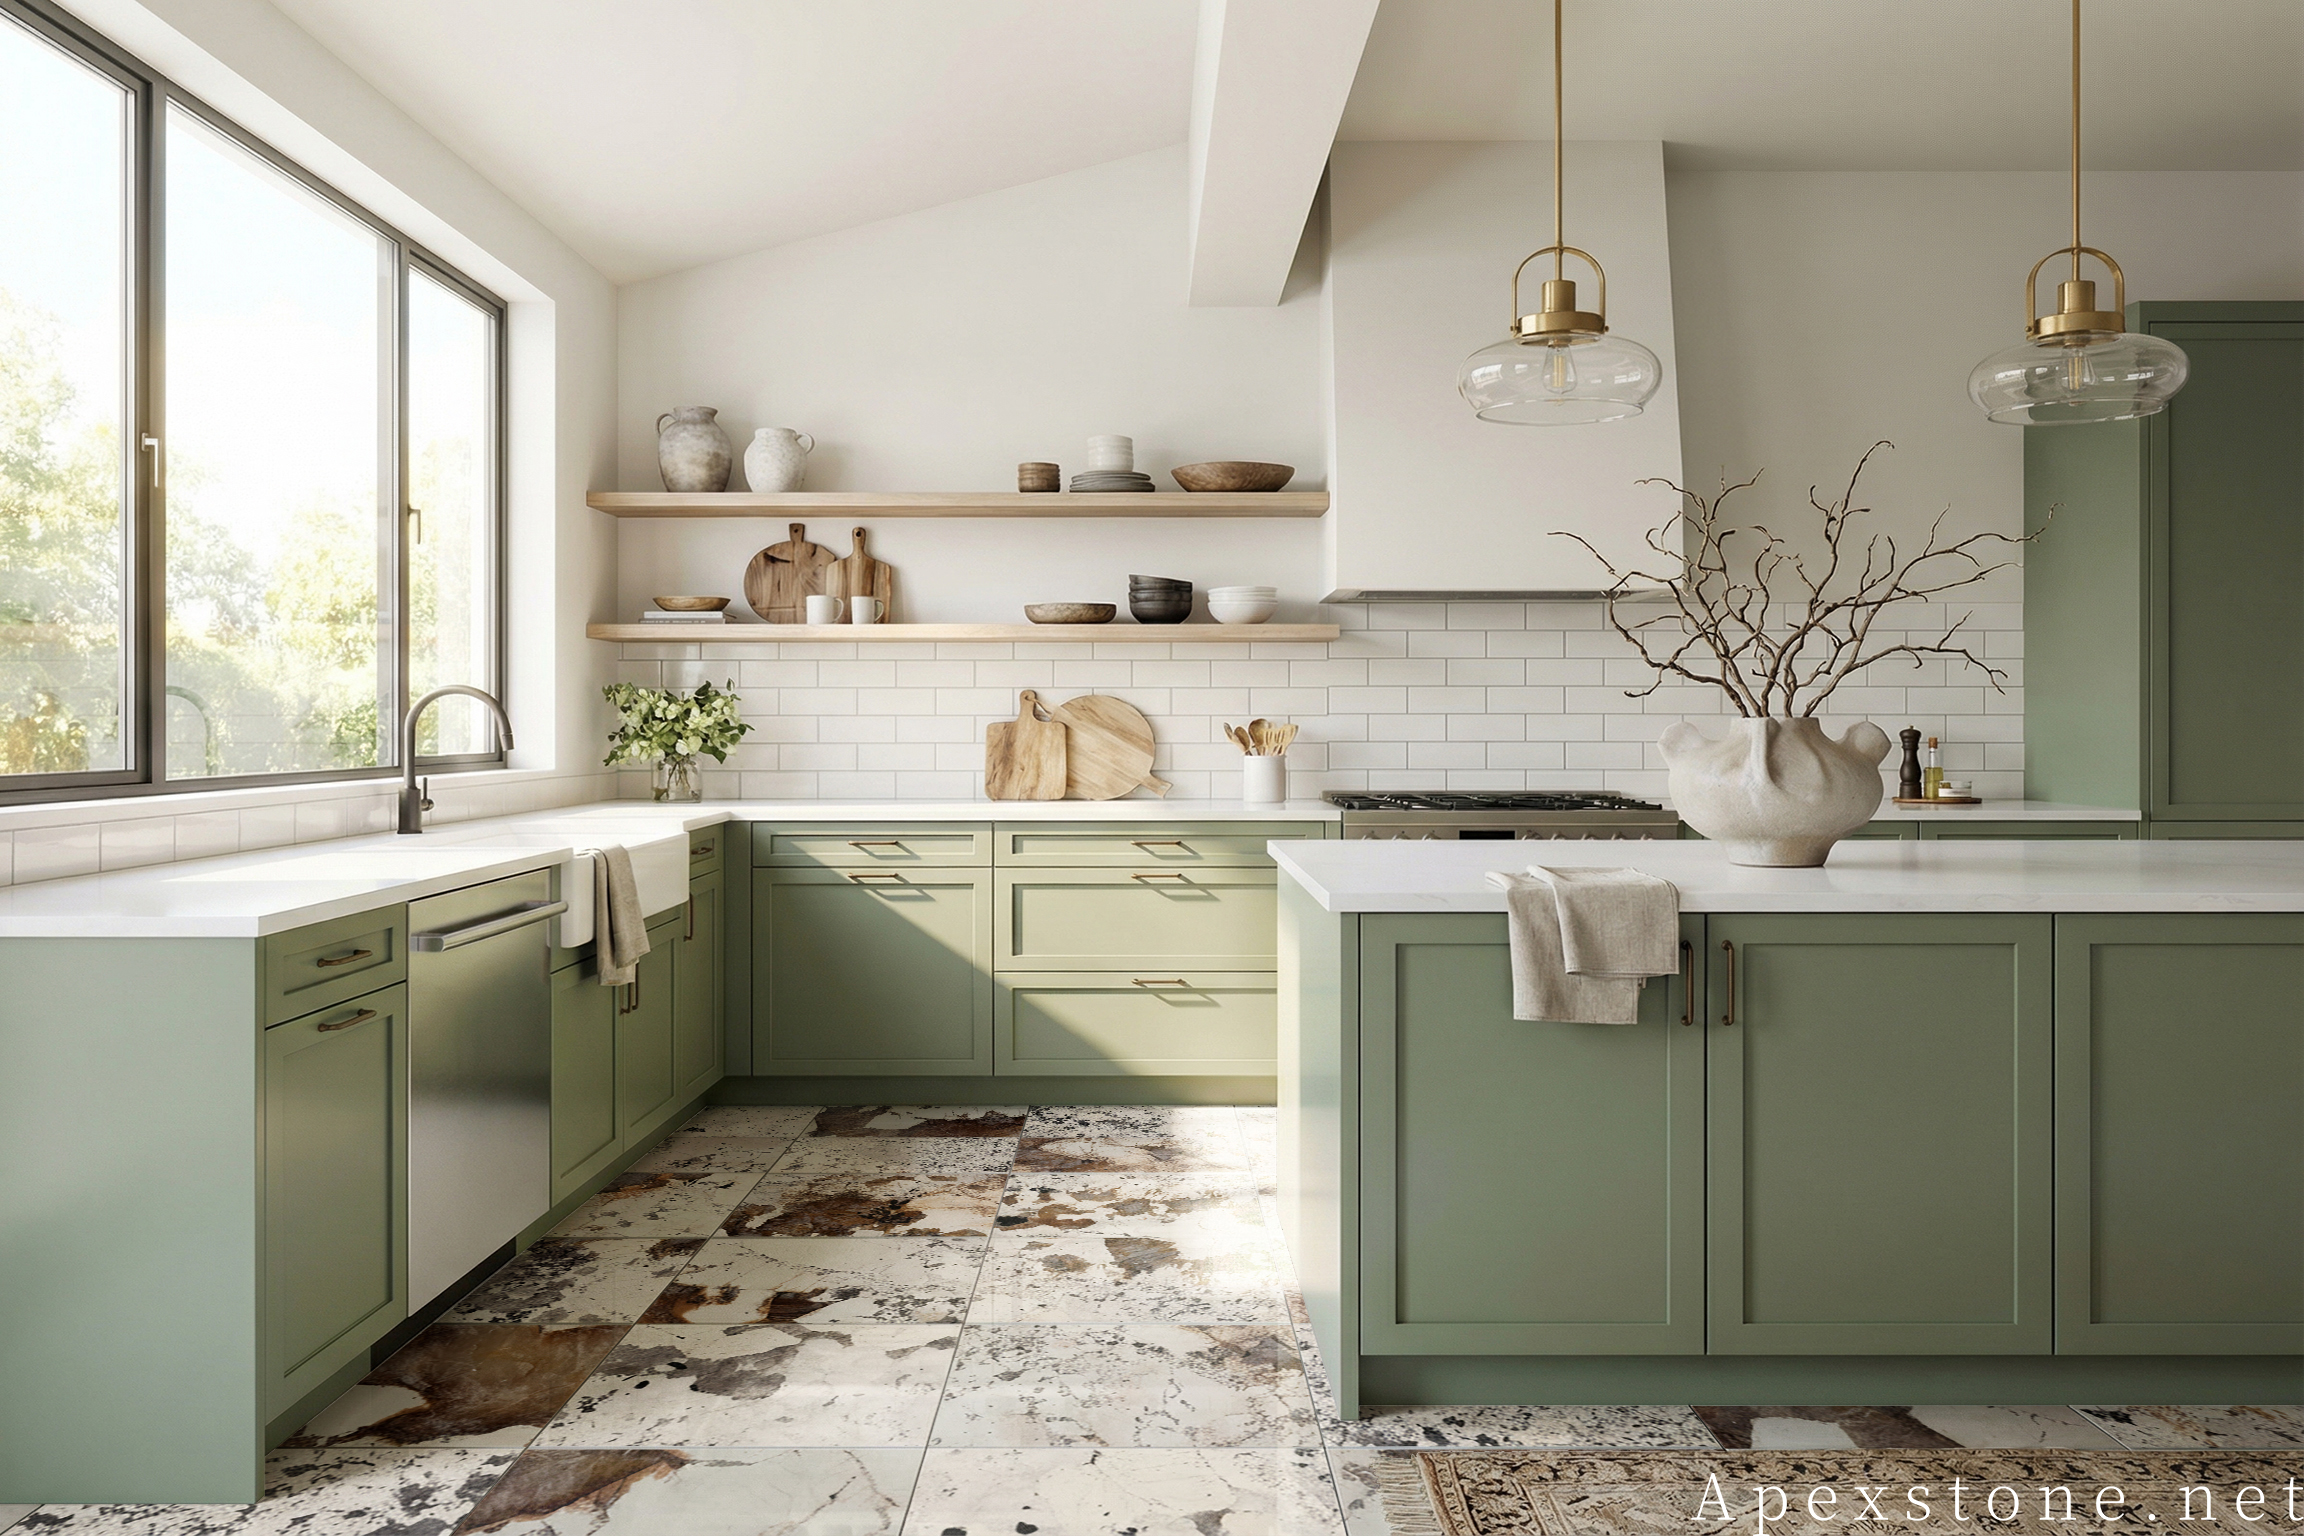
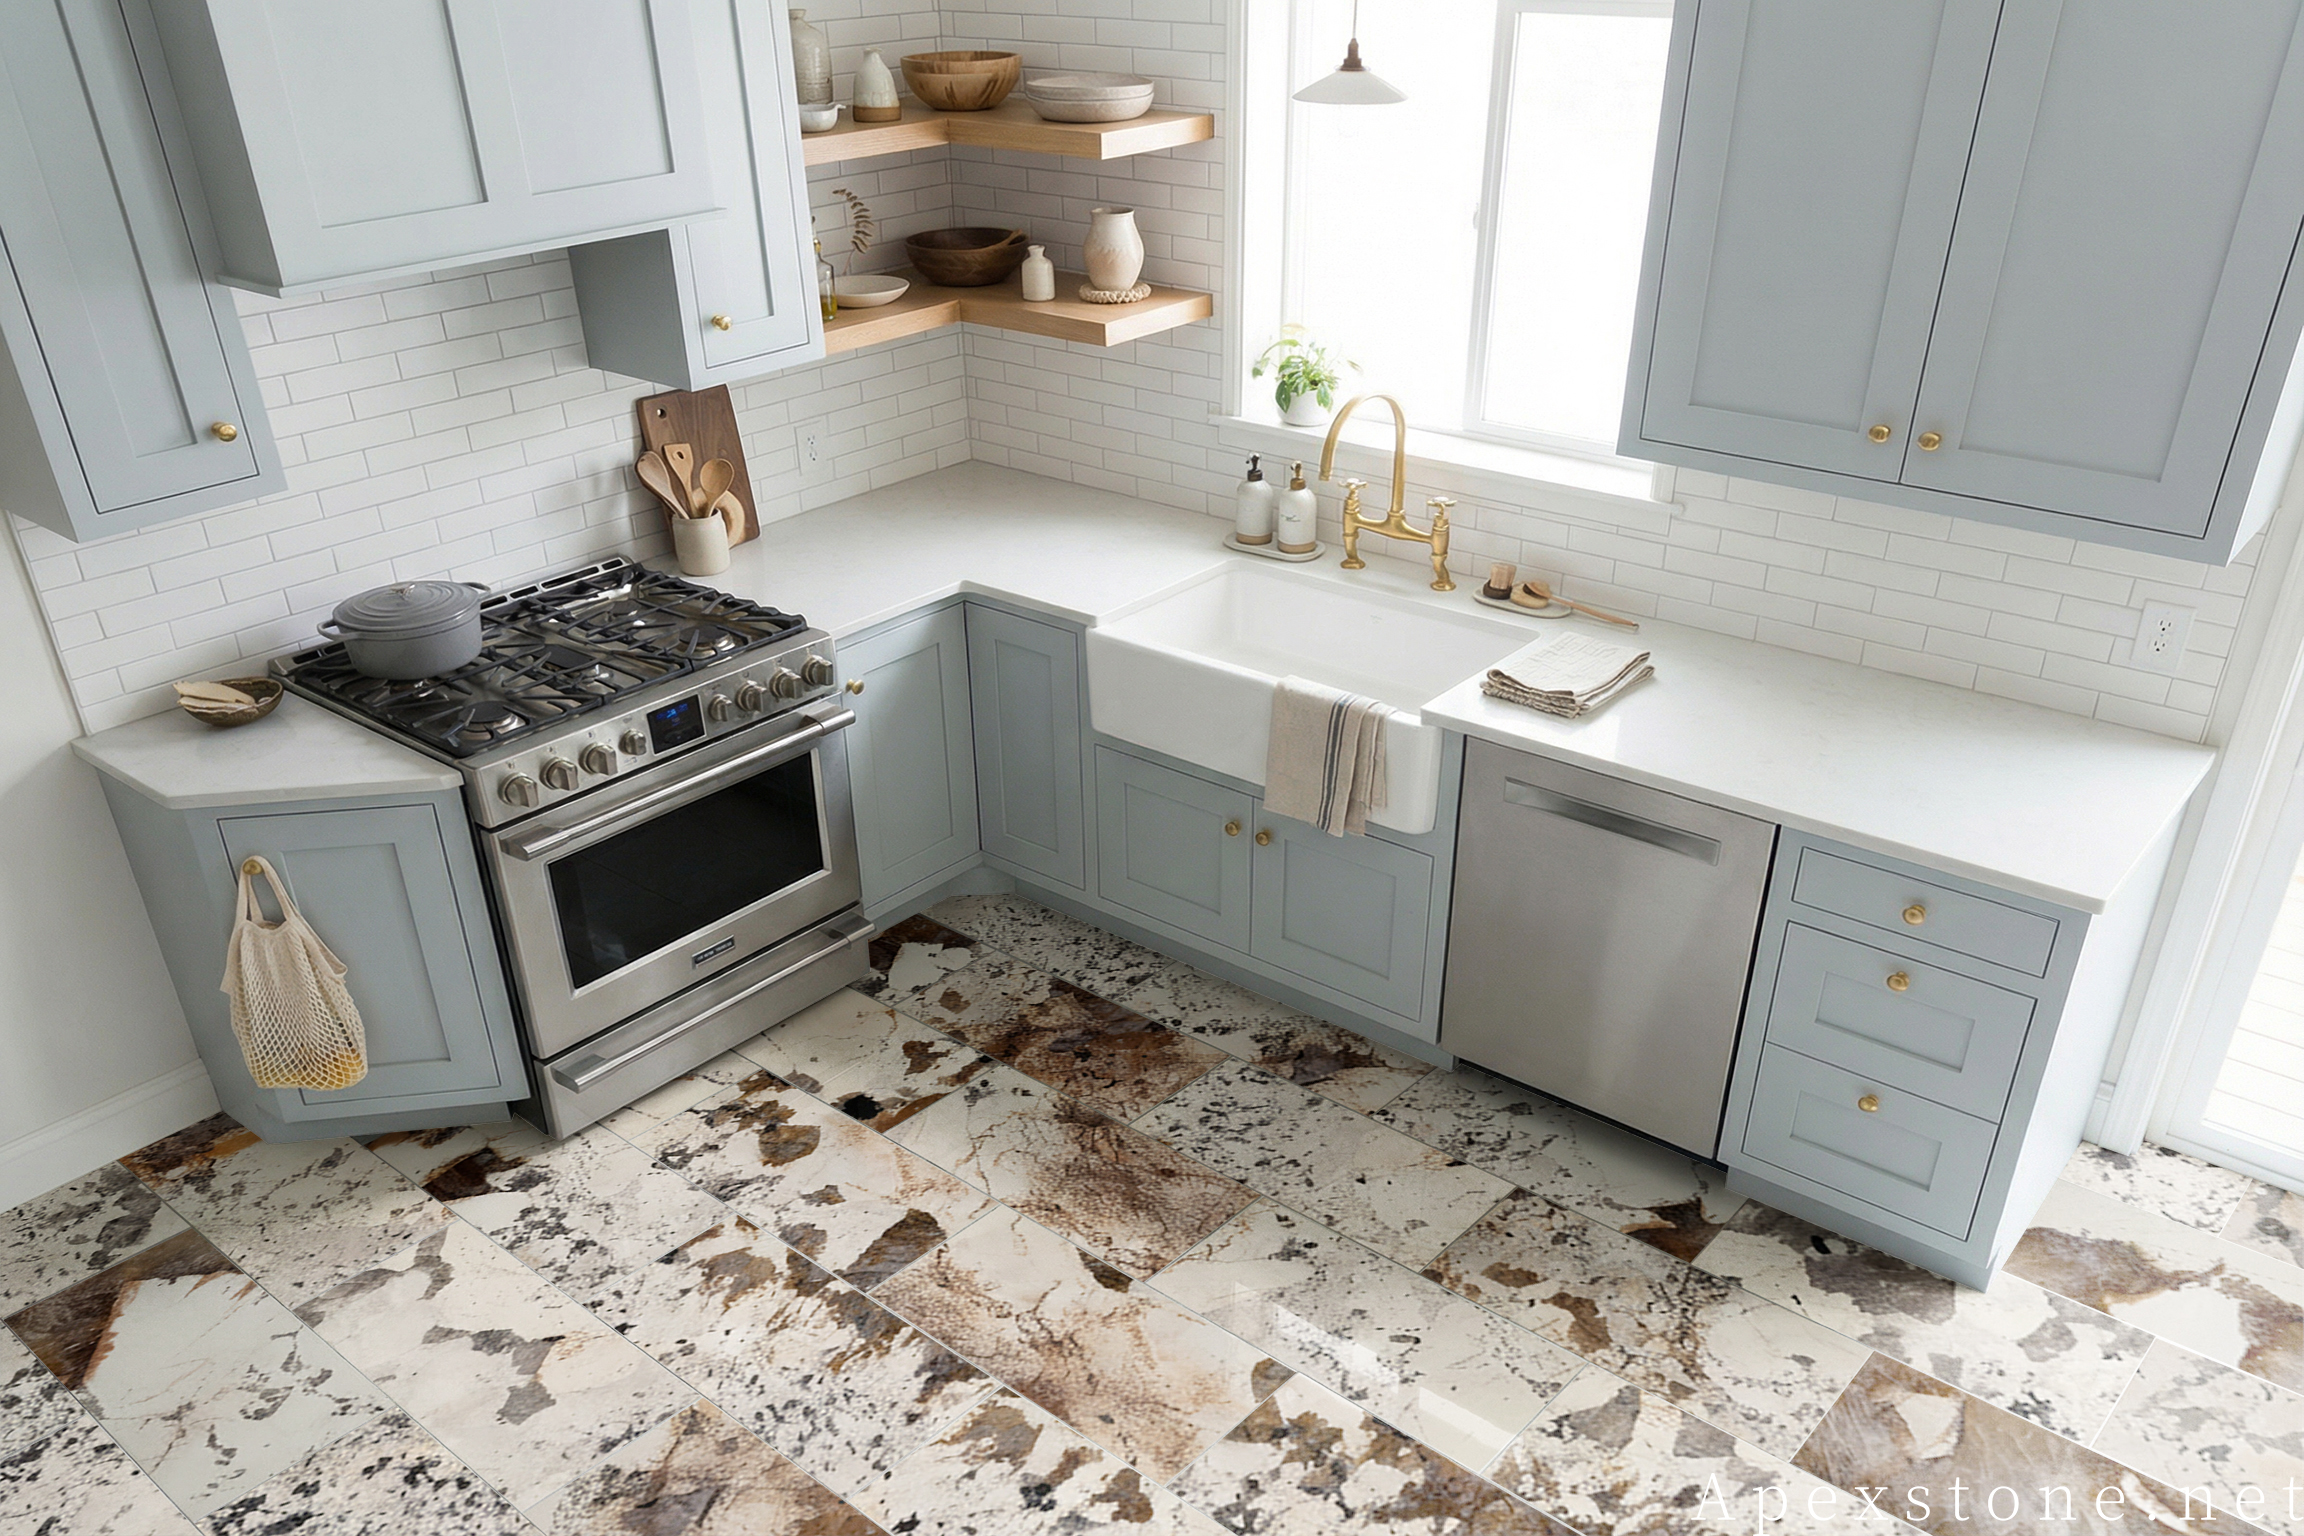
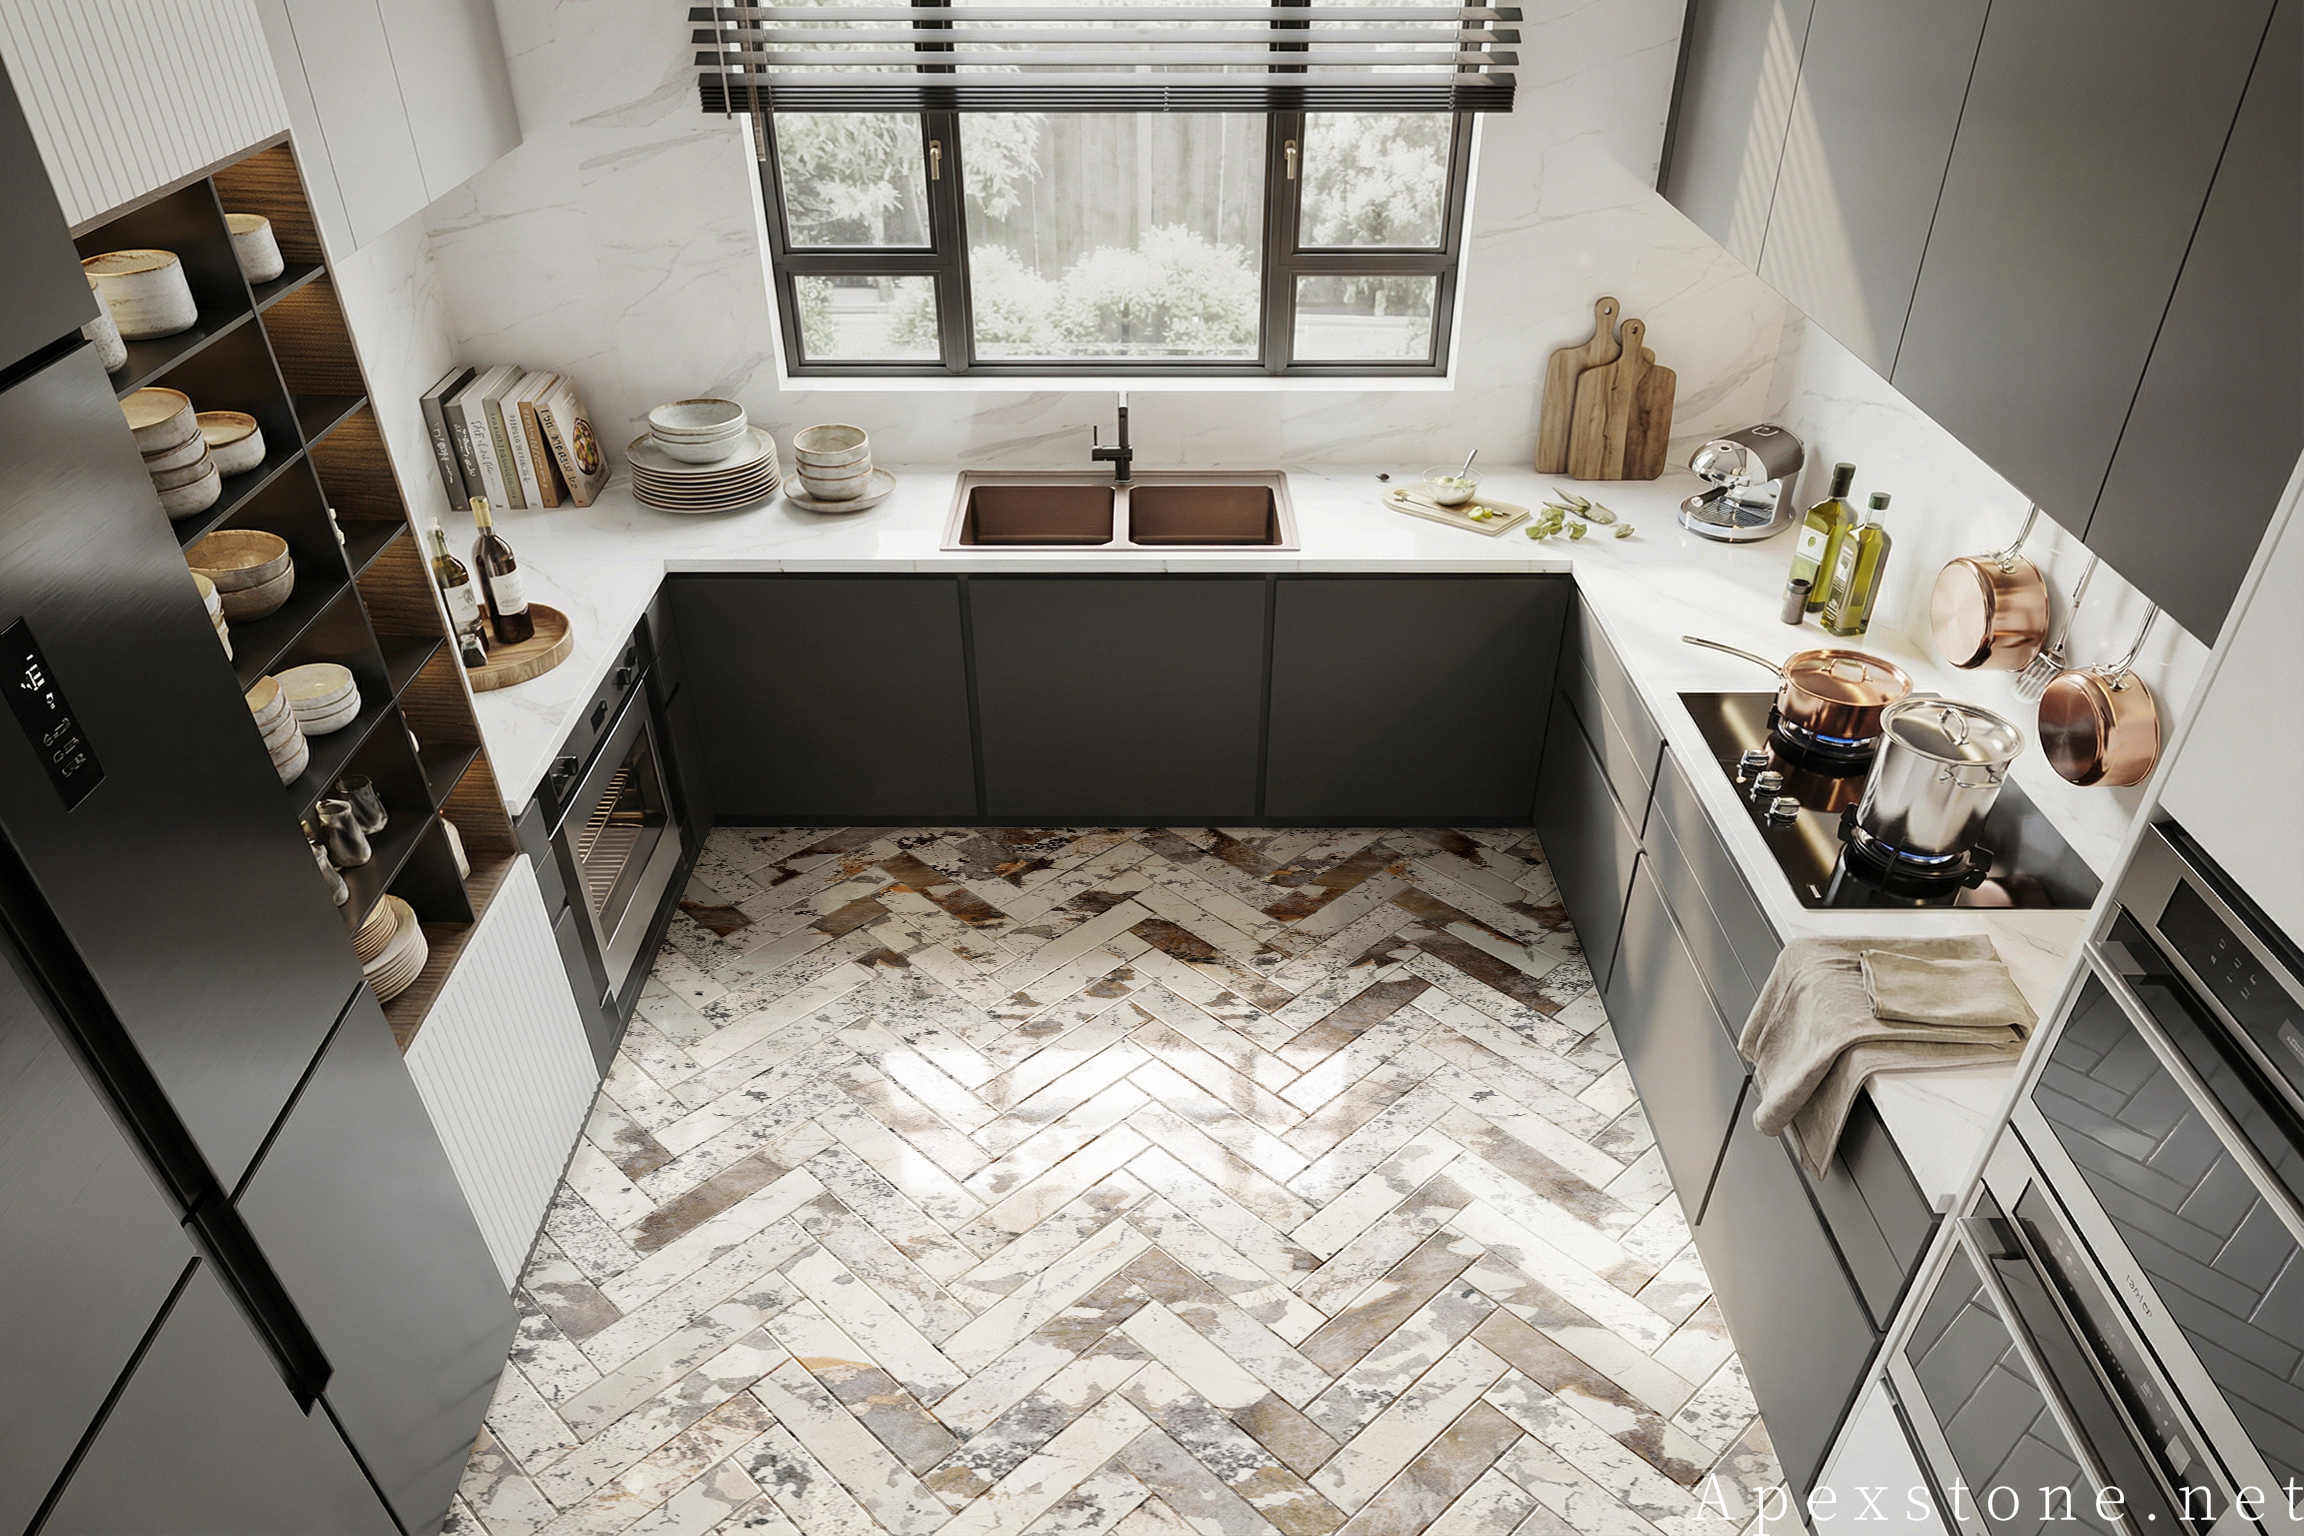
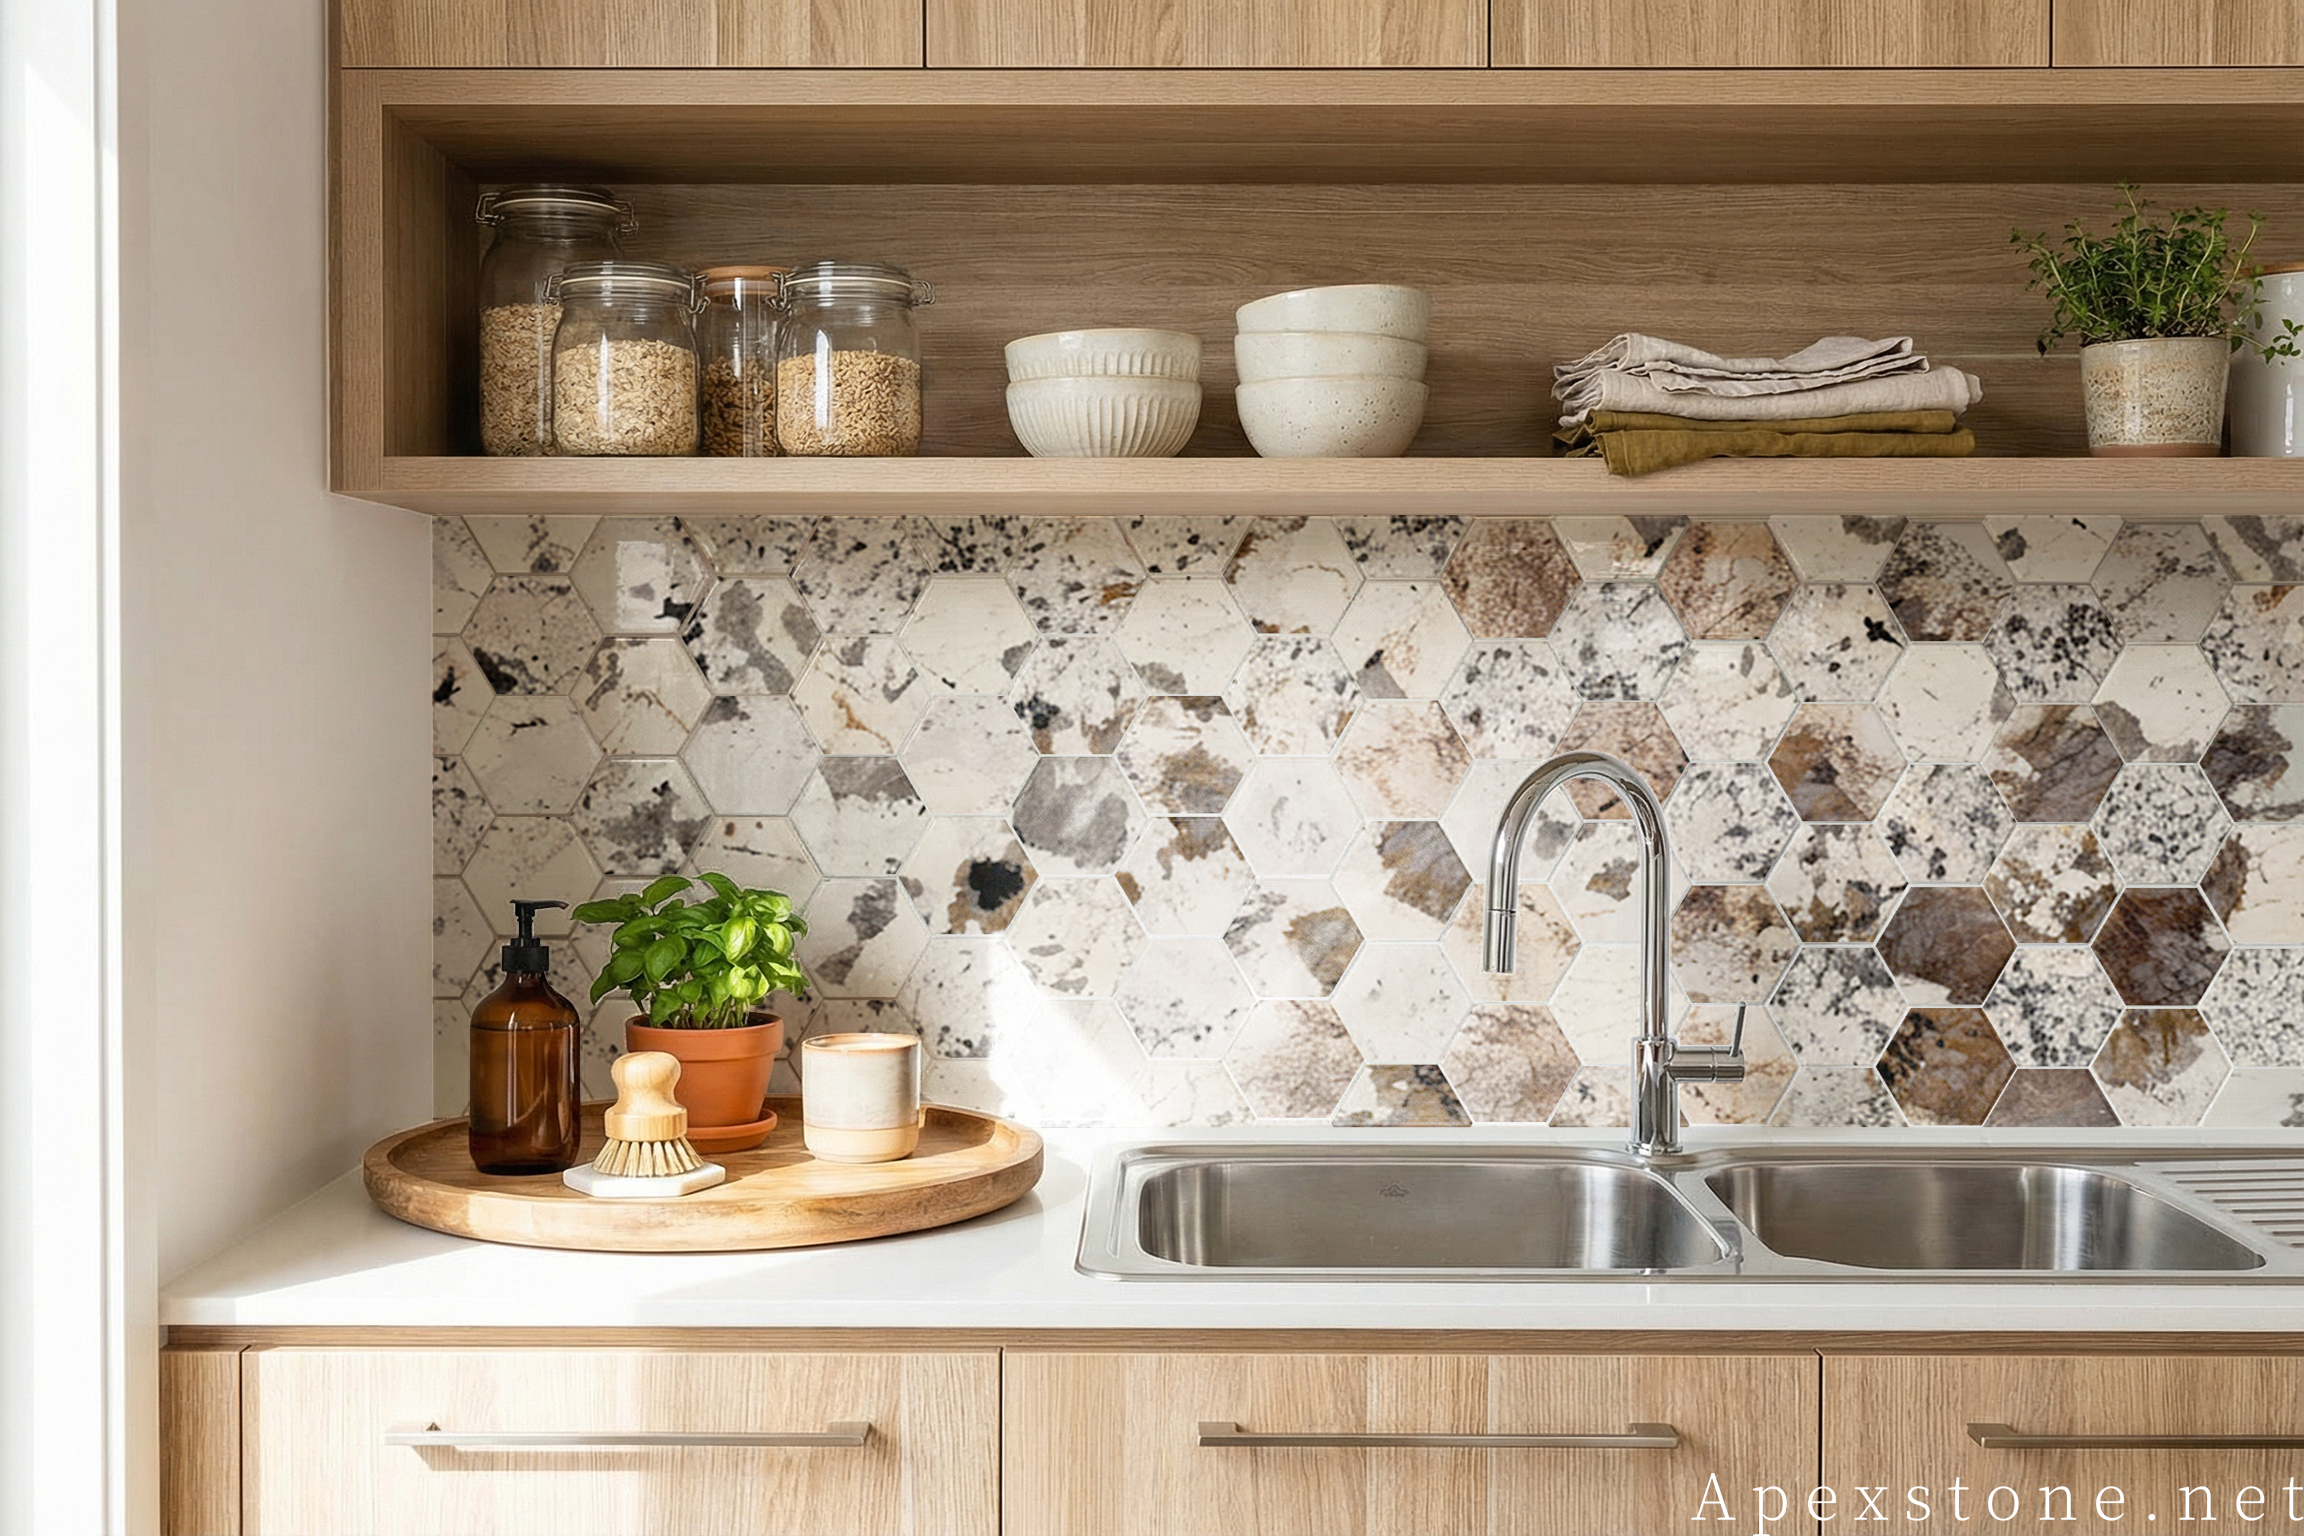
Floor, flooring pattern and wall applications showing how the same Pandora batch changes character with format and scale.
From the designer and installer desks
Five decisions to freeze before the saw runs
Name the focal plane first
In most Pandora kitchens the island is the focal plane, but an open-plan room with a visible dining wall may want the bloom on a full-height splash instead. Decide in writing which surface leads, and reserve the strongest slab zone for it. The same flower that reads as jewellery on a 96 in island reads as camouflage on a 25.5 in sink run.
Plan seams around the blooms, not through them
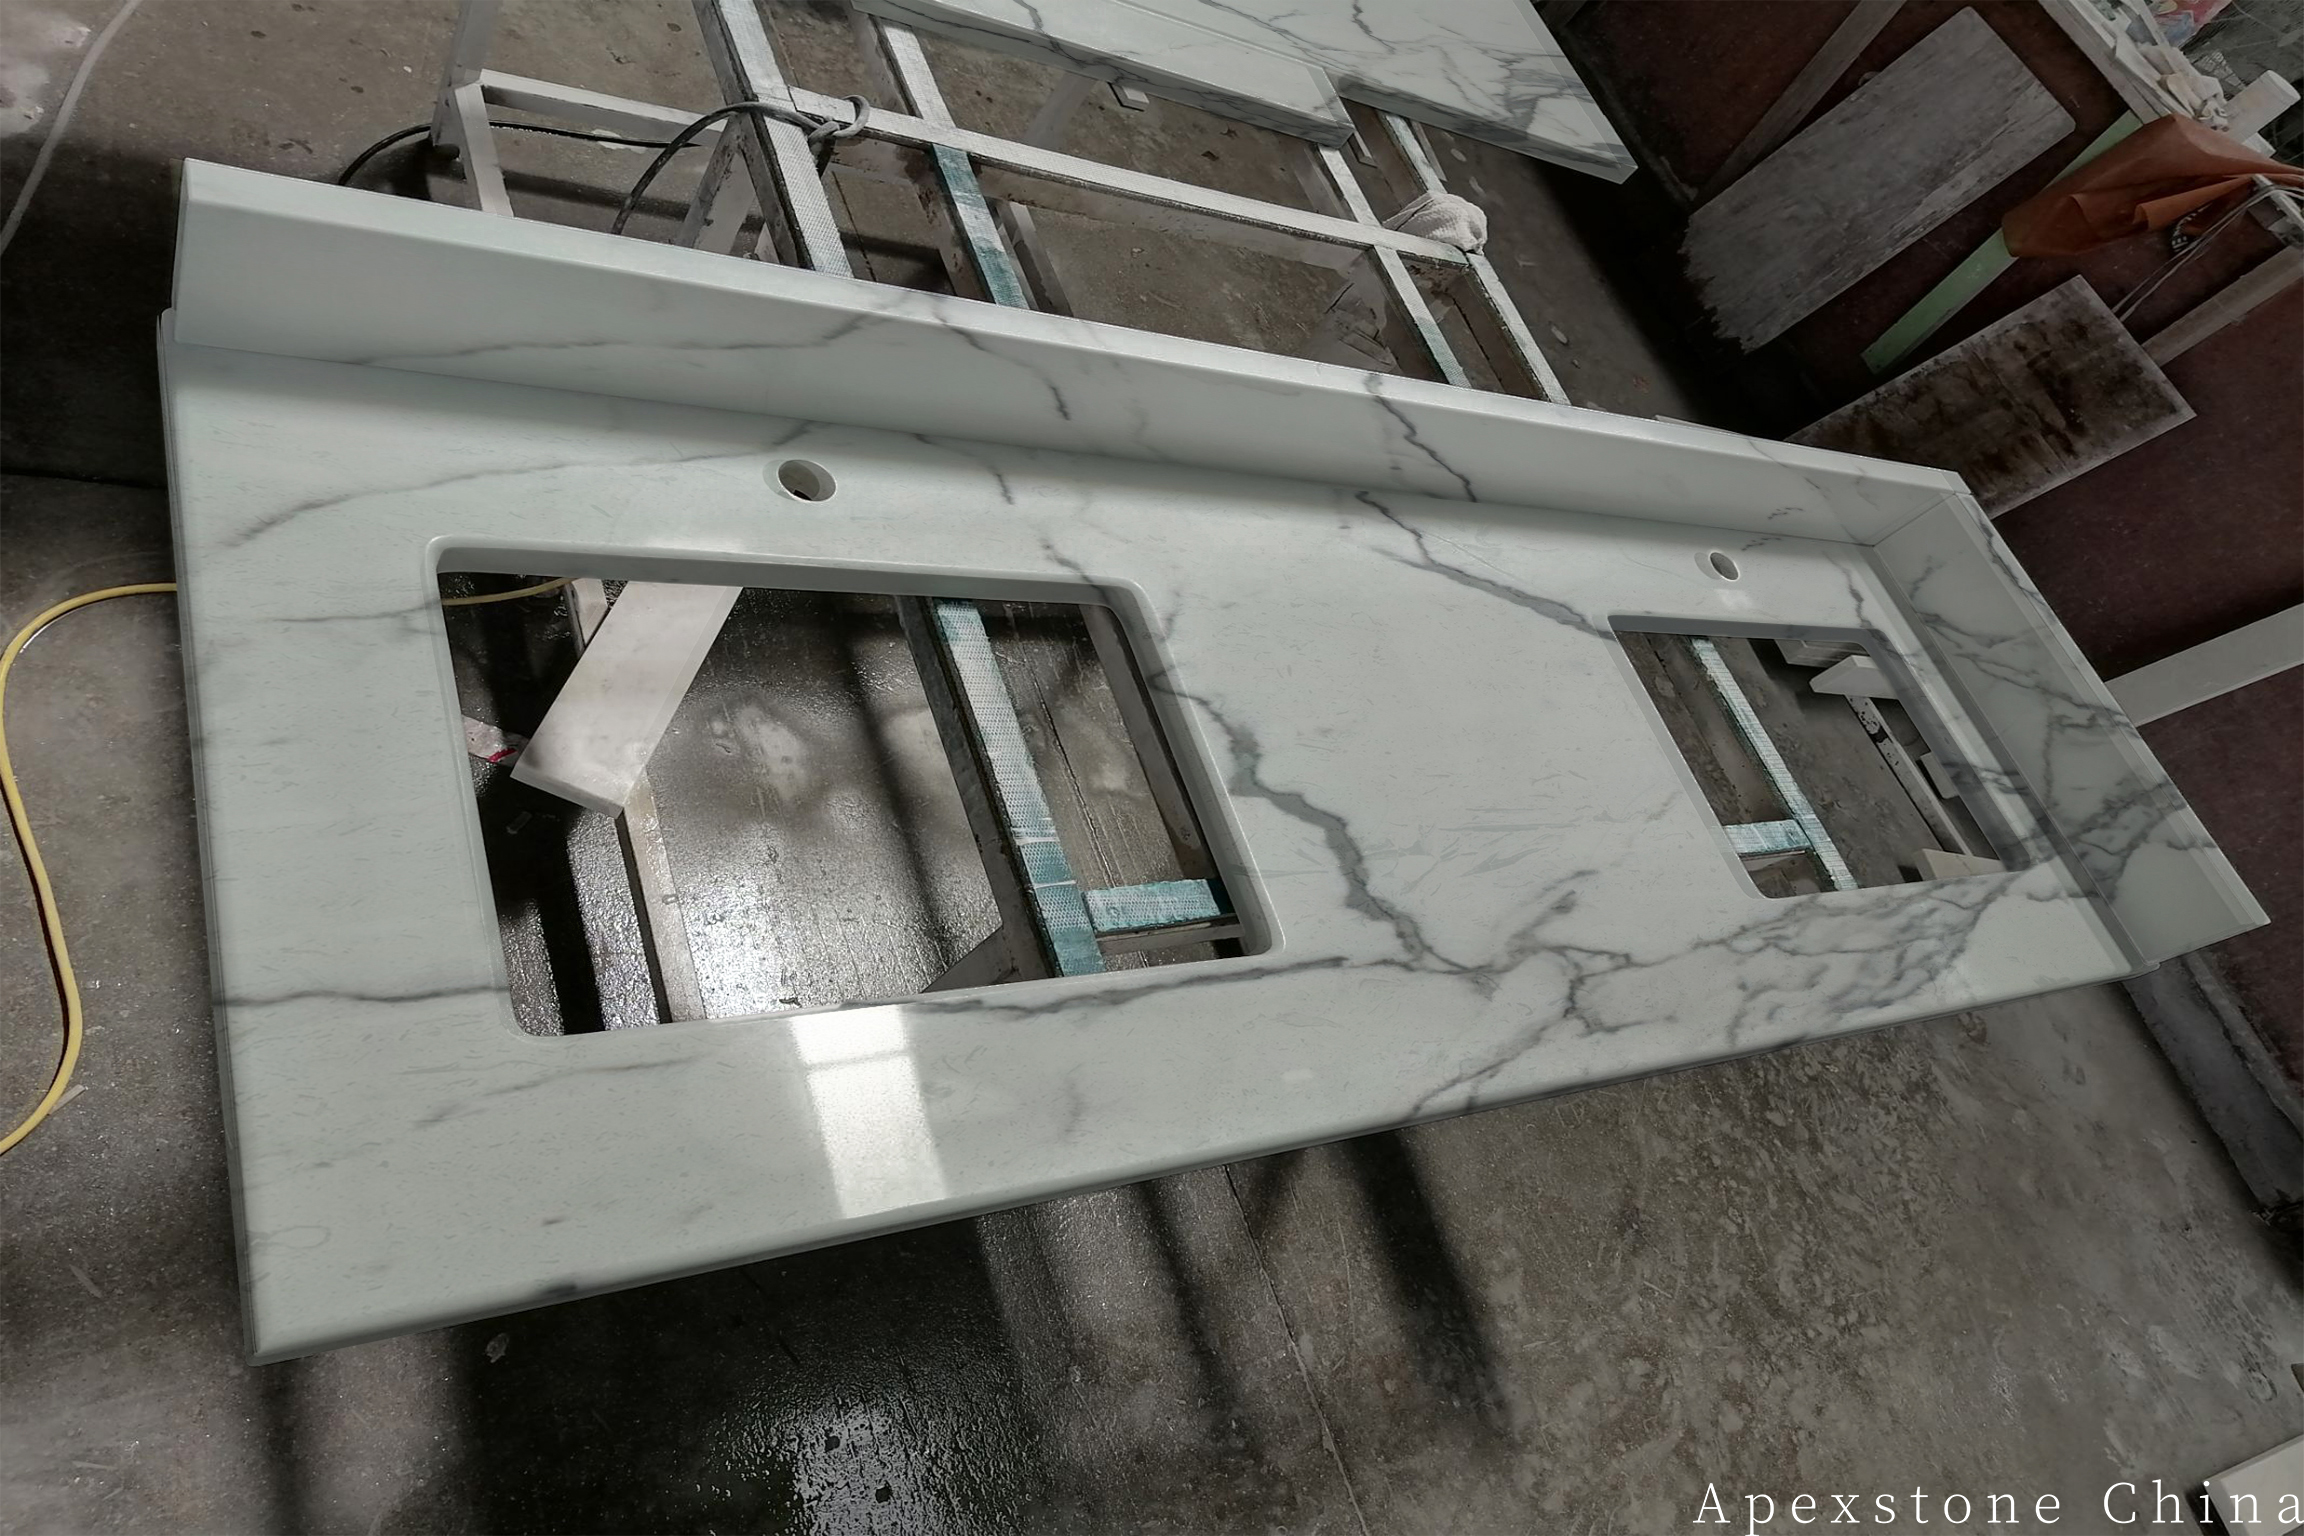
Pandora's movement is large, so a seam through the middle of a flower is visible from across the room. On a 96 in island, place the seam where a sink or cooktop run breaks the field, or where the movement naturally thins. This is a layout-drawing decision, not a site decision - quartzite does not forgive second cuts.
Pair the finish with the mood you want
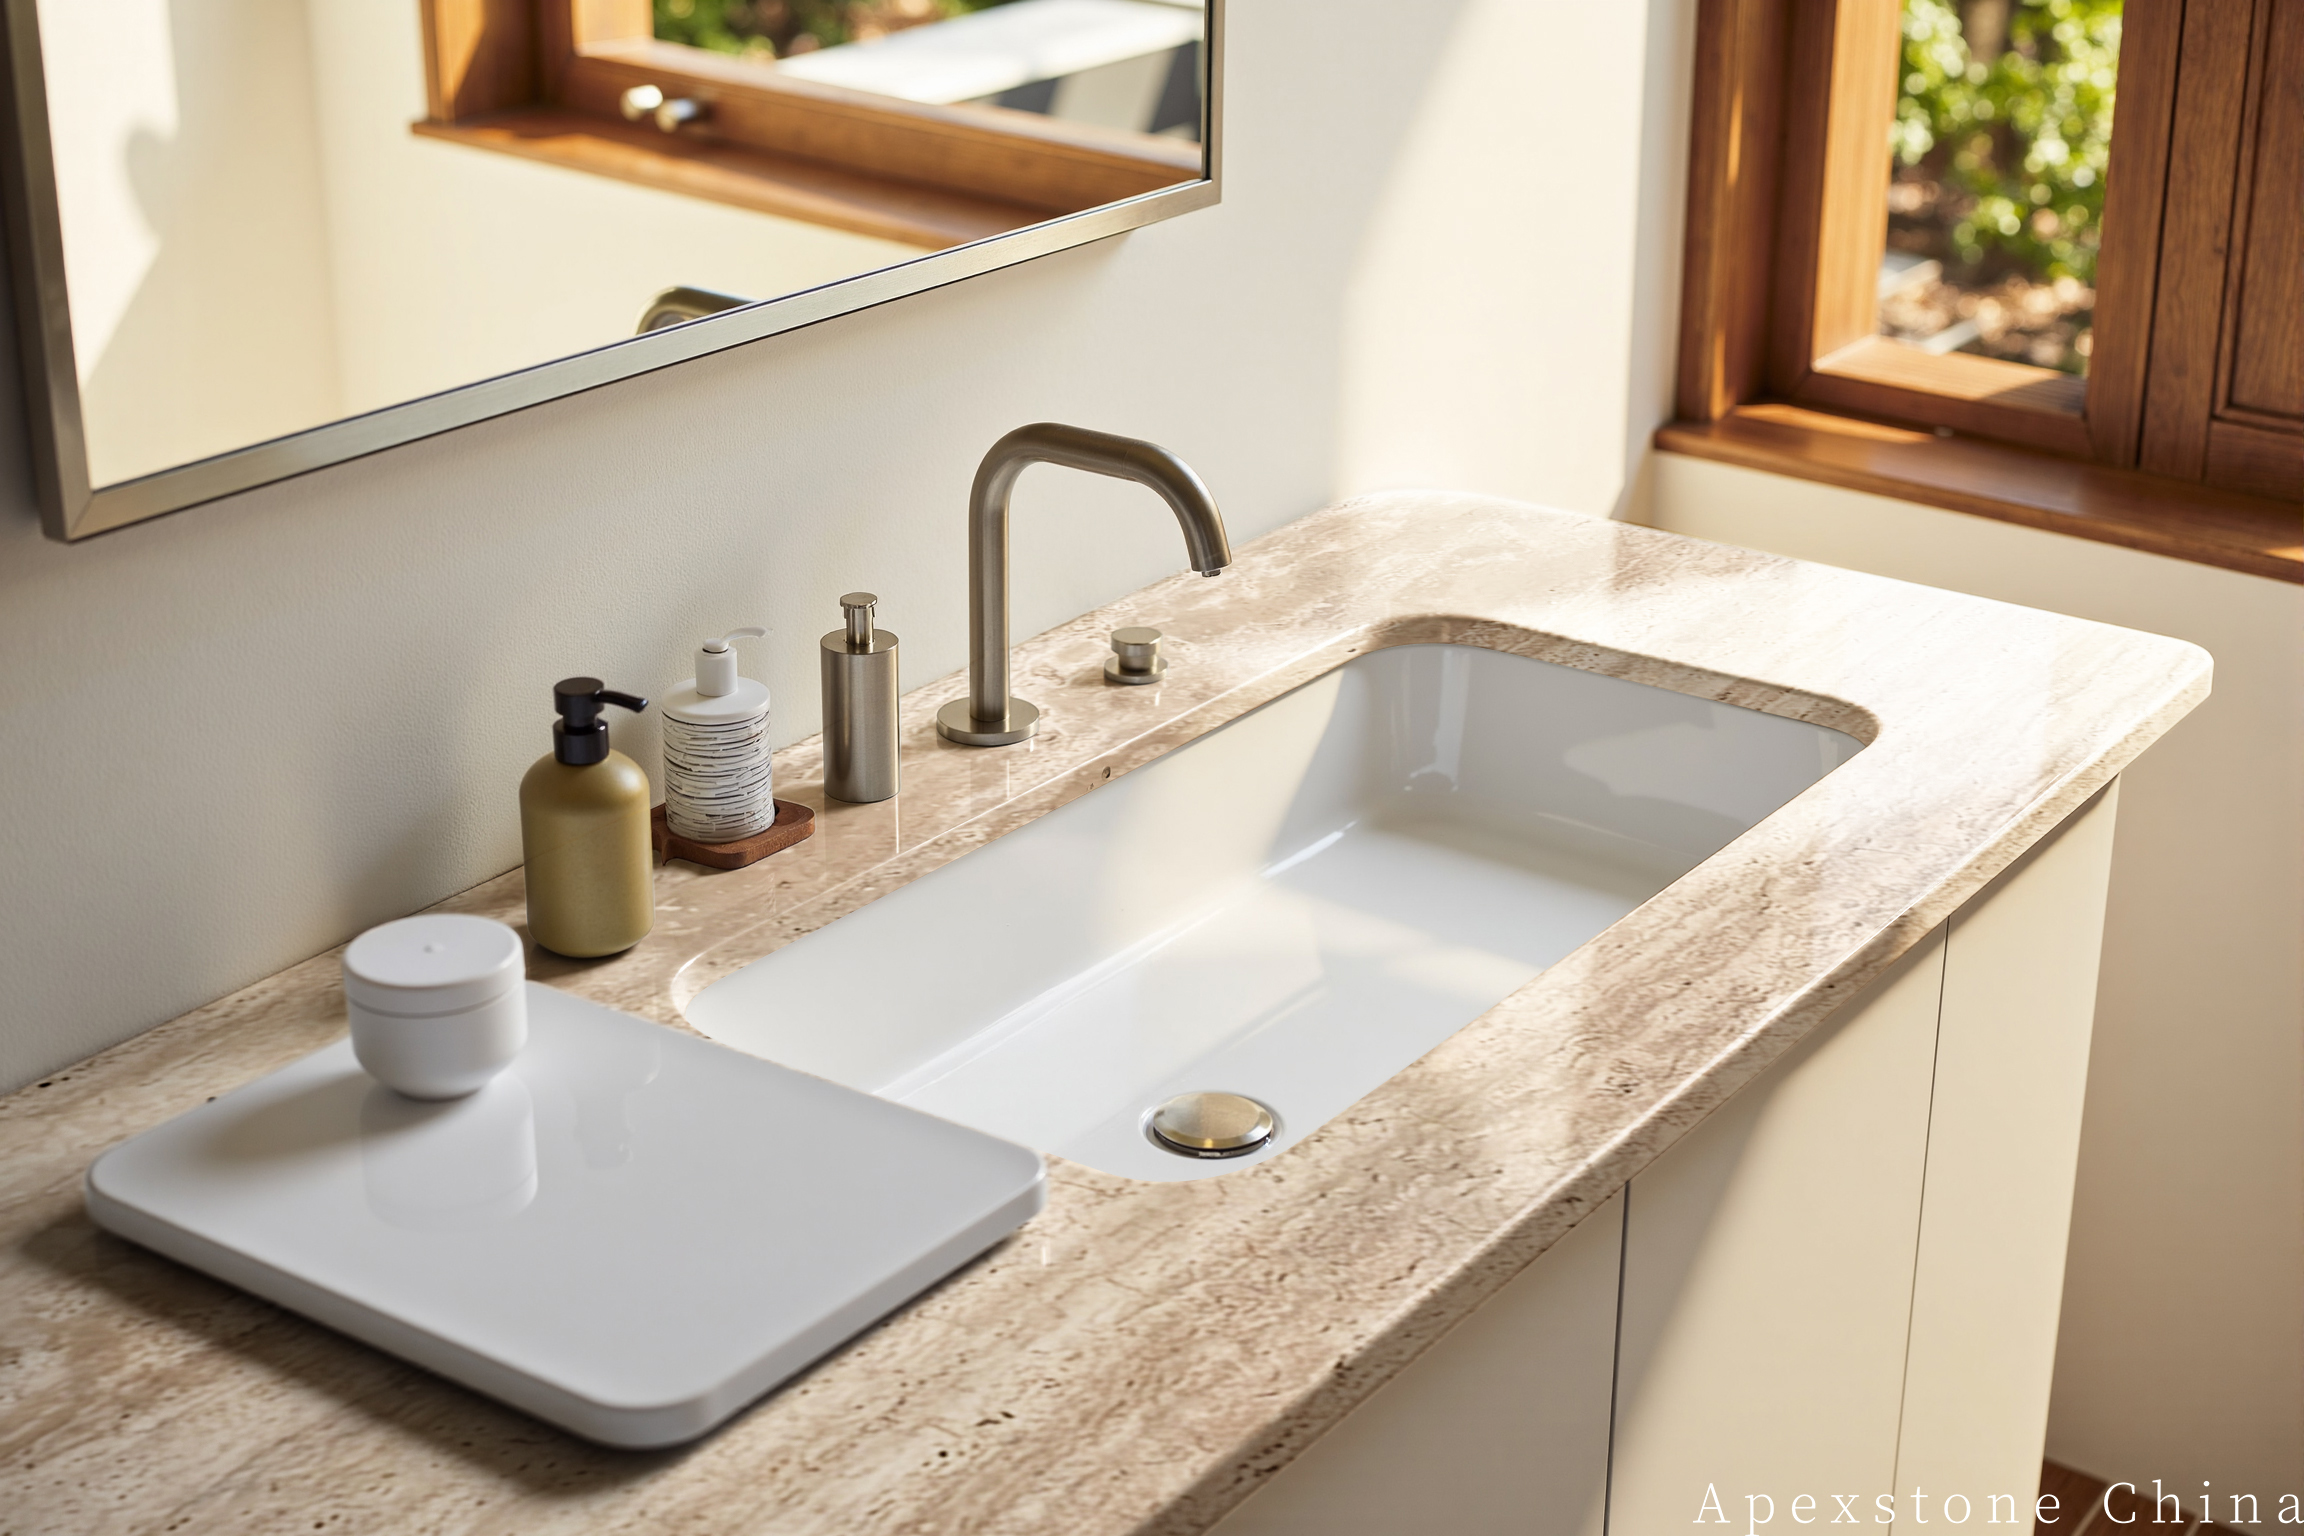
Polished Pandora deepens the brown and maximizes the natural crystal sparkle - the romantic register. Leathered keeps the movement but adds texture and hides fingerprints, which suits busy family kitchens. Honed softens everything toward a matte, country calm. Review all three beside your actual lighting temperature before approving; warm 2700K light flatters the cream, cool light sharpens the brown.
Keep the cabinetry quiet
The stone supplies all the movement, so door profiles, hardware and floor should stay calm. Shaker fronts in sage or cream suit the French country register; flat oak or walnut fronts suit bohemian rooms; matte black frames the blooms in modern kitchens. Avoid patterned floor tile - 600 x 600 mm modules in a low-contrast stone or timber keep the room from becoming a catalogue.
Write the care note before handover
Pandora is quartzite, harder than marble and far more resistant to acid etching, but it is still natural stone. Sealed at installation, it needs a pH-neutral cleaner, boards for chopping and prompt wiping of wine and oil. Hand the care note over with the maintenance schedule, not after the first mark appears.
Room Zones
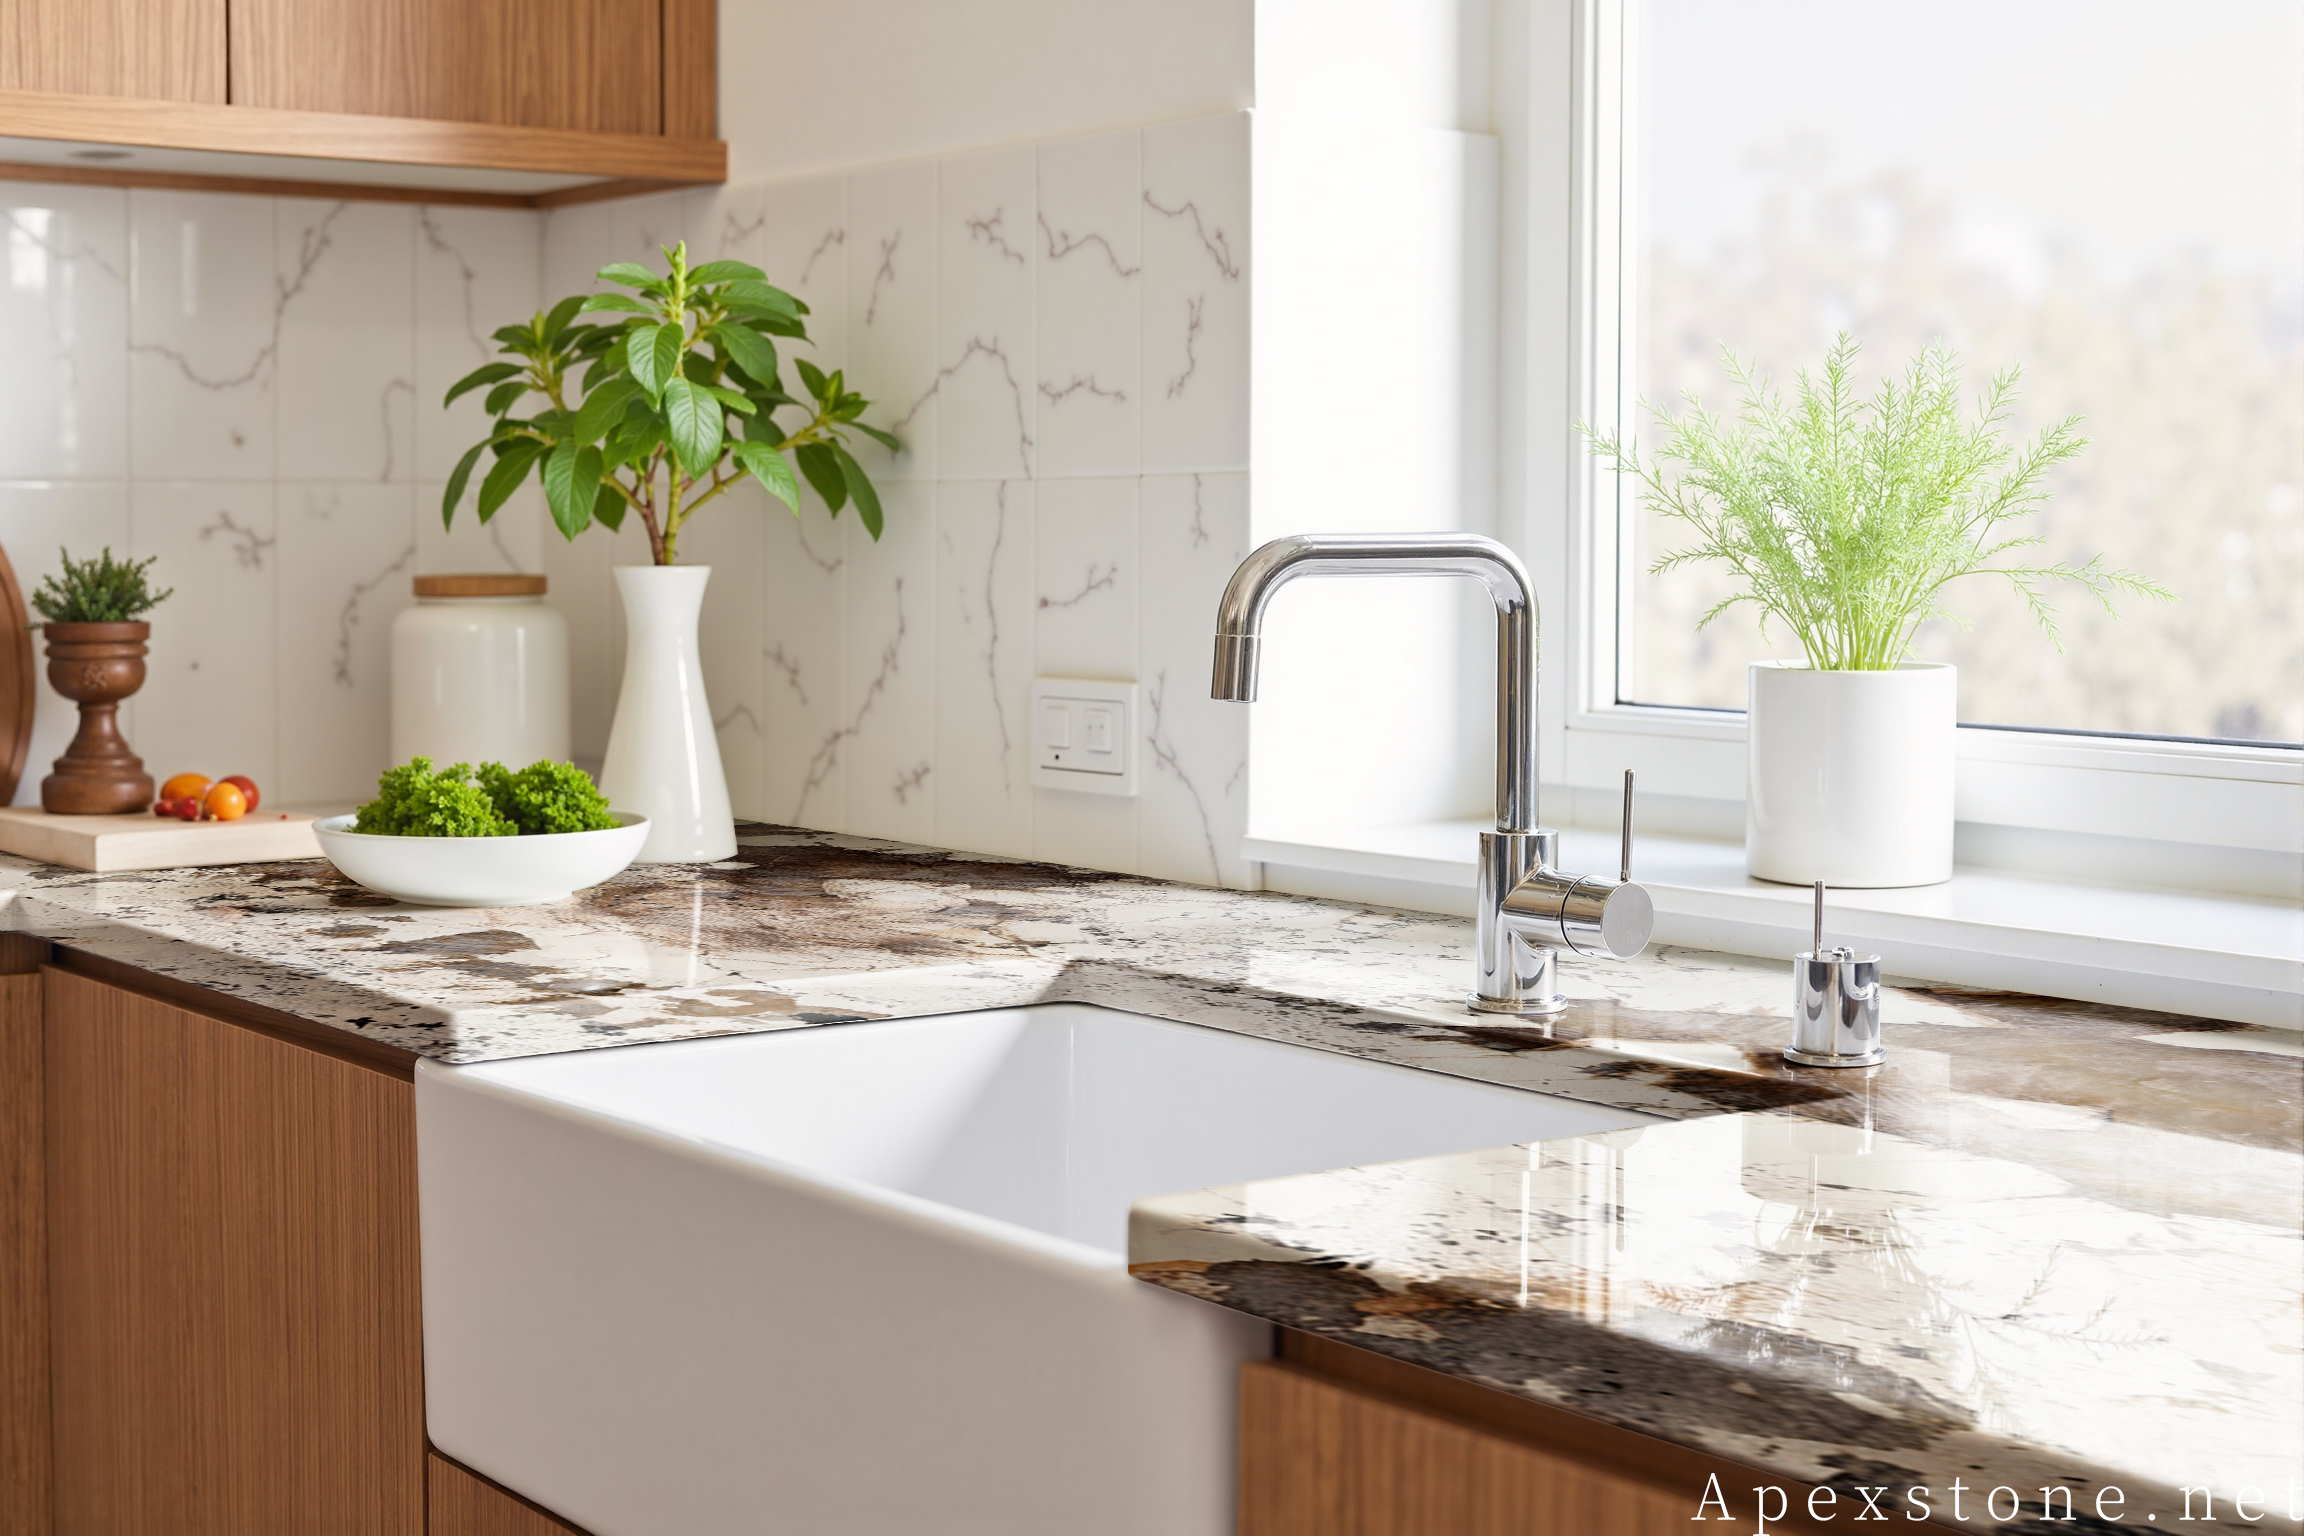
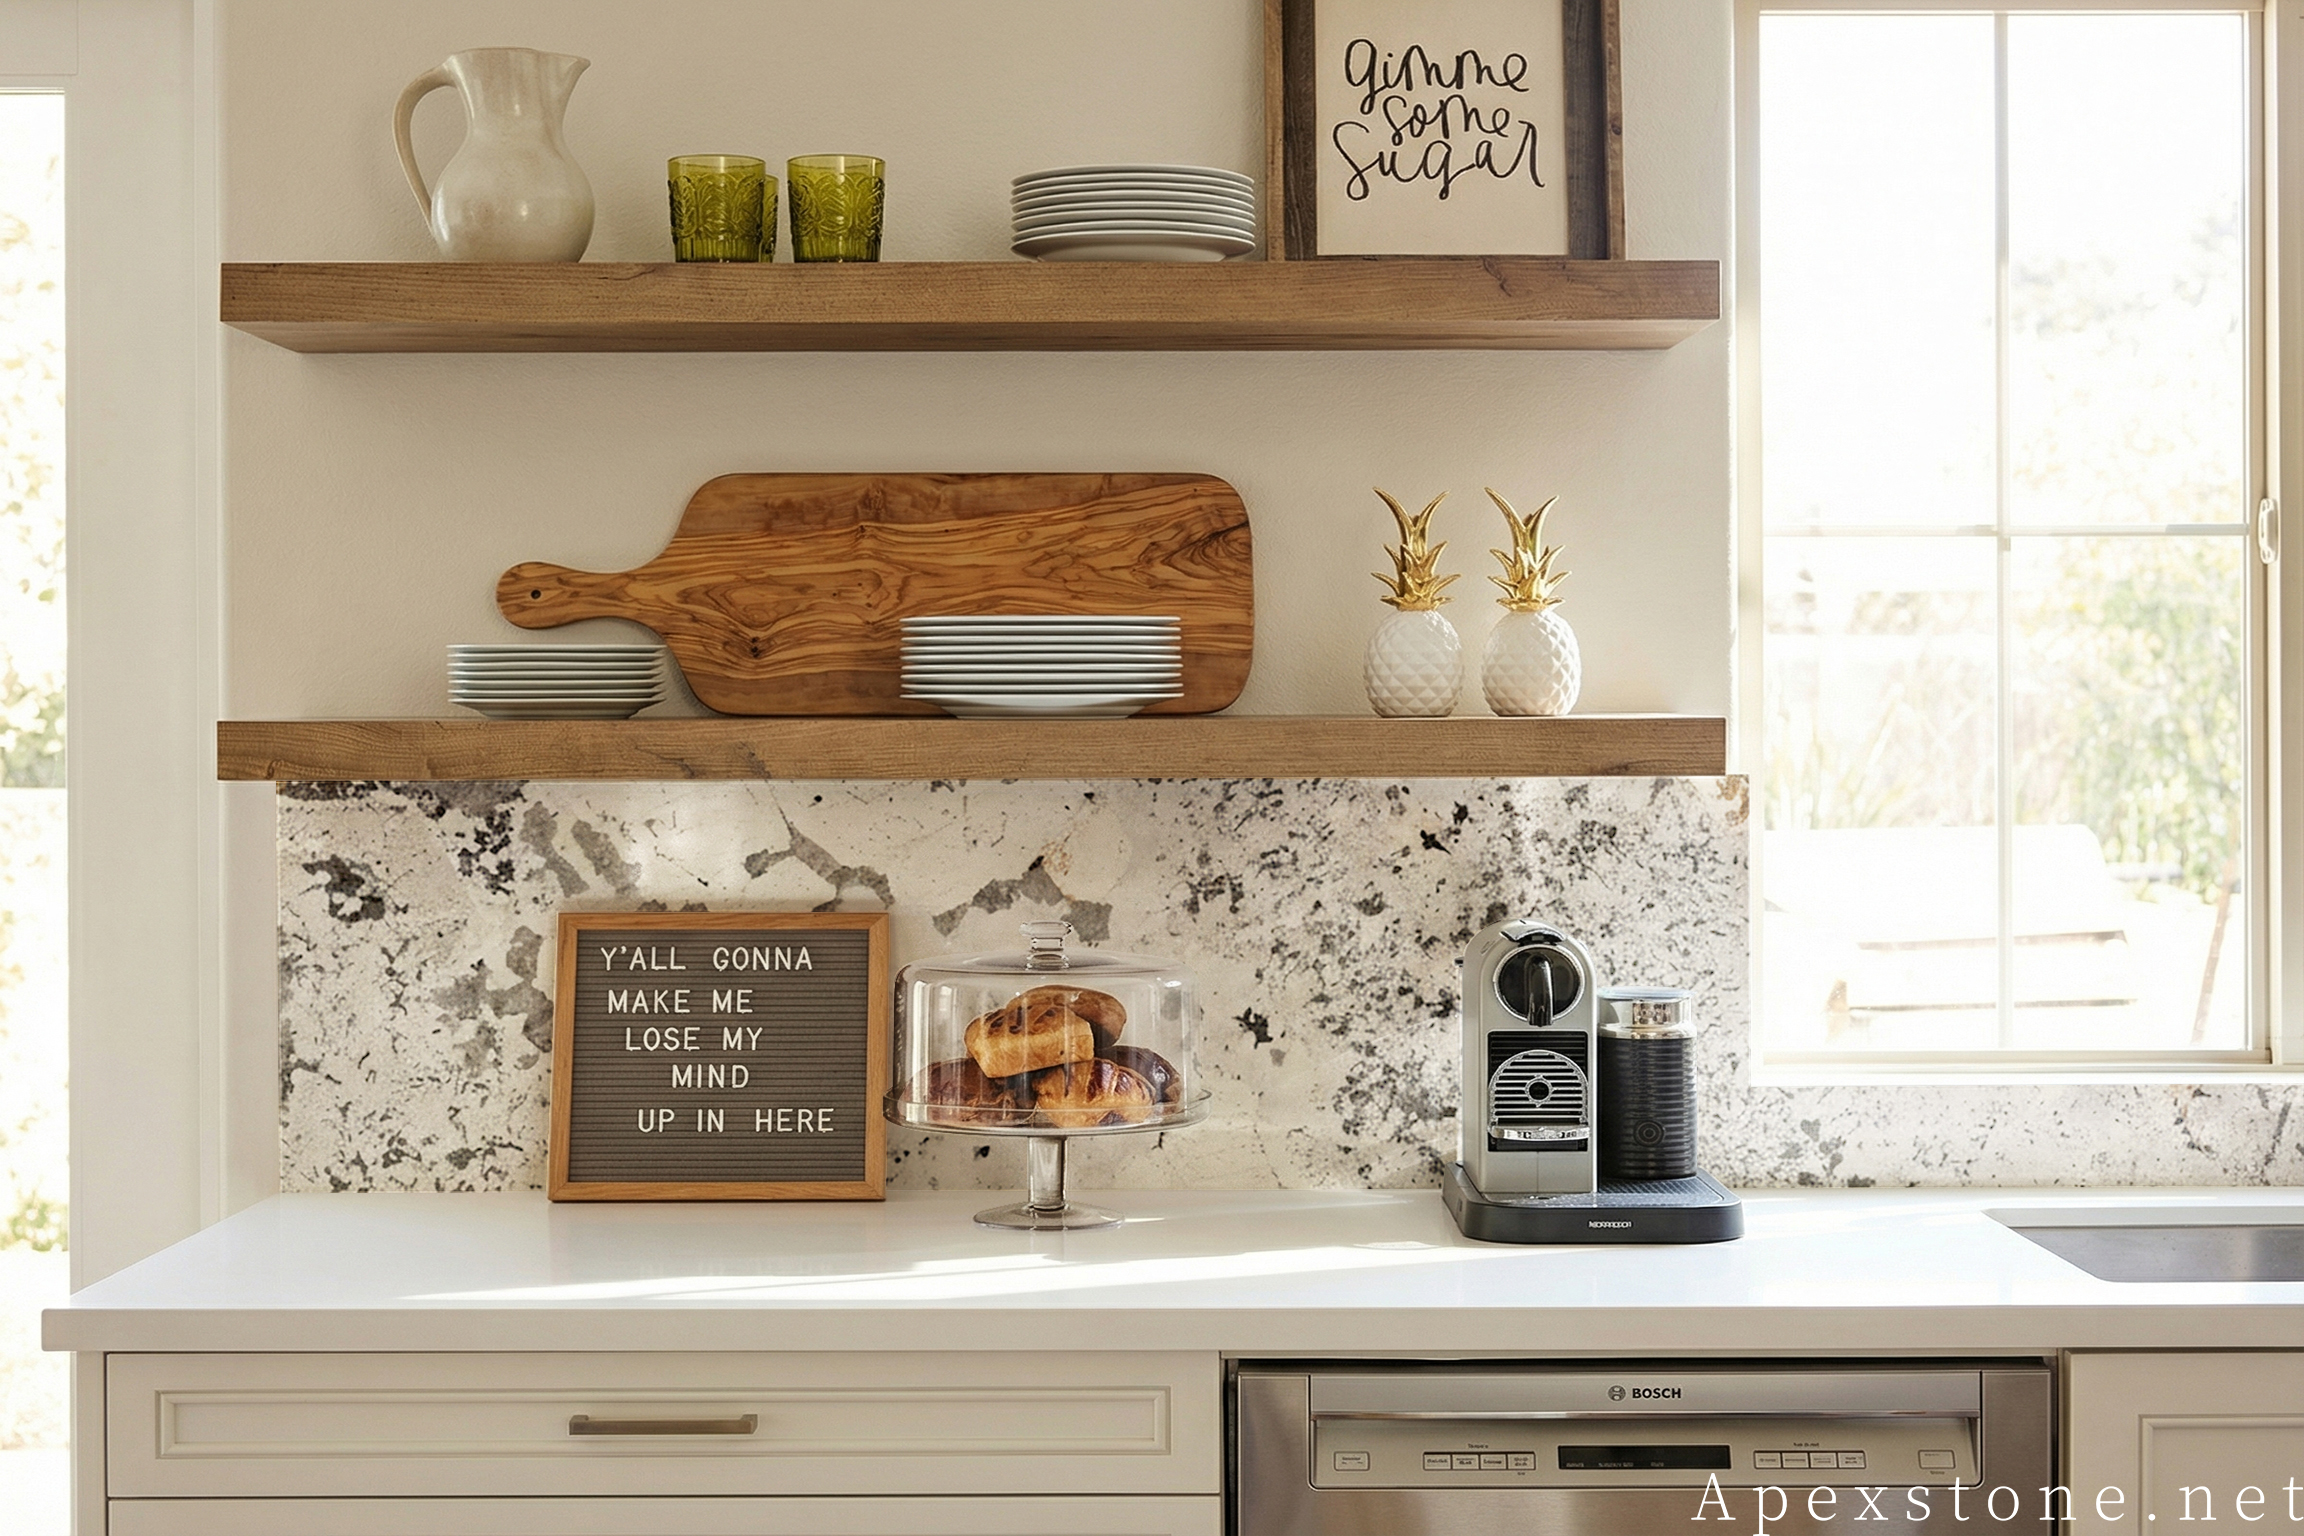
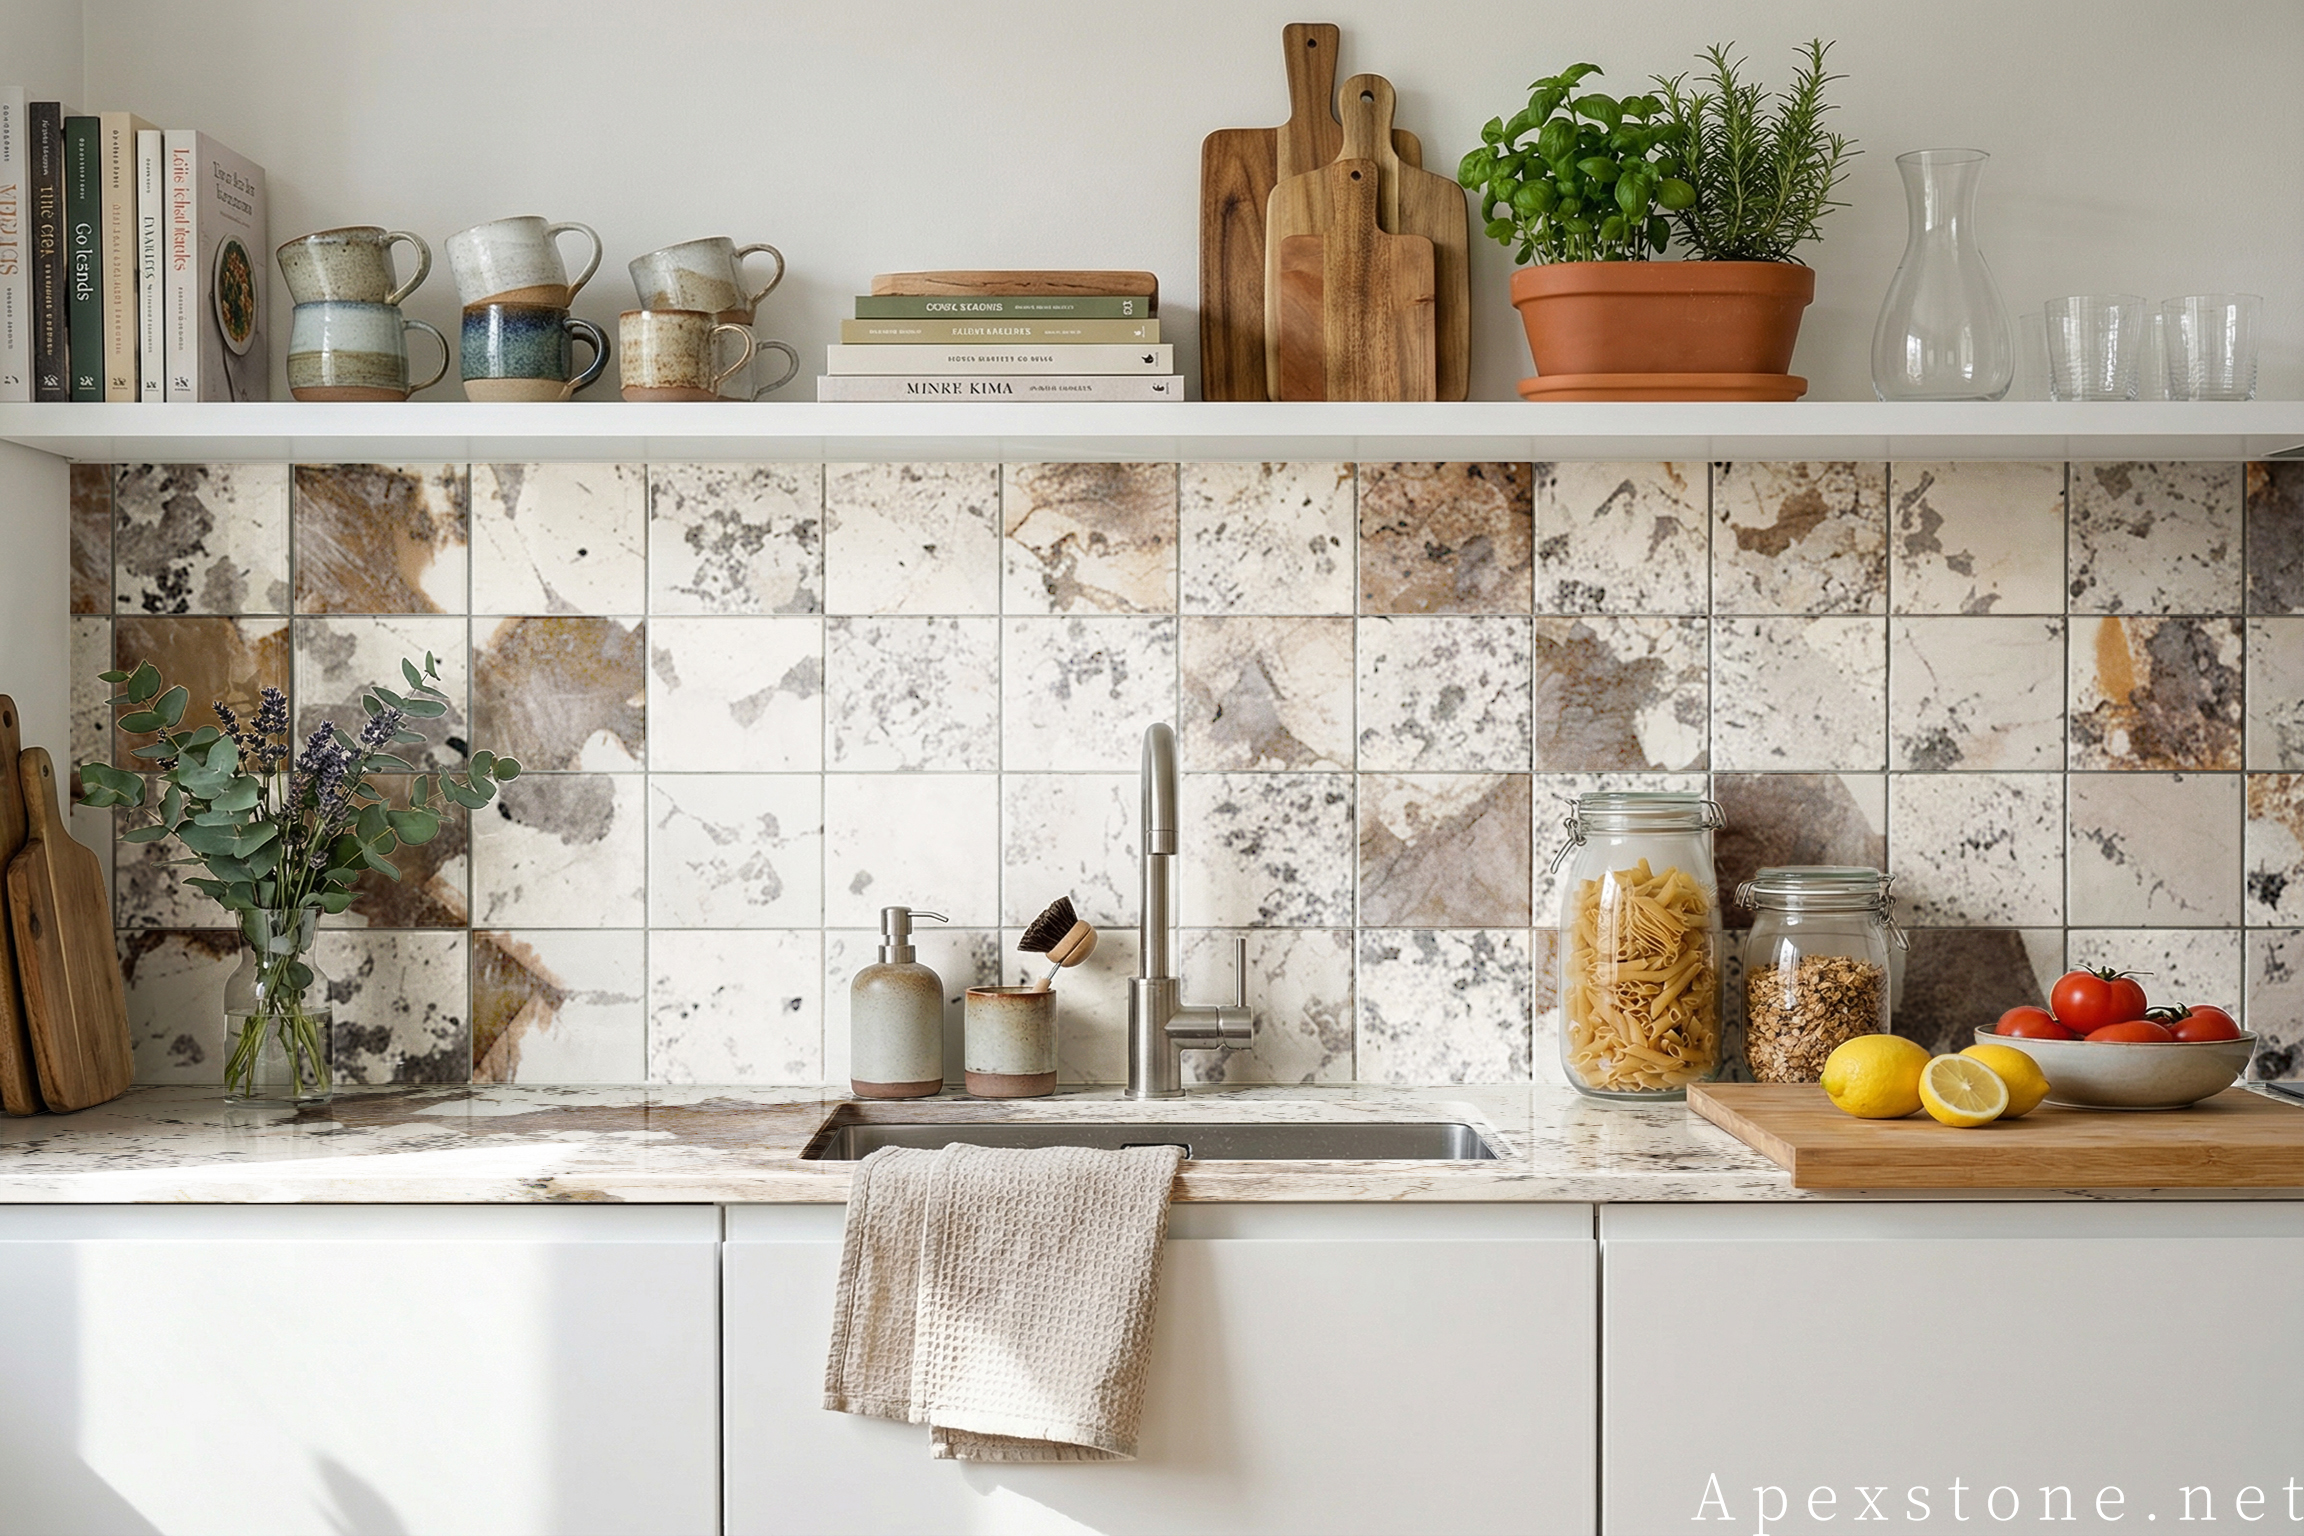
Where Pandora earns its keep in a kitchen
Planning References
Dimensions to carry into the drawing
| Island formats | 96 in or 72 in long x 36 in or 48 in deep |
| Base run depth | 25.5 in standard |
| Thickness | 2 cm (3/4 in) or 3 cm (1-1/4 in); mitred build-up for deeper edges |
| Splash tiles | 12 x 24 in (300 x 600 mm) |
| Floor modules | 600 x 600 mm or 12 x 12 in (300 x 300 mm) |
| Finish | Polished, honed or leathered by sample approval |
Kitchen Decision Path
From visual hierarchy to approved layout
This sequence follows kitchen decisions, not a generic factory route.
- ✓
1. Name the focal plane
Decide in writing whether the island, splash or a feature wall carries the strongest bloom.
- ✓
2. Reserve the slab zones
Match the strongest movement to the focal surface; assign quieter zones to perimeter runs and splash.
- ✓
3. Lock the fittings
Approve sink, cooktop and tap centres against the movement map before any cutting.
- ✓
4. Approve the marked layout
One drawing showing seams, cut-outs and movement placement, read the same way by every party.
- ✓
5. Inspect against the same document
Finished pieces are compared to the approved layout before packing, not after installation.
Bring the room, not only a mood board
Send the plan for an actual-slab layout
Send the cabinet plan, island size and preferred finish - 96 or 72 inch island, 12 x 24 inch splash, polished or leathered - and the discussion can move to actual slab zones, bloom placement and a fabrication layout that matches the room.