Outdoor Living
A Garden That Starts With a Quiet Grey Floor
Bianco Crystal granite garden ideas for homeowners and designers who want a light, even grey underfoot that lets planting, timber, and water do the talking.
Why a light grey ground plane
The floor is the largest surface in the garden
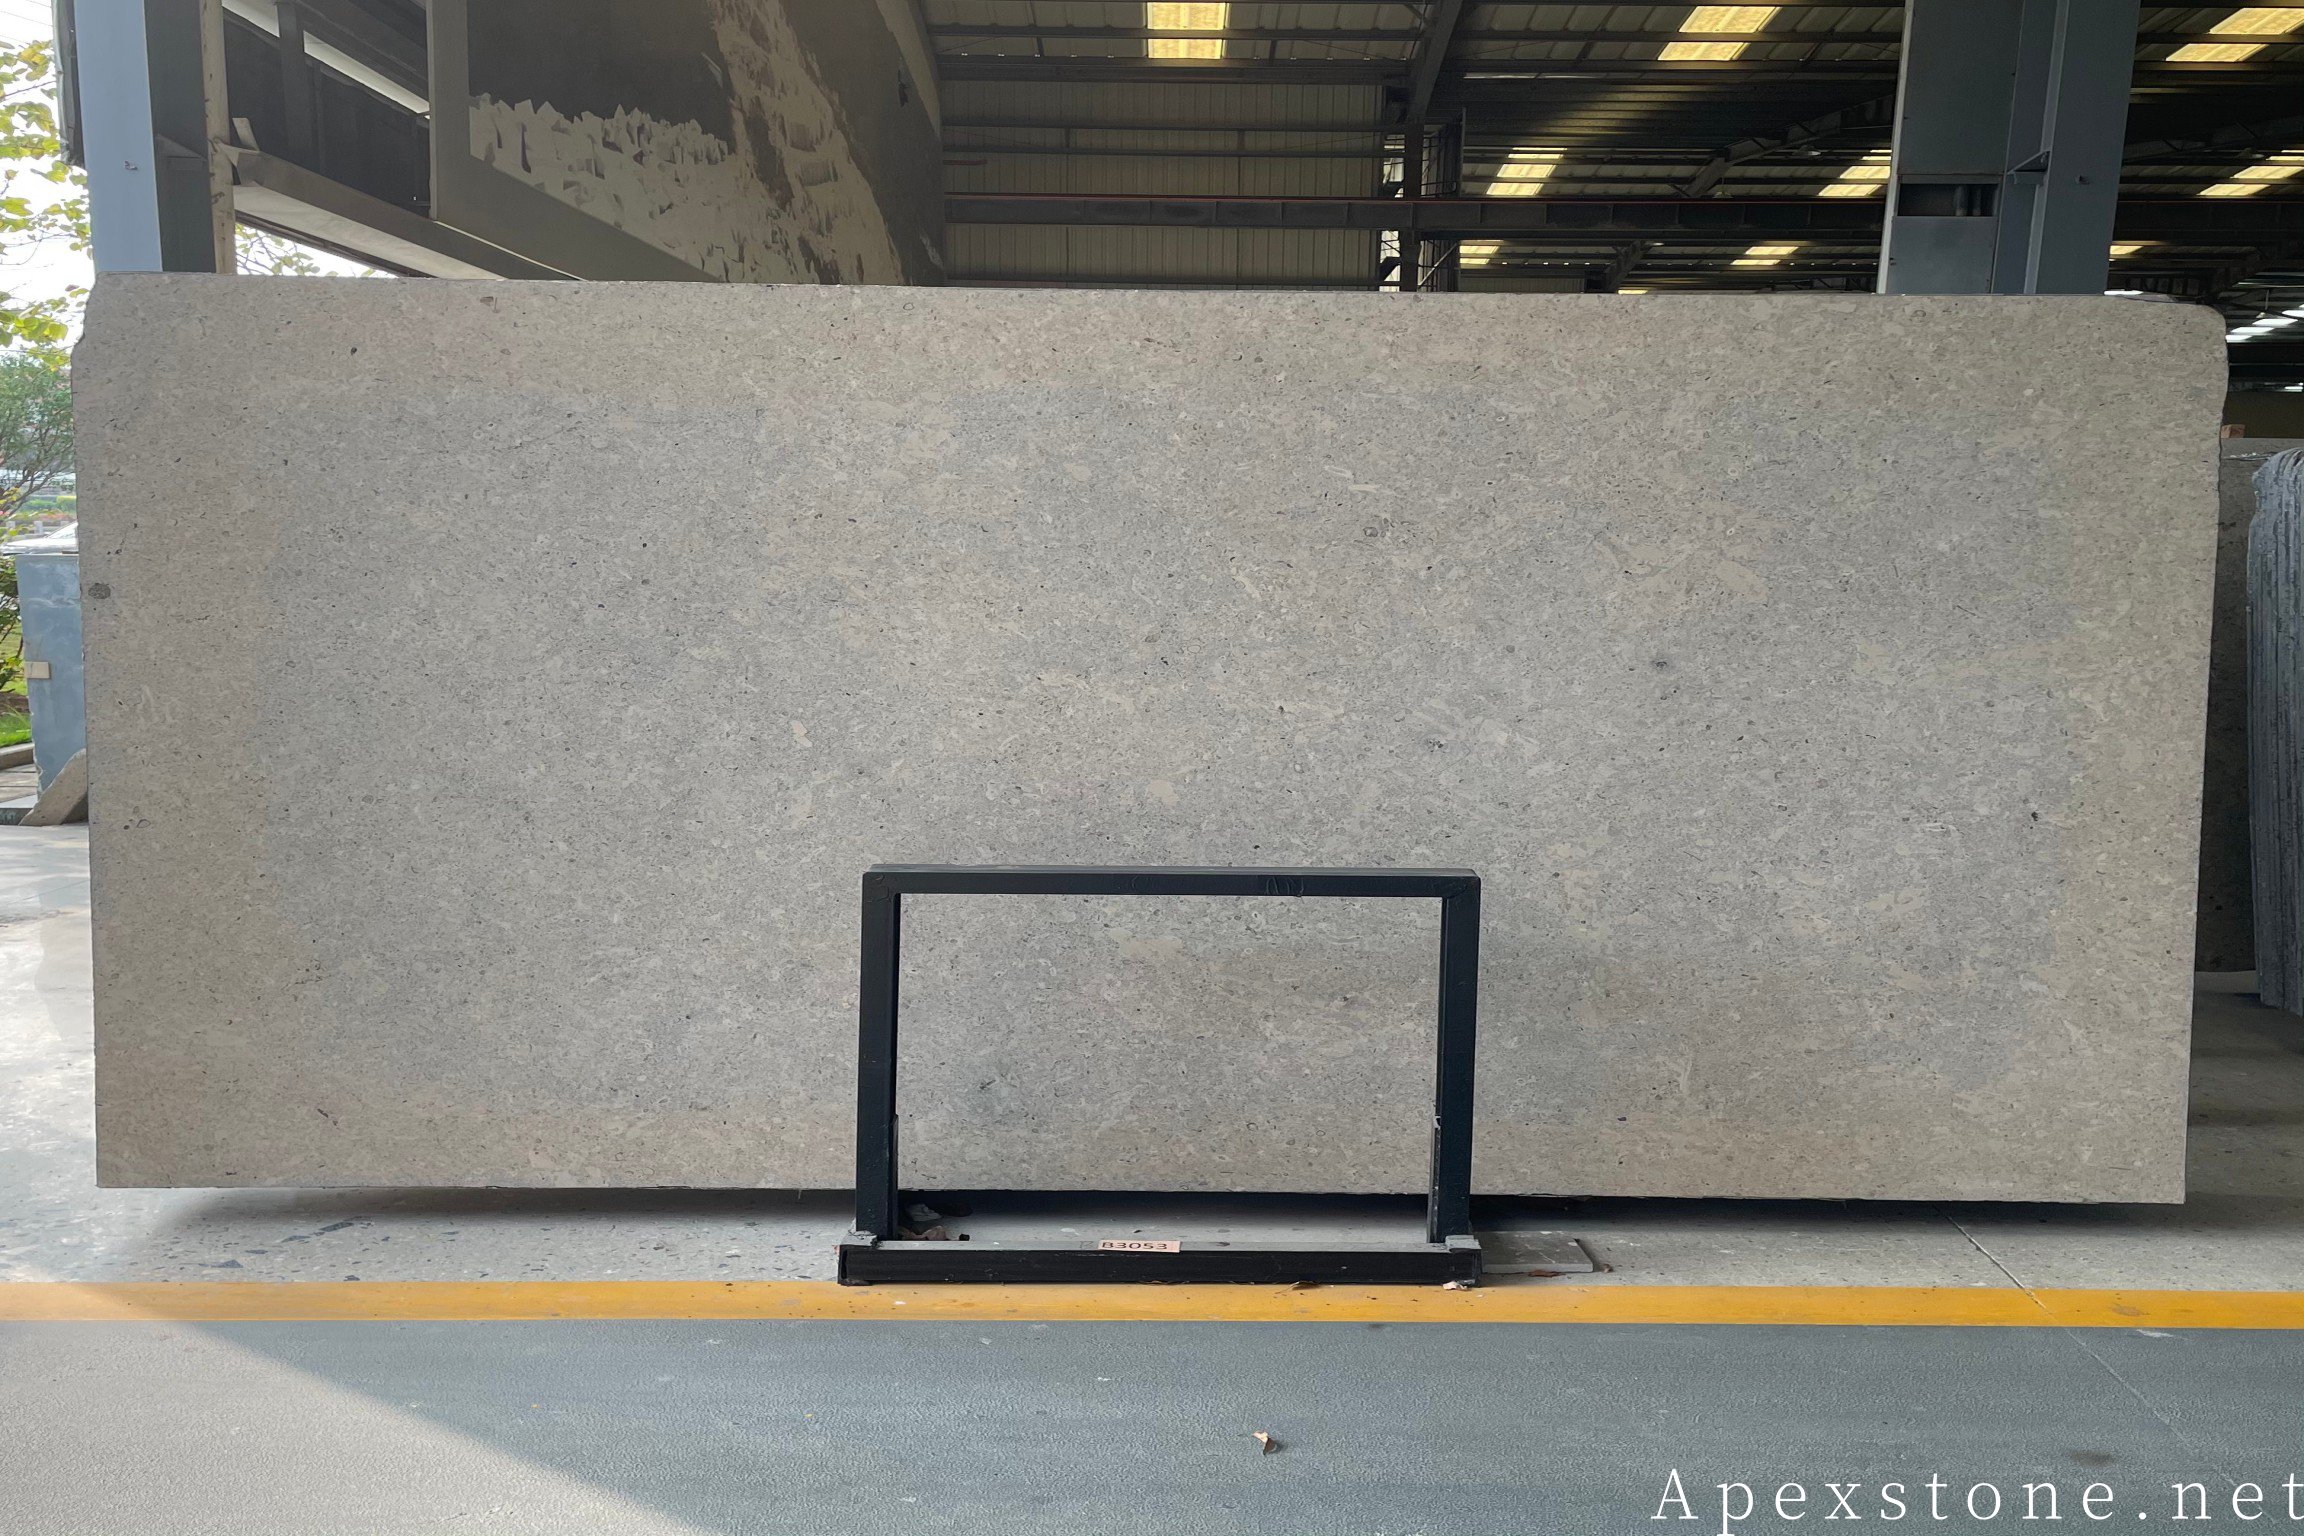
Most gardens fail on the floor first. A ground plane that is too dark turns into a heat sink by noon, and one that is too busy fights every plant placed on it. Bianco Crystal granite sits in the useful middle: a white-grey background with a fine, evenly scattered crystal pattern that reads as calm texture from a distance and as quality detail up close.
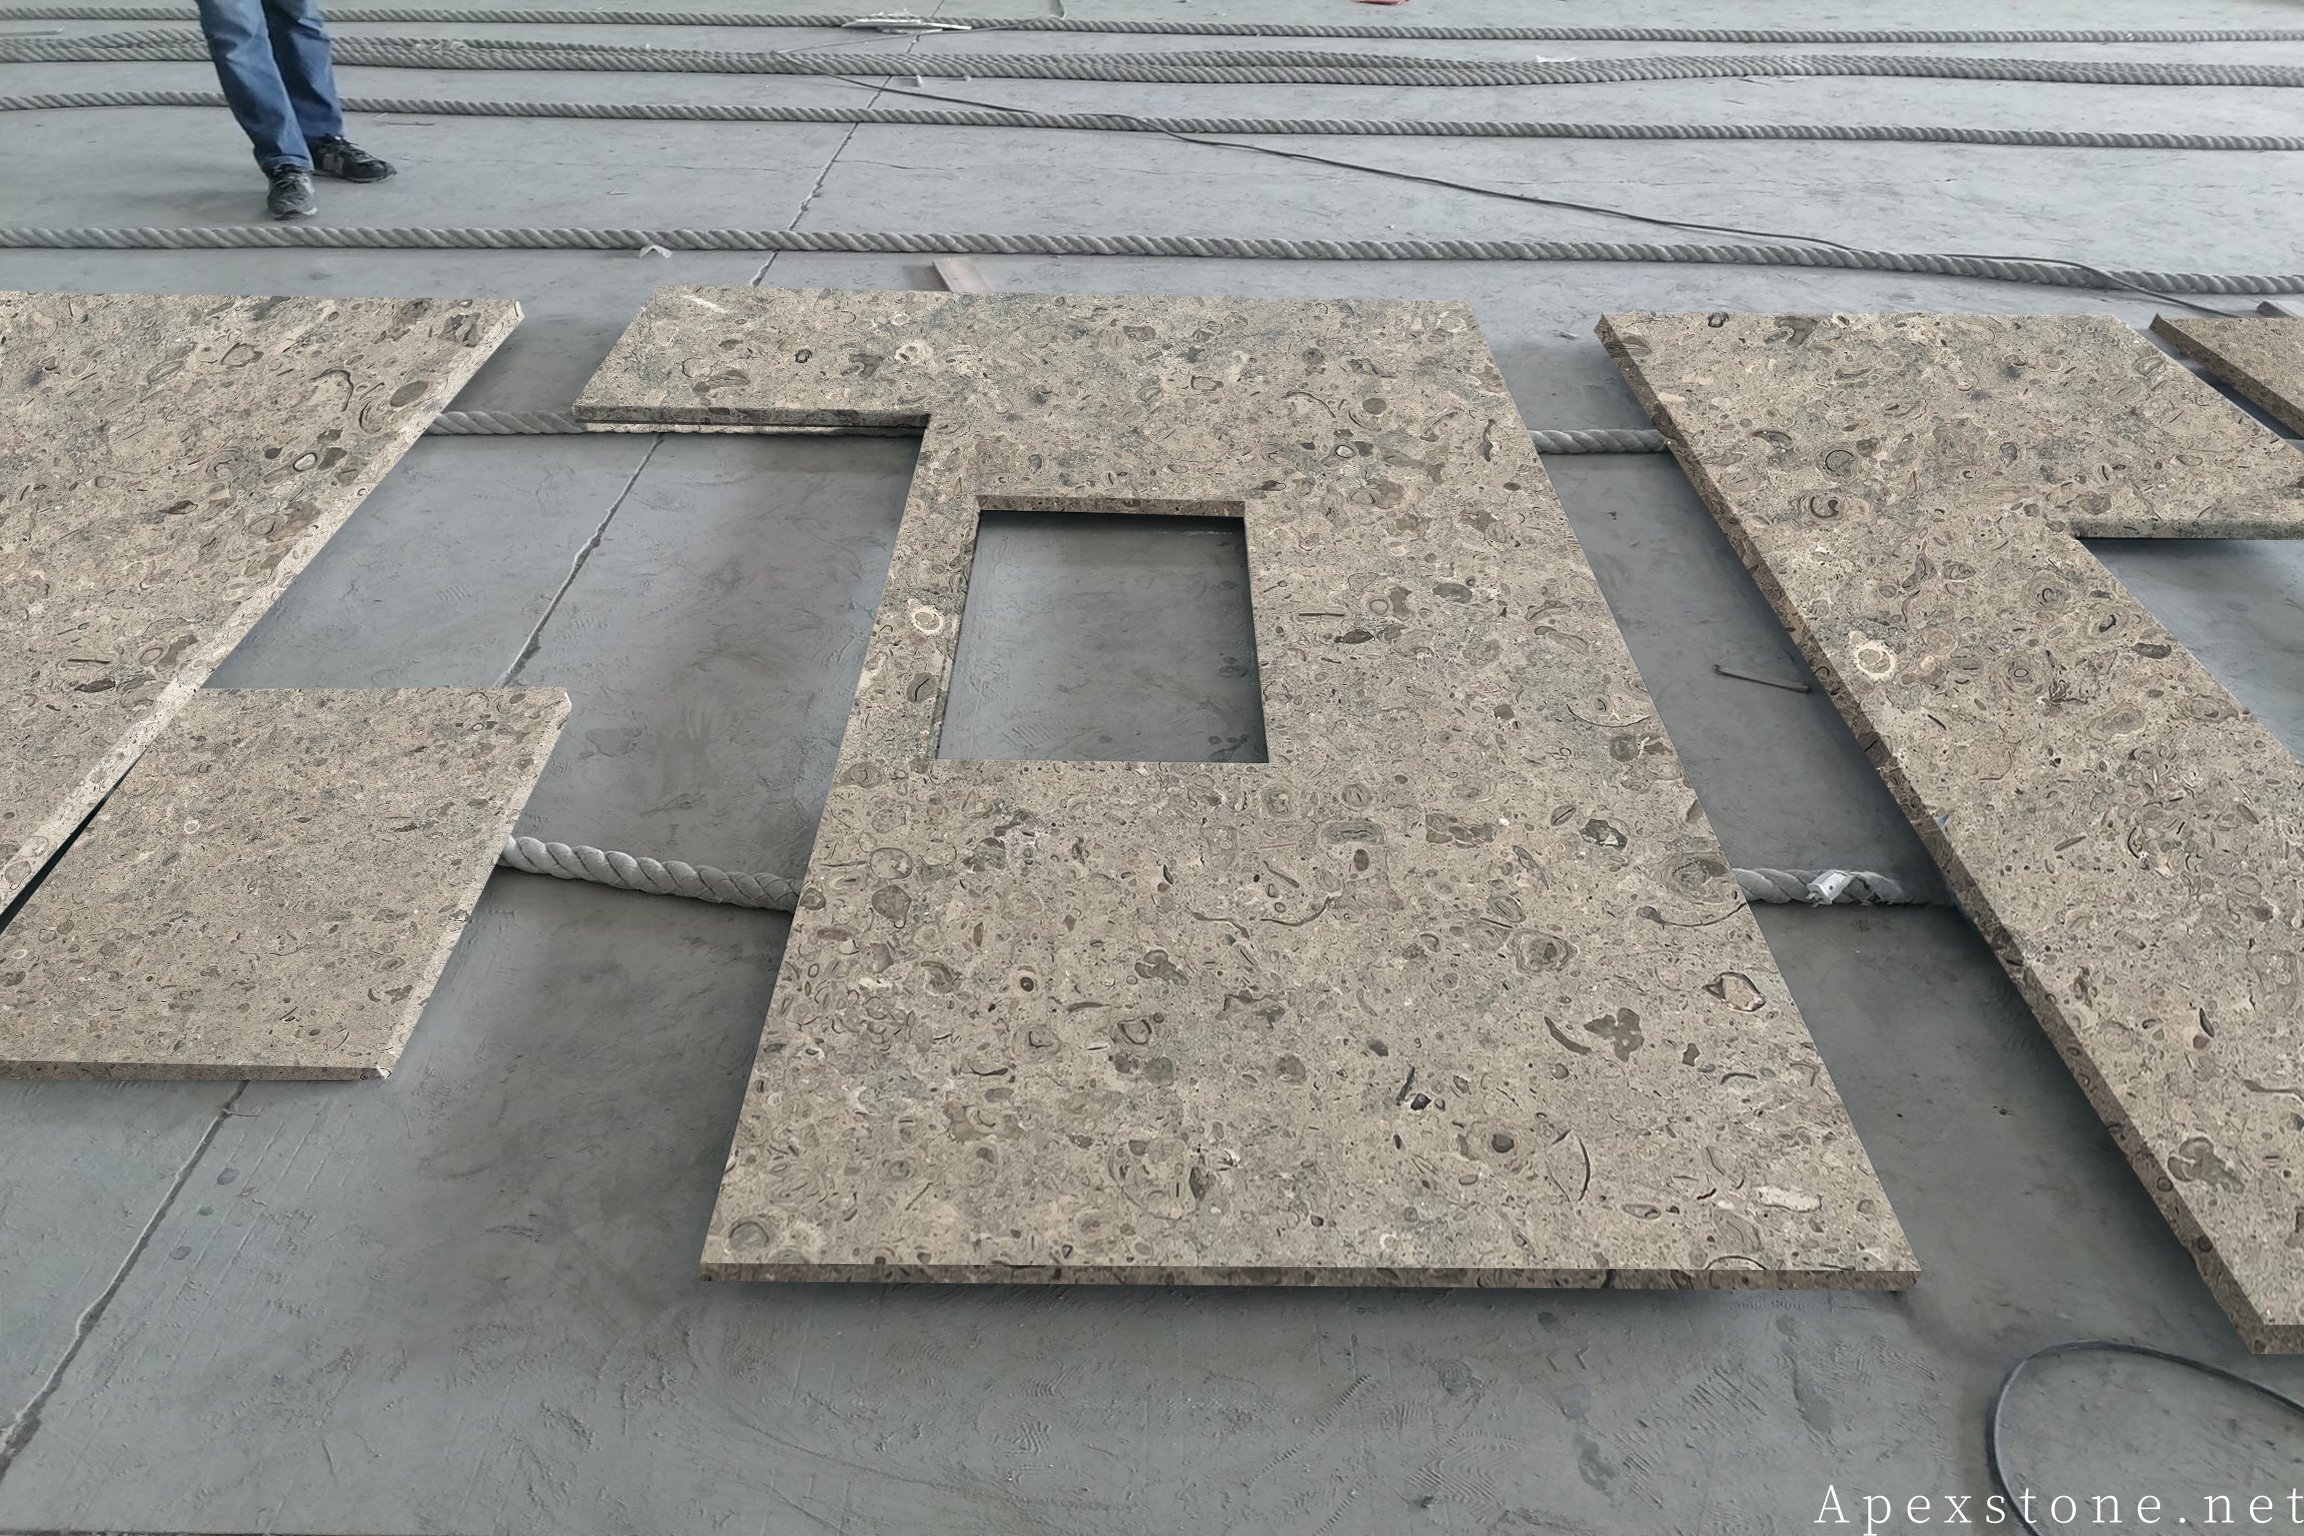
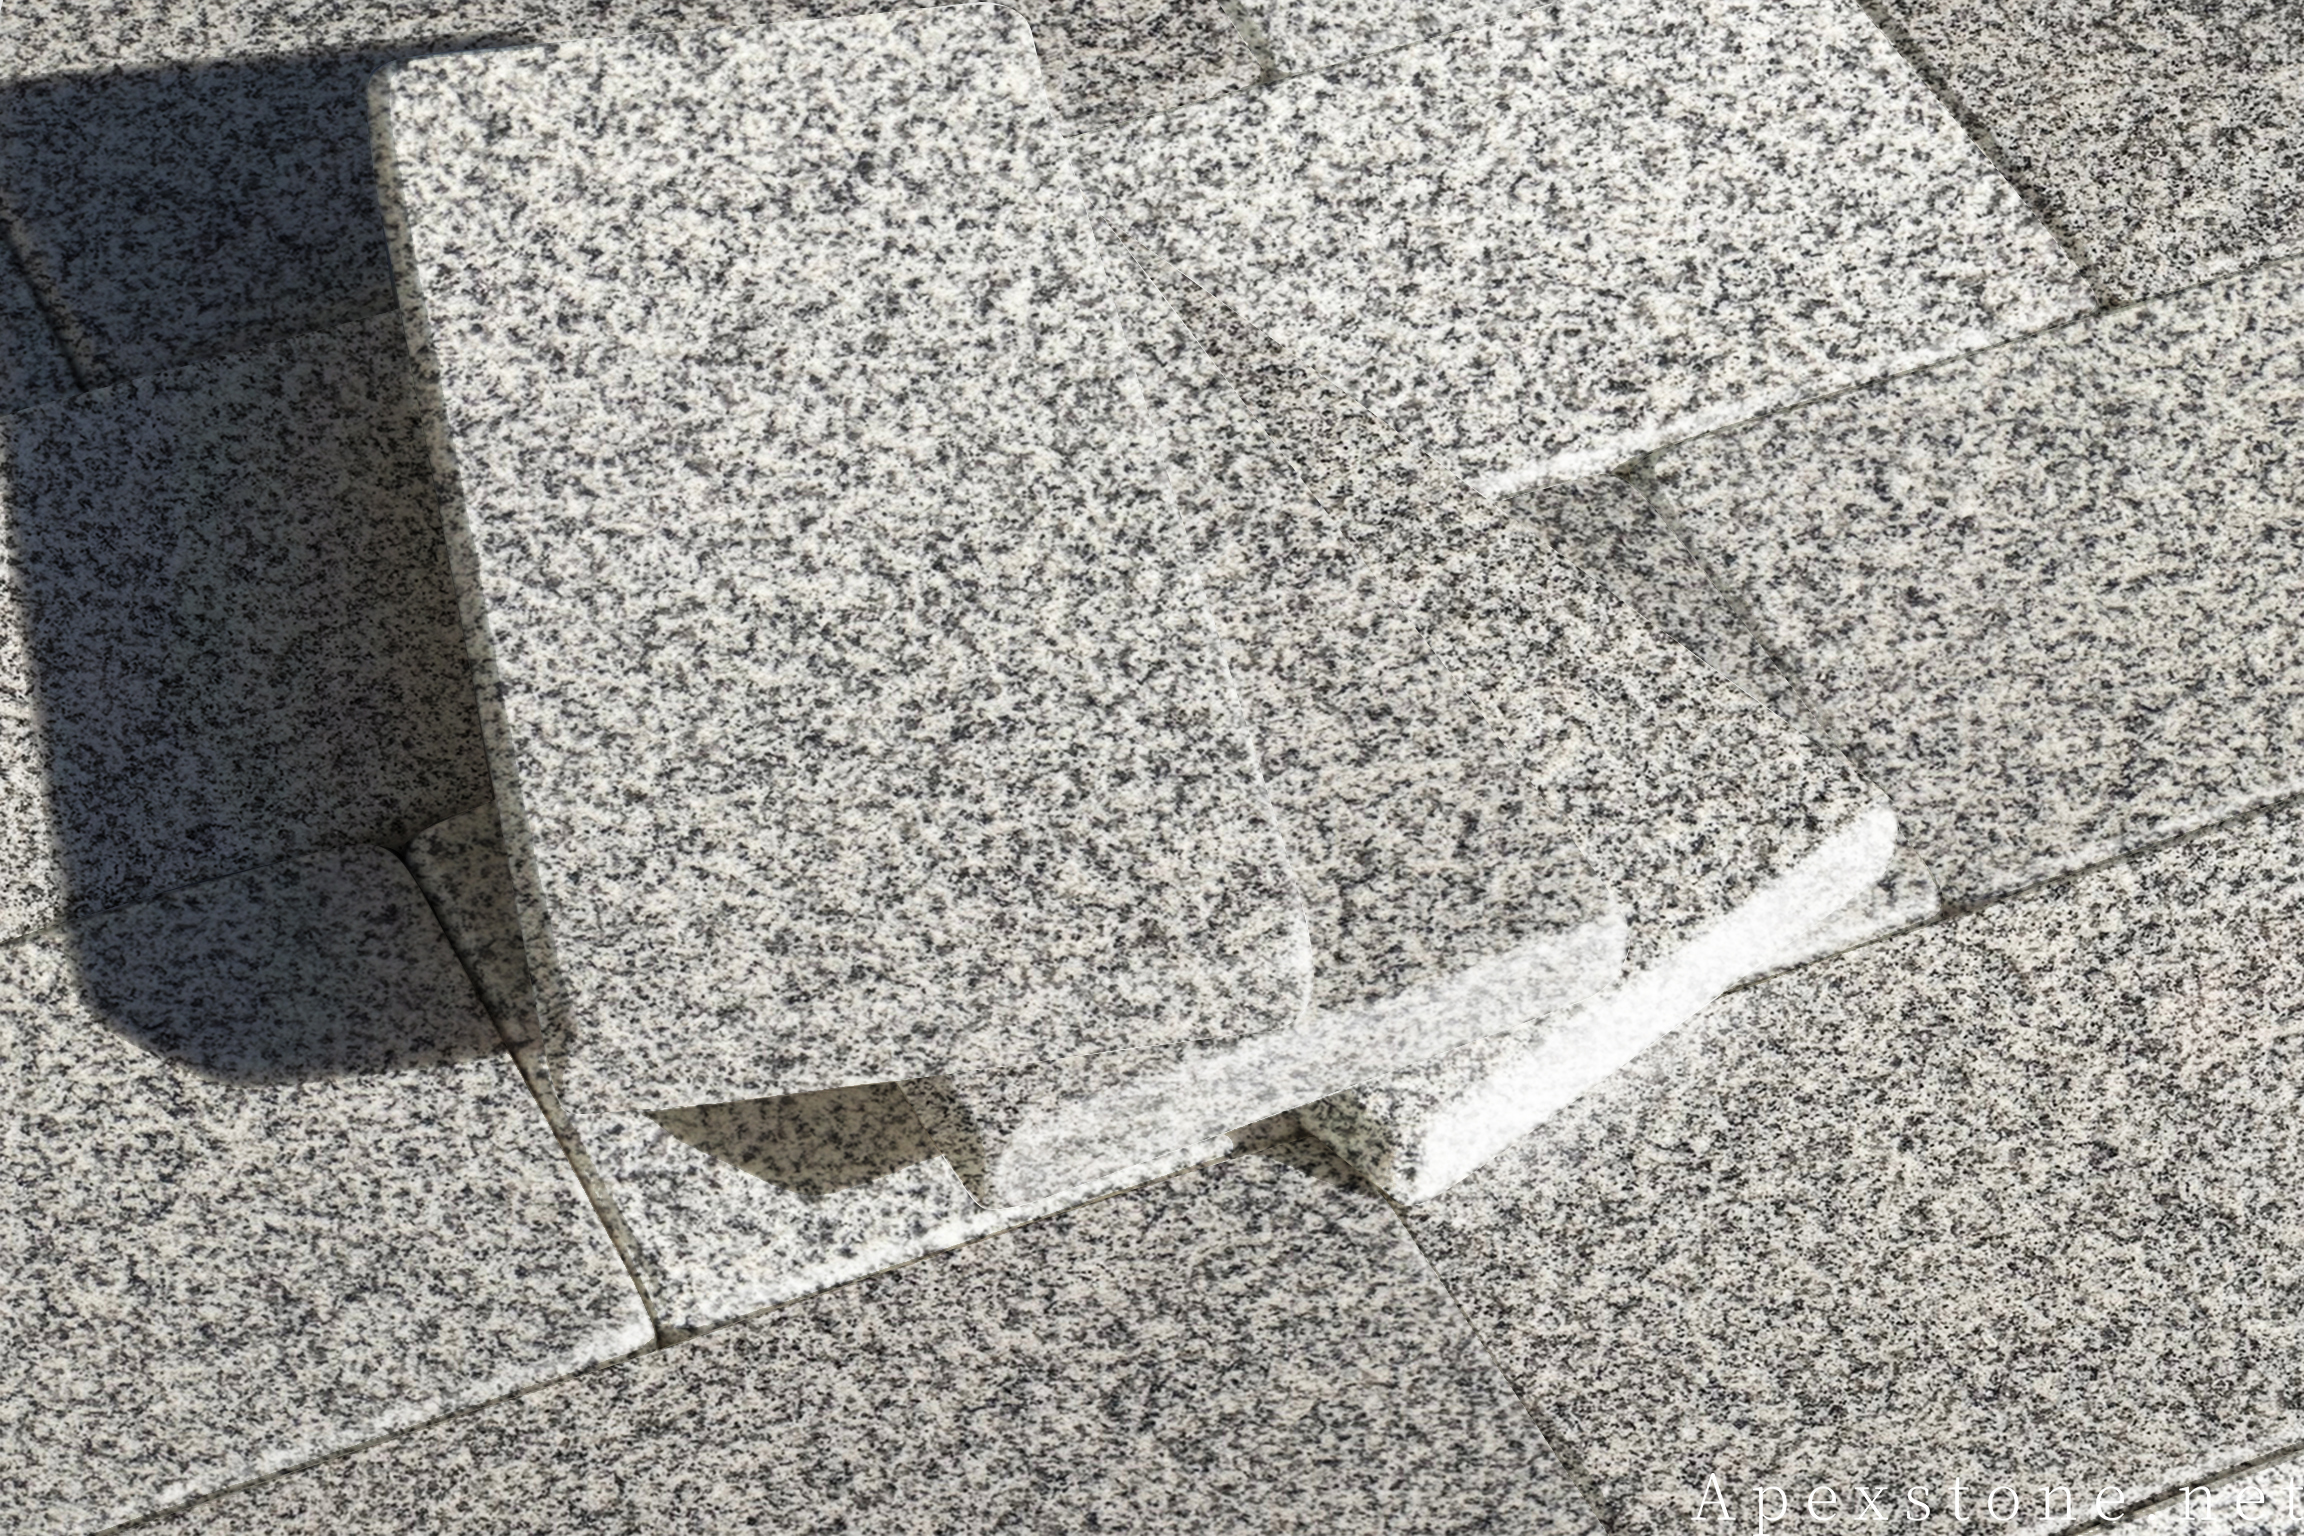
Because the pattern is even rather than directional, the stone forgives the compromises real gardens demand. Cuts around tree roots, curves along a border, and mixed formats all disappear into the grain. Standard 24x24 pavers suit open terraces, 12x12 and 16x16 squares work for paths and secondary areas, and 6x9 or 4x9 setts handle borders, aprons, and driveway transitions. A 2 inch thick paver carries vehicle loads where the paving crosses a driveway.
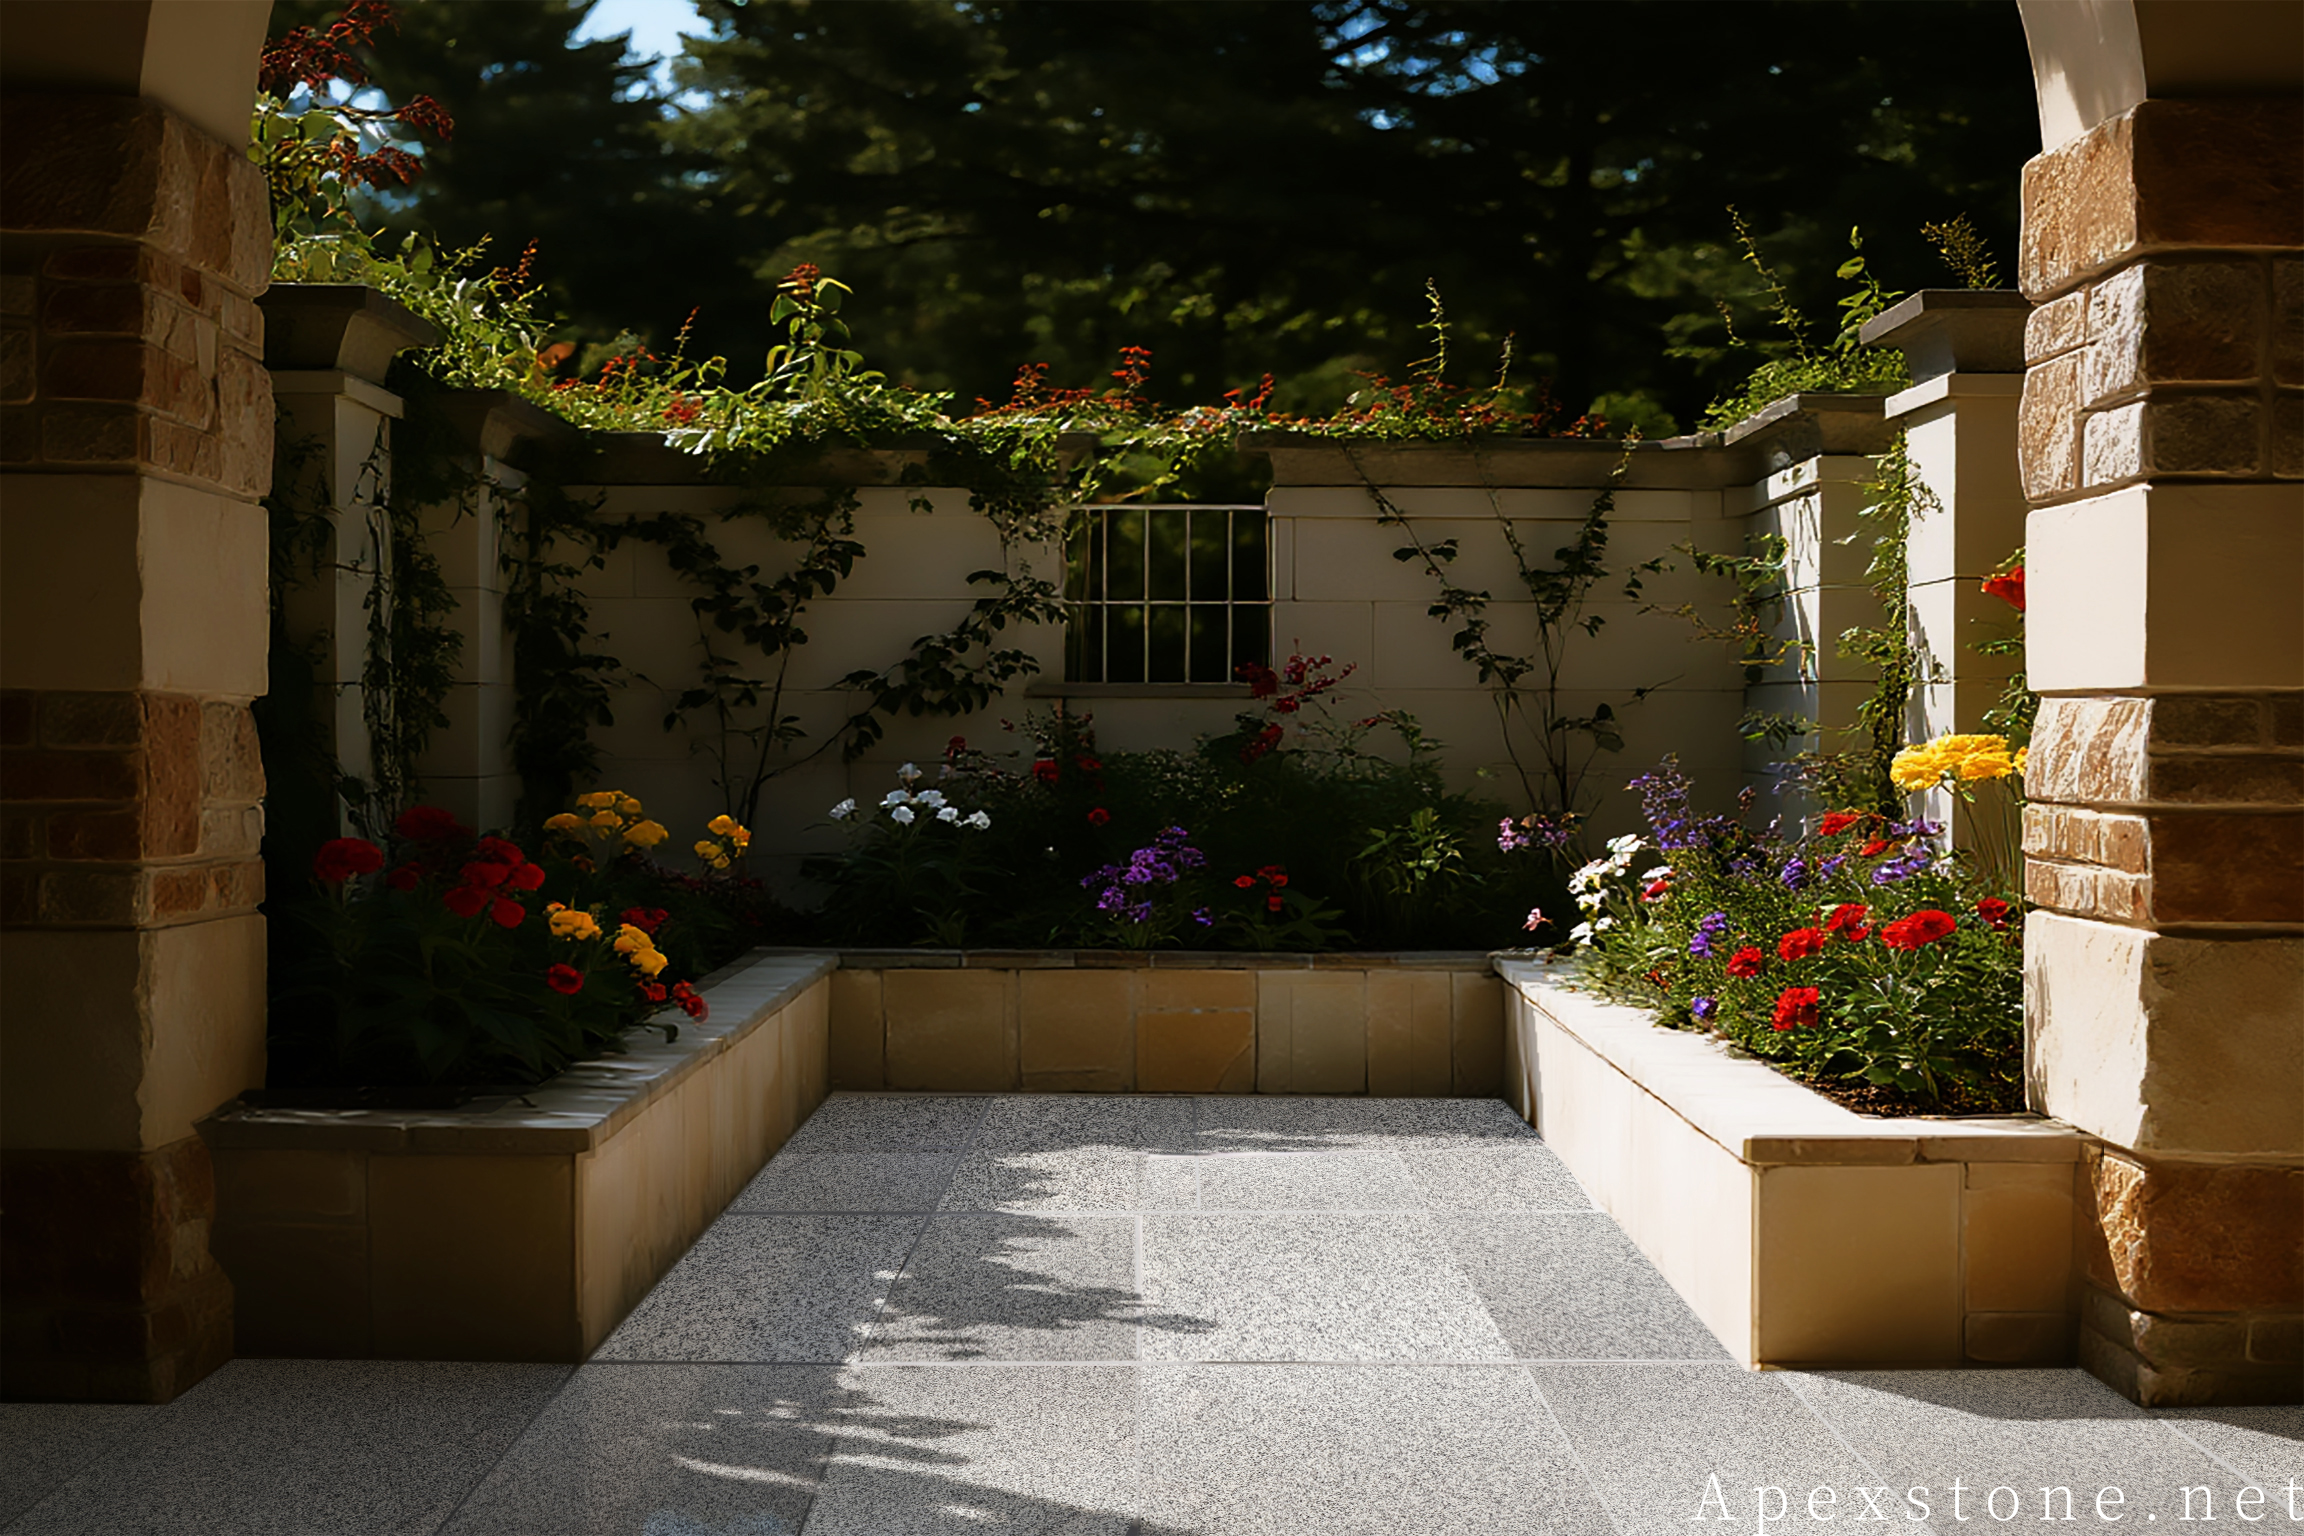
Garden Scenes
Six ways the same grey behaves outdoors
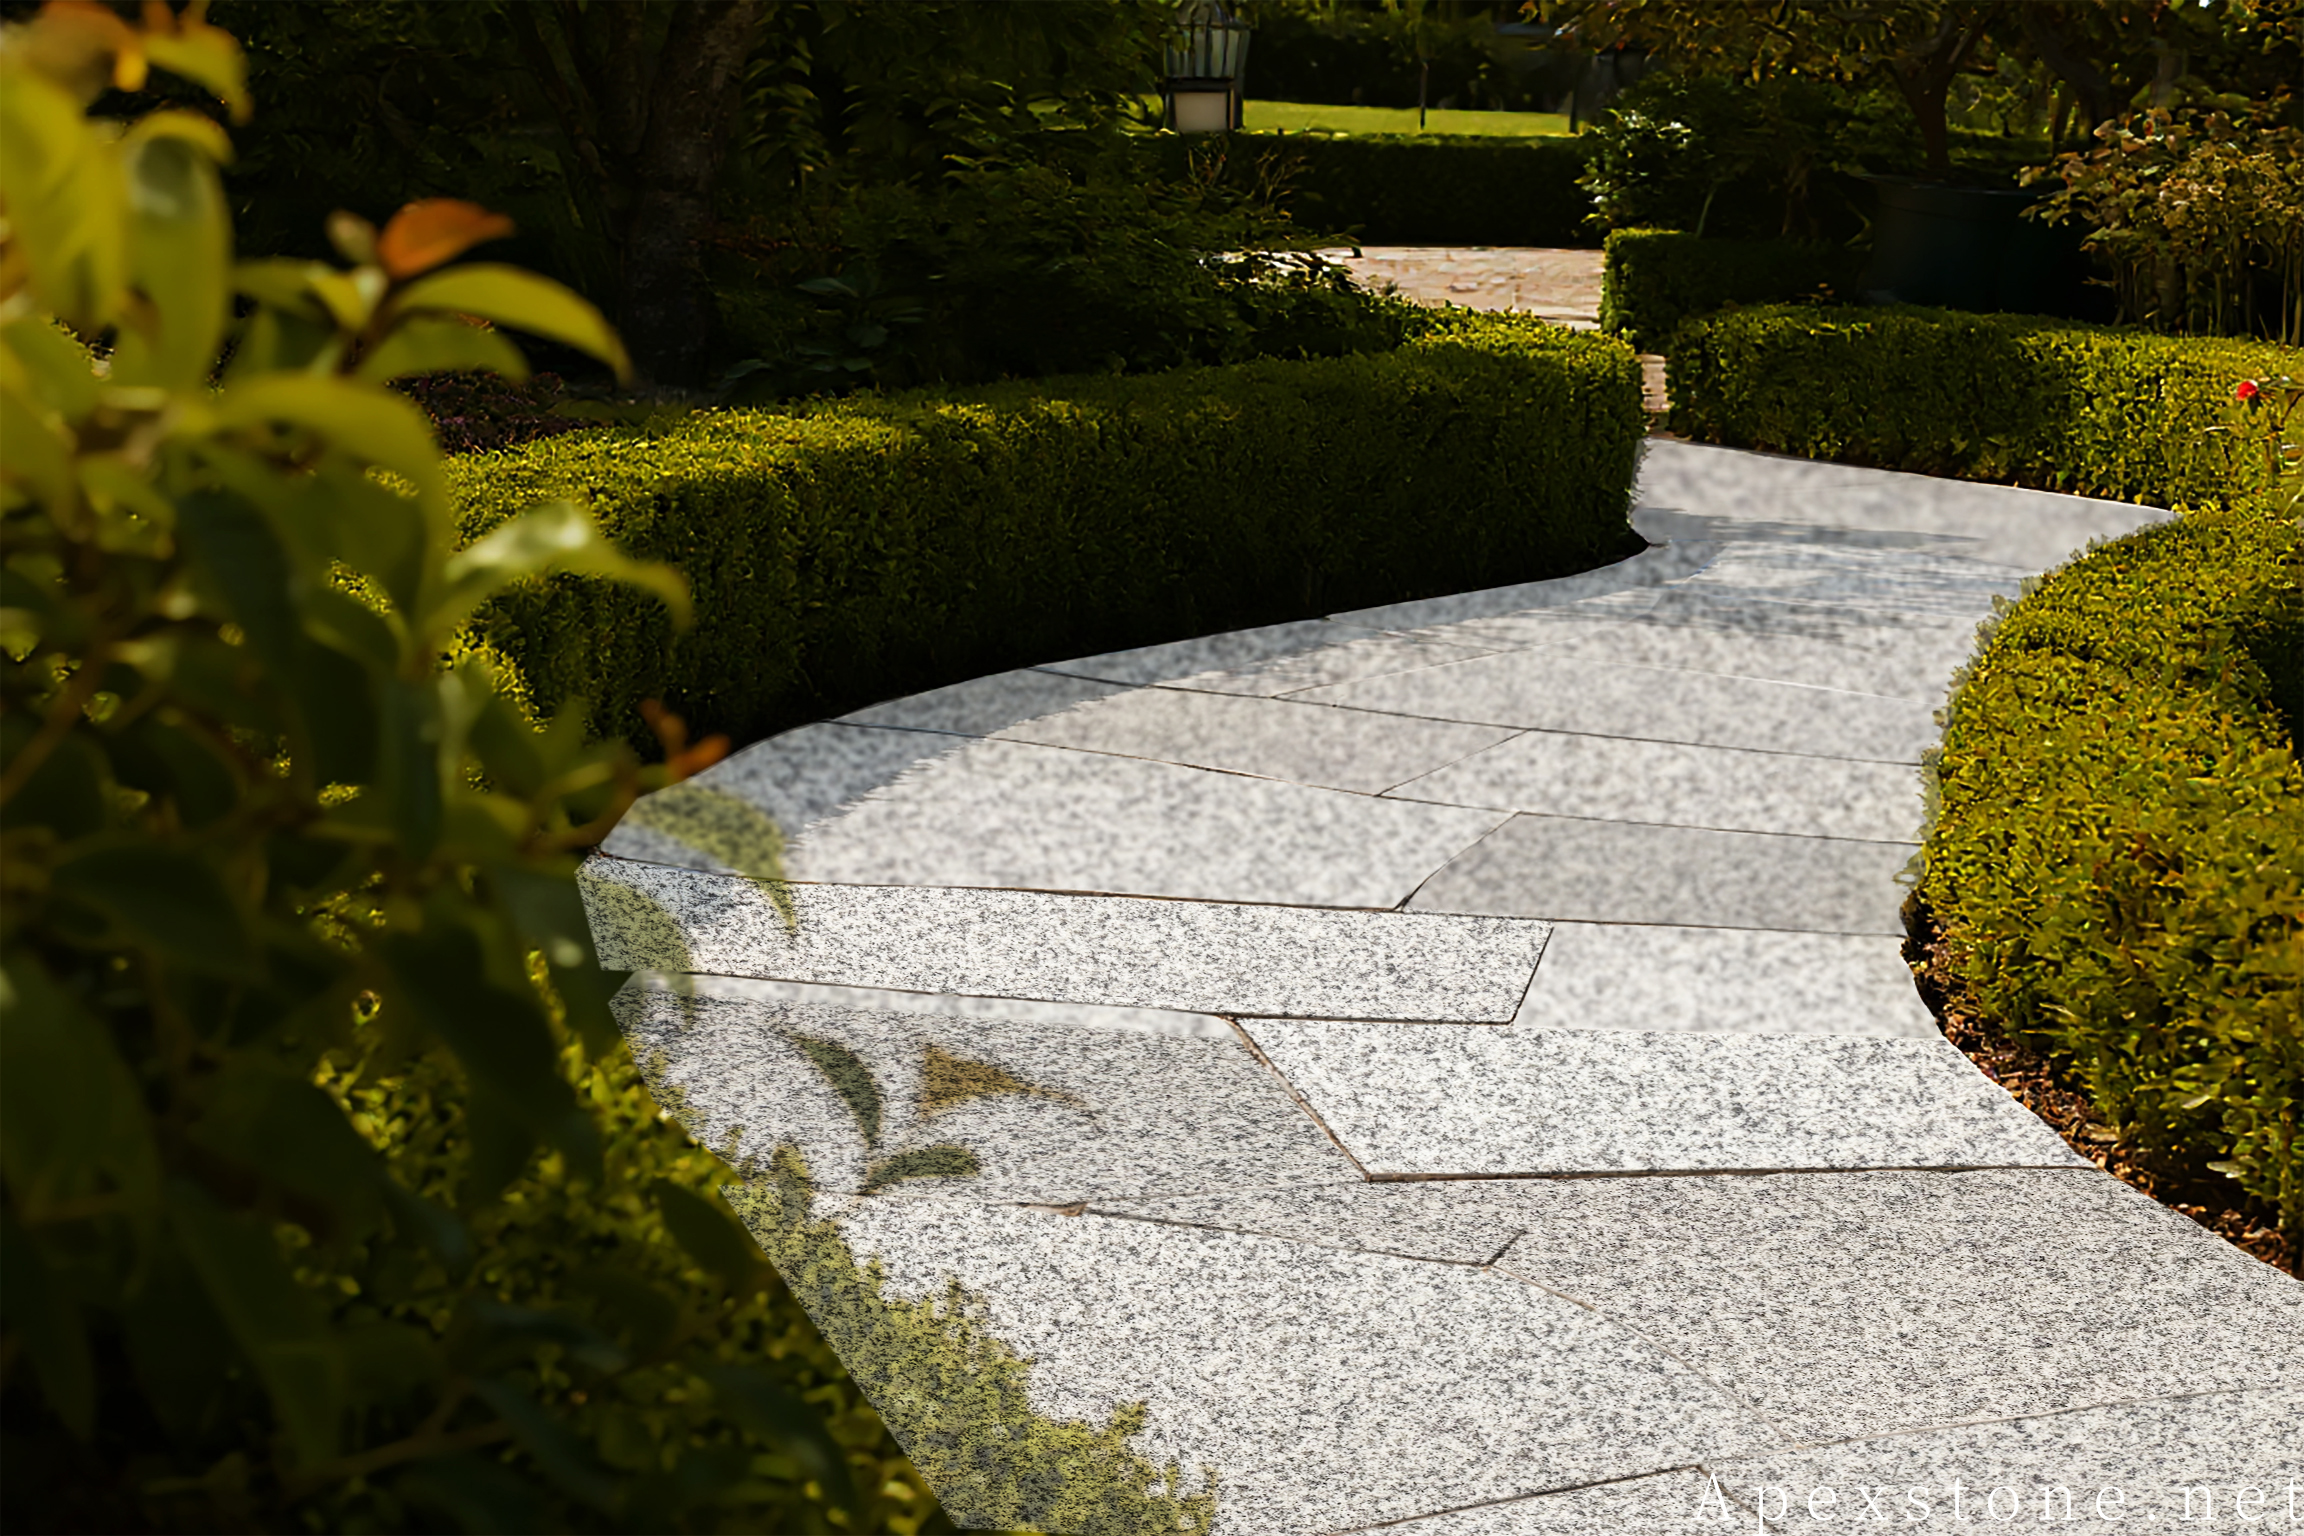
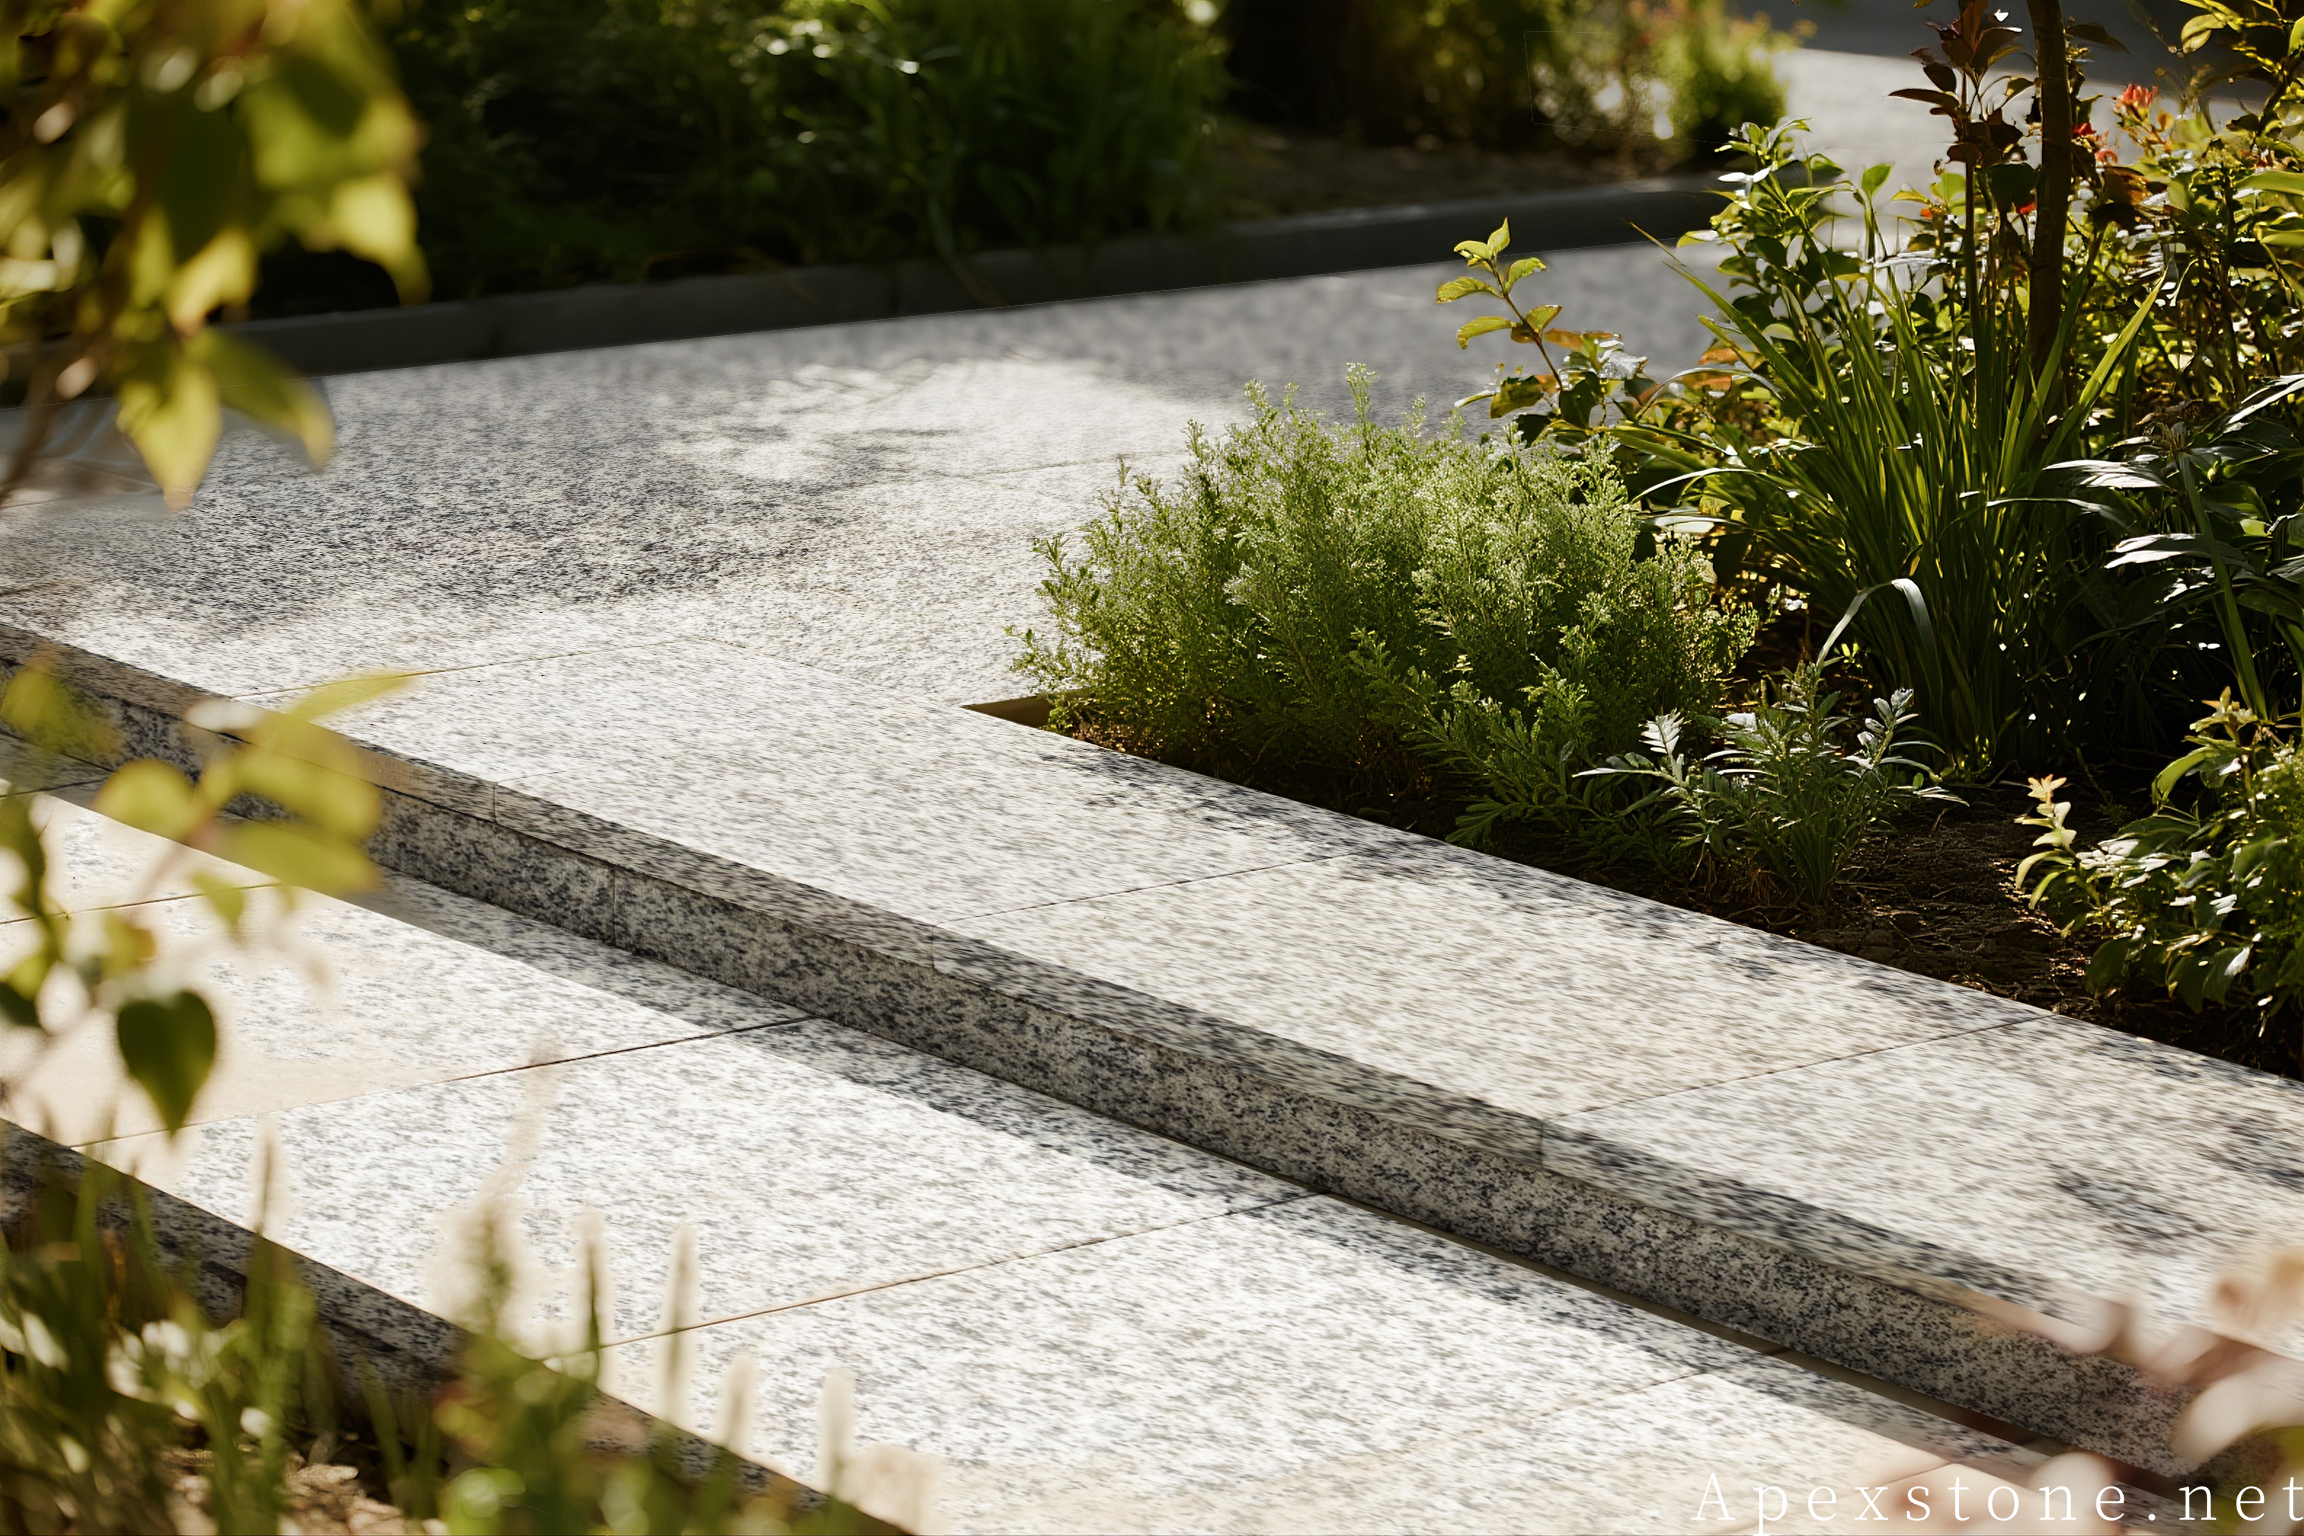
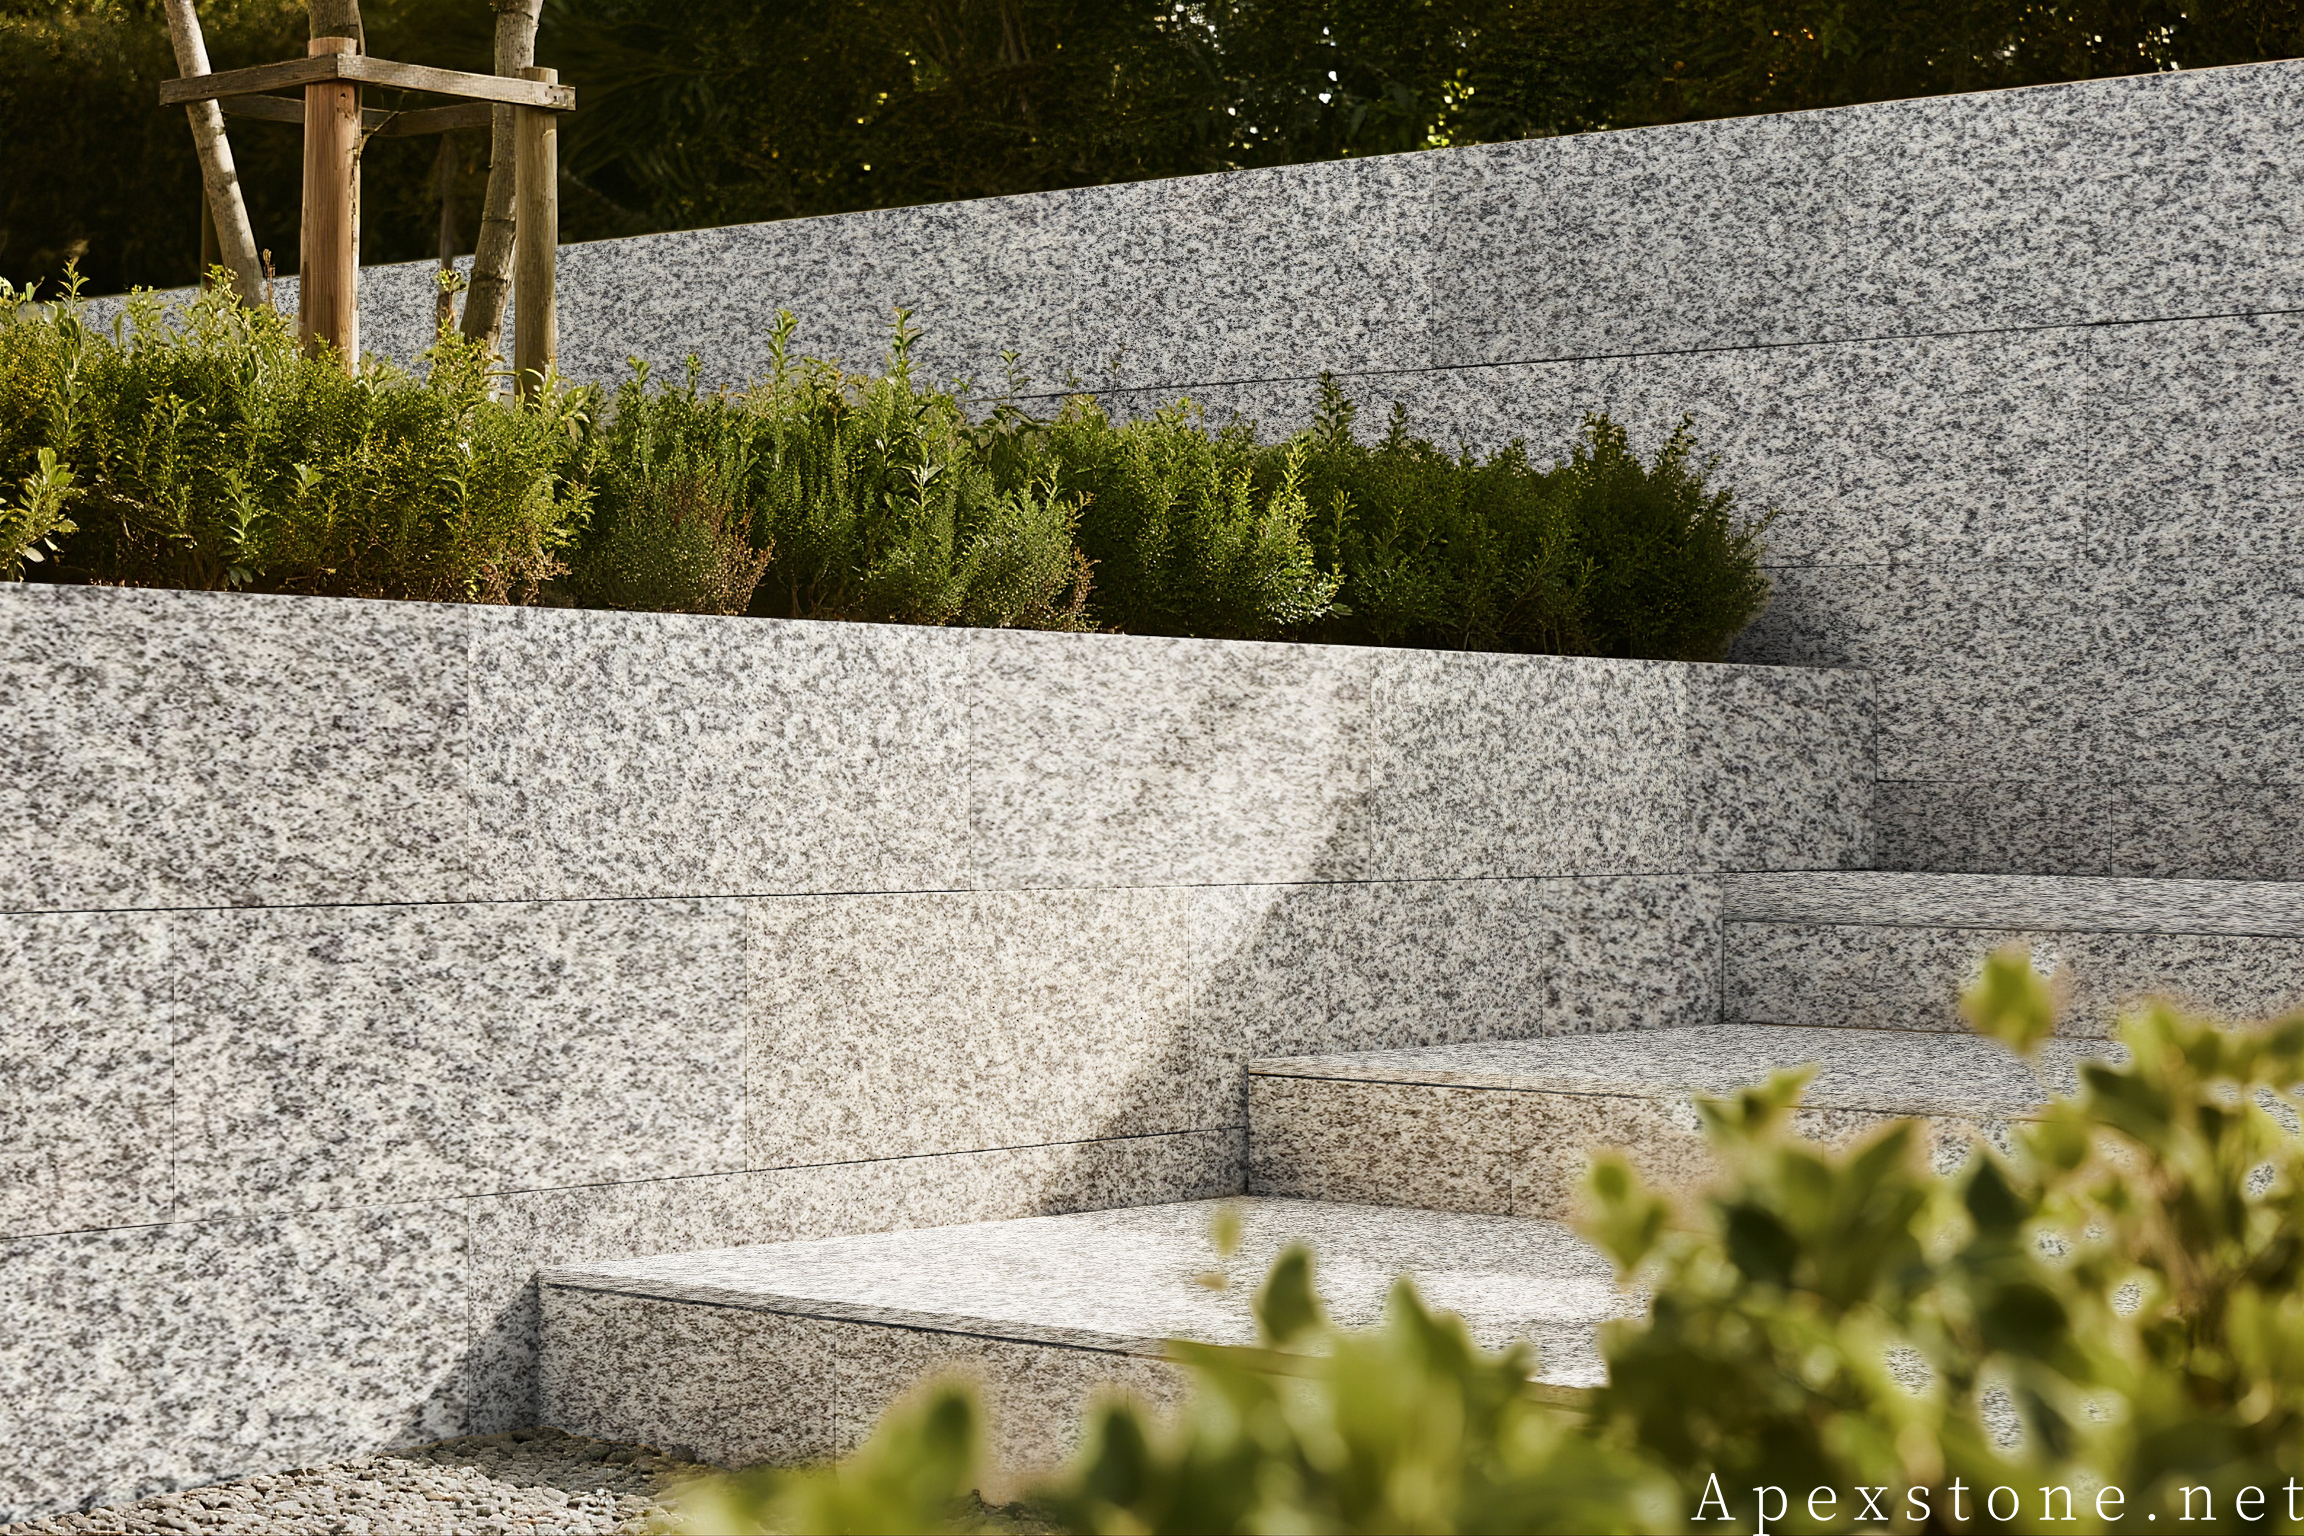
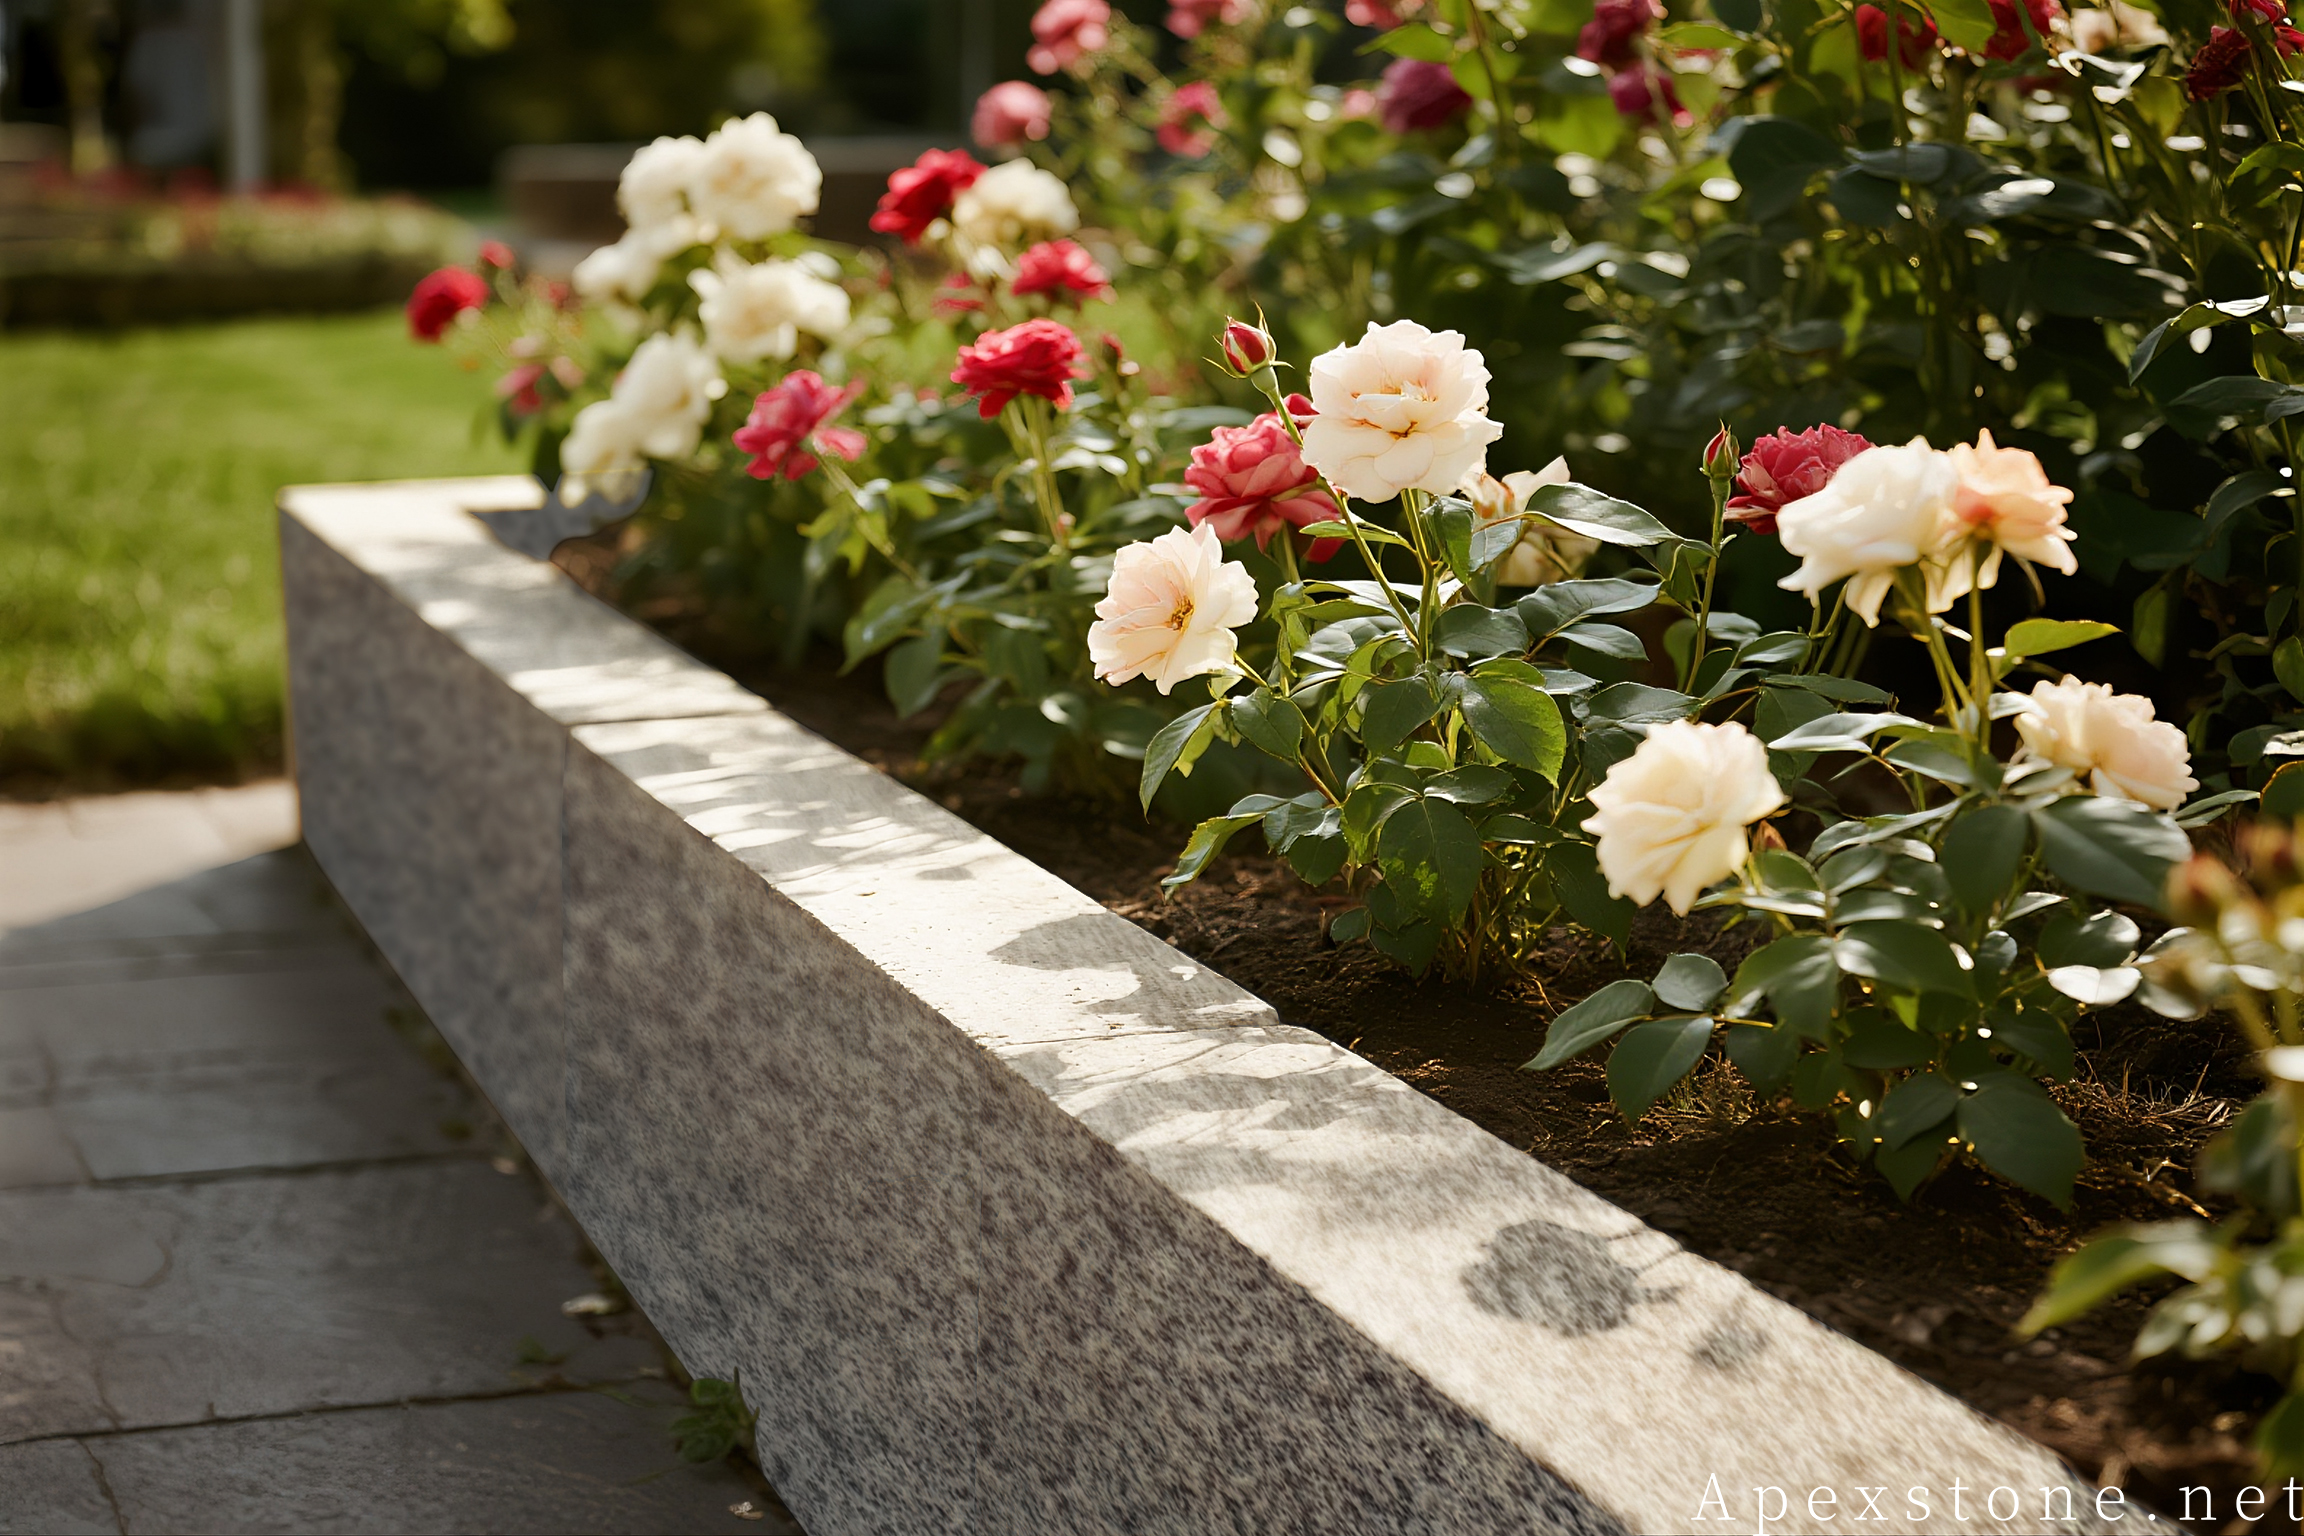
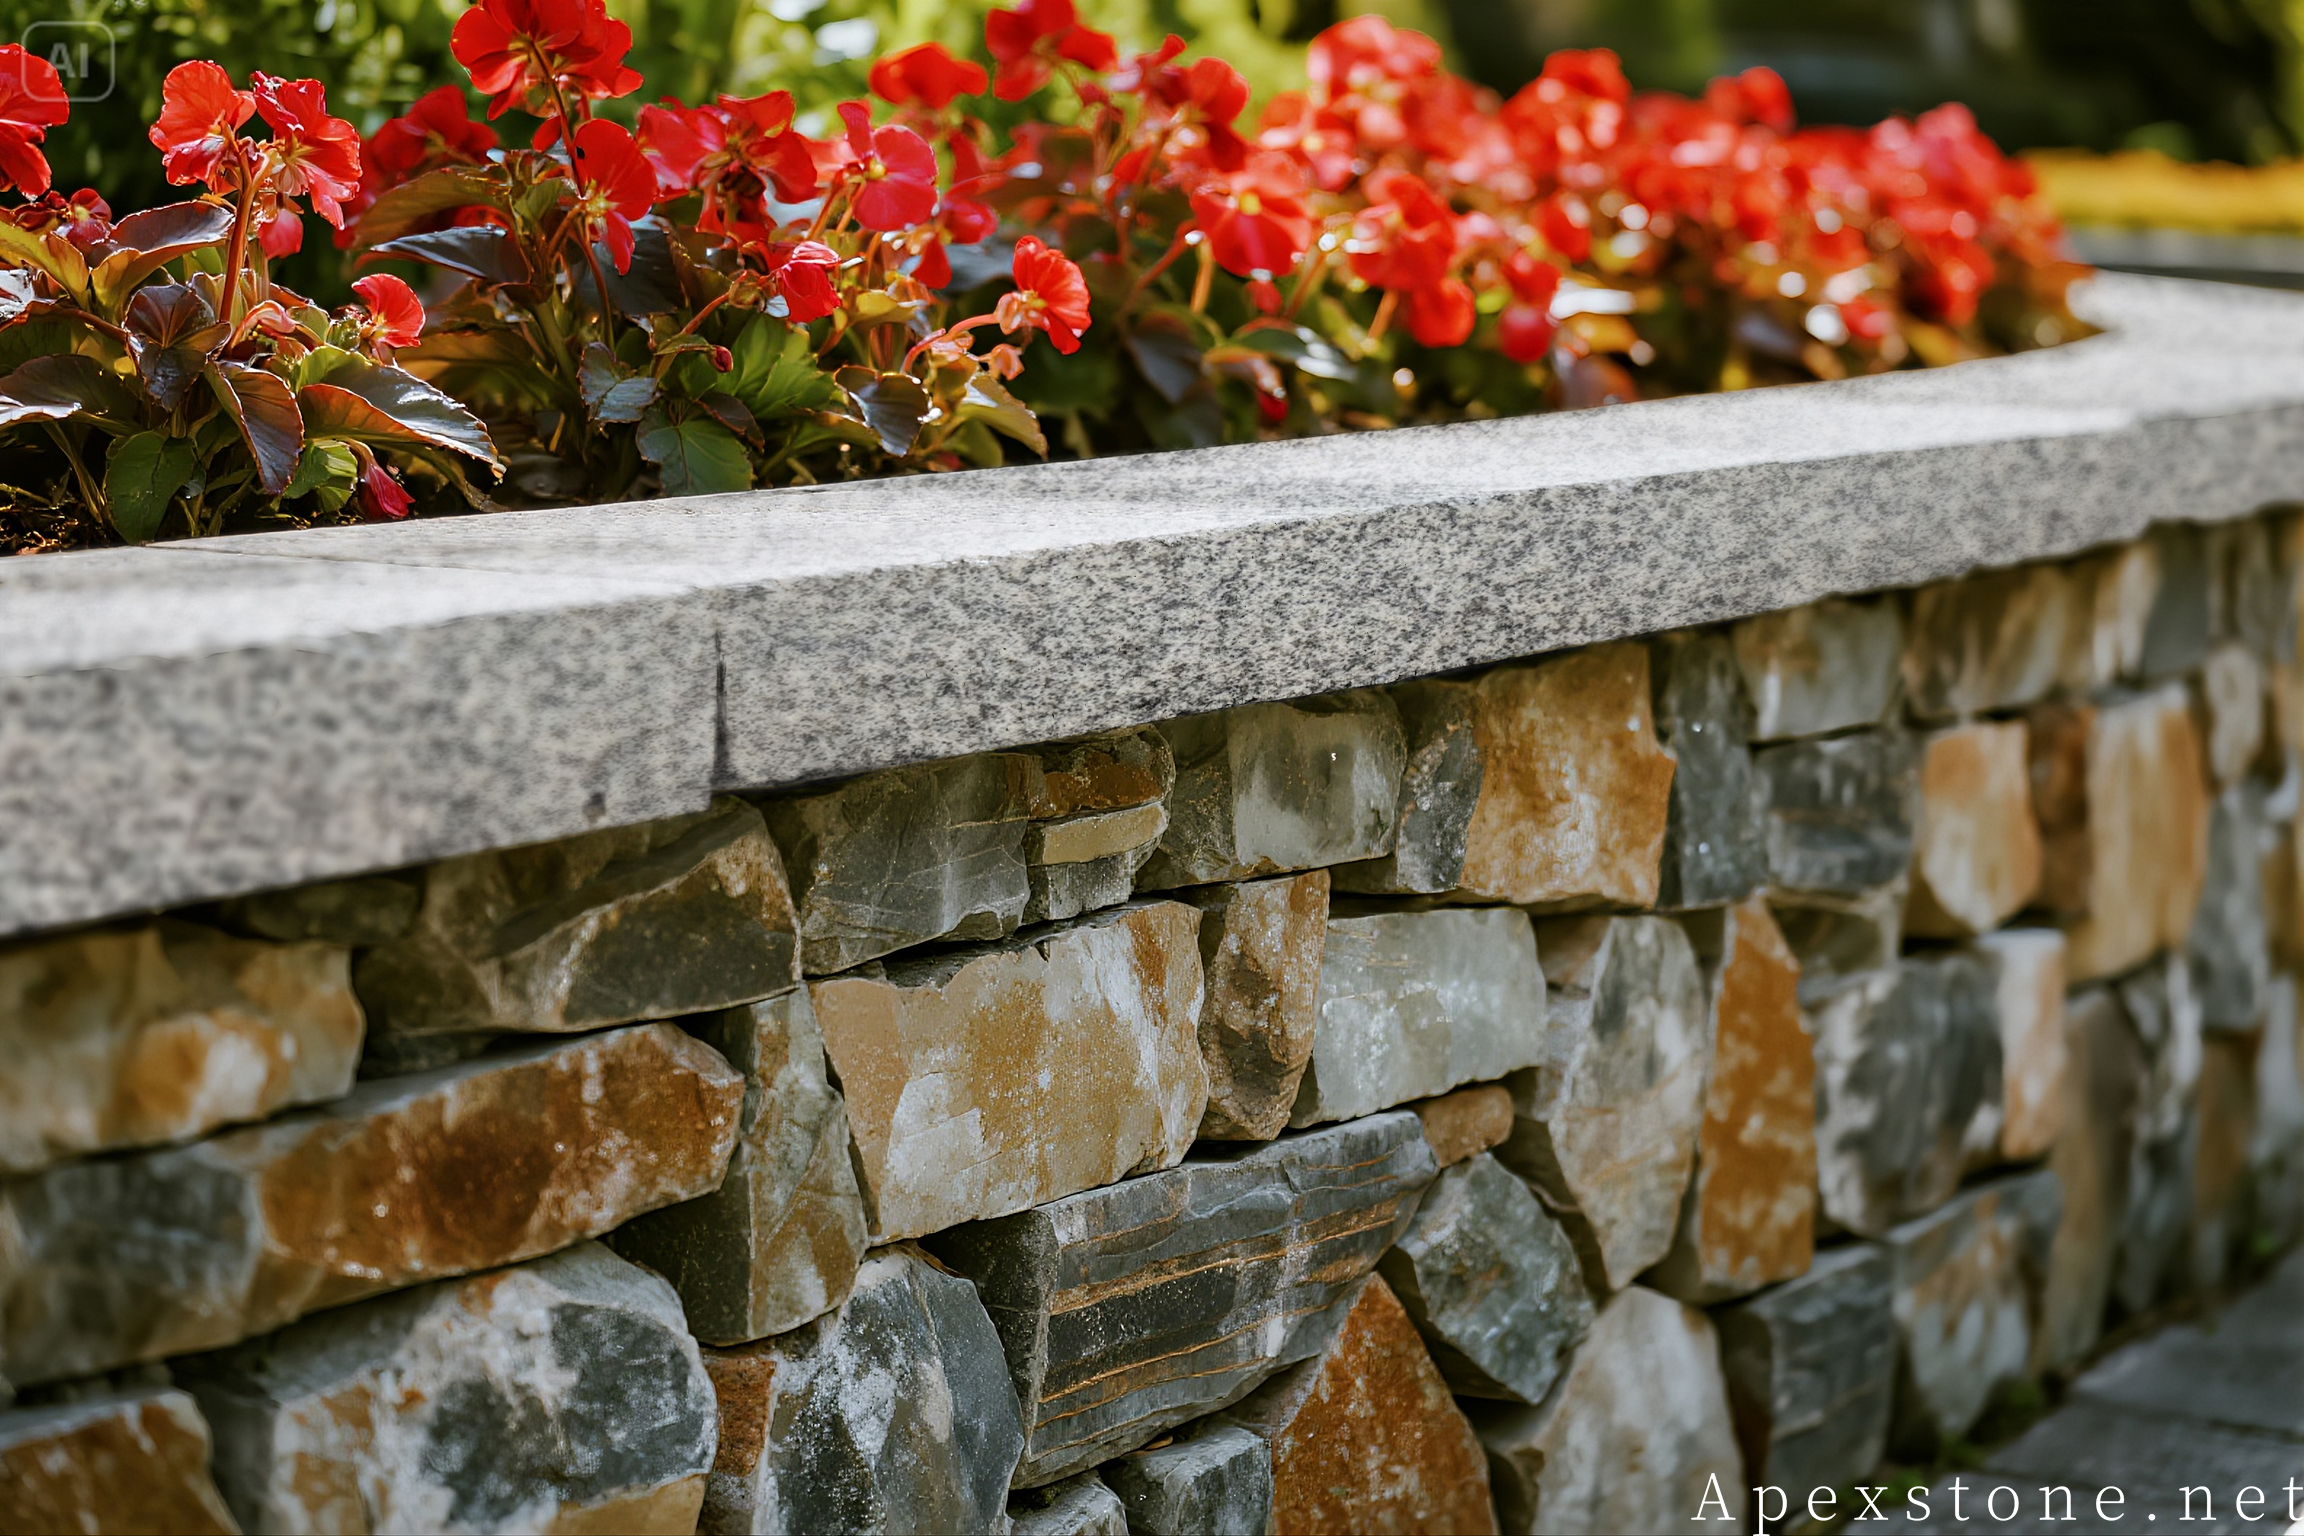
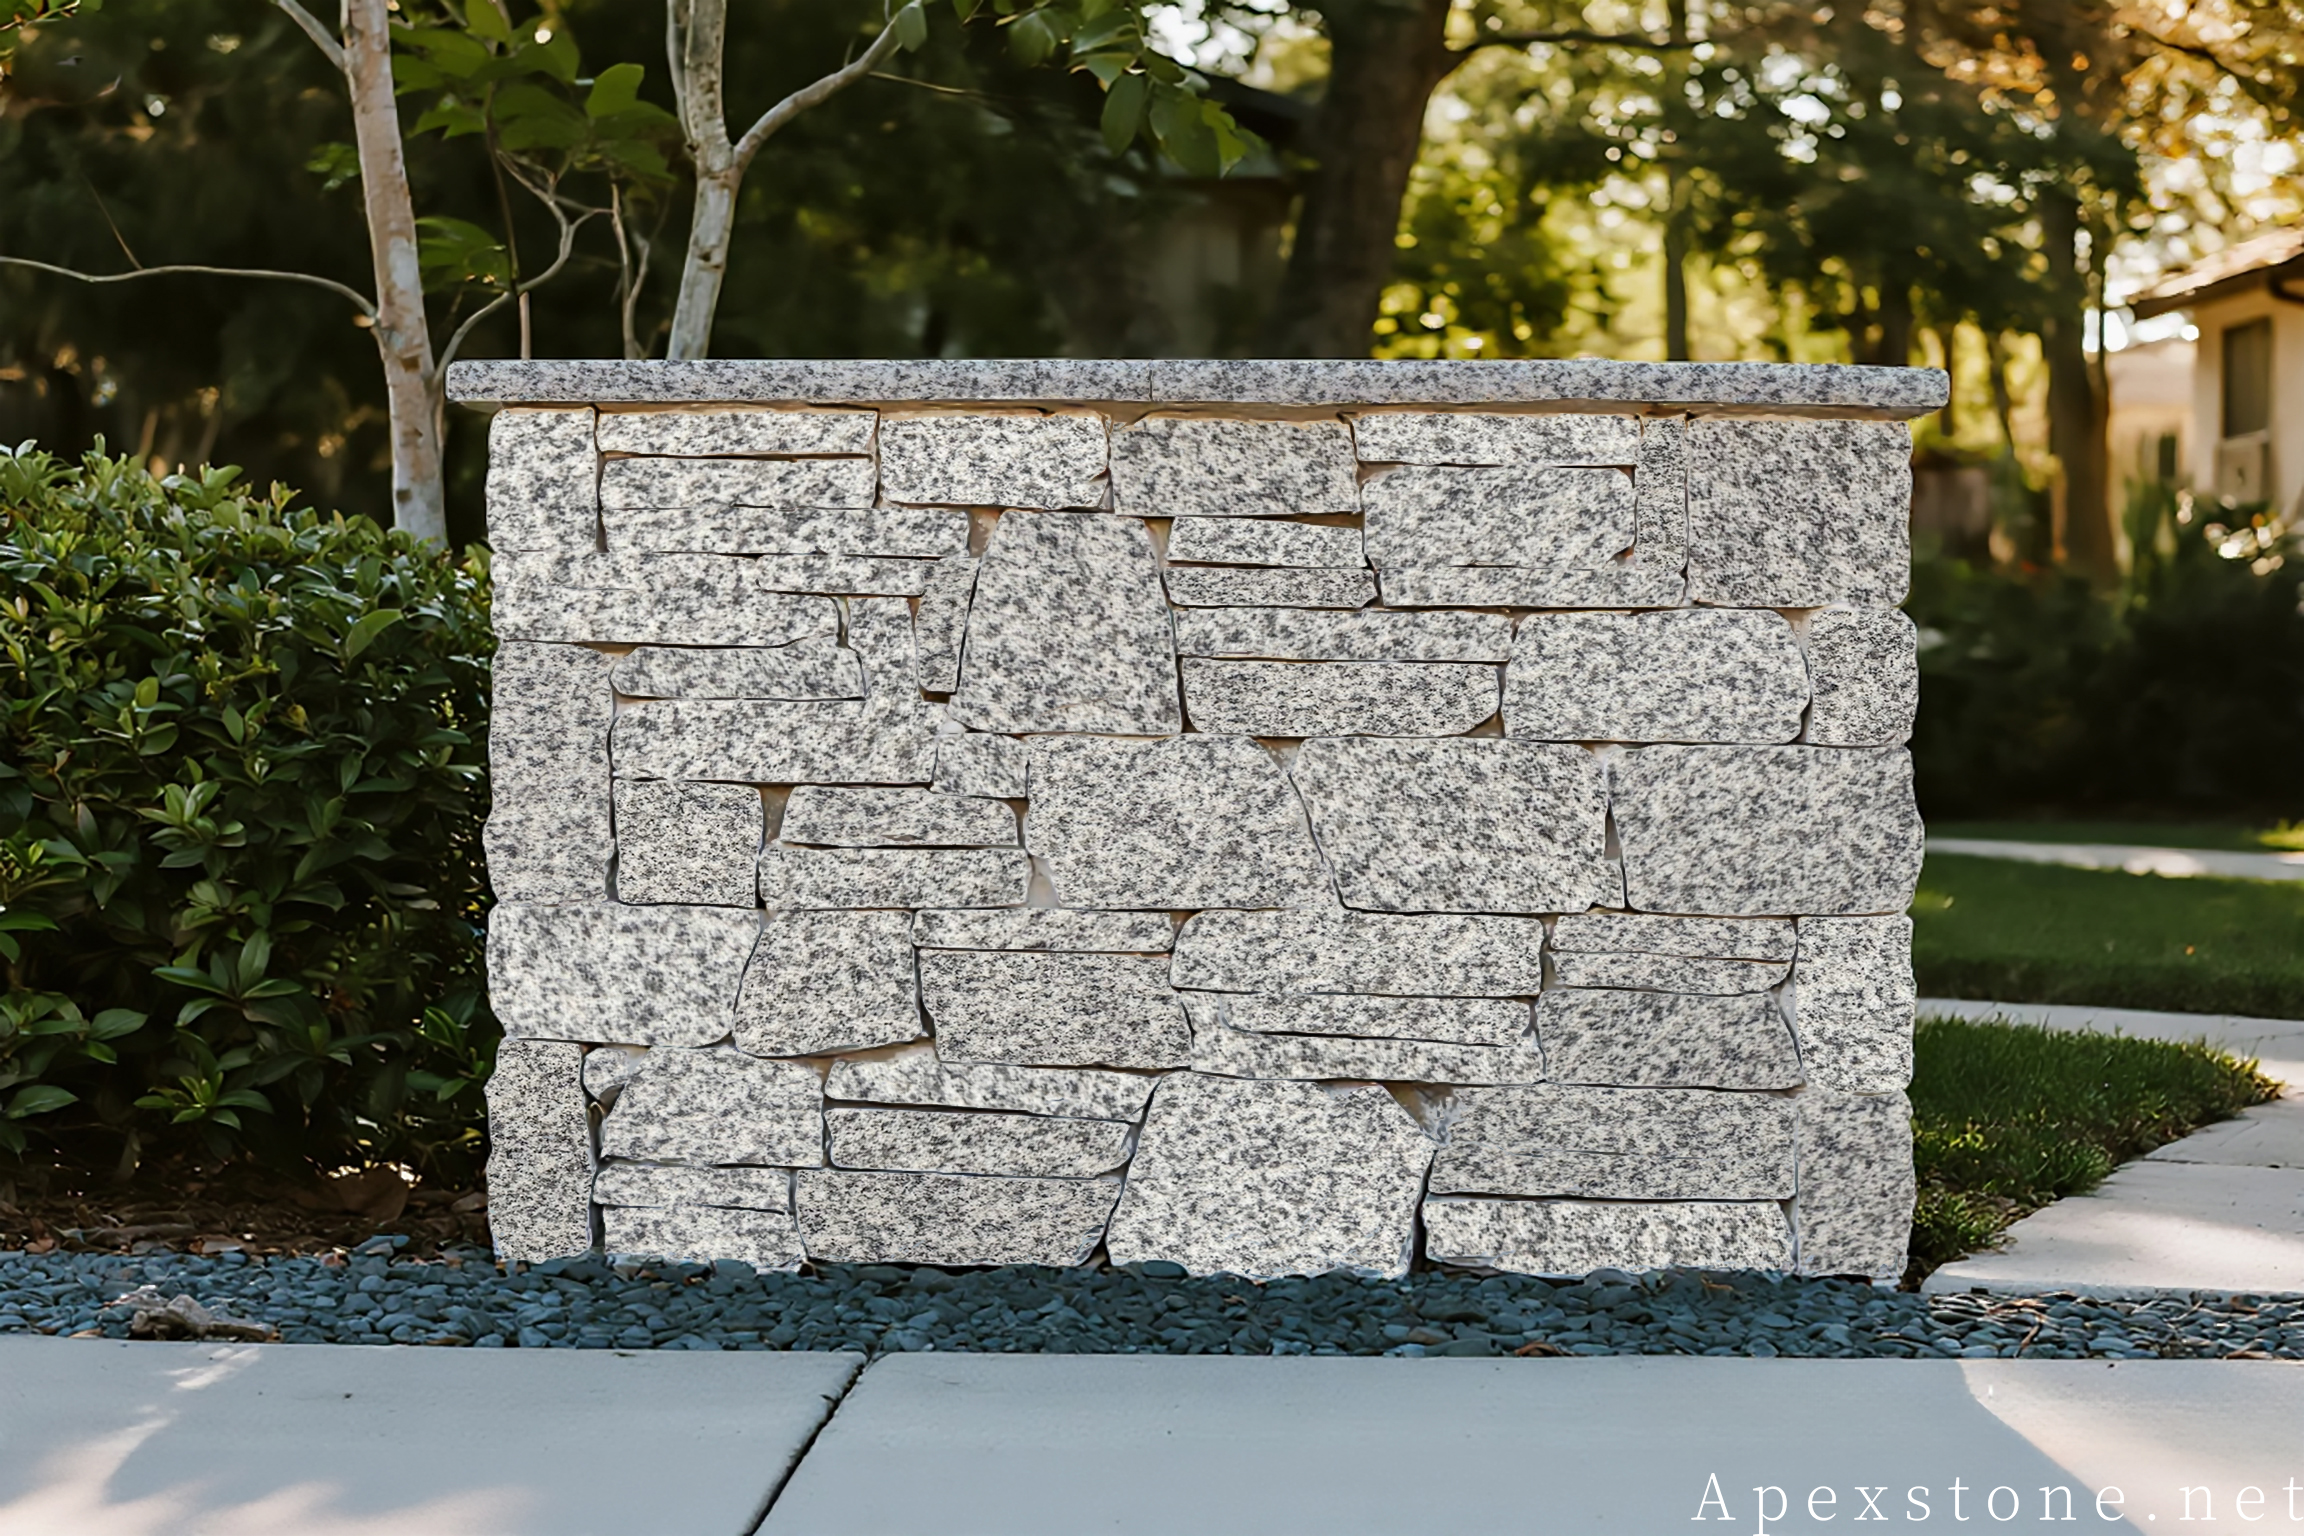
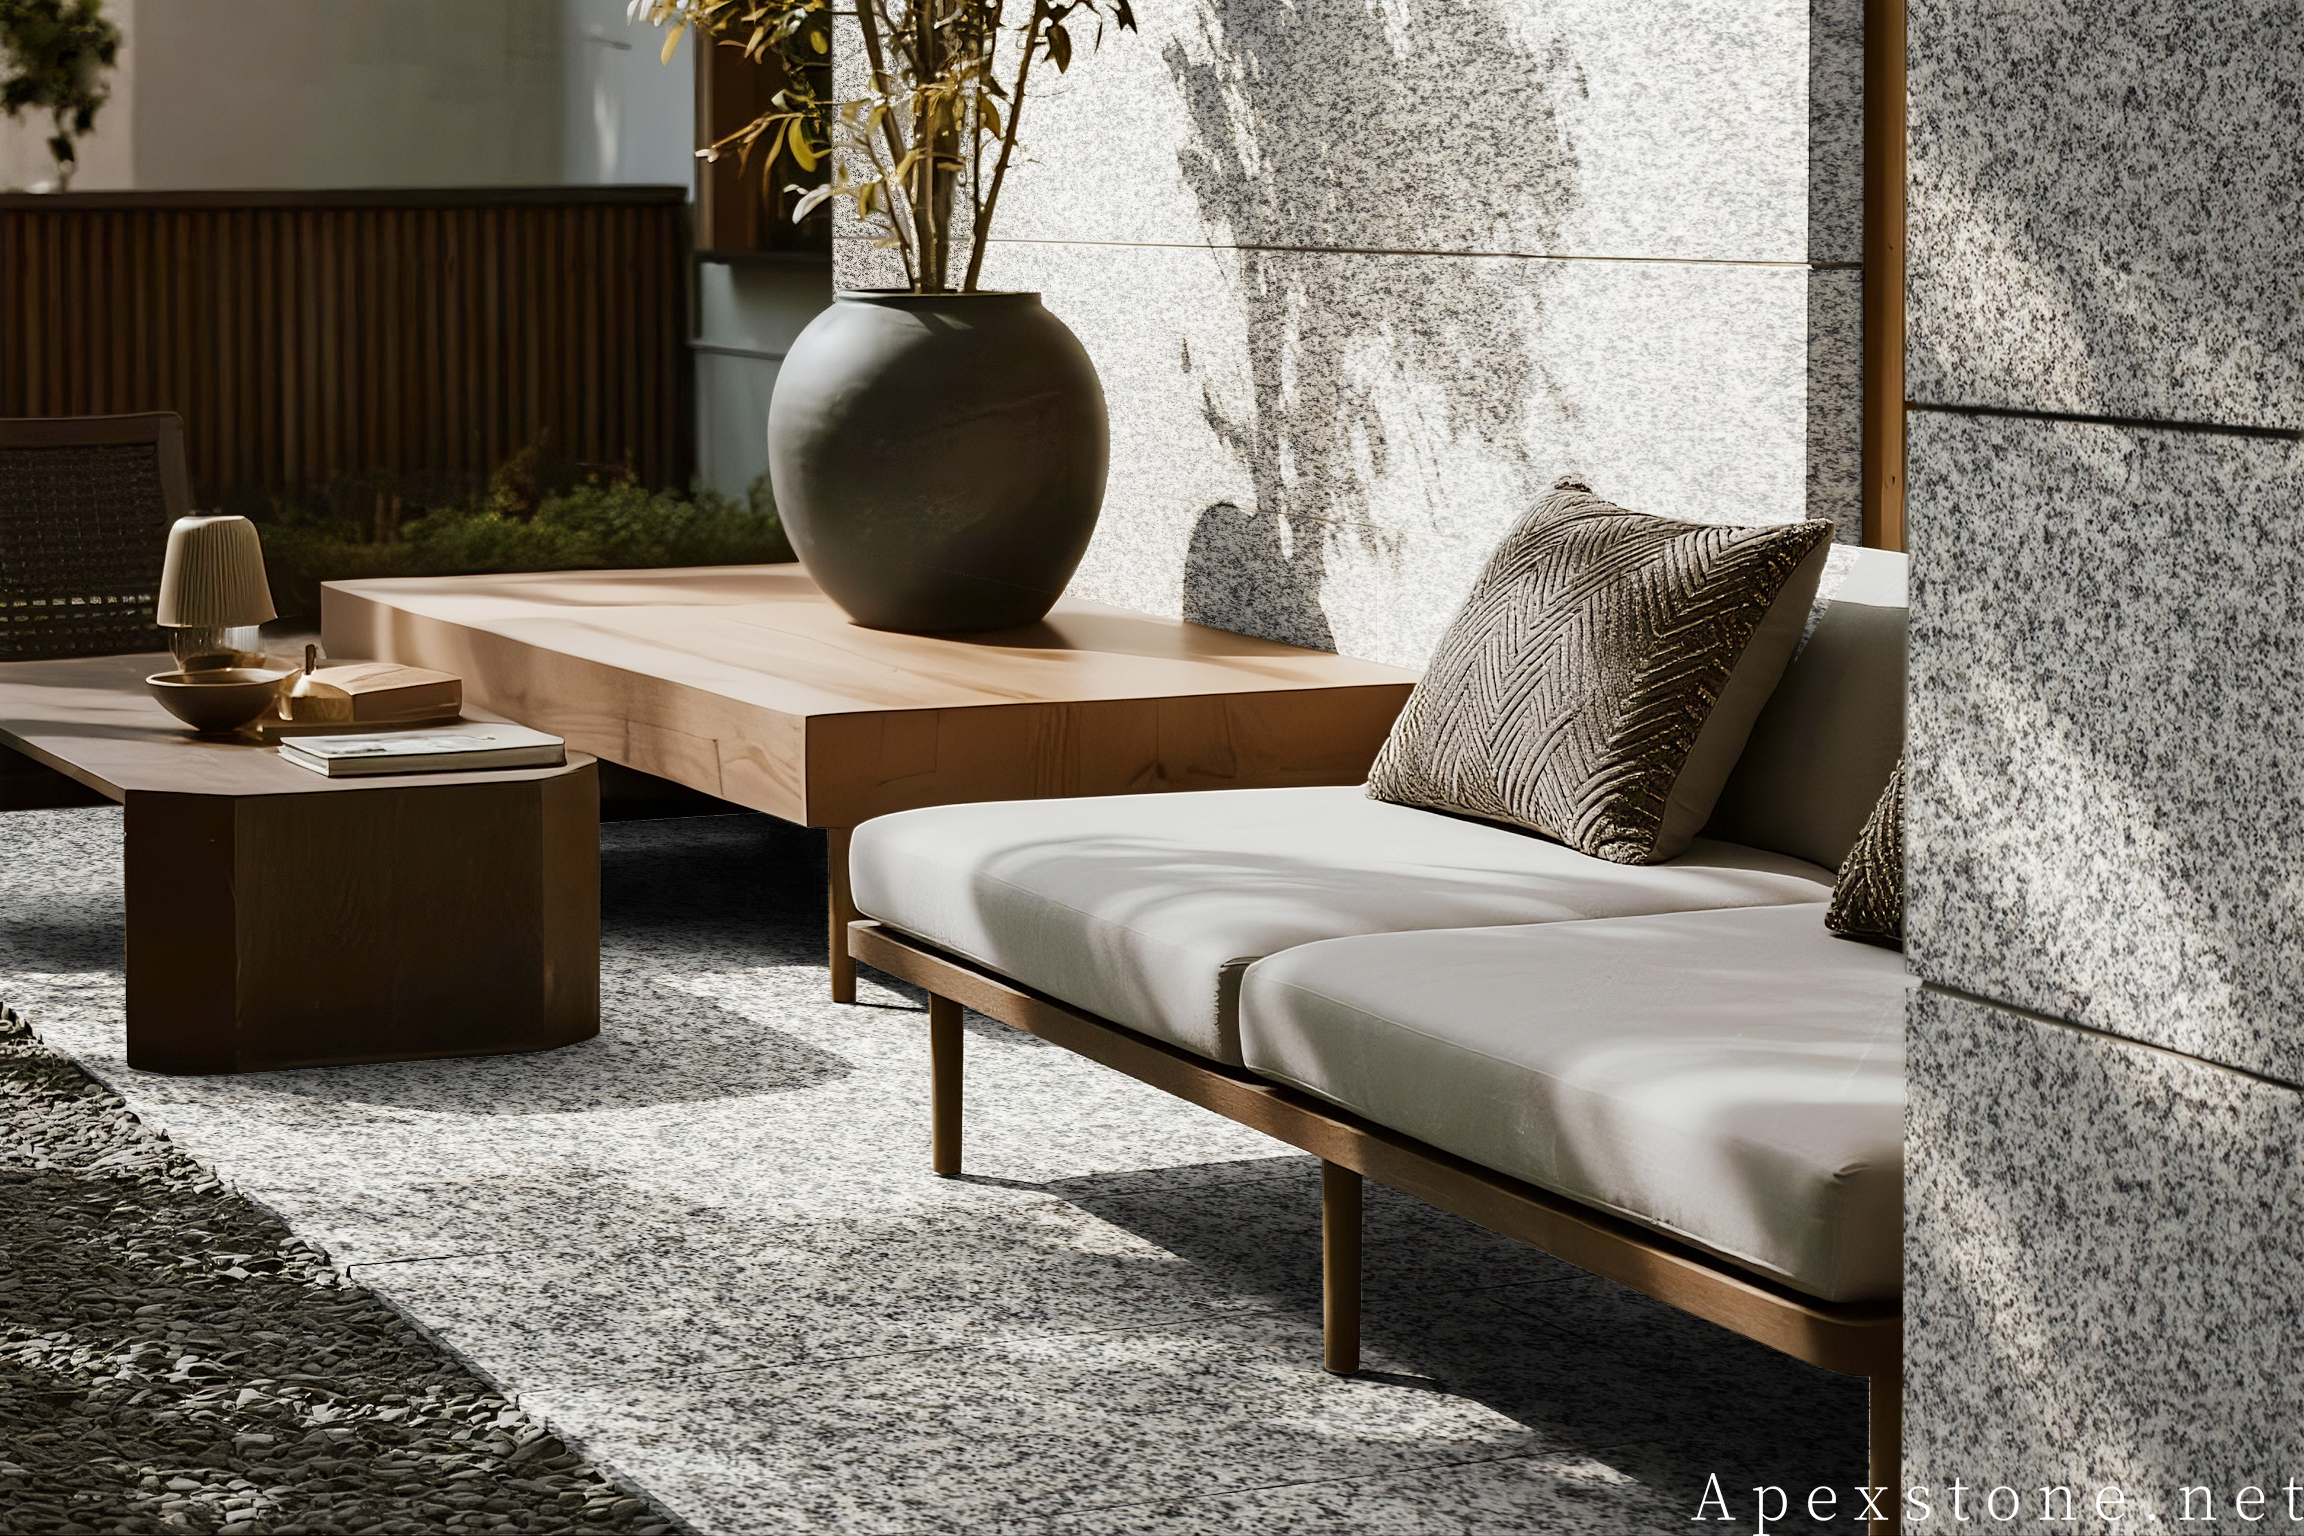
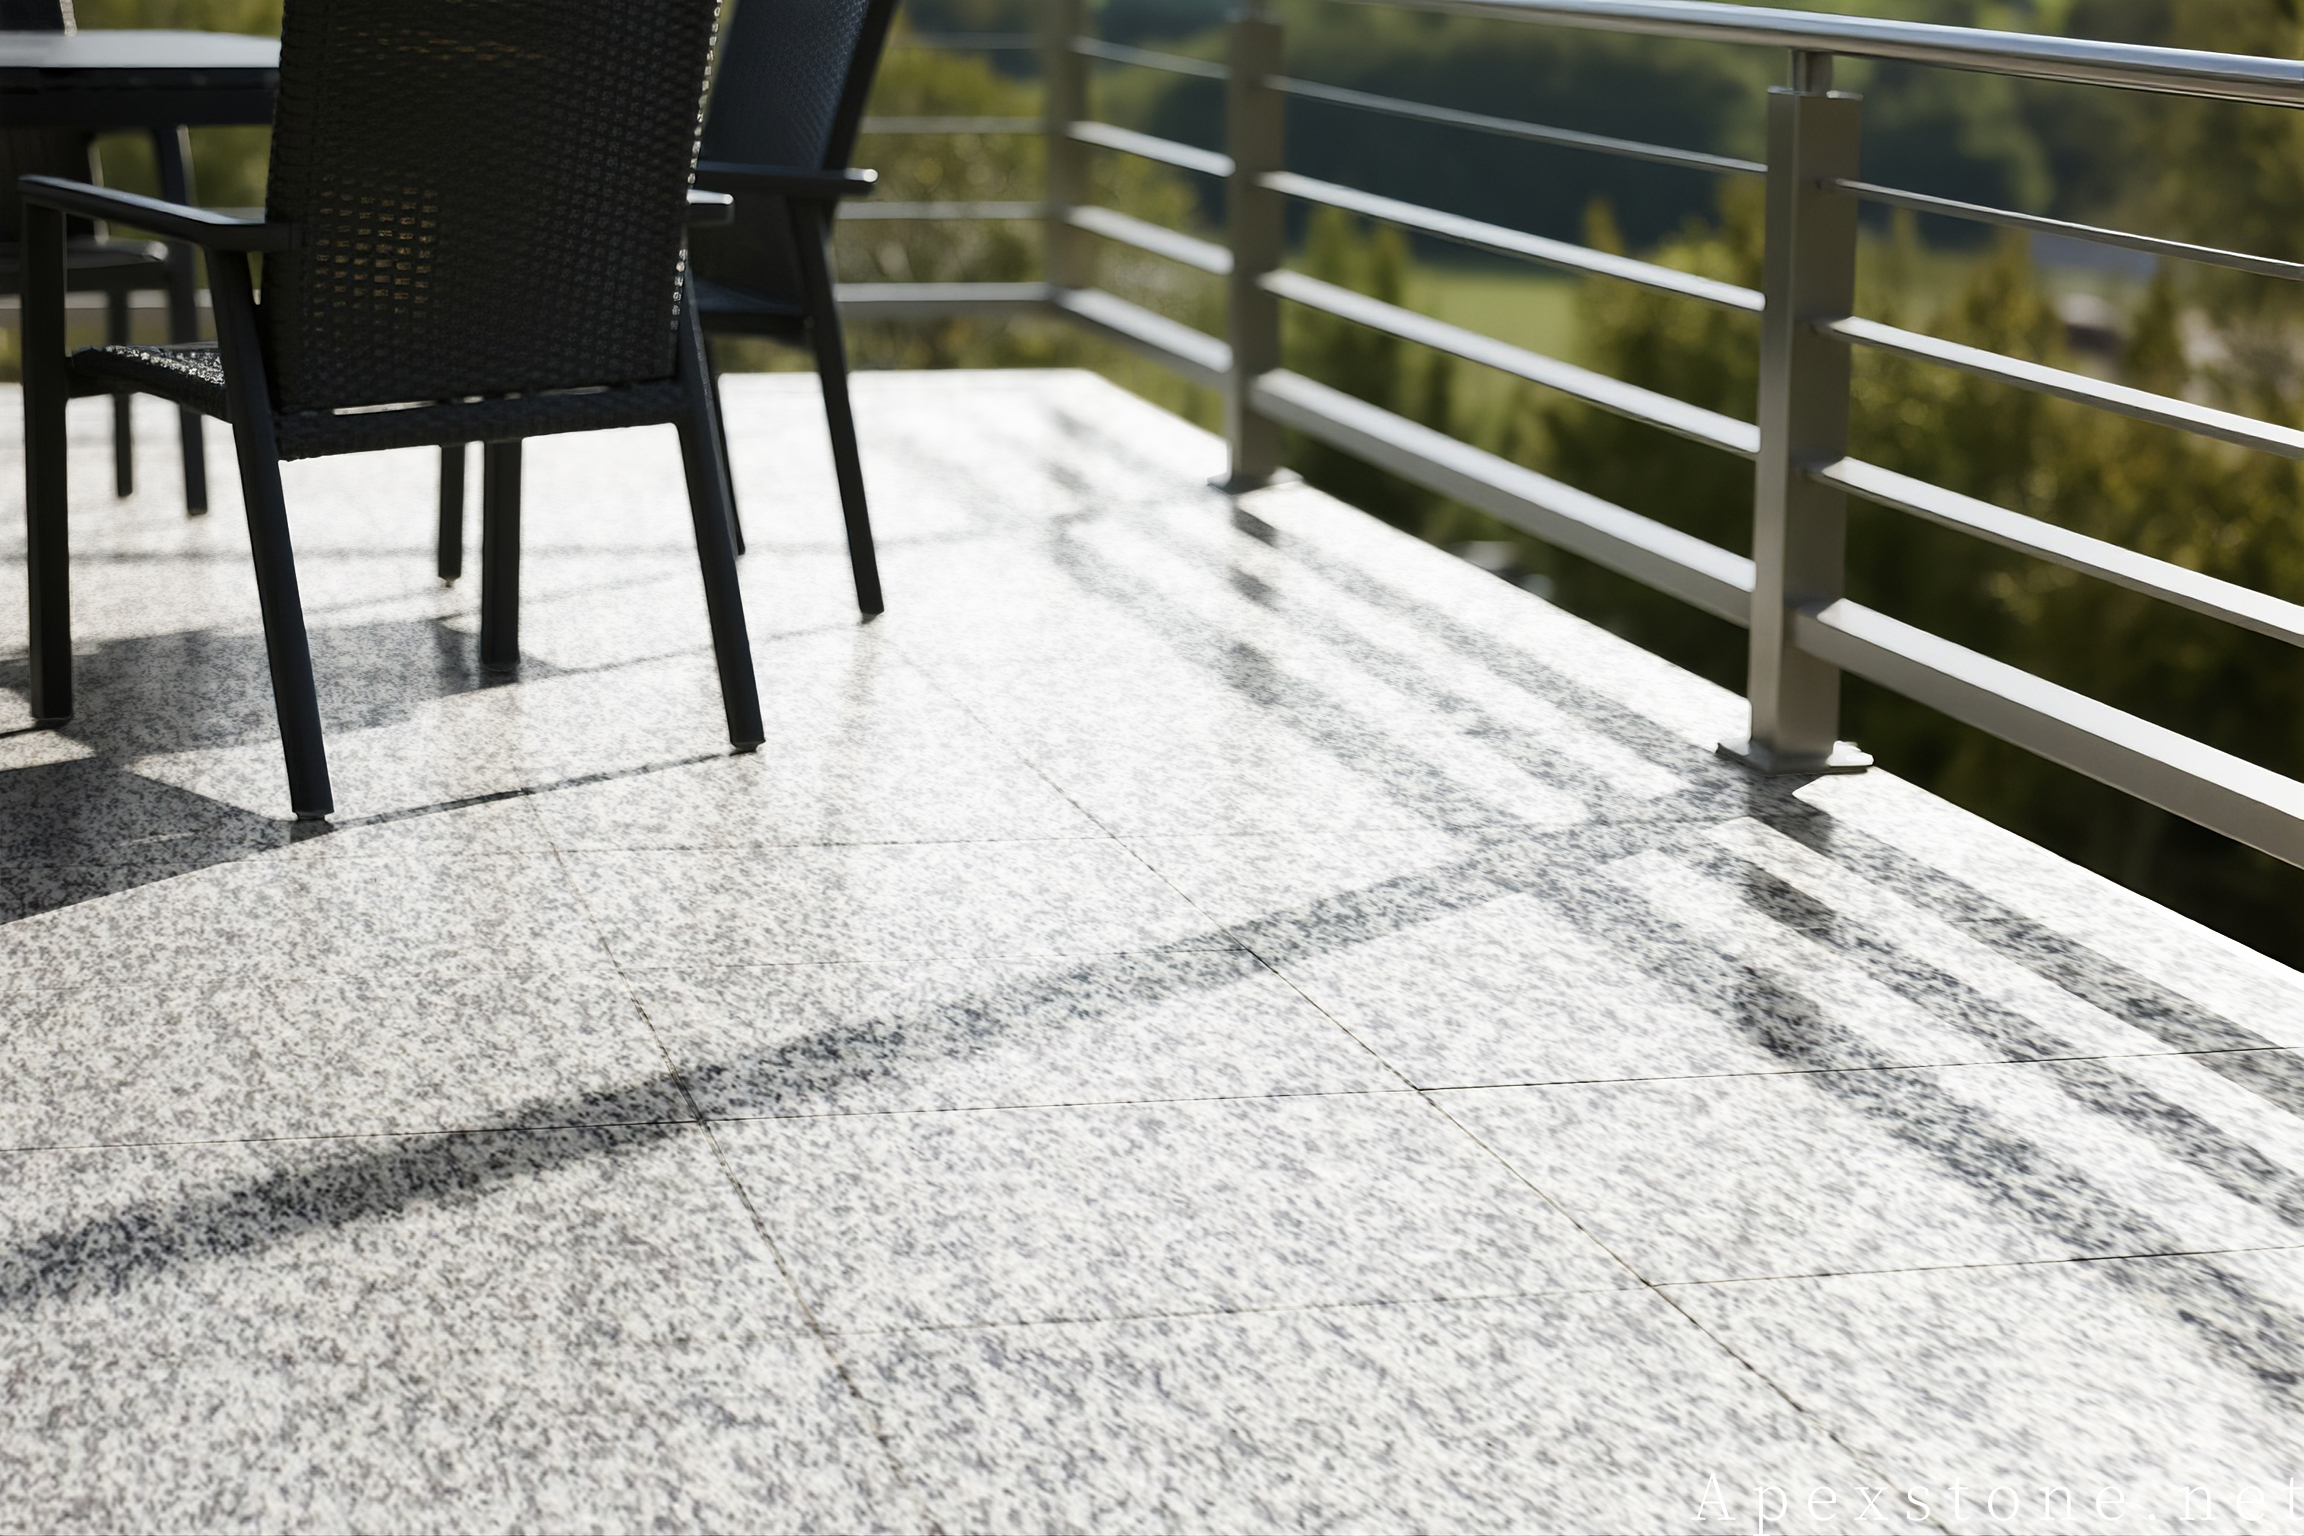
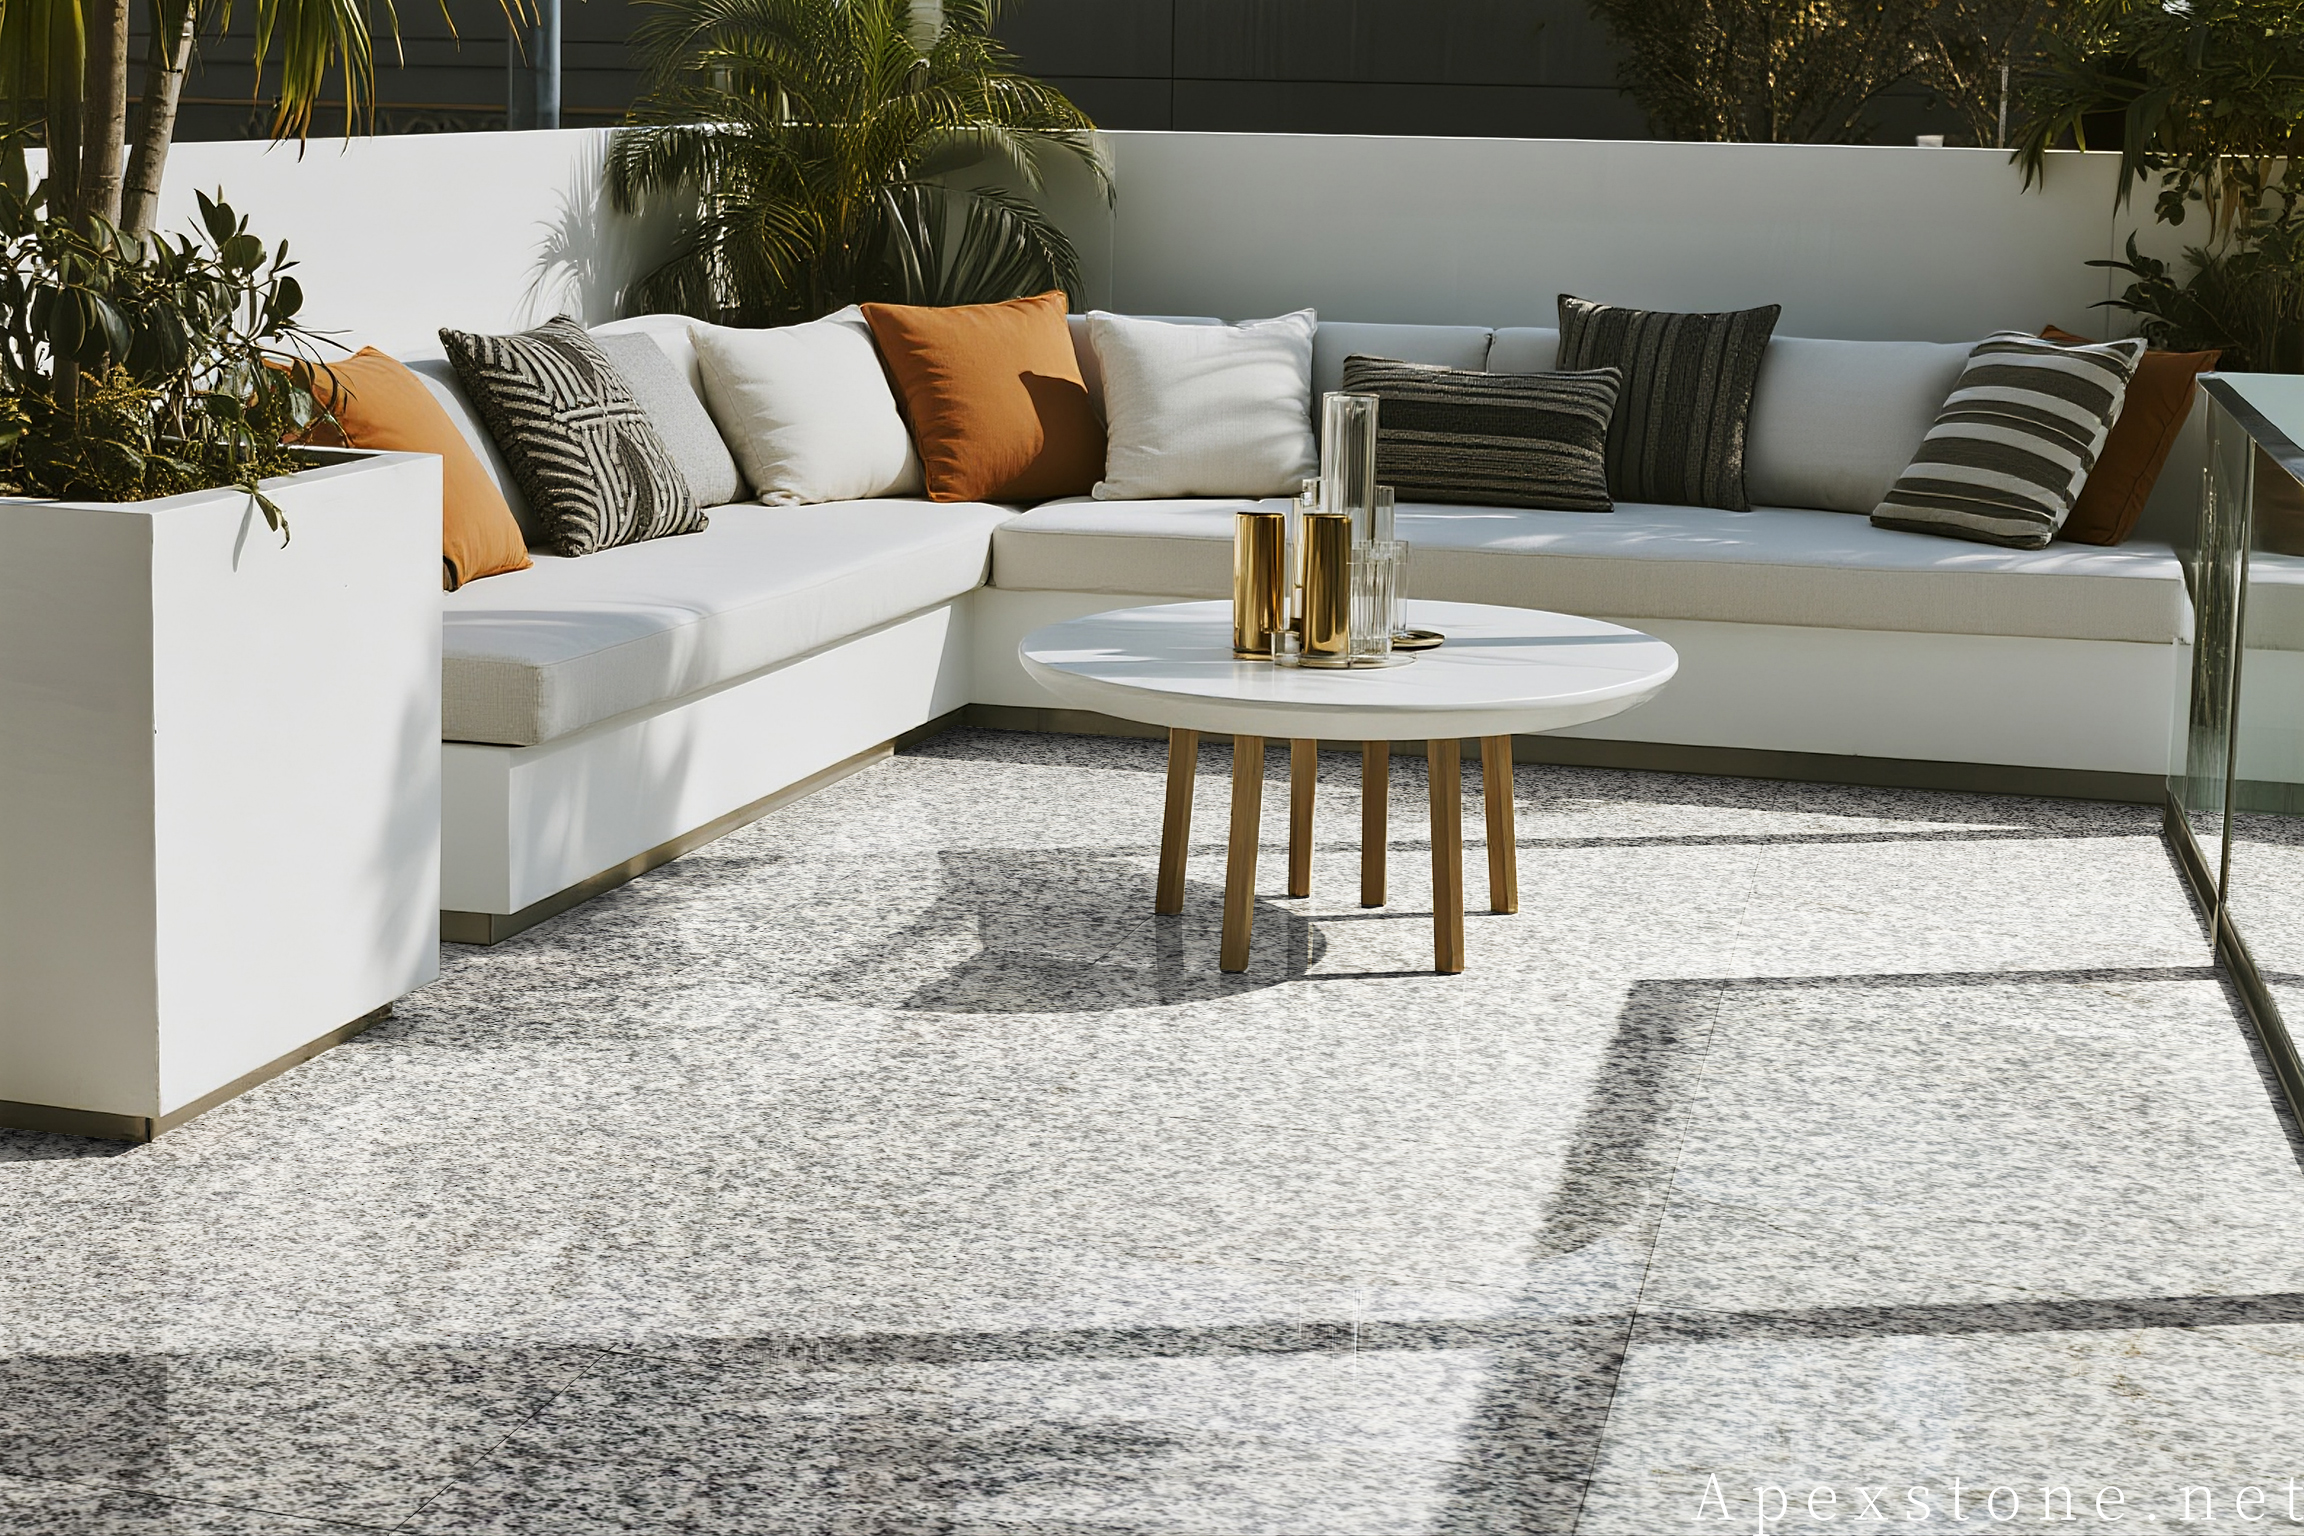
Six garden scenes showing how the same light grey granite handles walls, beds, paths, and crazy paving.
From the drawing board
Four decisions that shape the whole garden
Light stone needs light joints
A pale grey aggregate jointing compound disappears against Bianco Crystal; dark sand makes every 24x24 paver look framed.
Flamed, always, underfoot
The flamed finish is what makes the surface non slip around a pool or on a shaded path; polished stone belongs indoors.
One lot, whole garden
Pavers, steps, edging, and wall caps cut from the same production lot keep the grey identical from front gate to terrace.
Drainage before pattern
Falls and permeable joints decide the layout as much as the bond pattern does; sort the levels first.
Where the Stone Works
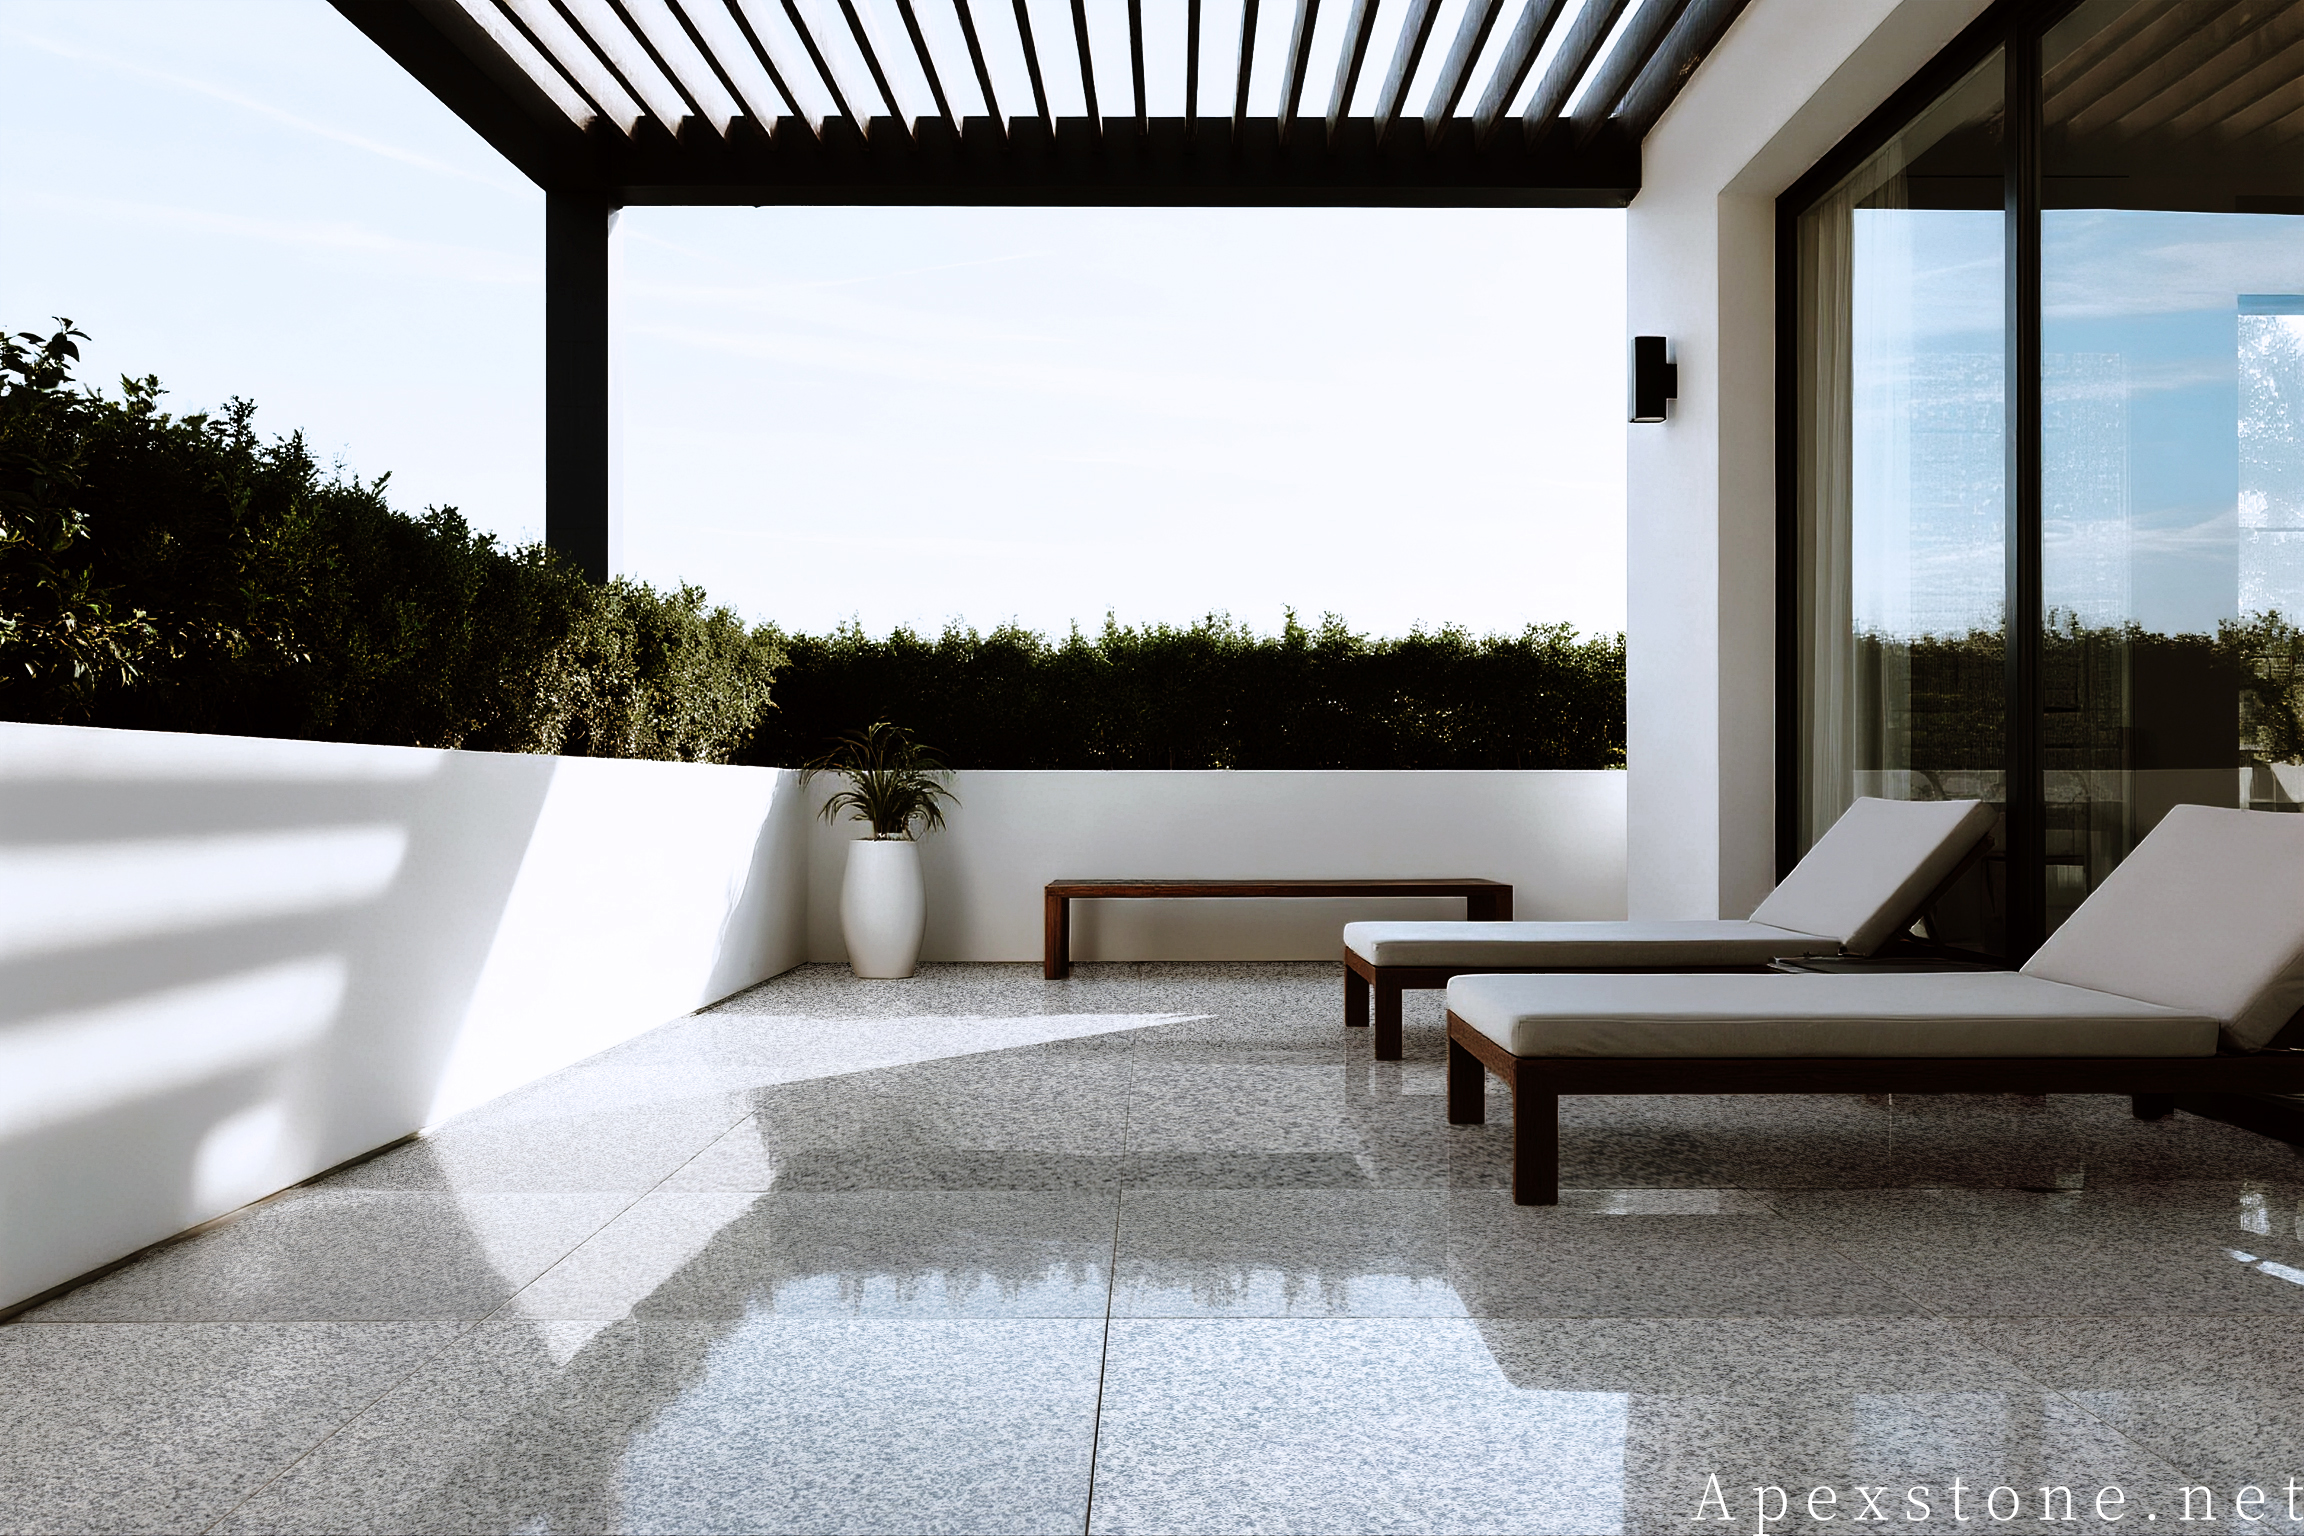
Four places a light grey ground plane earns its keep
Format Cheat Sheet
Sizes that keep a garden coherent
| Terrace pavers | 24x24, flamed |
| Path squares | 12x12 or 16x16, flamed |
| Setts and borders | 6x9 or 4x9, tumbled |
| Driveway thickness | 2 inch thick |
| Finish rule | Flamed or sandblasted underfoot; honed only on vertical work |
From Sketch to Surface
Six steps from sketch to a finished floor
<p>A garden paving project runs more smoothly when the sequence is fixed before the first pallet arrives.</p>
- ✓
Step 1 — Map the zones
Mark terrace, paths, steps, and edging on one plan so formats and thicknesses can be assigned per zone.
- ✓
Step 2 — Choose the finish
Flamed for every walking surface; tumbled or sandblasted where a softer look is wanted.
- ✓
Step 3 — Set the levels
Fix falls, drainage, and step riser heights before the bond pattern is drawn.
- ✓
Step 4 — Approve a sample
Look at the flamed color outdoors, in daylight, next to the house materials.
- ✓
Step 5 — Lay a dry run
Set one area out dry to check joint widths and cuts before fixing.
- ✓
Step 6 — Joint and seal
Use a light jointing compound and a breathable sealer approved on a sample.
Ready to size the paving?
Send the garden sketch before ordering pallets
Apexstone can talk through actual Bianco Crystal paver sizes, finishes, and quantities once the layout and the look of the joints are settled.